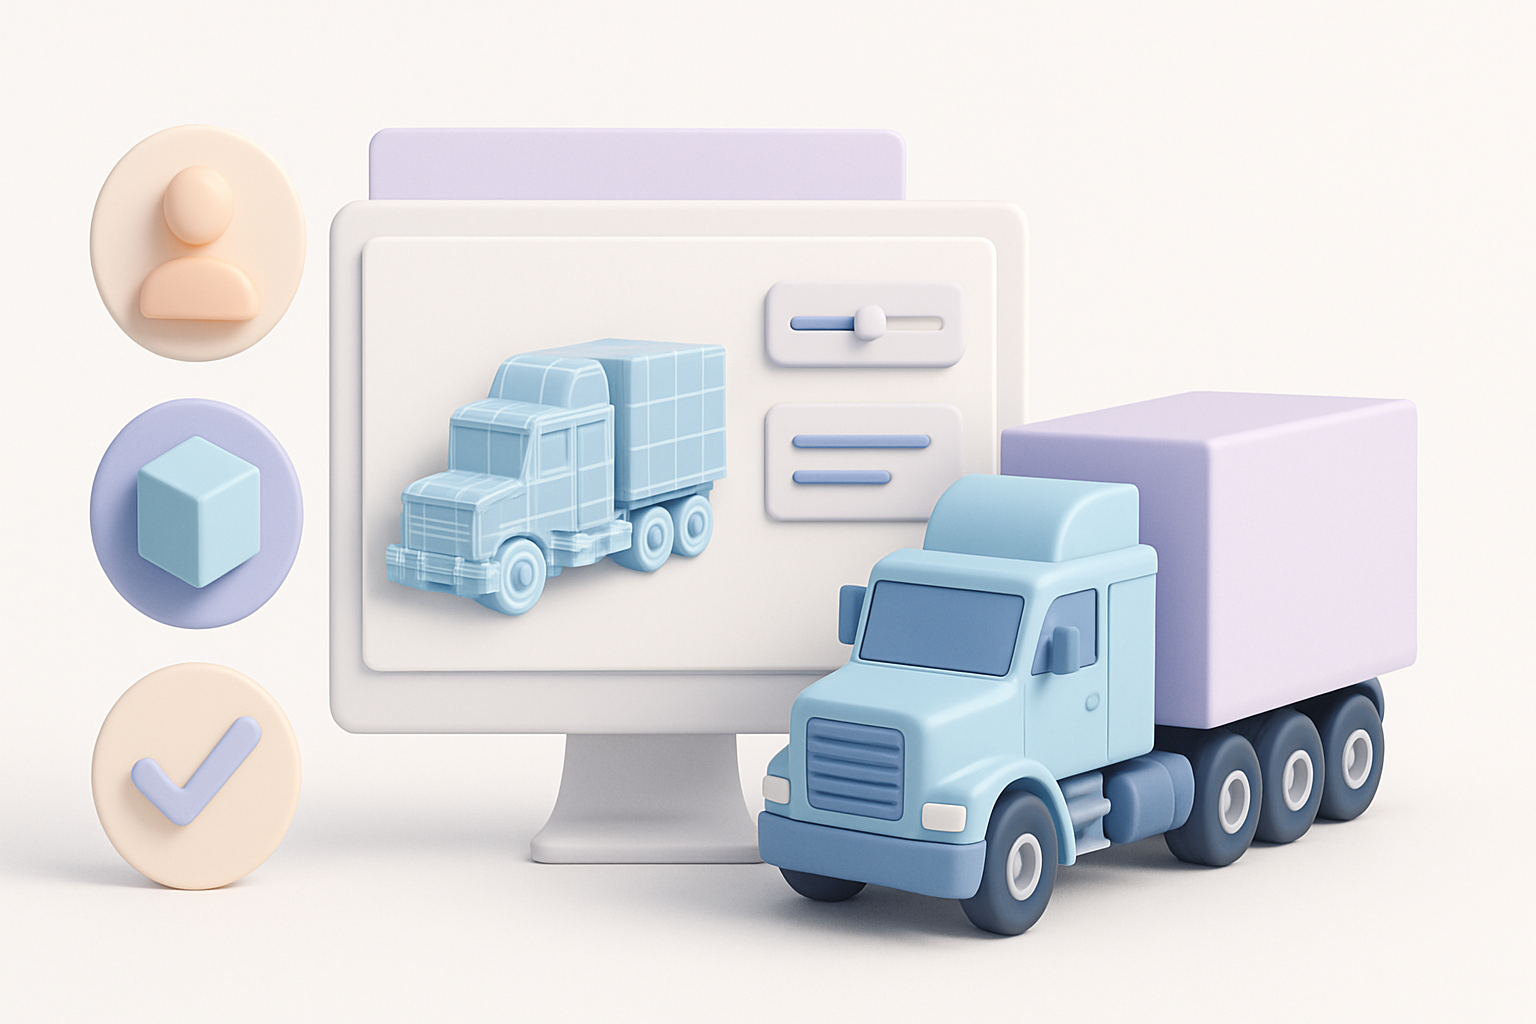
Creating and Optimizing a Truck 3D Model: Expert Workflow
Creating a high-quality truck 3D model can be daunting, but with the right approach and modern tools, it’s faster and more accessible than ever. In my experience, blending AI-powered platforms with traditional techniques yields the best results—especially for those targeting game, film, or XR applications. This guide distills what I’ve learned on real-world projects: from concept to production-ready asset, with an emphasis on practical steps, optimization, and common pitfalls to avoid. Whether you’re an artist, developer, or designer, these insights will help streamline your truck modeling workflow and raise your output quality.
Key takeaways:
- Start with strong references and clear requirements for your truck model.
- Choose input methods (text, image, sketch) based on project needs and available resources.
- Use AI-powered tools for rapid prototyping, but refine details manually for critical assets.
- Prioritize segmentation, clean topology, and efficient UV mapping for downstream use.
- Optimize models for target platforms (game, film, XR) by balancing detail and performance.
- Troubleshoot common issues early—especially geometry errors and texture artifacts.
Executive Summary: Key Takeaways for Truck 3D Modeling
What I’ve Learned from Real-World Projects
Having worked on truck models for games and visualization, I’ve found that a clear workflow and the right tools make all the difference. Rushing into modeling without solid references or skipping optimization steps can lead to wasted time and unusable assets. Leveraging AI-driven platforms accelerates early stages, but hands-on refinement is still essential for professional results.
Essential Steps for Success
- Gather comprehensive references (photos, blueprints, sketches).
- Choose input methods that match your skillset and project timeline.
- Use segmentation and retopology tools to ensure clean, usable geometry.
- Texture and bake maps with the final use case in mind.
- Test models in target engines or renderers early to catch issues.
Choosing the Right Approach for Truck 3D Model Creation
Text, Image, or Sketch: Selecting Your Input
In my workflow, the choice of input method depends on the project’s requirements and available resources:
- Text prompts: Fastest for ideation and rough blockouts; ideal for early concepts or when visual references are scarce.
- Image input: Best for matching specific real-world trucks; ensures fidelity to design.
- Sketches: Useful for custom or stylized trucks, especially if you want to control proportions and silhouette.
Tip: For quick iterations, I often start with text or image input on an AI platform, then refine with manual edits.
When to Use AI-Powered Tools vs. Manual Modeling
AI-powered tools shine for:
- Rapid prototyping and concept exploration.
- Generating base meshes with decent topology.
- Automating tedious tasks like segmentation and initial UVs.
Manual modeling is necessary when:
- High precision or custom details are required.
- The asset needs to match strict polycount or topology guidelines.
- Fine-tuning for animation, rigging, or specific engine requirements.
Checklist:
- Use AI for speed, but always validate geometry and clean up artifacts manually.
Step-by-Step Workflow: From Concept to Production-Ready Truck Model
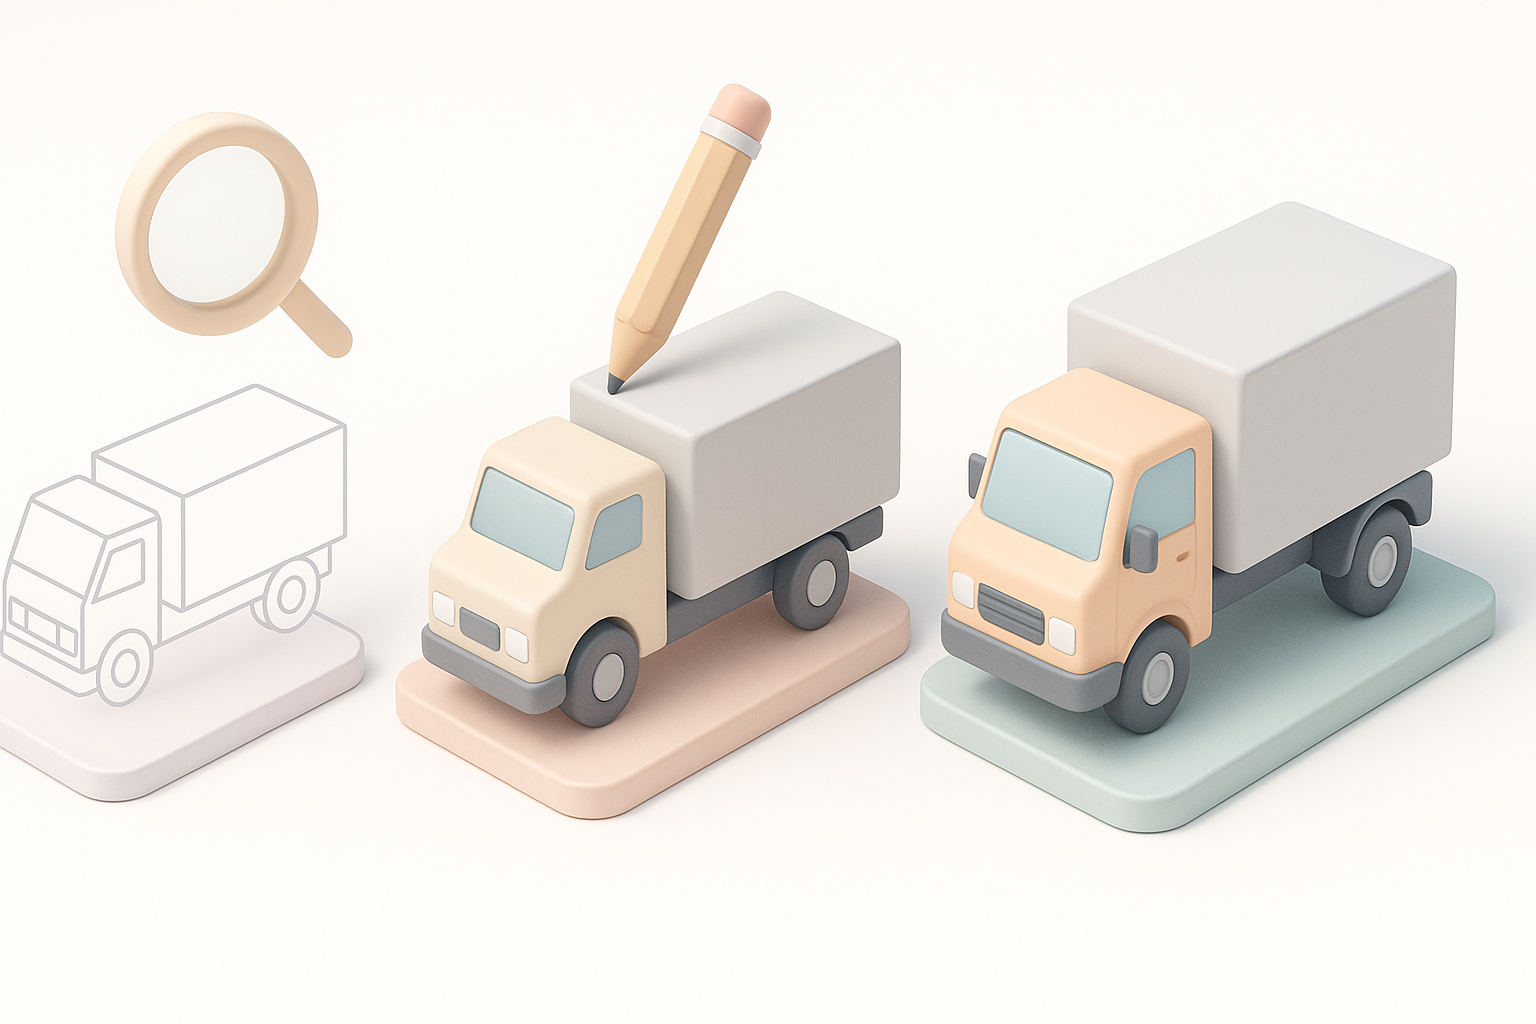
Initial Concept and Reference Gathering
I always start by collecting as many references as possible—photos from various angles, manufacturer blueprints, and even toy models if needed. This helps nail proportions and key details.
Steps:
- Define the truck’s purpose (game, film, XR, etc.).
- Gather reference images and sketches.
- Decide on the modeling approach (AI input, manual, or hybrid).
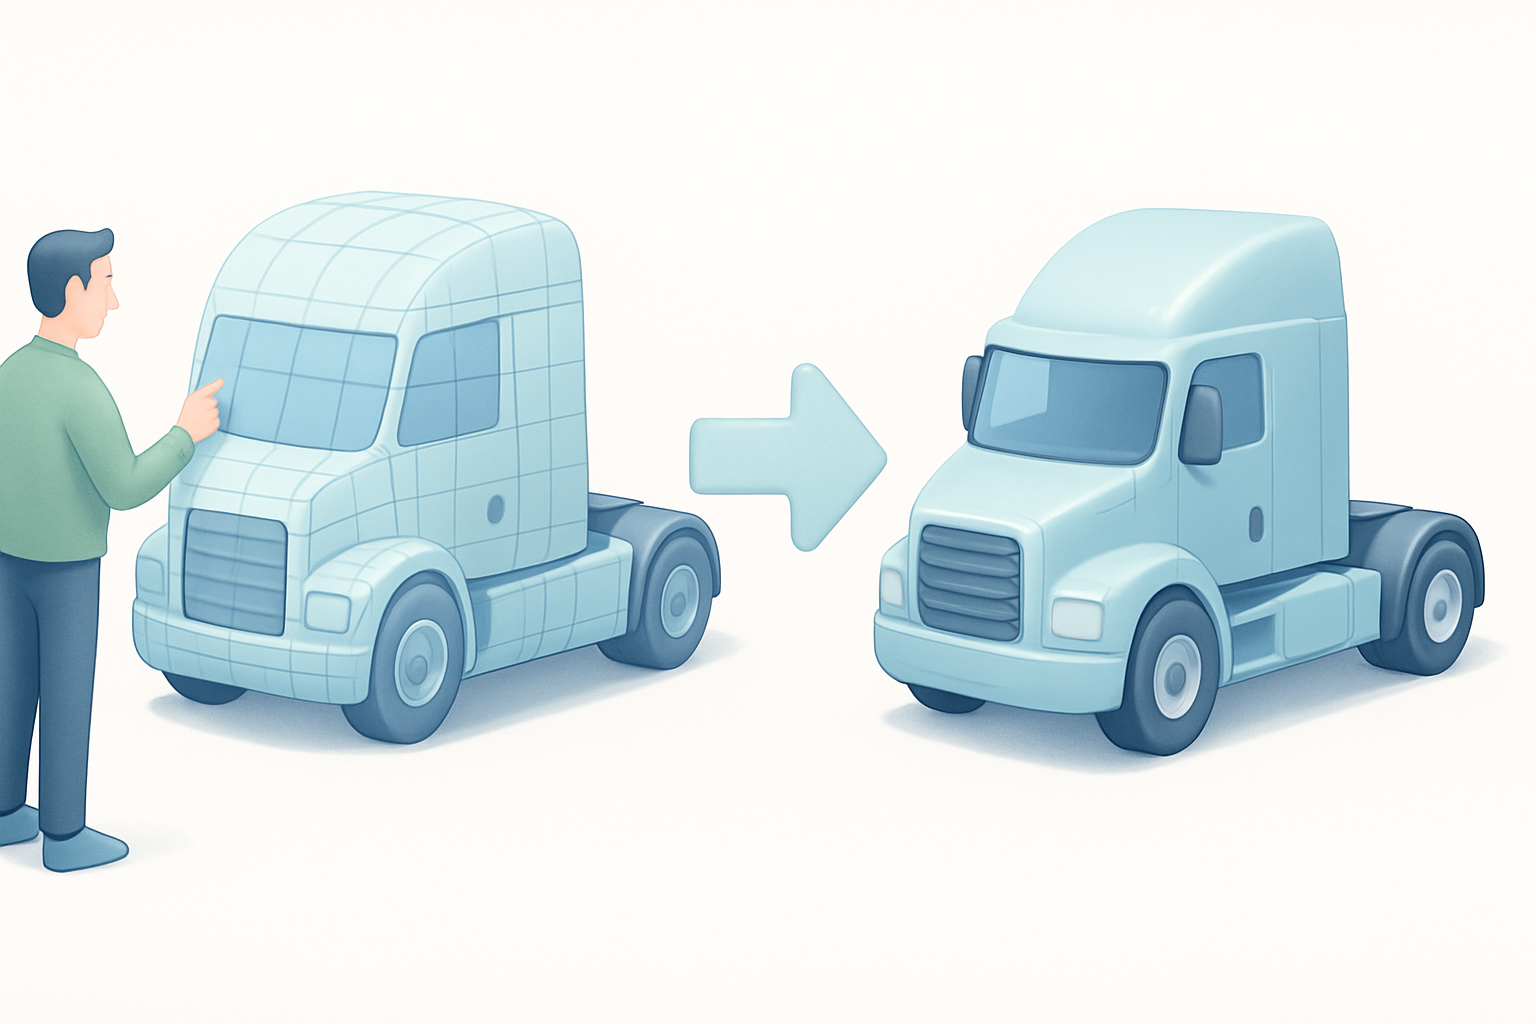
Segmentation, Retopology, and Texturing Best Practices
After generating a base model (often using an AI tool), I focus on clean segmentation—separating the cab, chassis, wheels, and accessories. Retopology is crucial for animation and engine compatibility.
Best practices:
- Use built-in retopology tools to achieve clean, quad-based meshes.
- Unwrap UVs efficiently to minimize seams and stretching.
- Texture in layers: base color, roughness, metallic, and normal maps.
Pitfall: Skipping proper segmentation or retopology can lead to shading issues and poor performance downstream.
Optimizing Truck 3D Models for Different Use Cases
Game Engines, Film, and XR: What I Adjust
Each platform has unique requirements:
- Game engines: Prioritize low polycount, clean LODs, and efficient textures.
- Film/VFX: High-res meshes and detailed textures; less concern for polycount.
- XR: Extreme optimization for performance; consider mobile hardware limits.
Tip: I always test the model in the target environment early, adjusting mesh density and texture resolution as needed.
Balancing Detail and Performance
Finding the right balance is key. I typically:
- Use normal maps to fake small details on low-poly geometry.
- Bake AO and curvature maps for added realism.
- Strip out hidden geometry and reduce texture sizes for real-time applications.
Checklist:
- Check polycount and texture sizes before export.
- Run performance tests in-engine or on target hardware.
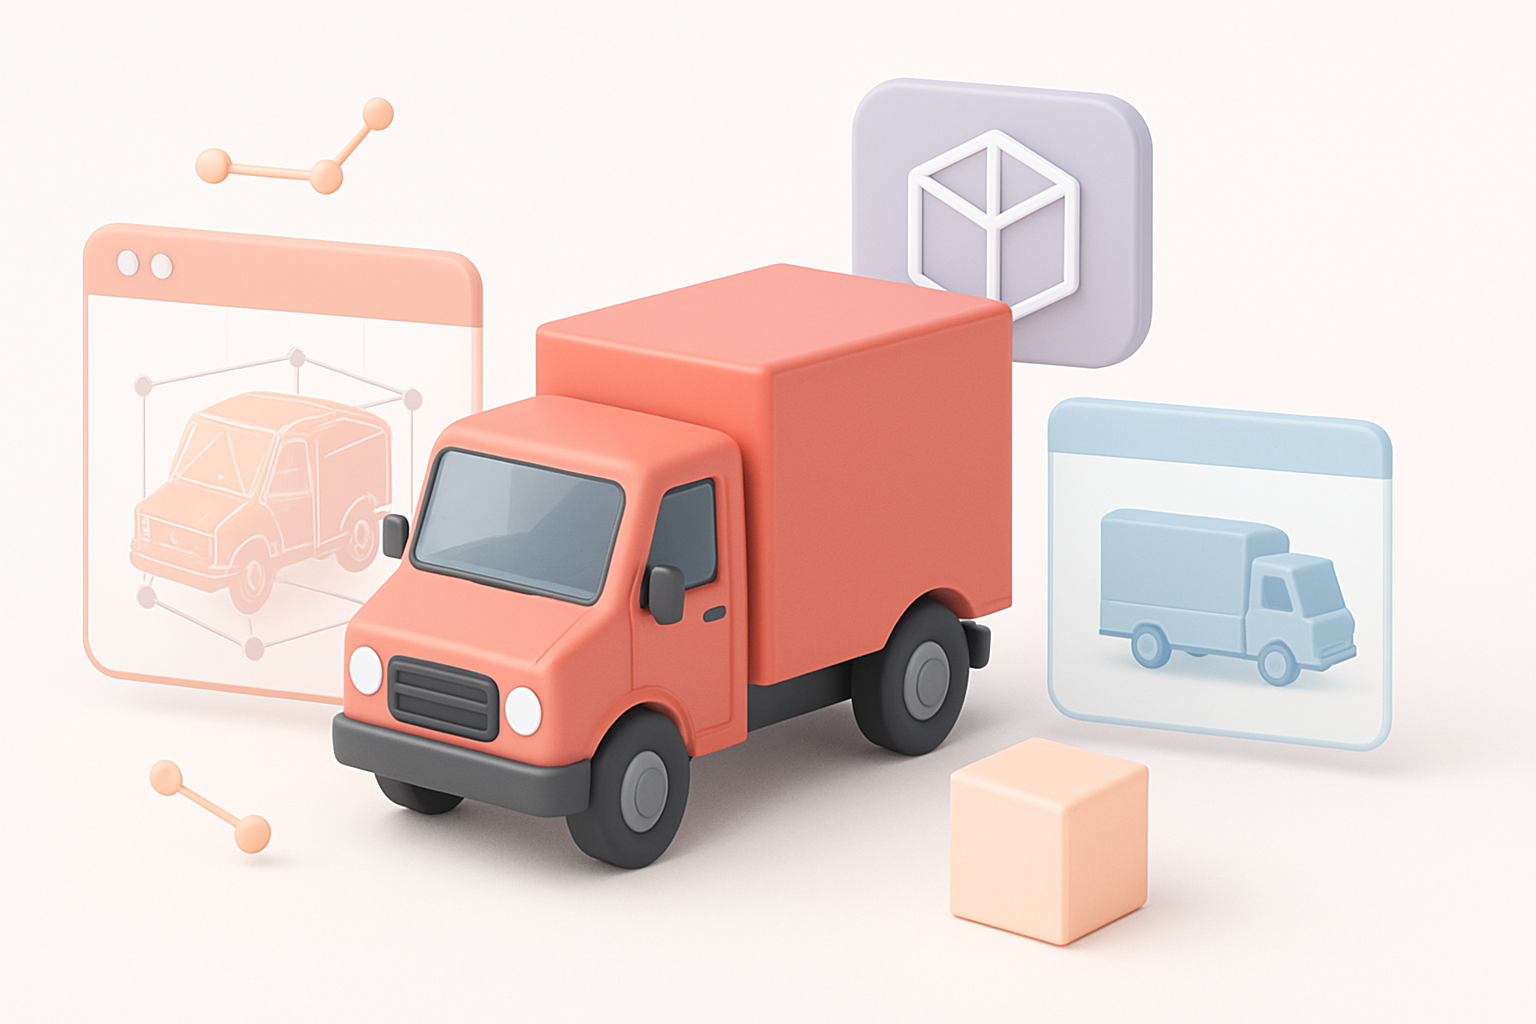
Comparing AI-Driven and Traditional 3D Modeling Methods
Speed, Quality, and Flexibility: My Experience
AI-driven modeling is a game-changer for speed—what used to take days can now be done in minutes. However, quality and flexibility still depend on manual intervention.
Comparison:
- AI tools: Fast, great for base meshes and ideation, but sometimes require cleanup.
- Traditional methods: Slower, but full control over every vertex and detail.
Integrating AI Tools into Existing Workflows
I’ve found the best results come from combining both approaches:
- Use AI for initial modeling, segmentation, and basic texturing.
- Import into DCC tools for retopology, UV refinement, and custom detailing.
- Finalize in the target engine or renderer.
Tip: Always review and clean up AI-generated assets before production use.
Tips, Troubleshooting, and Lessons Learned
Common Pitfalls and How I Avoid Them
- Messy topology: Always retopologize AI-generated meshes.
- Texture stretching: Check UVs and rebake maps as needed.
- Overly high polycount: Decimate or optimize meshes for real-time use.
Troubleshooting steps:
- Inspect wireframes closely after generation.
- Test textures under different lighting conditions.
- Run assets through validation tools in your engine or pipeline.
My Favorite Time-Saving Techniques
- Batch process multiple iterations using AI tools to explore options quickly.
- Save reusable truck parts (wheels, mirrors, etc.) for kitbashing.
- Use smart materials and texture presets to speed up lookdev.
Mini-checklist:
- Reference checklist before modeling.
- Validate geometry and textures after each major step.
- Test in target environment before final delivery.
By blending AI-powered tools with traditional best practices, I consistently achieve efficient, production-ready truck 3D models tailored to any use case. The key is to leverage speed where possible, but never skip critical quality checks or optimizations.


