Creating a Tower of Hell 3D Model: Expert Workflow & Tips
Building a Tower of Hell 3D model for games or interactive projects presents unique design and technical challenges. In my experience, success hinges on careful planning, smart use of modern AI tools, and a solid grasp of game asset optimization. This guide shares my proven workflow, practical tips, and lessons learned—from concept to export—so you can create production-ready models efficiently. Whether you’re a game developer, designer, or 3D artist, you’ll find actionable advice for both manual and AI-assisted approaches.
Key takeaways

- Plan structure and gameplay flow early to avoid costly rework.
- Block out main forms first—detail comes later.
- Leverage AI tools like Tripo to accelerate modeling and segmentation.
- Optimize for game engines: retopology, UV mapping, and polygon budgeting are critical.
- Integrate AI outputs carefully; manual tweaks are often needed.
- Avoid common pitfalls with checklists and iterative testing.
Overview: Tower of Hell 3D Model Creation
What is a Tower of Hell 3D Model?
A Tower of Hell model is a vertical, obstacle-filled structure designed for platformer or obstacle course gameplay. In my workflow, these models typically feature modular platforms, ramps, hazards, and visual cues that guide player movement. The complexity depends on gameplay needs, but modularity and clarity are always priorities.
Key Challenges and Considerations
The main challenges include balancing visual detail with performance, ensuring modularity for level design, and creating readable obstacles. I’ve found it’s essential to:
- Keep polygon counts low for real-time use.
- Design with gameplay visibility in mind.
- Plan for easy adjustments and expansion.
Step-by-Step Workflow for Modeling
Conceptualizing and Planning the Structure
Before modeling, I sketch or block out the tower’s layout—platforms, obstacles, and main paths. Key steps:
- Define gameplay goals and flow.
- Create reference sketches or mood boards.
- List modular components for reuse.
A clear plan saves time and reduces iteration later.
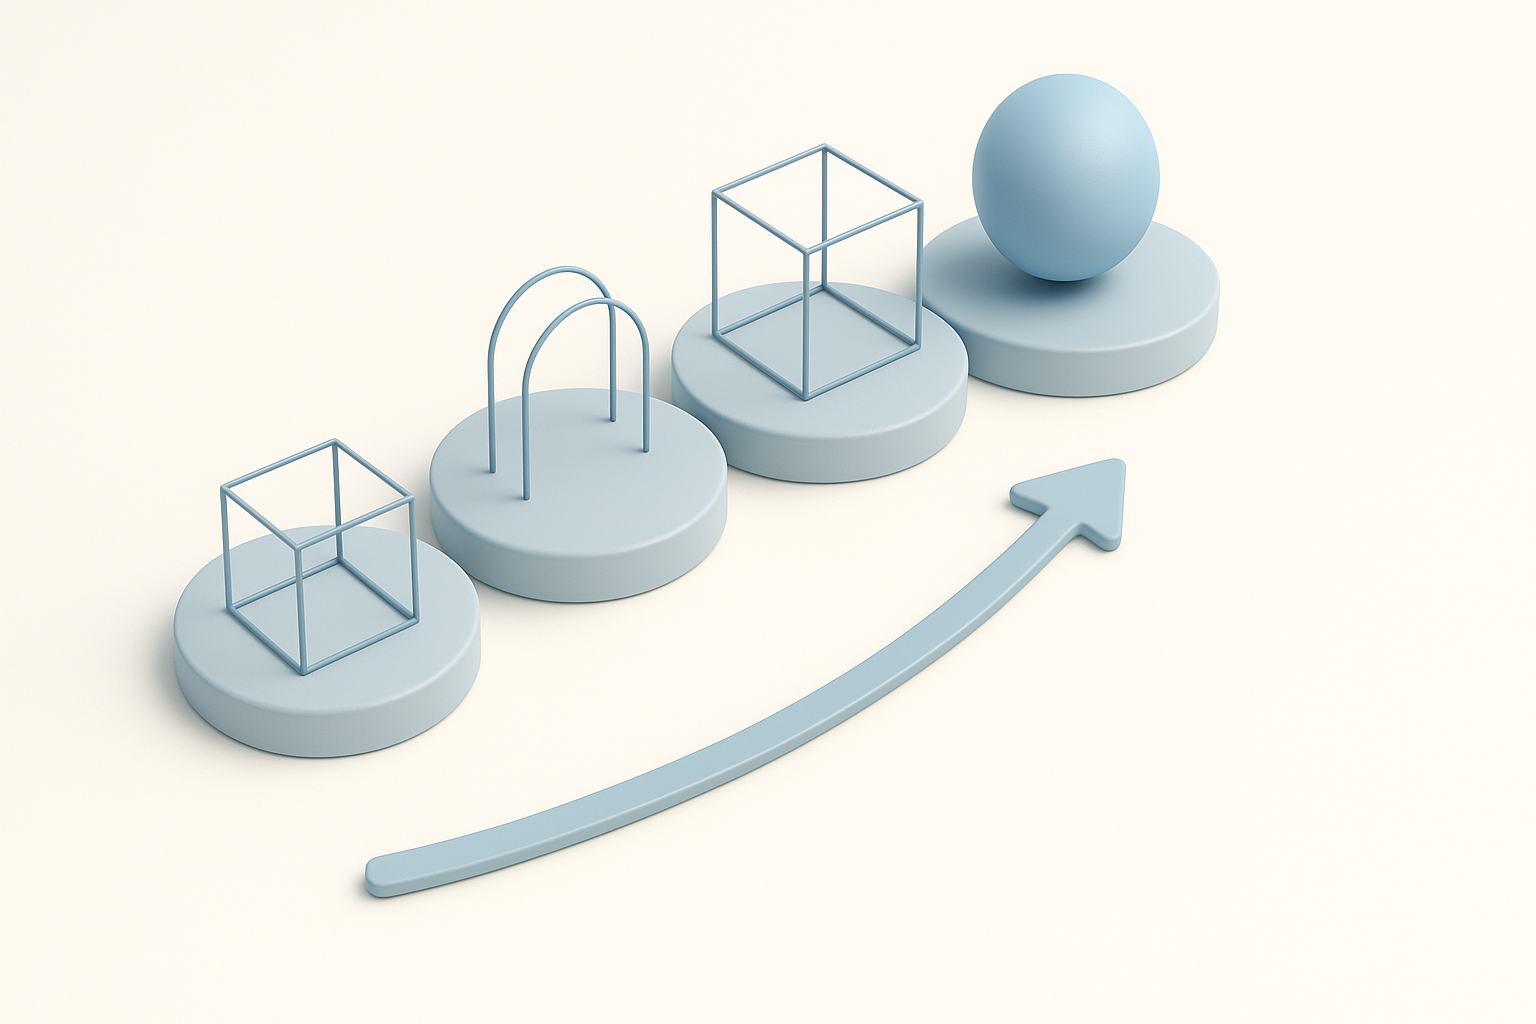
Blocking Out the Main Forms
I start with basic shapes—cubes, cylinders, and planes—to establish the tower’s silhouette and main features. My process:
- Block out platforms, ramps, and walls.
- Use simple geometry for fast iteration.
- Test scale and proportions with placeholder assets.
Blocking first lets me focus on structure before adding detail.
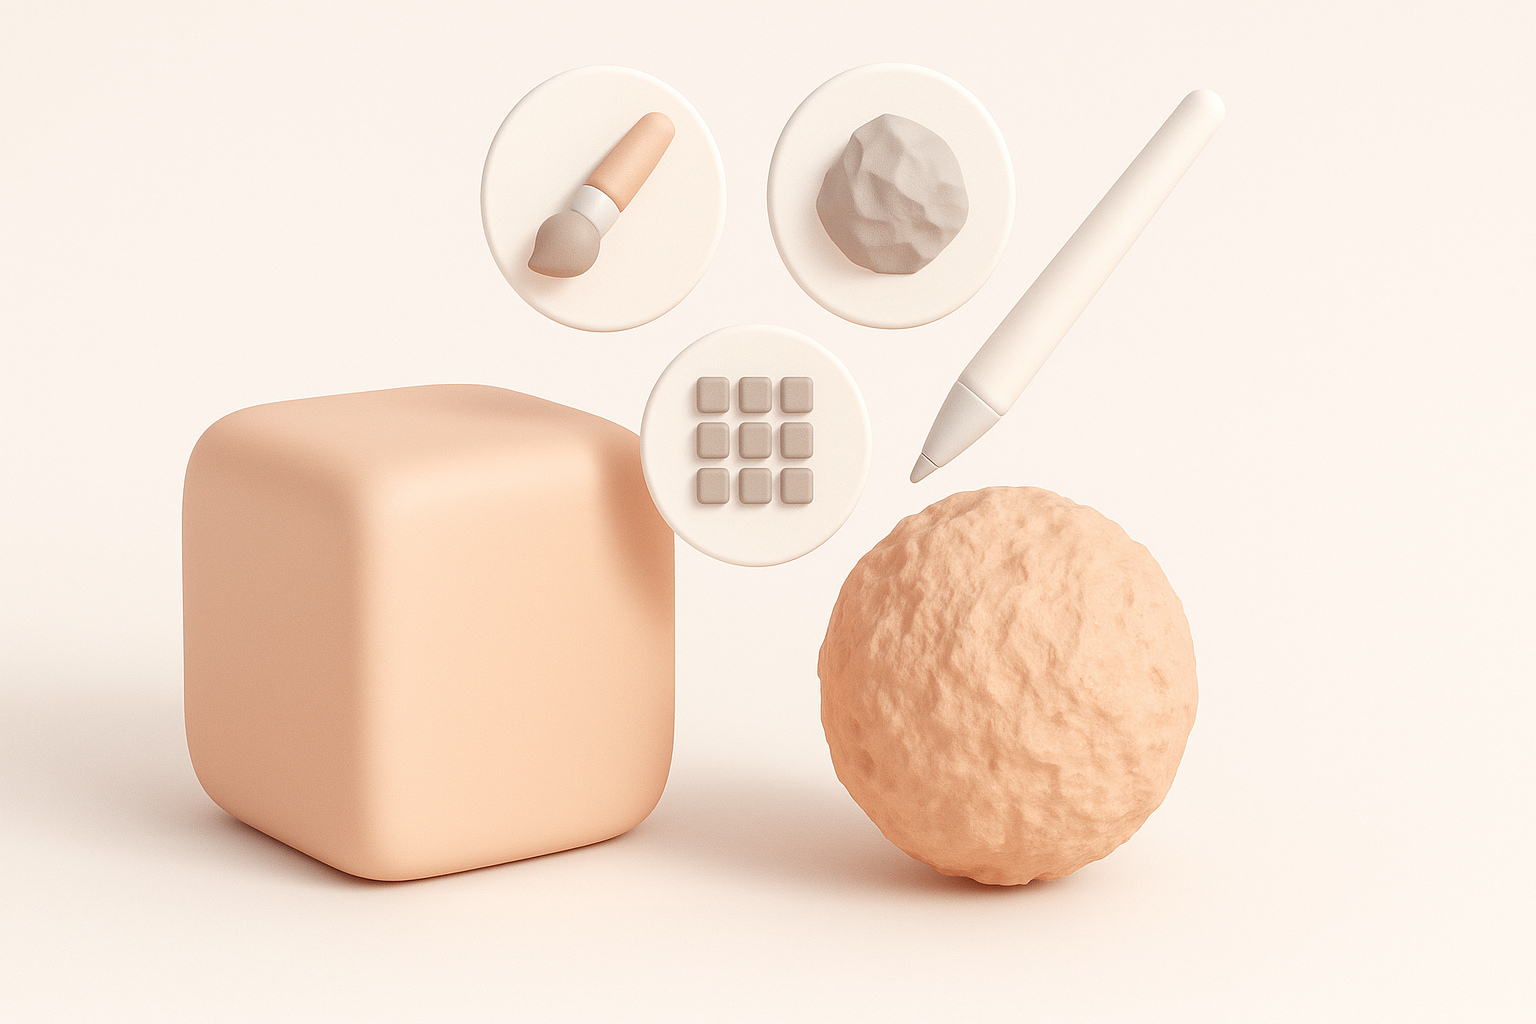
Texturing and Detailing Techniques

Efficient UV Mapping Strategies
UV mapping is crucial for clean texturing and performance. I follow these steps:
- Unwrap modular pieces individually.
- Pack UVs efficiently to minimize wasted space.
- Use consistent texel density for visual uniformity.
I always check for stretching and overlaps early.
Applying Materials and Textures
For stylized towers, I prefer hand-painted or procedural textures. My approach:
- Assign base materials to each module.
- Layer detail maps for wear, grime, or hazard cues.
- Test in-engine to ensure readability and color contrast.
Iterative testing helps catch visual issues before final export.
Optimizing for Games and Interactive Use

Retopology and Polygon Budgeting
Game assets must be efficient. I use these guidelines:
- Limit polygons on large surfaces; focus detail where needed.
- Run automated retopology tools, then manually tweak problem areas.
- Check mesh density against engine requirements.
A clean mesh improves both performance and ease of use.
Exporting for Game Engines
Exporting is more than just saving a file. My checklist:
- Apply transforms and freeze scale.
- Export in preferred formats (FBX, GLTF).
- Verify material assignments and pivot points.
- Test imports in engine for lighting and collision.
Always double-check exports to avoid surprises.
Leveraging AI Tools for Faster Results

Using Tripo for Rapid Model Generation
AI platforms like Tripo have changed my workflow. With Tripo, I can:
- Generate base models from text prompts or sketches.
- Auto-segment and retopologize for game-ready assets.
- Quickly create modular components for towers.
I use Tripo to speed up the initial modeling phase, then refine outputs manually as needed.
Integrating AI Outputs into Your Pipeline
AI-generated assets need integration and polish. My process:
- Import AI outputs into my DCC tool for cleanup.
- Adjust geometry, UVs, and materials as required.
- Merge with hand-modeled components for consistency.
AI is best used as a starting point—not a full solution.
Best Practices and Lessons Learned

Common Pitfalls and How I Avoid Them
Mistakes I see often (and how I prevent them):
- Over-detailing early: Block out forms first, detail later.
- Ignoring modularity: Design reusable pieces from the start.
- Poor UV layout: Check and fix UVs before texturing.
Regular playtesting and feedback loops catch most issues.
My Personal Tips for Success
- Always plan the tower in context—think about player movement and camera angles.
- Use color and shape to guide players visually.
- Iterate quickly: AI tools help, but manual tweaks are essential.
- Keep assets organized for easy updates.
Comparing Manual and AI-Assisted Methods
Pros and Cons of Each Approach
Manual Modeling:
- Full artistic control
- Time-consuming, especially for repetitive tasks
AI-Assisted Modeling:
- Rapid base asset creation
- Requires manual cleanup for polish
- Great for prototyping and modular asset generation
I often combine both for maximum efficiency.
When to Use AI vs. Traditional Techniques
I use AI when:
- Speed is critical (prototyping, quick iterations)
- Modular assets are needed
I stick to manual methods when:
- Unique, highly detailed assets are required
- Artistic nuance and control matter
Choosing the right method depends on project goals, deadlines, and asset complexity.
In summary: Creating a Tower of Hell 3D model is a balance of planning, efficient workflow, and smart tool use. AI platforms like Tripo can accelerate production, but manual expertise ensures quality and gameplay integration.


