Creating a High-Quality Tiger 3D Model: Workflow & Tips
Creating a production-ready tiger 3D model requires a blend of artistic skill, technical know-how, and efficient workflow choices. In my experience, the right preparation and toolset—especially leveraging AI-powered solutions—can dramatically speed up the process without sacrificing quality. Whether you’re building assets for games, film, or XR, understanding the nuances of reference gathering, topology, texturing, and rigging is essential. This guide breaks down my hands-on workflow, offers practical tips, and highlights common pitfalls to avoid.
Key takeaways
- Reference and planning are critical for anatomical accuracy and realism.
- Prioritize clean topology and efficient UV mapping for easy texturing and animation.
- AI-powered tools can accelerate prototyping and automate tedious steps.
- Realistic fur and patterning require a mix of smart material setup and texture painting.
- Rigging should accommodate both power and subtlety in tiger movement.
- Proper export settings ensure compatibility across gaming, film, and XR pipelines.
Overview of Tiger 3D Model Creation
Key considerations before starting
Before modeling, I always clarify the project’s final use—game, cinematic, AR/VR, or static render. This informs polycount, texture resolution, and rigging needs. Tigers have complex anatomy and fur, so gathering thorough references is essential for believable results.
Checklist:
- Define project requirements (platform, style, poly budget)
- Collect anatomical and fur pattern references (photos, videos, anatomy diagrams)
- Decide on static pose or animation-ready model
Common use cases and requirements
I’ve built tiger models for games, educational XR, and film. Each use case demands different levels of detail and optimization. For real-time applications, efficient topology and minimal texture sets are key; for film, high-res details and advanced shaders matter more.
Typical requirements:
- Games: Low/mid poly, optimized UVs, normal maps
- Film: High-poly sculpt, displacement/normal maps, complex shaders
- XR: Balanced polycount, lightweight textures, efficient rigging
Step-by-Step Tiger 3D Modeling Workflow
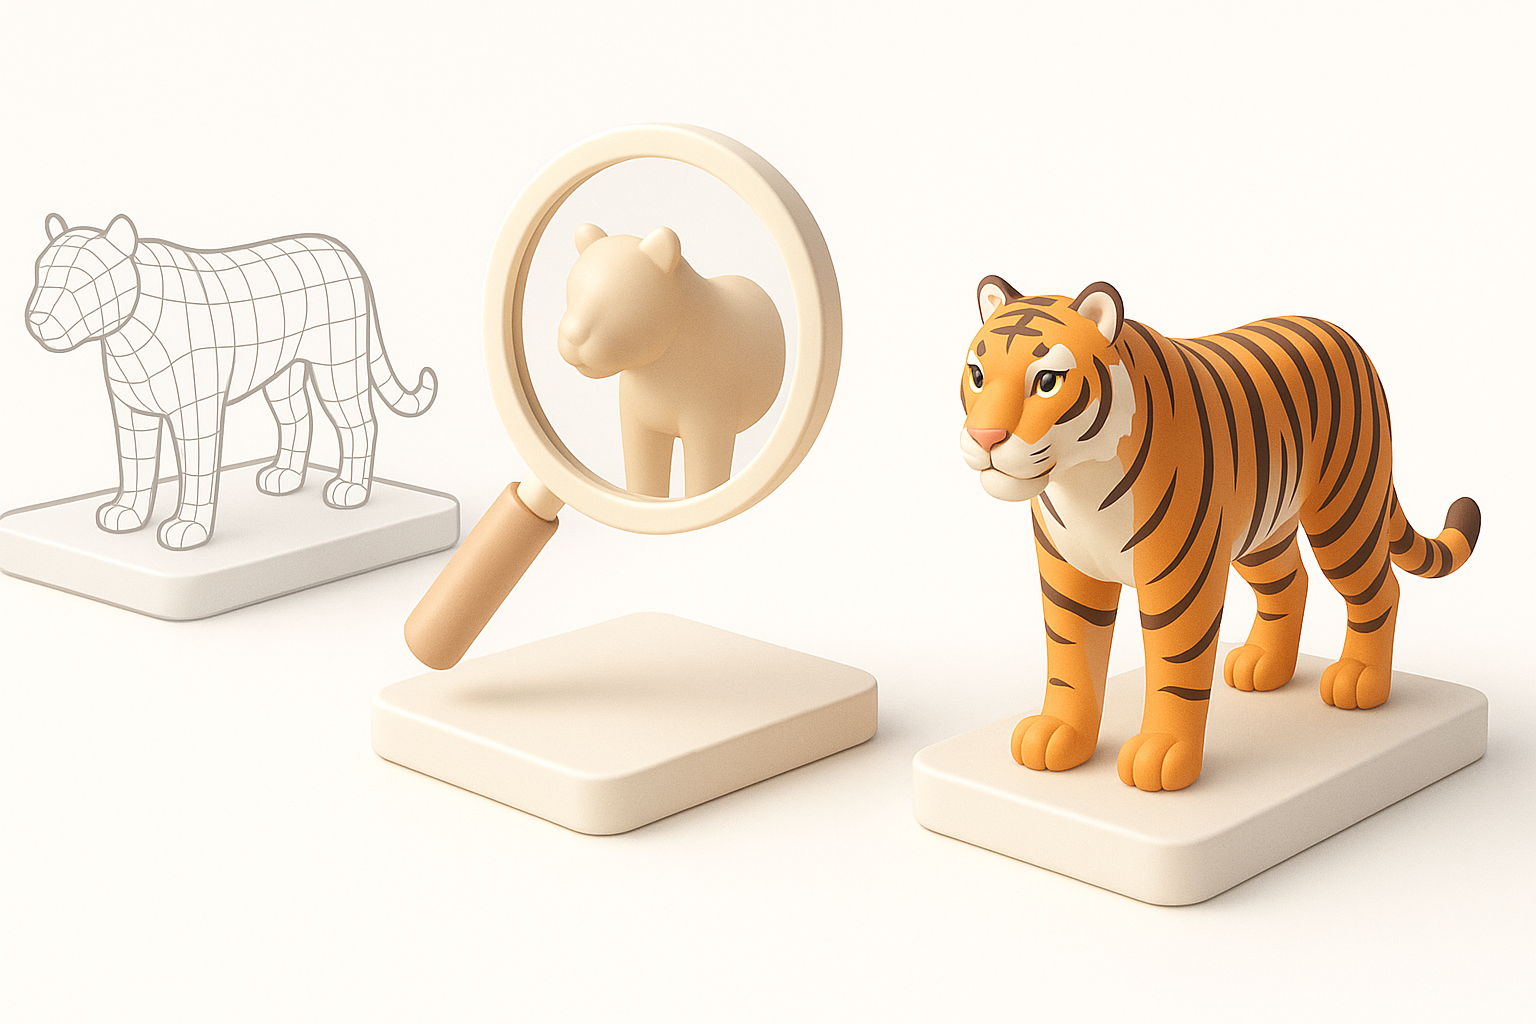
Gathering references and planning topology
I start by assembling a reference board—side, front, and top views, plus close-ups of fur and muscle structure. Planning edge flow is vital, especially around the face, joints, and paws. I sketch topology lines before touching 3D tools.
Pitfalls to avoid:
- Skipping reference collection (leads to anatomical errors)
- Ignoring edge flow around mouth, eyes, and joints
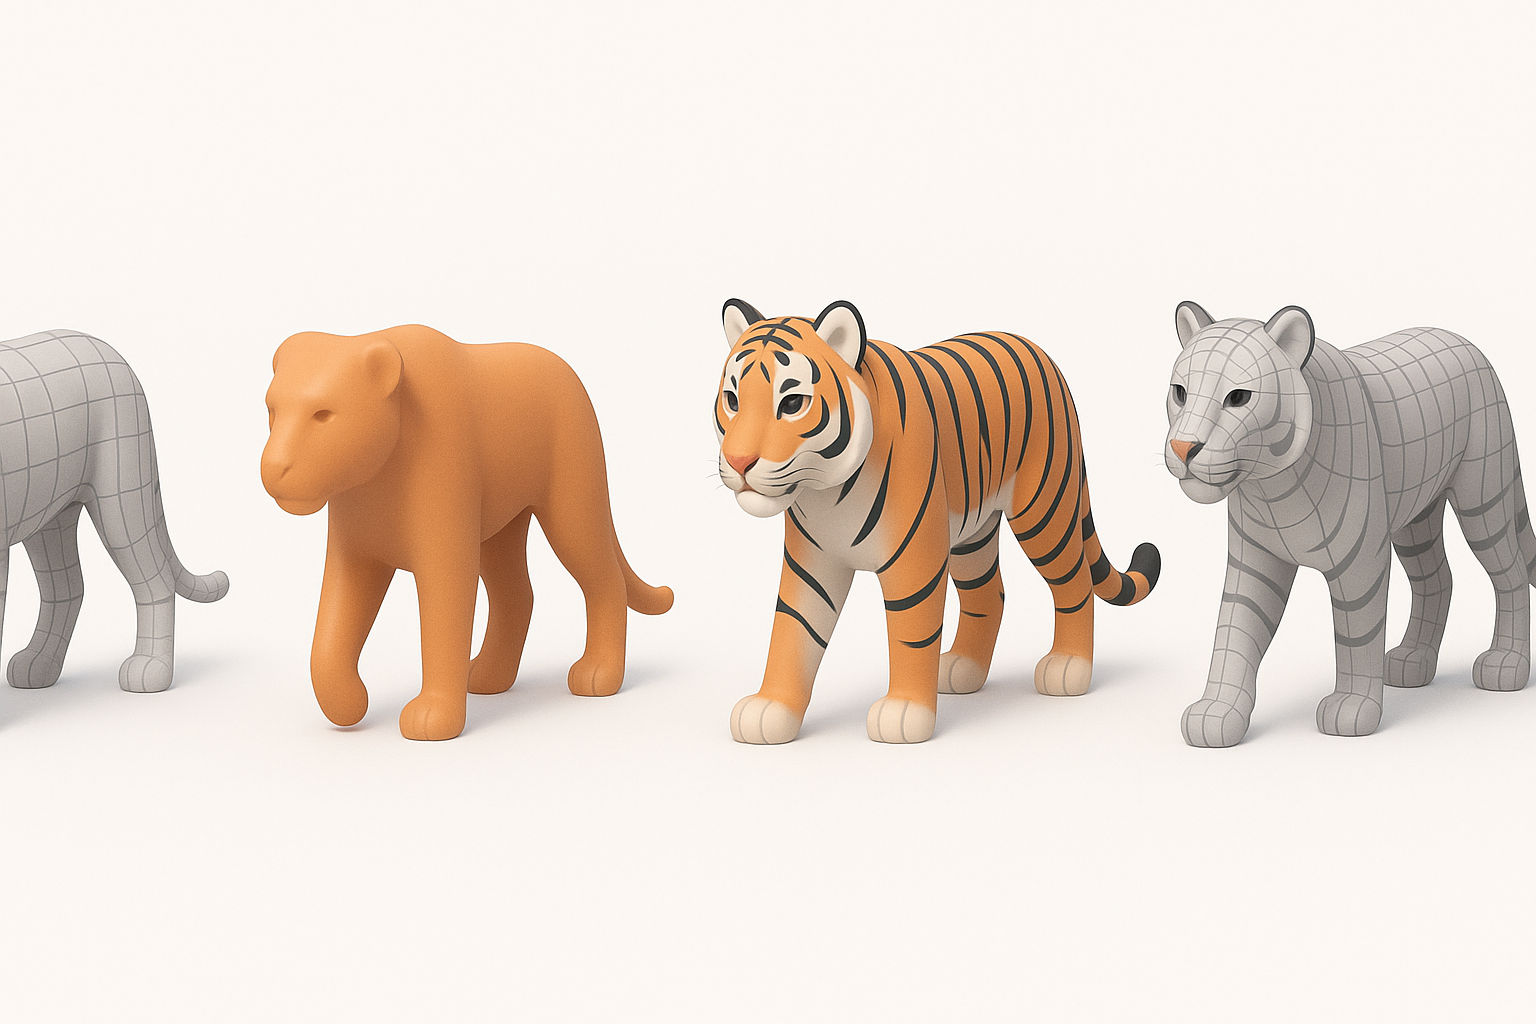
Blocking out forms and refining details
I block out the tiger’s basic shapes using simple geometry—usually starting with primitives or a base mesh. Once the silhouette feels right, I refine muscle groups and secondary forms. For production, I keep the mesh as light as possible until the proportions are locked.
Steps:
- Block out main volumes (head, body, limbs, tail)
- Refine proportions and silhouette
- Add primary muscle groups and facial features
- Gradually increase mesh density for detail
Texturing and Detailing the Tiger Model
Best practices for realistic fur and patterns
Realistic fur is a challenge. For game/XR, I rely on hand-painted or procedural textures, using alpha cards for manes or whiskers. For film, I might use hair systems. Getting the striping right is crucial—use layered masks and reference real tiger patterns.
Tips:
- Use high-res reference for stripe placement
- Paint fur direction into textures for realism
- Combine base color, normal, and roughness maps
Efficient UV mapping and material setup
Efficient UVs are mandatory for easy texturing and minimal seams. I use automatic or AI-assisted unwrapping to save time, then manually tweak key areas. For materials, I set up layered shaders—base fur, stripes, gloss for nose/pads.
Checklist:
- Minimize seams in visible areas
- Maximize UV space usage
- Test material with different lighting setups
Rigging and Animating a Tiger 3D Model
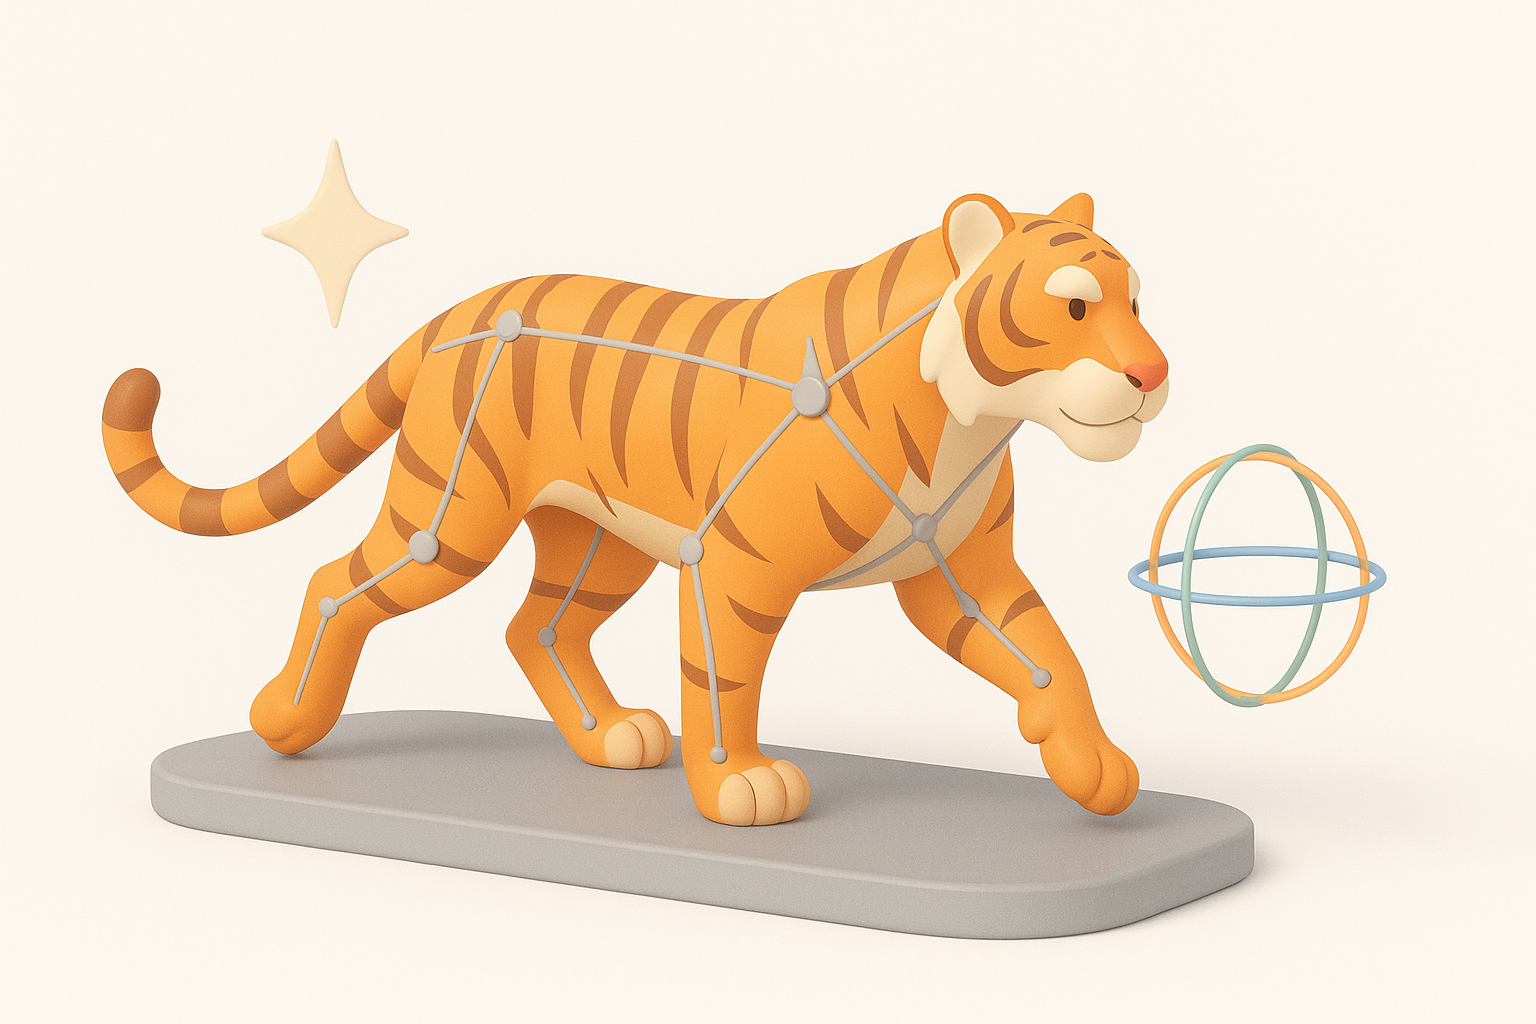
Setting up a flexible rig for animation
A good rig captures the tiger’s power and flexibility. I use a standard quadruped skeleton, adding extra controls for spine, tail, and facial expressions. Weight painting is time-consuming, but essential for smooth deformation.
Steps:
- Build skeleton (spine, head, limbs, tail, jaw)
- Add IK/FK controls for limbs and tail
- Test deformation with extreme poses
Tips for lifelike tiger movement
Animating tigers means studying real animal motion. I reference wildlife footage and pay attention to gait cycles, muscle shifts, and subtle head/ear movements. Secondary motion—tail sways, skin sliding—is key for believability.
Tips:
- Use slow-motion reference for subtle details
- Animate overlapping motion (tail, belly, jowls)
- Avoid robotic, symmetrical movement
Optimizing and Exporting for Production
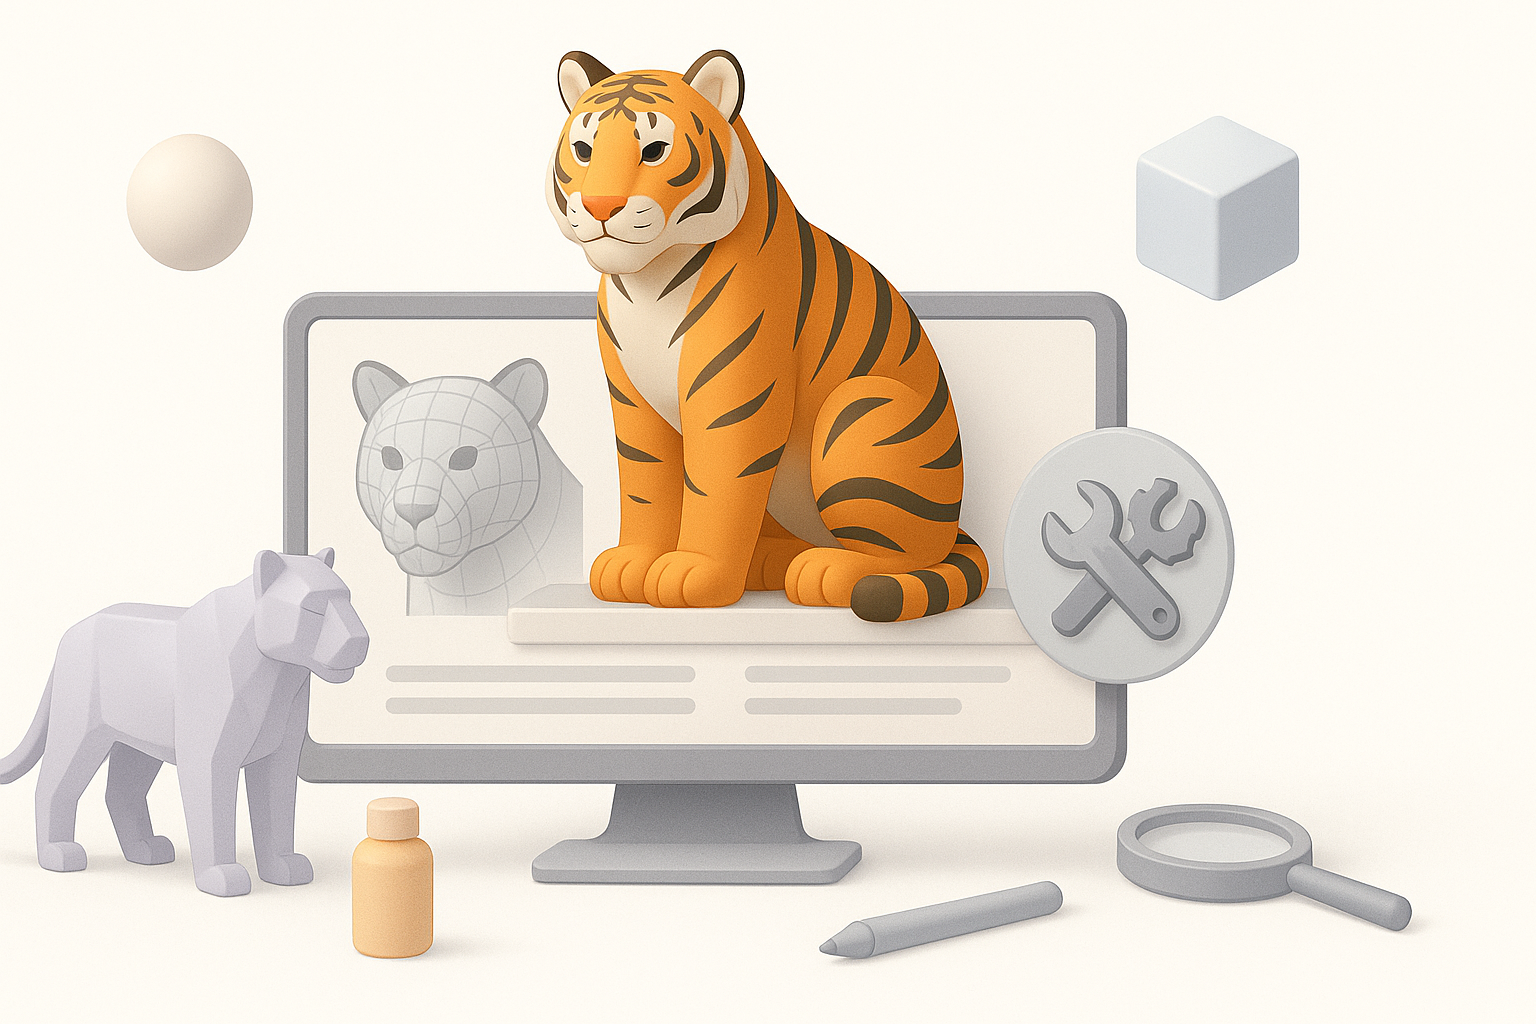
Retopology and mesh optimization
Once sculpting is done, I retopologize for clean, animation-friendly geometry. AI-powered retopology can save hours, but I always check and tweak loops around joints. I decimate or bake details into maps for lower-poly exports.
Pitfalls:
- Overly dense meshes slow down rigging/animation
- Poor edge flow causes deformation artifacts
Export settings for games, film, and XR
Export requirements vary. For games, I use FBX with embedded textures and triangulated meshes. For film, I export high-res OBJs with displacement maps. For XR, I prioritize lightweight formats and atlas textures.
Checklist:
- Verify scale and orientation
- Test imports in target engine/software
- Include all necessary maps (albedo, normal, roughness, etc.)
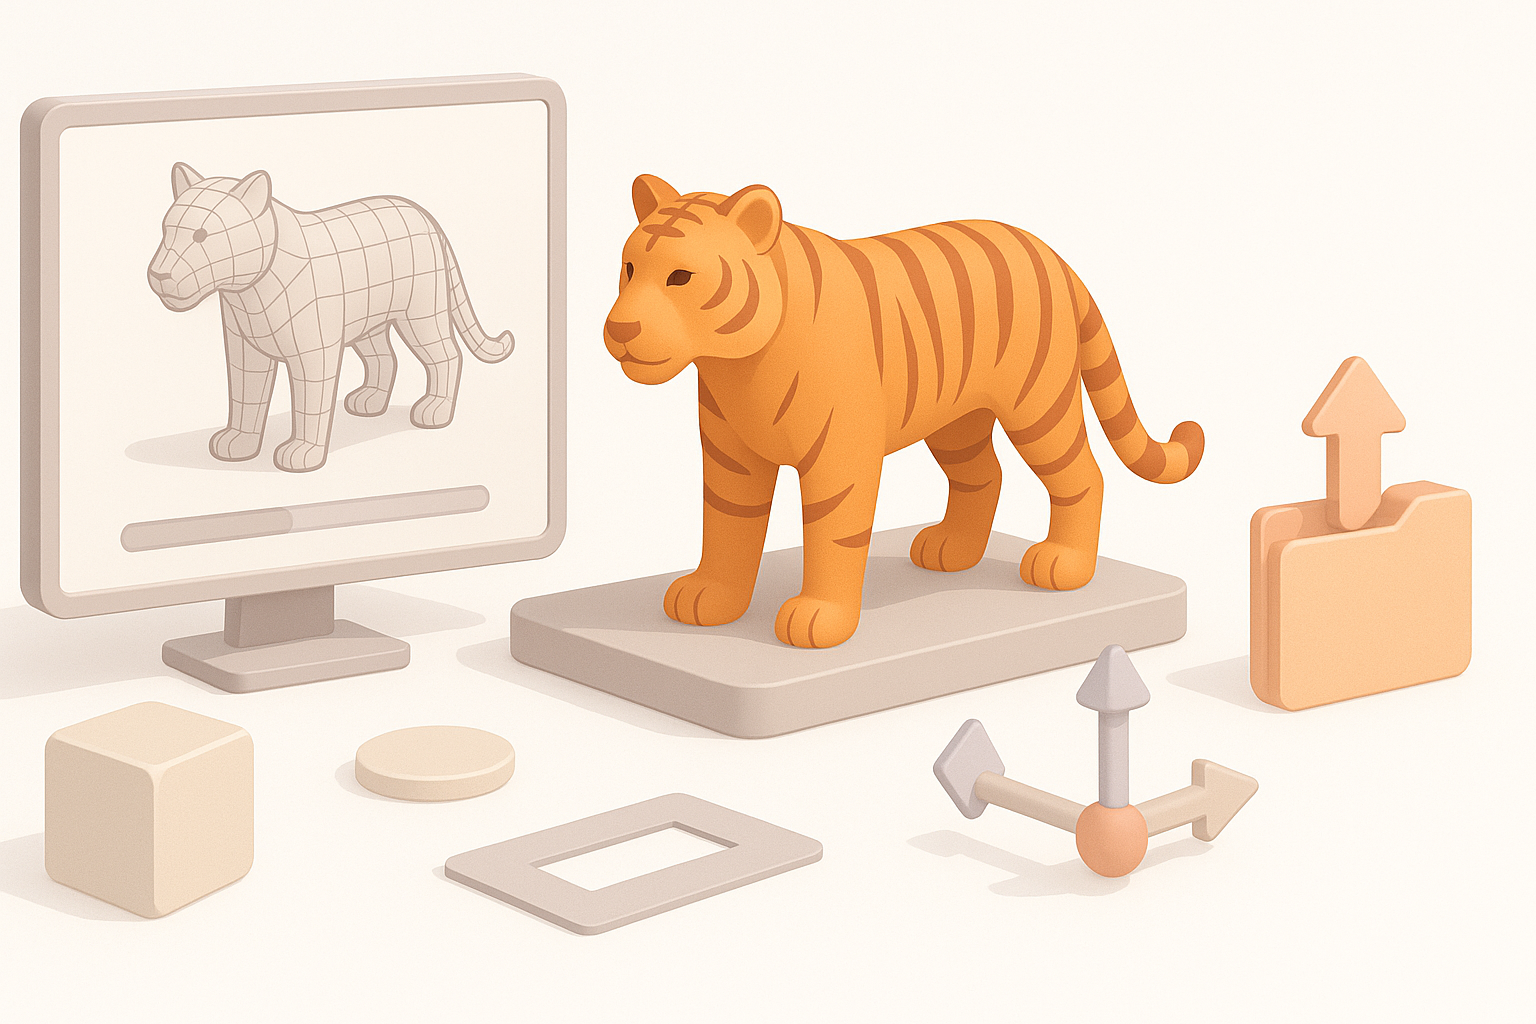
AI-Powered Tools and Alternative Methods
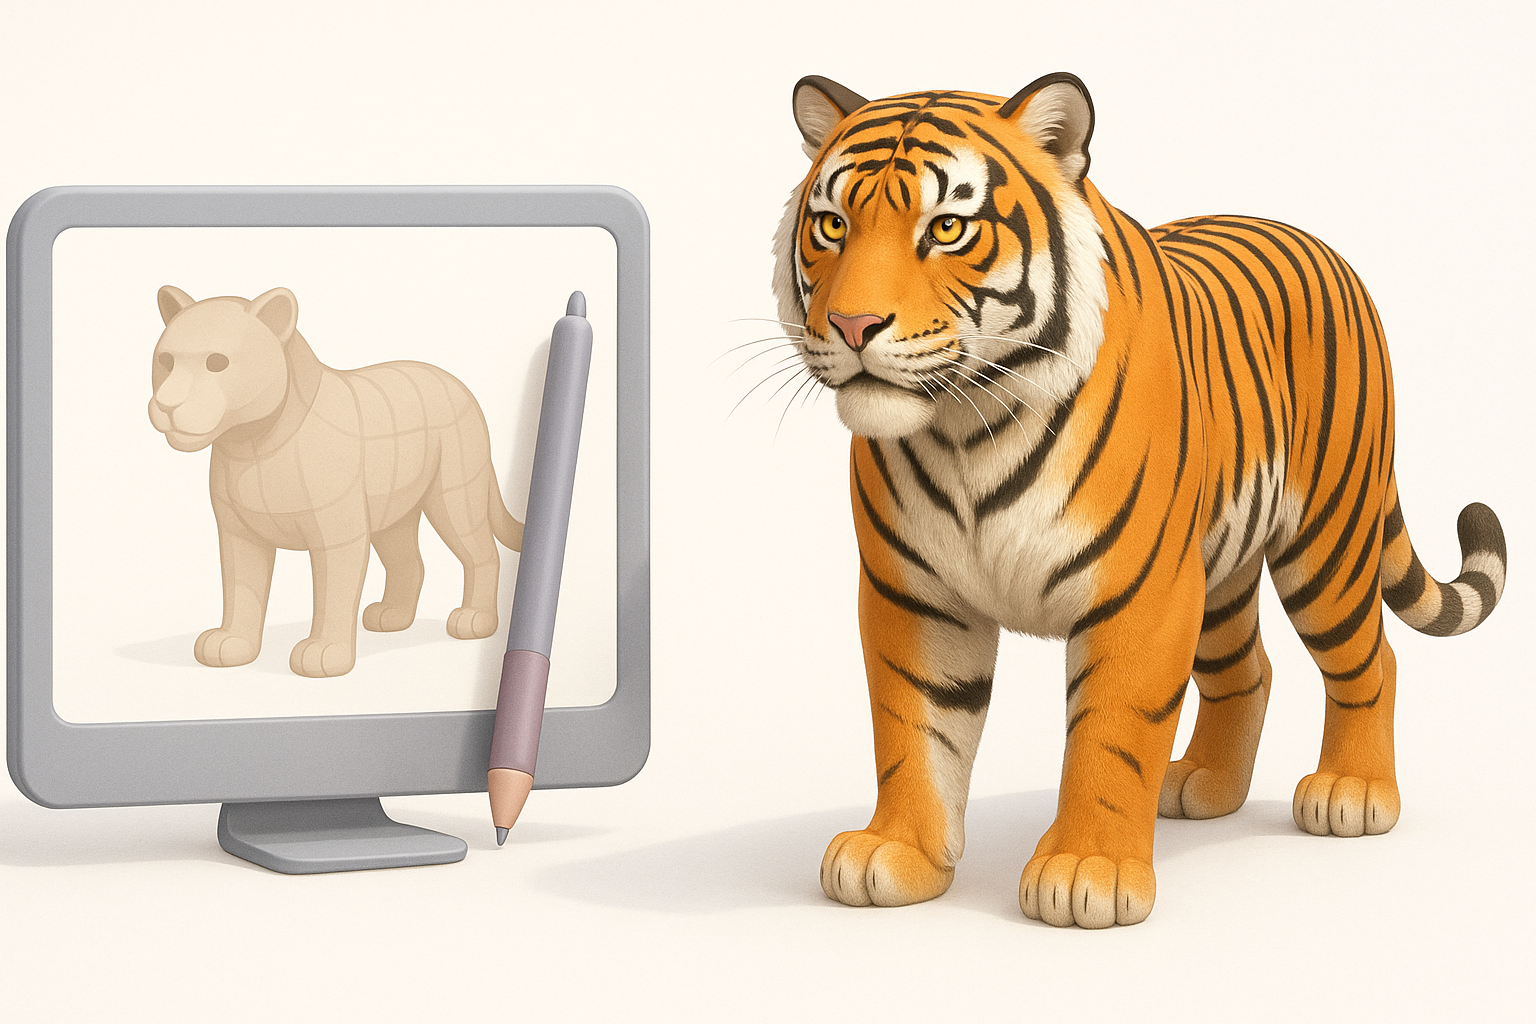
How I use AI platforms for rapid prototyping
AI-powered 3D tools have transformed my early-stage workflow. I can generate a tiger base mesh from text or sketches, then refine details manually. This is especially useful for pitching concepts or iterating quickly.
Workflow:
- Input reference or prompt
- Generate base mesh and textures
- Refine in traditional 3D software as needed
Comparing manual and AI-assisted workflows
Manual modeling offers full control but is time-intensive. AI-assisted workflows handle repetitive steps, letting me focus on creative decisions and fine-tuning. I usually blend both: start with AI, then polish manually.
Pros/cons:
- AI: Speed, automation, good for prototyping
- Manual: Precision, custom details, better for final polish
Troubleshooting and Expert Tips
Common challenges and how I solve them
Tigers are anatomically complex—common issues include unnatural proportions, bad fur direction, or stiff animation. I regularly step back and compare my model to references, and I iterate on problematic areas.
Solutions:
- Use anatomy overlays to check proportions
- Adjust UVs/materials to fix fur stretching
- Re-weight bones for smoother deformation
What I’ve learned from real-world projects
No two projects are the same. Fast iteration, regular feedback, and a willingness to redo problem areas are crucial. AI tools save time, but human oversight ensures production quality.
Final tips:
- Gather feedback early and often
- Don’t be afraid to redo topology or textures
- Leverage AI for speed, but always check results manually
By following these steps and integrating both manual and AI-accelerated techniques, you can create a high-quality, production-ready tiger 3D model efficiently—ready for use in any modern digital pipeline.


