Creating The Last of Us 3D Models: Expert Workflow & Tips
Creating 3D models inspired by The Last of Us demands a blend of technical skill, creative vision, and efficient workflows. In my experience, leveraging AI-powered tools alongside traditional modeling methods dramatically accelerates asset creation while maintaining high quality. This article breaks down my hands-on workflow for producing game-ready models, from concept to export, with practical advice for artists and developers aiming to capture the gritty, post-apocalyptic aesthetic. Whether you’re a solo creator or part of a studio, these insights will help you streamline production and avoid common pitfalls.
Key takeaways
- Reference and planning are critical for authentic The Last of Us-style assets.
- Efficient blocking and retopology save hours in later stages.
- AI-powered tools like Tripo can automate segmentation, texturing, and retopology, freeing up time for creative decisions.
- Game-ready models require careful optimization for performance and compatibility.
- Rigging and animation prep should be considered early for seamless integration into game engines.
- Manual and AI-enhanced workflows both have a place—knowing when to use each is key.
Overview: 3D Modeling for The Last of Us
Why The Last of Us assets are popular in 3D
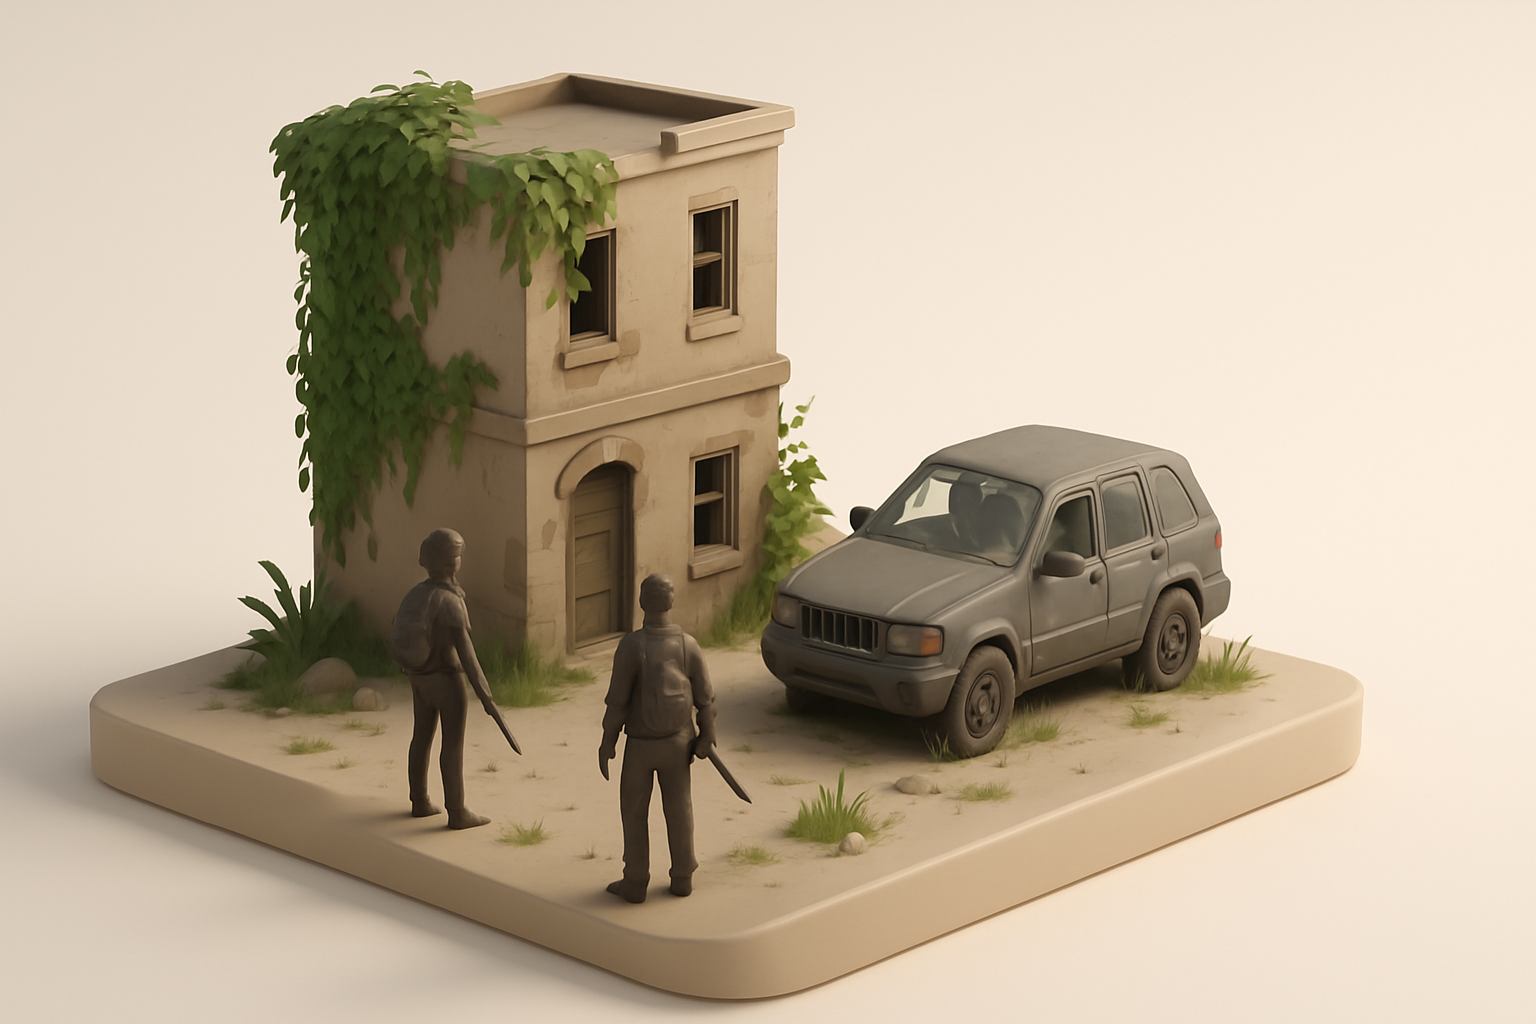
The Last of Us universe is iconic for its detailed, atmospheric environments and believable characters. In my work, I’ve seen huge demand for these assets from fan projects, modding communities, and studios aiming for similar realism. The mix of organic decay, improvised technology, and emotional storytelling makes these models both challenging and rewarding to create.
Key challenges and creative opportunities
The biggest challenges are nailing the distressed, lived-in look and ensuring assets are optimized for real-time engines. There’s a lot of creative freedom in interpreting damage, overgrowth, and storytelling details through texture and form. However, it’s easy to overcomplicate geometry or miss subtle storytelling cues in the reference.
Tips:
- Prioritize narrative details in your models.
- Don’t over-detail geometry—focus on silhouette and texture.
- Always keep real-time performance in mind.
My Step-by-Step Workflow for The Last of Us 3D Models
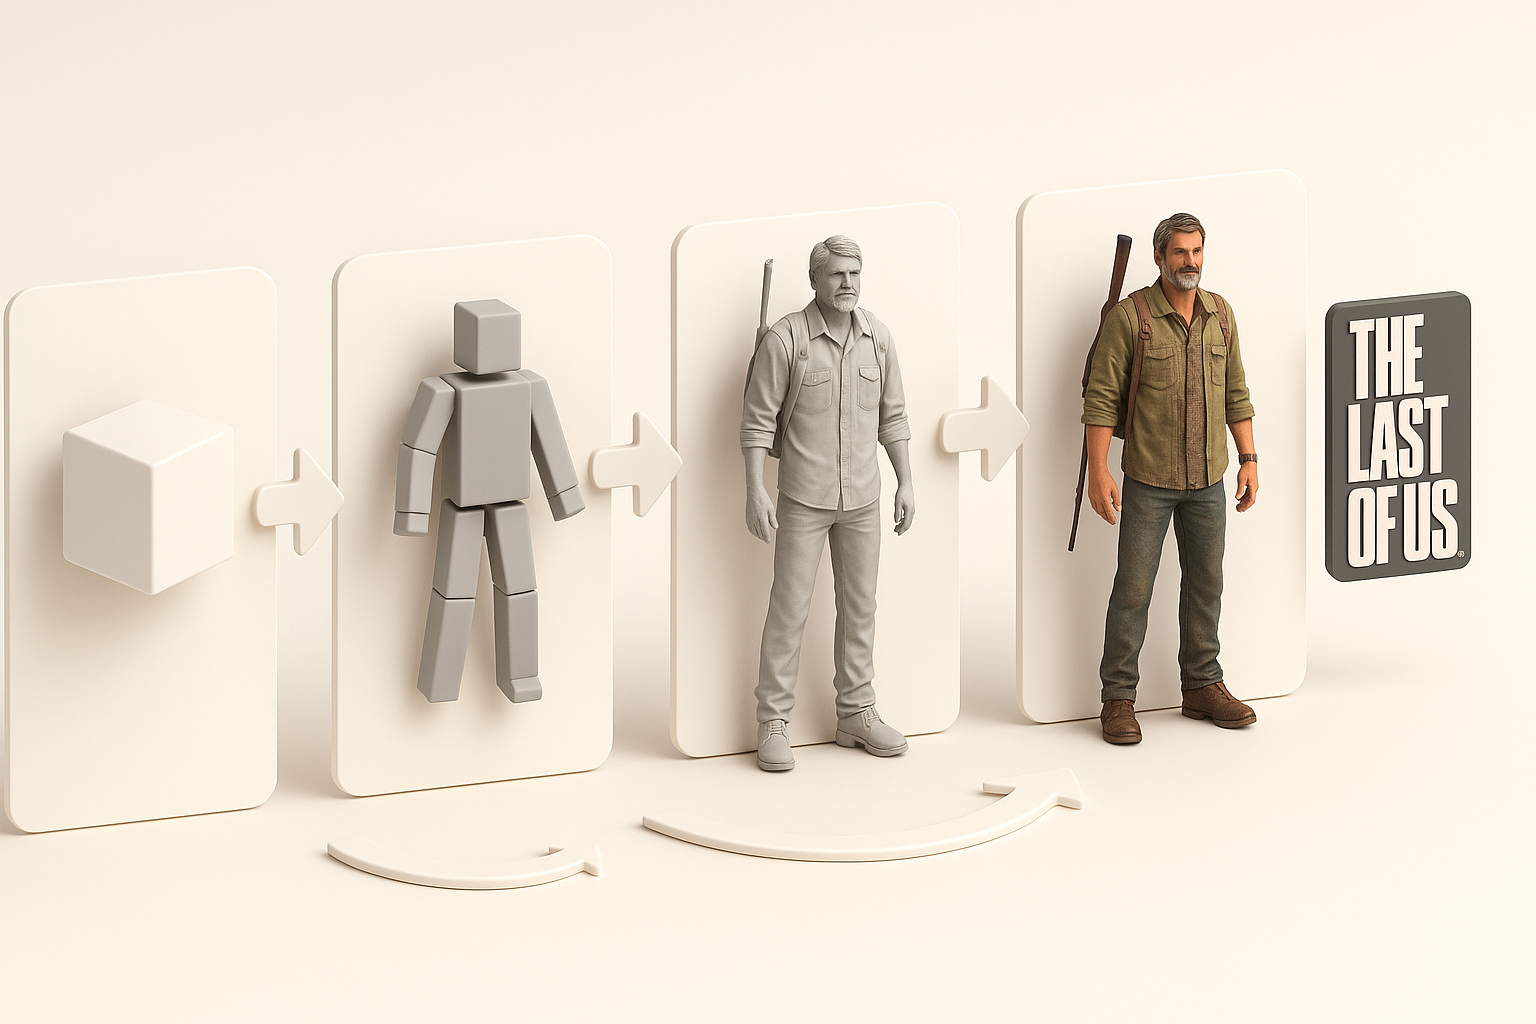
Concepting and reference gathering
I always start by assembling a solid reference board—screenshots, concept art, and real-world analogues. For The Last of Us, I focus on environmental storytelling: rust, grime, and improvised repairs.
My checklist:
- Gather 10–20 high-res images per asset.
- Annotate key materials, wear patterns, and story elements.
- Sketch quick thumbnails or blockouts to clarify proportions.
Blocking out forms and proportions
Next, I block out the main shapes in my modeling software. This stage is about speed and accuracy, not detail.
What works for me:
- Use simple primitives for major forms.
- Check proportions against references early.
- Don’t get bogged down with small details—save those for later.
Pitfall: Overcomplicating the blockout leads to headaches in retopology and UV mapping.
Texturing, Retopology, and Detailing Techniques
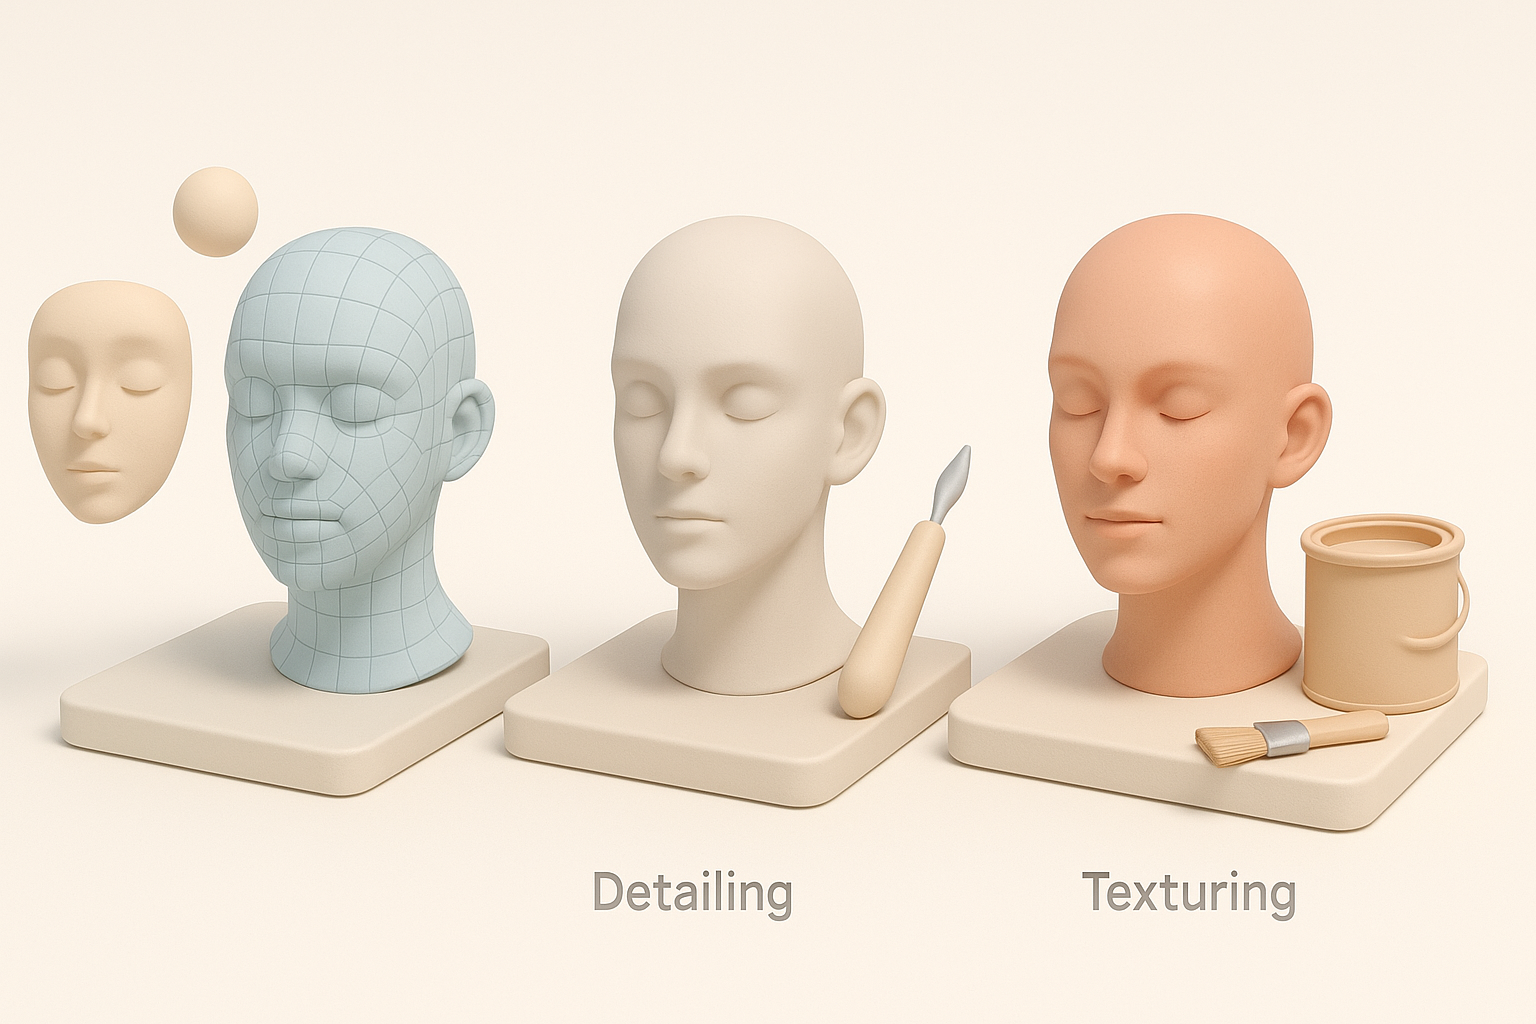
Efficient retopology and UV mapping
Clean topology is essential for animation and real-time performance. I often use AI-powered tools like Tripo to automate initial retopology and UV unwrapping, then manually tweak problem areas.
Steps:
- Auto-retopologize for base mesh.
- Manually adjust edge flow around joints and deformation zones.
- Use AI-generated UVs as a starting point, but always check for stretching and seams.
Realistic texturing for post-apocalyptic assets
Texture sells the story. I rely on high-resolution scans, hand-painted details, and AI-assisted texture generation for grime, rust, and organic growth.
My approach:
- Bake normal and AO maps from high-poly to low-poly mesh.
- Layer procedural and photo-based textures.
- Use masks to add dirt, wear, and color variation.
Tip: Subtle color shifts and edge wear make a huge difference in realism.
Rigging and Animation for Game-Ready Assets

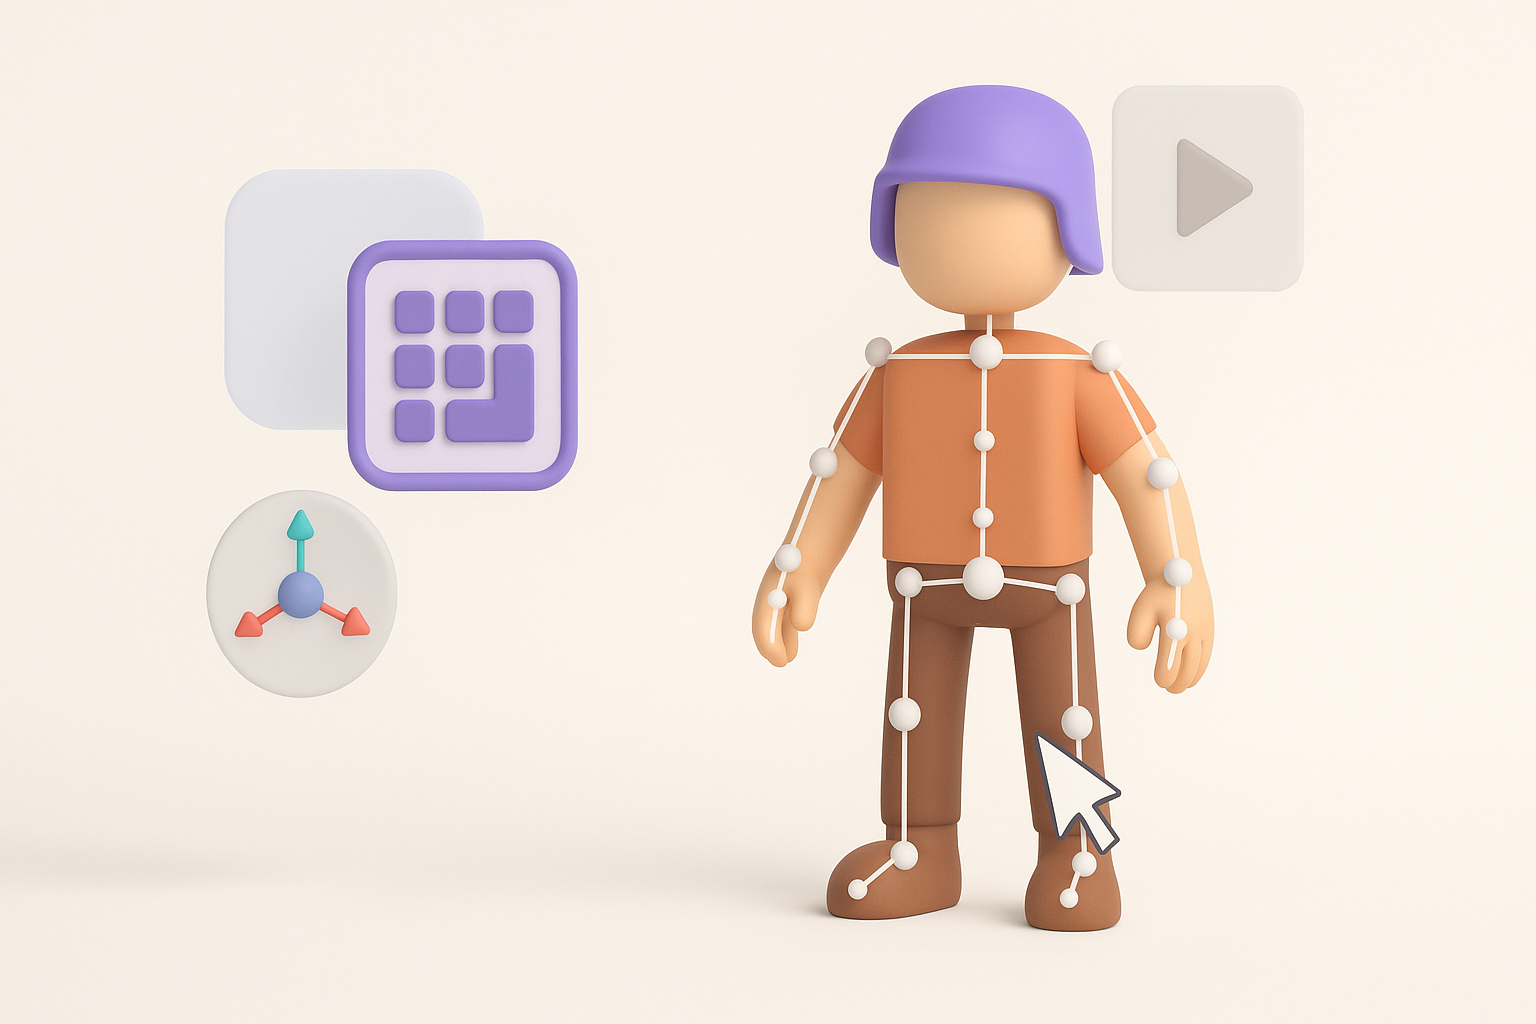
Preparing models for animation
Animation-readiness starts with clean topology and proper scaling. I freeze transforms, center pivots, and ensure mesh integrity before rigging.
Mini-checklist:
- Apply transformations and freeze scale.
- Check for non-manifold geometry.
- Organize mesh groups and naming conventions.
Best practices for rigging characters and props
For characters and complex props, I use a mix of automated rigging (when possible) and manual weight painting. Tripo’s built-in rigging tools handle standard bipeds well, but I always refine weights for elbows, shoulders, and hands.
Pitfalls:
- Ignoring joint placement leads to poor deformations.
- Skipping manual weight tweaks results in unnatural movement.
Using AI-Powered Tools in My Workflow

How AI accelerates 3D asset creation
AI tools like Tripo have changed my workflow. They handle repetitive tasks (segmentation, retopology, base texturing) in seconds, allowing me to focus on creative decisions.
Benefits I’ve experienced:
- Rapid prototyping from sketches or photos.
- Consistent, production-ready meshes.
- More time for storytelling and polish.
Integrating AI with traditional modeling techniques
I treat AI outputs as a foundation, not a final product. After generating a base mesh, I always review topology, tweak details, and refine textures manually.
Best practices:
- Use AI for speed, but always inspect results closely.
- Combine procedural and manual techniques for best results.
Exporting, Optimization, and Final Checks
Ensuring compatibility with game engines
Before exporting, I verify that models meet engine requirements: correct scale, triangulated meshes, and compatible texture formats.
Steps:
- Export in FBX or OBJ with proper axis orientation.
- Check texture resolutions and naming conventions.
- Test import into the target engine (e.g., Unreal, Unity) for errors.
Polishing and troubleshooting common issues
Final checks catch most problems before they become headaches. I look for flipped normals, UV seams, and animation glitches.
Troubleshooting tips:
- Use engine preview tools to spot shading issues.
- Run assets through automated QA scripts if available.
- Always keep a backup of pre-export files.
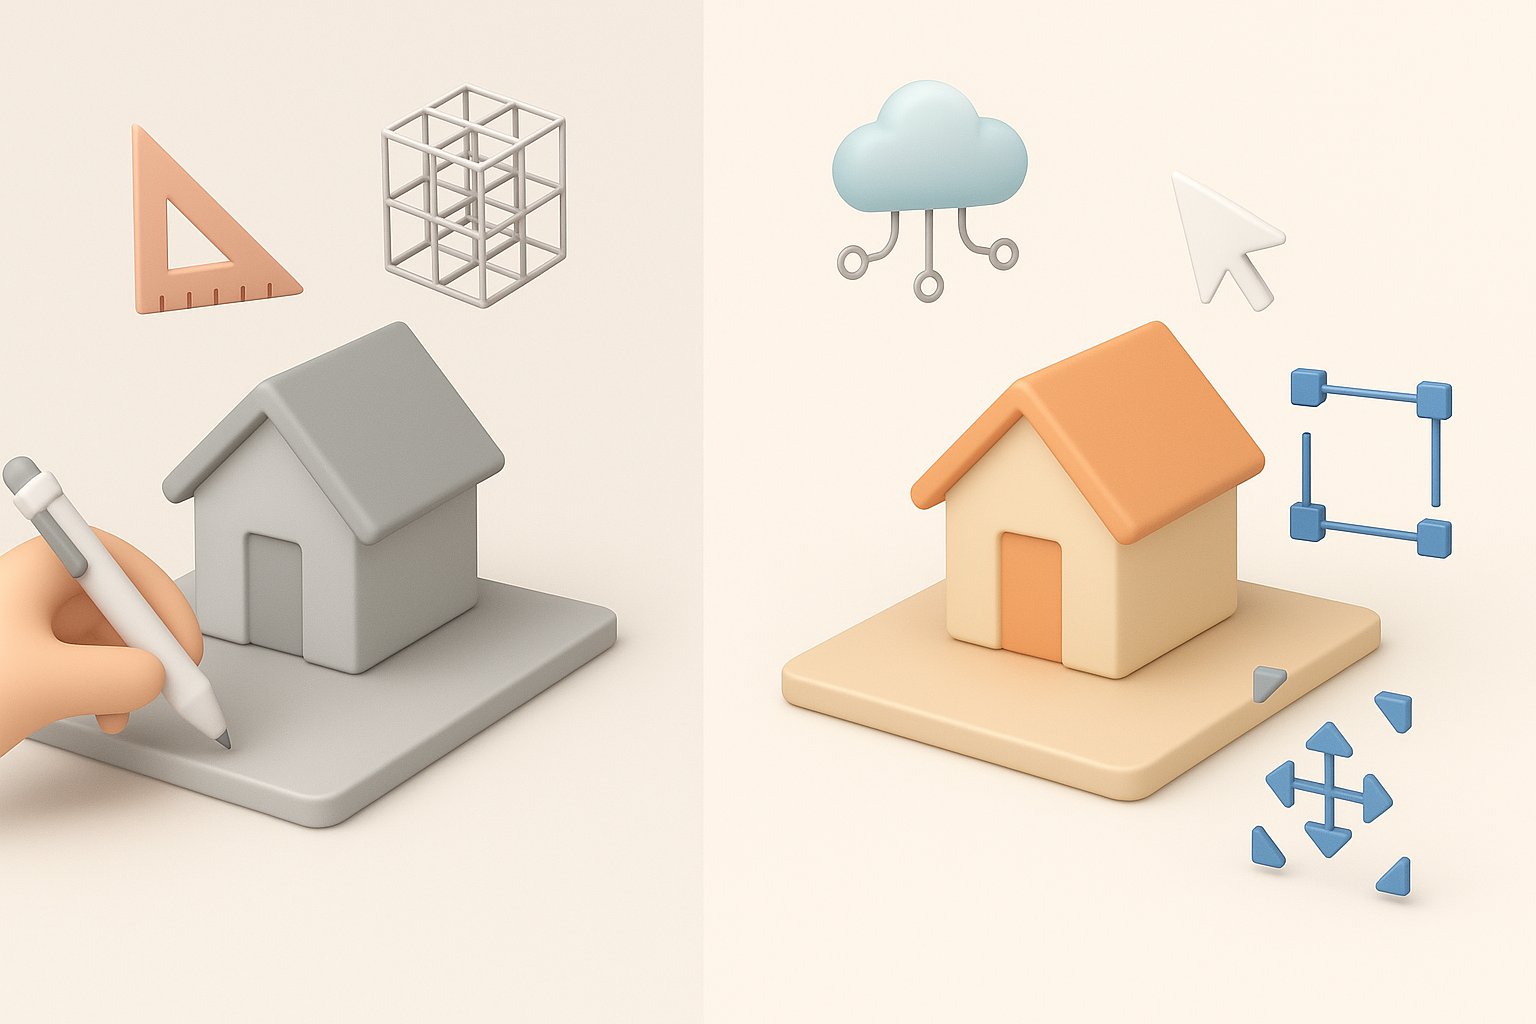
Comparing Methods: Manual vs. AI-Enhanced 3D Modeling
Pros and cons from my experience
Manual workflow:
- Full control over every detail.
- Time-consuming, especially for repetitive tasks.
AI-enhanced workflow:
- Huge speed boost for base assets.
- Occasional cleanup required, especially for complex organic shapes.
When to choose each approach
I use manual methods for hero assets and when artistic control is paramount. For background props, rapid prototyping, or when under tight deadlines, AI tools like Tripo are invaluable.
My rule of thumb:
- Use AI for iteration and bulk asset creation.
- Switch to manual for polish, storytelling, and critical assets.
By combining traditional artistry with modern AI-powered tools, I consistently deliver high-quality, game-ready models inspired by The Last of Us—efficiently and without sacrificing creative intent.


