Creating a Swansea Mouthwashing 3D Model: Expert Workflow & Tips
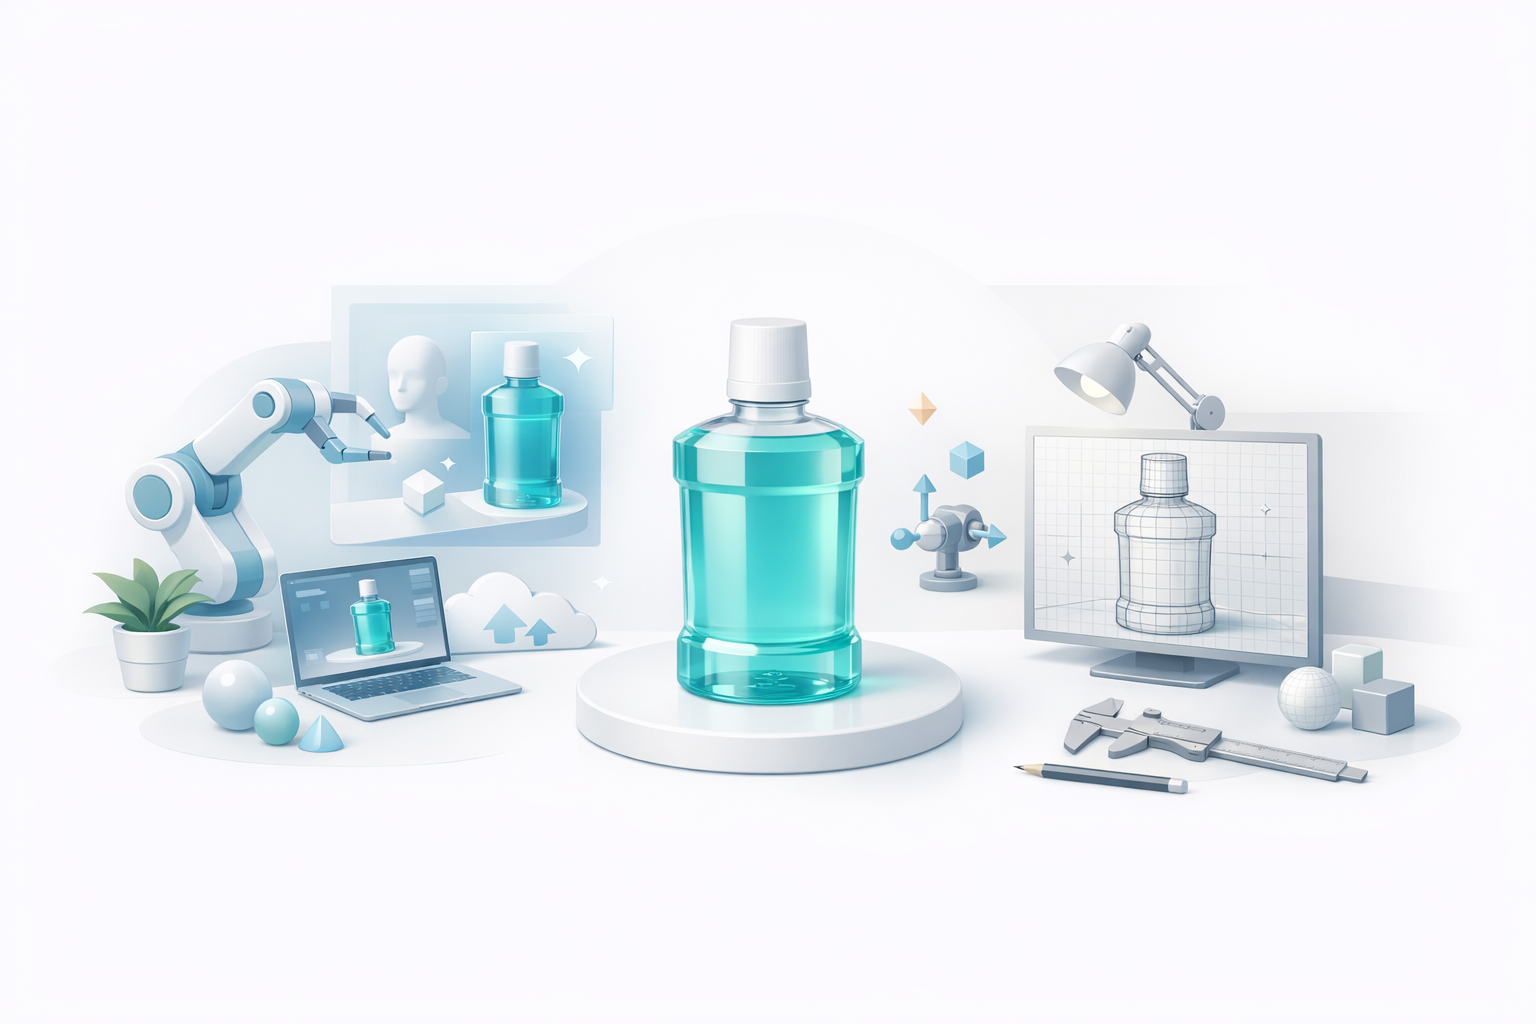
Creating a Swansea mouthwashing 3D model is a specialized process that demands both anatomical accuracy and efficiency. In my experience, using AI-powered tools like Tripo has dramatically reduced turnaround time while ensuring production-ready quality. This guide is for 3D artists, healthcare educators, and developers looking to streamline their workflow—from reference gathering to export and integration. I'll share my hands-on workflow, highlight best practices for segmentation and texturing, and explain how to optimize models for interactive applications.
Key takeaways

- AI tools can generate accurate, production-ready mouthwashing models in minutes.
- Careful planning and reference collection are essential for anatomical realism.
- Intelligent segmentation and clean retopology are critical for animation and real-time use.
- Optimizing models for specific platforms (XR, games, education) prevents performance issues.
- AI workflows excel in speed, but manual tweaks may be needed for niche or complex cases.
Overview of Swansea Mouthwashing 3D Models
What is a Swansea Mouthwashing 3D Model?
A Swansea mouthwashing 3D model typically represents the oral cavity, teeth, tongue, and the process of mouthwashing. These models are anatomically detailed, used to demonstrate oral hygiene techniques or simulate medical procedures. In my projects, accuracy and clear articulation of mouth structures are crucial, especially for animation or interactive scenarios.
Common Use Cases in Healthcare and Education
I've seen these models used in:
- Dental education (patient demos, student training)
- Public health campaigns (interactive kiosks, apps)
- Simulation-based learning (XR/VR experiences)
- Clinical tool development (treatment planning, device testing)
For all these, clarity, realism, and ease of integration are top priorities.
My Step-by-Step Workflow for 3D Model Creation
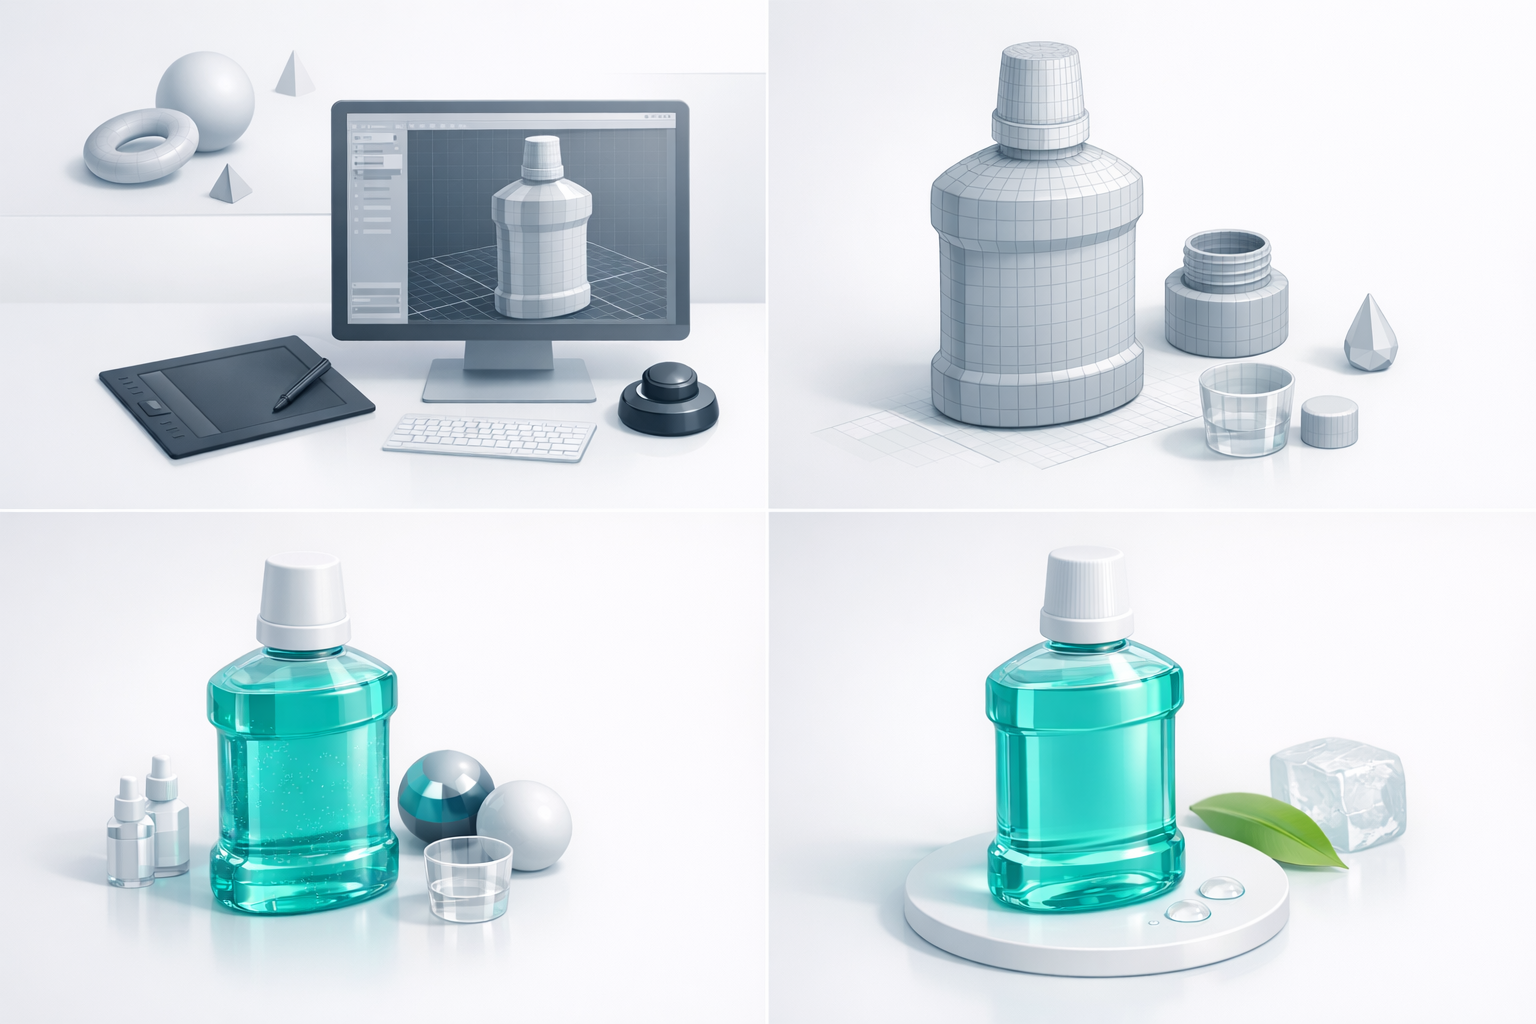
Gathering References and Planning the Model
Before modeling, I always:
- Collect detailed references: Medical diagrams, intraoral scans, and videos of mouthwashing motions.
- Define scope: Decide if the model needs full oral anatomy, or just external views.
- Sketch or storyboard: Map out key poses or animations needed.
Checklist:
- Gather at least 3–5 high-quality reference images.
- Confirm anatomical accuracy with a dental professional if possible.
- Plan for animation needs early (e.g., jaw, tongue movement).
Using AI Tools for Fast and Accurate Model Generation
AI-powered tools like Tripo streamline the initial model creation:
- Input references: Upload images, sketches, or provide text prompts describing the anatomy and action.
- Review auto-generated mesh: Check for anatomical correctness and completeness.
- Iterate as needed: Tweak prompts or input data for improved results.
Tips:
- Use clear, descriptive prompts (e.g., "open mouth, visible teeth, tongue mid-motion").
- Double-check mesh topology for potential animation issues.
- AI saves hours on base mesh creation, but manual refinement is still valuable.
Best Practices for Segmentation, Retopology, and Texturing
Intelligent Segmentation Techniques I Rely On
Segmentation ensures each anatomical part is distinct and animatable:
- Automatic segmentation: Tripo’s built-in tools quickly separate teeth, tongue, gums, etc.
- Manual refinement: I inspect and adjust segment boundaries, especially for overlapping areas.
Pitfalls to avoid:
- Overlapping geometry can cause animation artifacts.
- Missing segments (e.g., uvula, soft palate) reduce educational value.
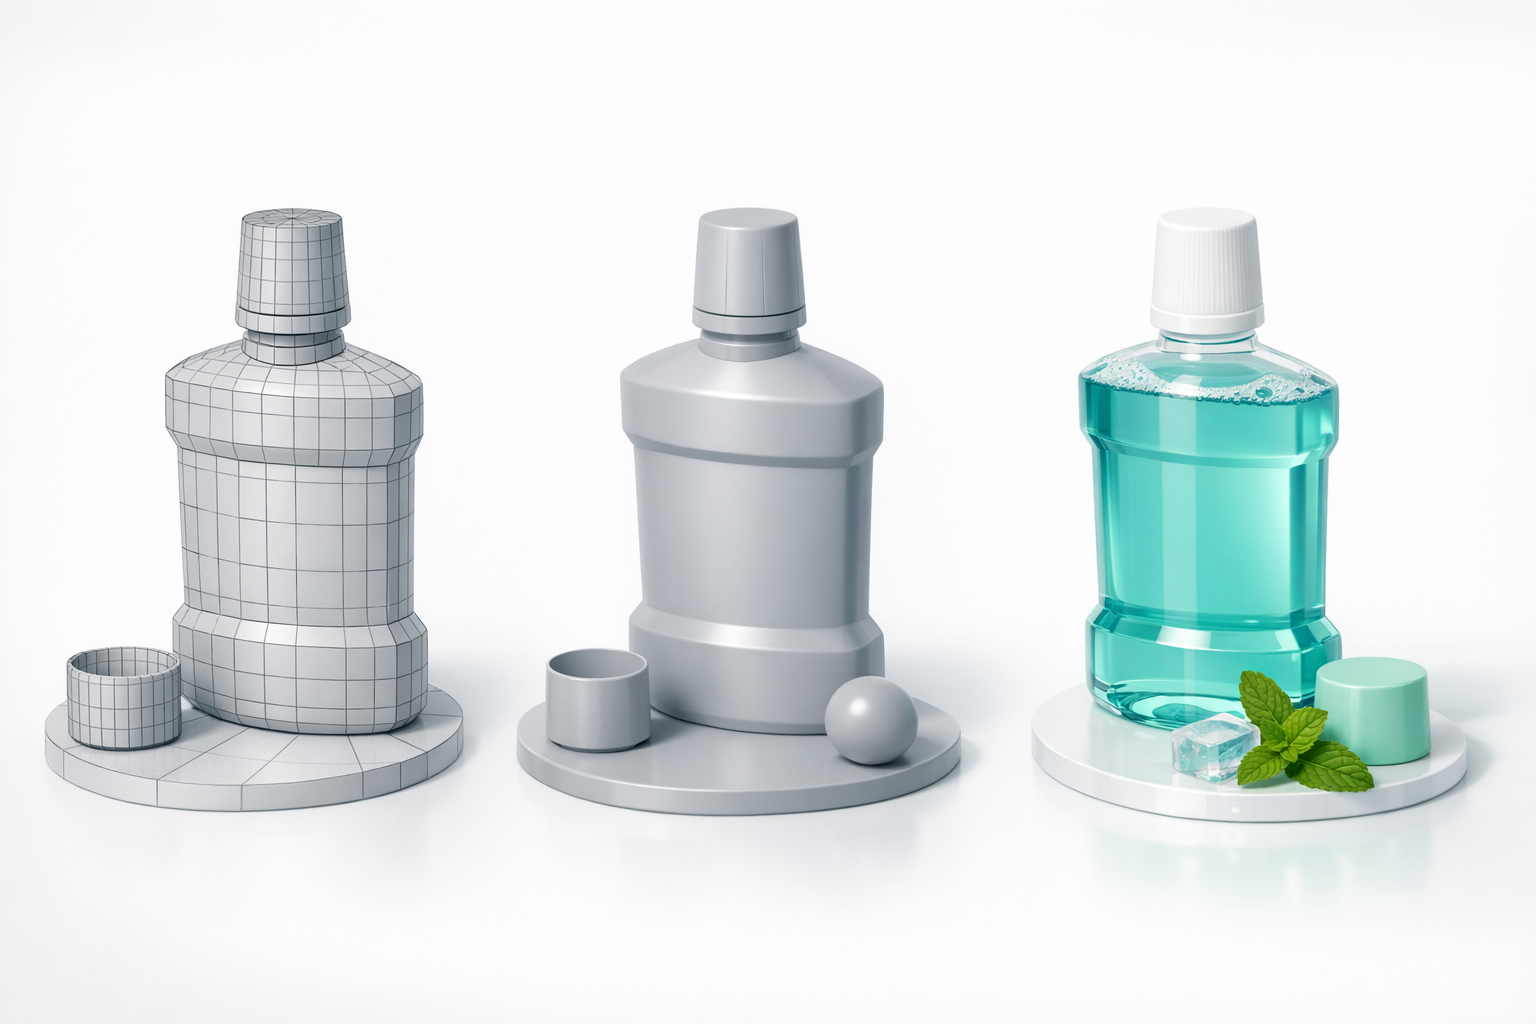
Retopology and Texturing: Ensuring Production-Ready Quality
For clean, efficient models:
- Retopology: I use auto-retopology, then manually check edge flow around joints (jaw, tongue).
- Texturing: Leverage AI-assisted texturing for base color and normal maps, then hand-paint details as needed.
Checklist:
- Ensure quad-based topology for smooth deformations.
- Bake textures at appropriate resolution for the target platform.
- Test textures under various lighting conditions.
Rigging and Animation for Interactive Applications
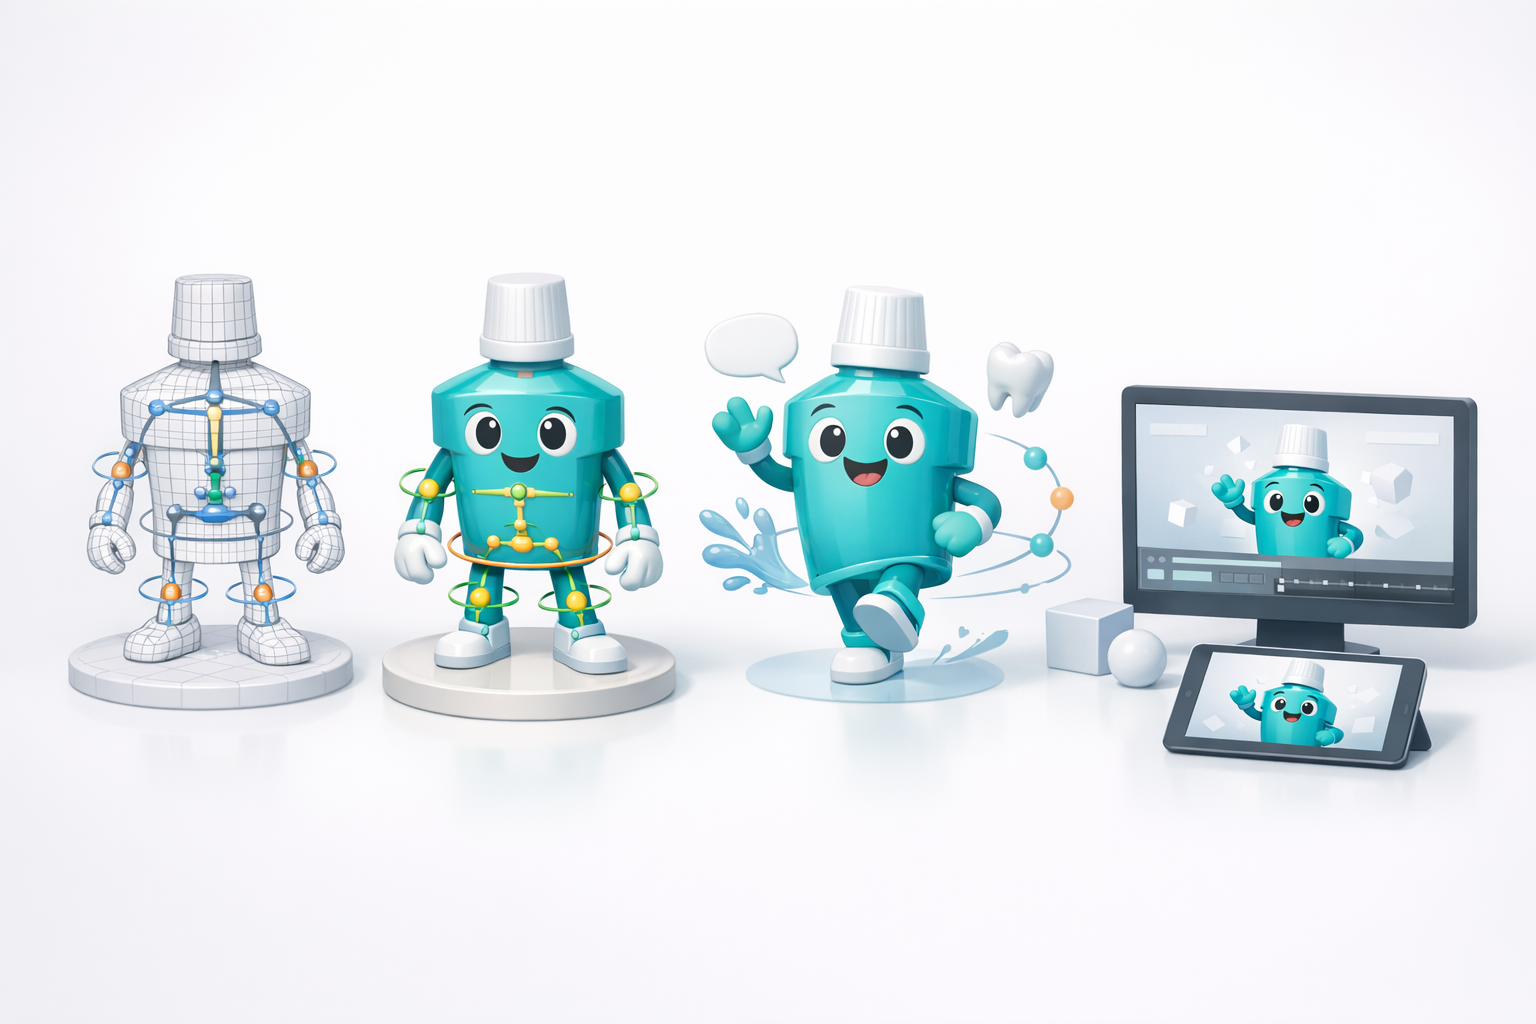
My Approach to Rigging a Mouthwashing Model
Rigging is crucial for realistic movement:
- Define skeleton hierarchy: Jaw, tongue, and sometimes individual teeth.
- Use auto-rigging tools: Tripo’s rigging features handle most basic needs.
- Manual weight painting: I fine-tune weights for natural deformations, especially at the jaw hinge and tongue base.
Tips:
- Test rig with extreme poses to catch skinning issues early.
- Add control handles for common mouthwashing motions.
Animating for Realistic Demonstrations
For educational or interactive use:
- Reference real mouthwashing videos for timing and range of motion.
- Keyframe main actions: Rinsing, swishing, spitting.
- Export animations in formats compatible with target platforms (GLTF, FBX).
Pitfalls:
- Unnatural timing or limited range can reduce instructional value.
- Overly complex rigs may not export cleanly to all platforms.
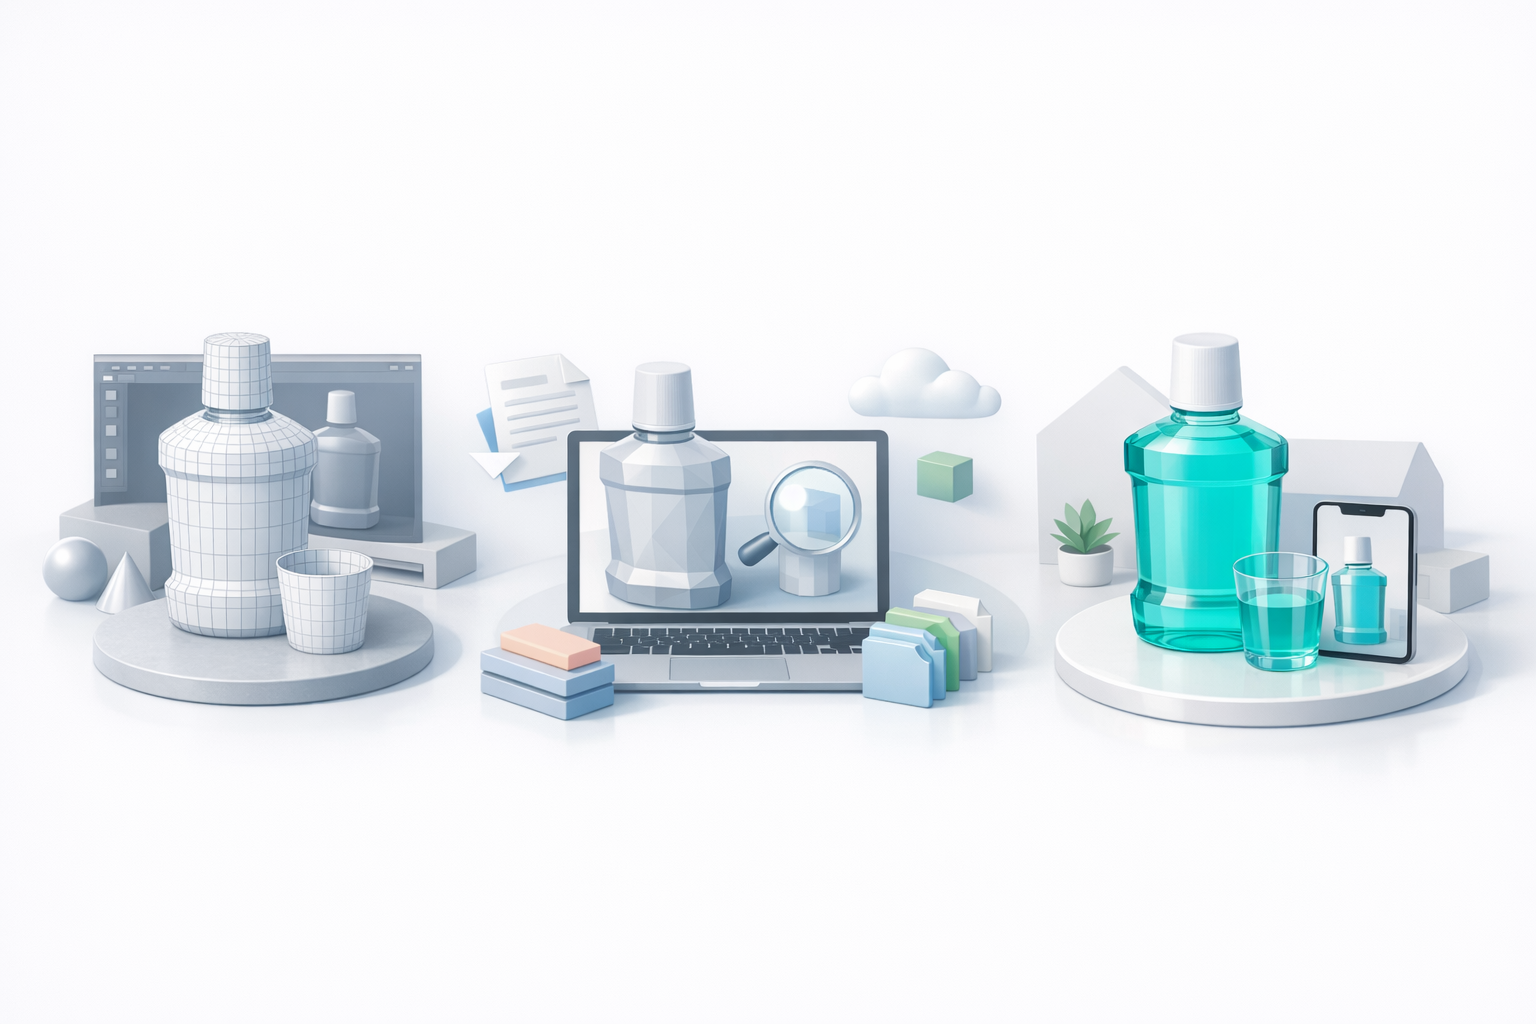
Exporting, Optimization, and Integration Tips
Optimizing Models for Real-Time Use
To ensure smooth performance:
- Reduce poly count: Use LODs (levels of detail) for XR or mobile.
- Compress textures: Balance quality with file size.
- Test in engine: Always preview in the final environment (Unity, Unreal, etc.).
Checklist:
- Keep draw calls low.
- Remove hidden geometry.
- Use efficient UV layouts.
Integrating with XR, Games, and Educational Platforms
For seamless integration:
- Export in standard formats (GLTF, FBX, OBJ).
- Package animations and textures for easy import.
- Document model structure for developers and educators.
Tips:
- Test interactivity early with a prototype.
- Provide clear documentation for non-technical users.
Comparing AI-Powered and Traditional 3D Modeling Methods
Speed and Accuracy: My Experience with AI Tools
AI-driven workflows, especially with tools like Tripo, offer:
- Rapid prototyping: Models ready in minutes, not days.
- Consistent anatomical accuracy: Less manual sculpting required.
- Easy iteration: Adjust prompts or references for quick changes.
In my experience, this means faster delivery and more time for creative tweaks.
When to Use Alternative Methods
While AI tools handle most cases, I switch to manual or hybrid methods when:
- Unique anatomical variations are needed.
- Highly stylized or exaggerated models are required.
- Complex animations demand custom rigs.
Pitfalls:
- Relying solely on AI can miss subtle anatomical details.
- Always review and refine AI-generated results before final delivery.
By following this workflow, I consistently deliver production-ready Swansea mouthwashing 3D models tailored for healthcare, education, and interactive use—maximizing both efficiency and quality.


