Creating Super Smash Bros 3D Models: Expert Workflow & Tips
Creating 3D models for Super Smash Bros-style games demands a balance of technical precision and creative flair. Over the years, I’ve honed a workflow that streamlines concepting, modeling, texturing, rigging, and animation, while leveraging AI tools like Tripo to accelerate the process. This guide shares my hands-on approach, with practical tips for both fan projects and professional pipelines. Whether you’re a hobbyist or a seasoned developer, you’ll find actionable advice for getting your models game-ready and integrated into popular engines.
Key takeaways
- Game-ready Smash Bros models require stylized, optimized meshes and flexible rigs for dynamic action.
- Efficient retopology and texturing are essential for animation and real-time performance.
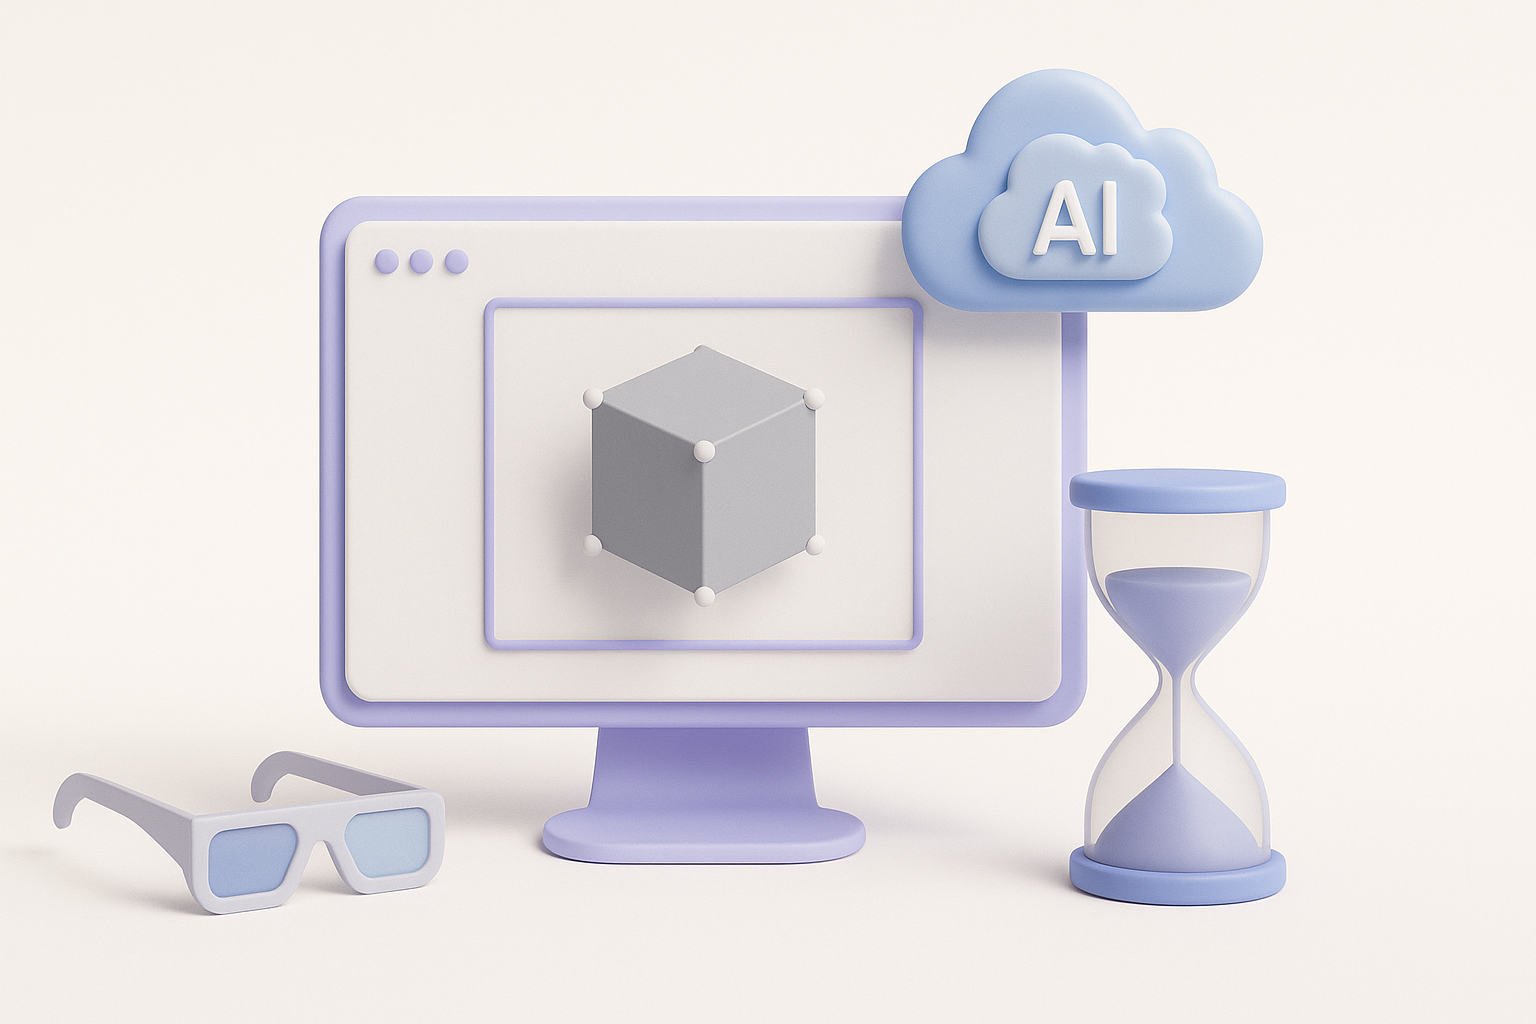
- AI tools like Tripo can dramatically speed up base mesh creation and segmentation.
- Rigging for Smash Bros-style gameplay means prioritizing expressive deformations and signature attack animations.
- Export settings and troubleshooting are crucial for seamless engine integration.
Understanding Super Smash Bros 3D Model Requirements
Key Features of Game-Ready Character Models
From my experience, Smash Bros-inspired models must be:
- Stylized but readable: Exaggerated features, bold silhouettes, and clean lines are key.
- Optimized topology: Models need efficient edge loops for smooth deformations and real-time performance.
- Animation-ready: Joints and mesh density should support a wide range of expressive moves.
- Texture efficiency: Use compact, stylized textures—often hand-painted or cel-shaded.
Checklist:
- Polycount matches engine/platform targets
- UVs are non-overlapping and efficient
- Materials are lightweight, usually PBR or toon-shaded
Common Challenges in Fan and Professional Projects
In both fan and studio settings, I often encounter:
- Balancing detail and performance: Avoid over-modeling; focus on readable forms.
- Consistent style: Matching the established Smash Bros aesthetic can be tricky.
- Rigging complexity: Characters need to support exaggerated attacks and poses.
Pitfalls:
- Excessive polygon counts that slow down gameplay
- Inconsistent proportions or style drift
- Overcomplicated rigs that are hard to animate
My Workflow for Designing Super Smash Bros-Inspired 3D Models
Concepting and Reference Gathering
I always start with clear references:
- Gather official artwork, in-game screenshots, and fan interpretations.
- Sketch or block out rough concepts to nail the silhouette and proportions.
My steps:
- Collect at least 3–5 reference images per character.
- Sketch out poses that showcase signature moves.
- Identify key design motifs (costume, weapons, color palette).
Blocking Out and Sculpting the Base Mesh
For the base mesh, I typically:
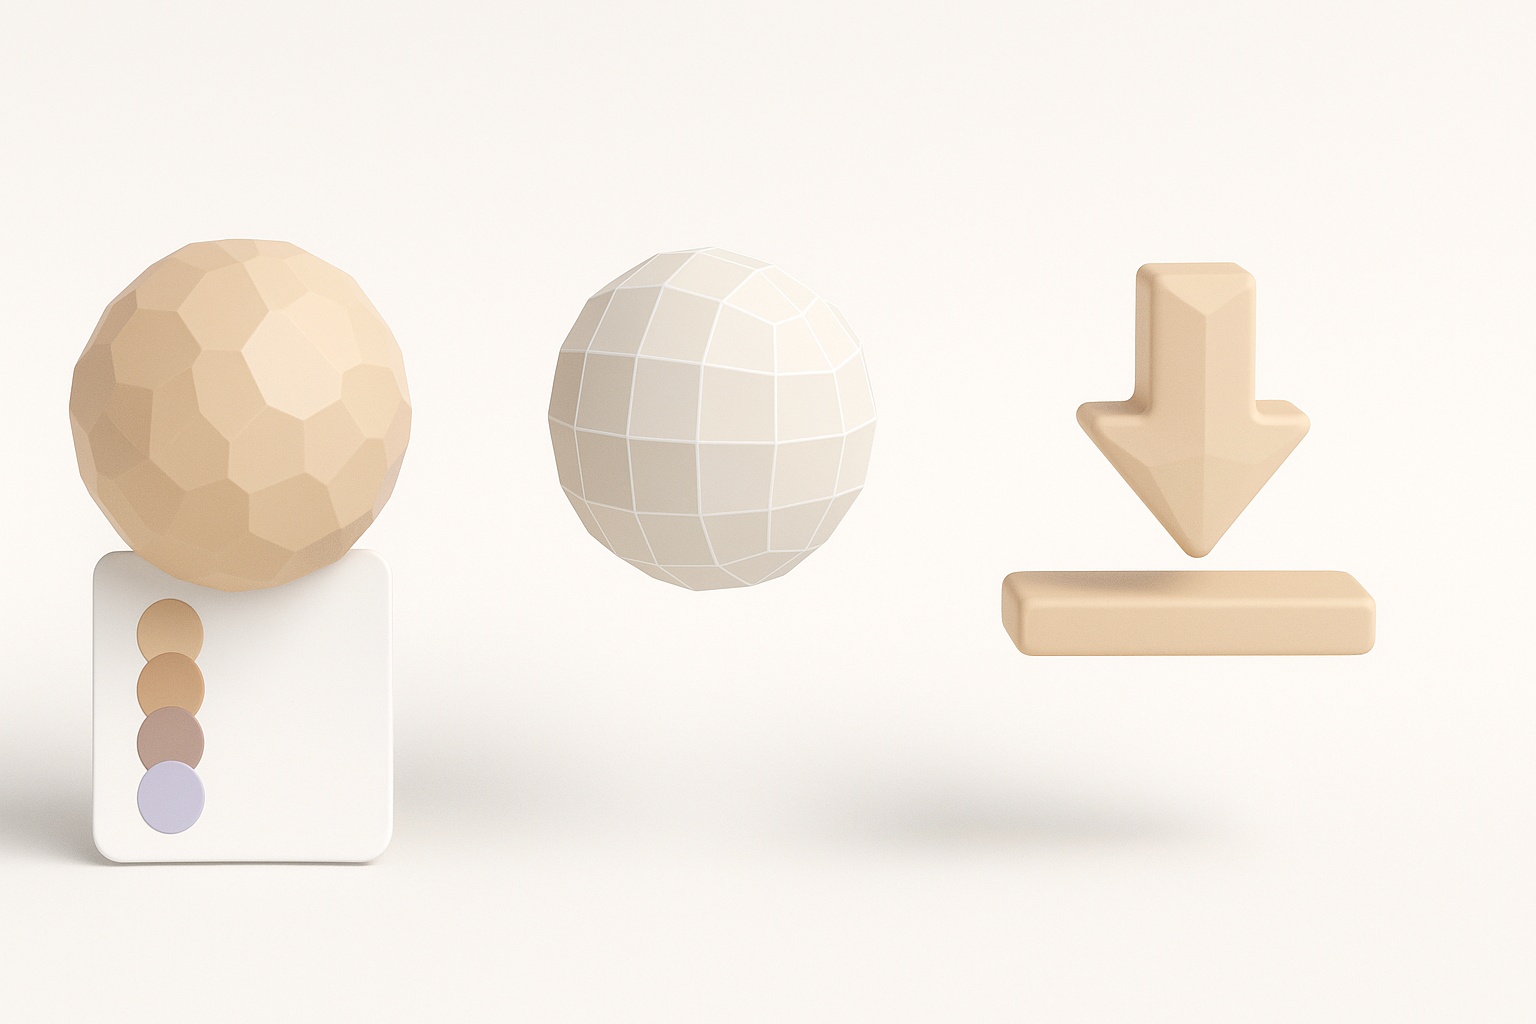
- Use Tripo AI to generate quick base meshes from sketches or references, saving hours on initial blocking.
- Refine proportions and anatomy in my sculpting software of choice.
- Focus on major forms before adding secondary details.
Tips:
- Keep the mesh simple—details come after retopology.
- Frequently check the silhouette from multiple angles.
- Use symmetry tools for faster iteration.
Texturing, Retopology, and Optimization Best Practices
Efficient Retopology for Animation and Game Engines
Retopology is crucial for animation. My approach:
- Use Tripo’s intelligent retopology to generate clean, animation-friendly meshes.
- Manually adjust edge flow around joints (shoulders, elbows, knees).
- Target a polycount that balances fidelity and real-time performance.
Checklist:
- Edge loops follow muscle flow and deformation lines
- Face and hand topology support expressive poses
- UVs are packed efficiently
Texturing Techniques for Stylized Characters
For Smash Bros-style models, I prefer:
- Hand-painted or cel-shaded textures for bold, readable surfaces.
- Baking normal and ambient occlusion maps for subtle depth.
- Limiting texture sizes (often 1024x1024 or 2048x2048) for performance.
Tips:
- Use flat colors and sharp highlights to mimic the game’s look.
- Layer details in Photoshop or similar tools for control.
- Preview textures in-engine to ensure consistent appearance.
Rigging and Animating for Smash Bros-Style Gameplay
Setting Up a Flexible Rig
Smash Bros characters need rigs that support:
- Wide range of motion (jumps, spins, stretches).
- Facial rigs for expressive taunts and reactions.
- IK/FK switches for arms and legs.
My rigging steps:
- Place joints with animation in mind—test extreme poses early.
- Add controllers for key body parts (spine, limbs, facial features).
- Weight paint carefully, especially around shoulders and hips.
Animating Signature Moves and Attacks
Animating for Smash Bros means:
- Exaggerated poses and timing—anticipation and follow-through are key.
- Signature attacks should be readable and snappy.
- Use reference videos to match the game’s animation style.
Tips:
- Block out keyframes first; refine with breakdowns and in-betweens.
- Preview in-engine for timing and impact.
- Keep animation cycles tight for responsive gameplay.
Leveraging AI Tools for Faster 3D Model Creation
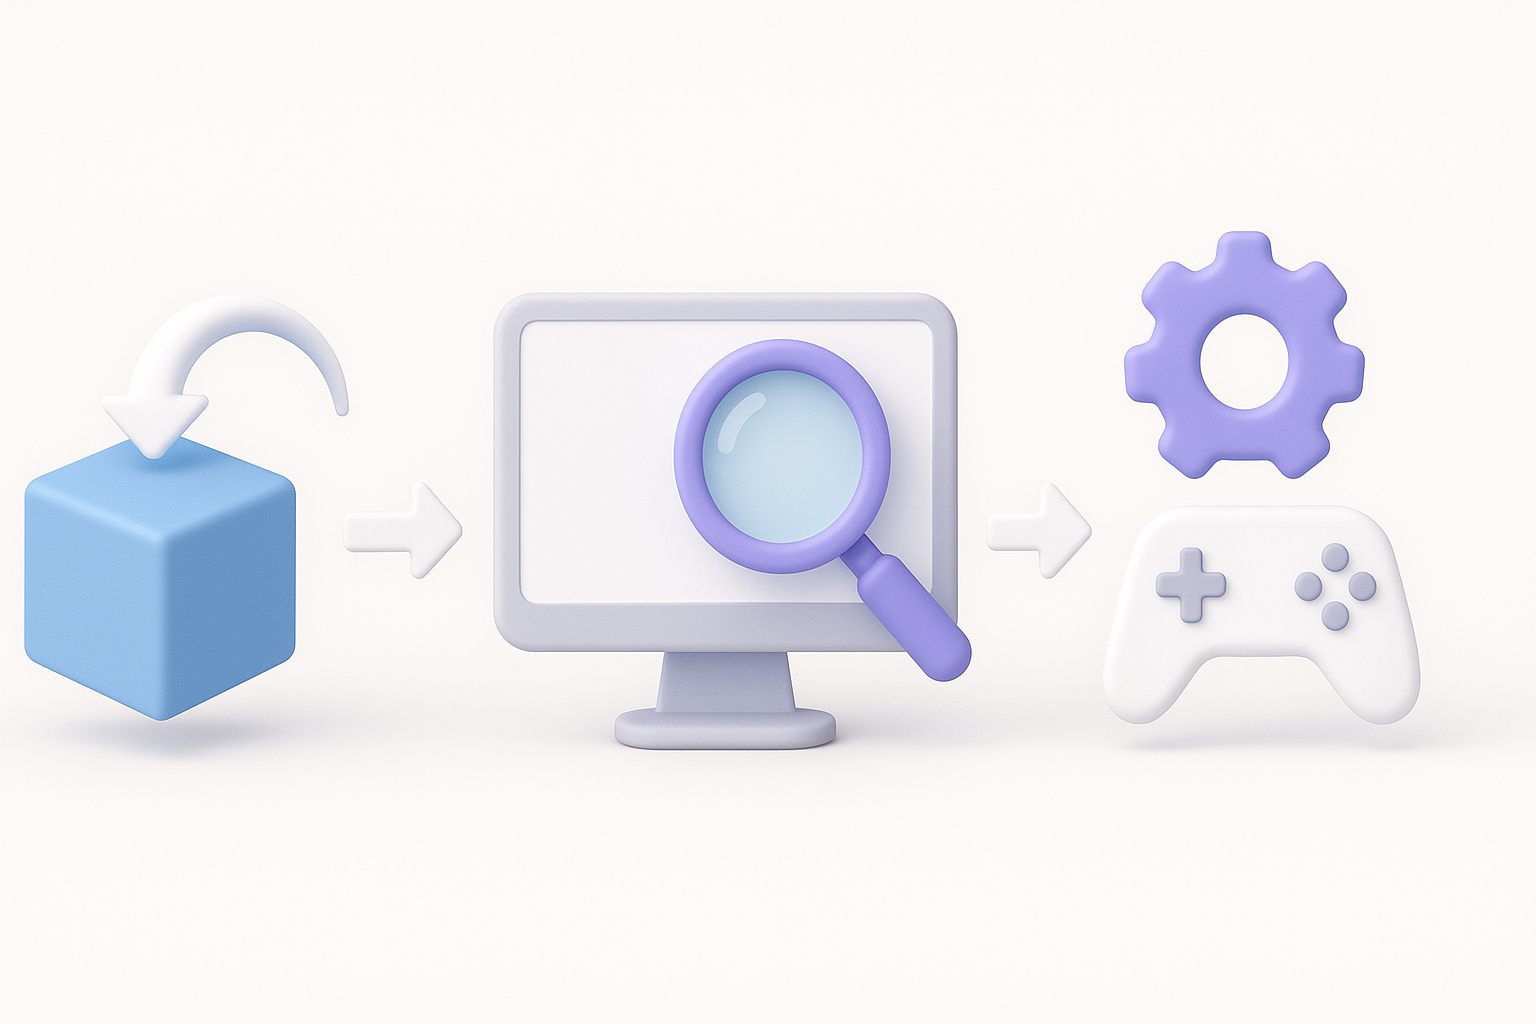
How I Use Tripo AI in My Workflow
Tripo AI has become a staple in my workflow for:
- Rapidly generating base meshes from text prompts, images, or sketches.
- Automatic segmentation and retopology, which accelerates prep for animation.
- Batch processing multiple concepts to iterate quickly.
Practical uses:
- Prototype several character ideas in a fraction of the usual time.
- Use AI-generated meshes as a starting point for further sculpting and refinement.
Comparing AI-Driven and Manual Methods
Based on my experience:
- AI-driven methods: Great for speed and iteration, especially in early stages.
- Manual methods: Still essential for fine-tuning, stylization, and final polish.
What I’ve found:
- Combining AI and manual work yields the best results.
- Don’t rely solely on AI for final topology or style consistency—always review and adjust.
Exporting, Testing, and Integrating Models Into Game Engines
Export Settings for Popular Engines
For seamless integration, I always:
- Export to FBX or OBJ, ensuring all transforms are applied and meshes are triangulated.
- Check that materials and textures are correctly linked.
- Use engine-specific export presets when available.
Checklist:
- Scale matches engine requirements (often 1 unit = 1 meter)
- Animation data is baked and included
- Texture paths are relative, not absolute
Troubleshooting Common Import Issues
Common issues I encounter:
- Broken rigs or missing animations: Usually due to export settings—double-check skeleton hierarchies.
- Texture errors: Ensure all textures are in the correct format and location.
- Normals/shading artifacts: Recalculate normals before export.
Quick fixes:
- Re-export with updated settings if issues persist.
- Test imports on a dummy project before full integration.
- Consult engine documentation for specific import quirks.
By following this workflow and leveraging AI tools thoughtfully, I consistently produce Smash Bros-style 3D models that are optimized, expressive, and ready for action. The key is balancing speed with careful attention to detail—AI accelerates the process, but your creative hand shapes the final result.


