Creating a Super Mario 3D Model: Expert Workflow & Tips
Creating a Super Mario 3D model is a rewarding process that blends stylized modeling, efficient texturing, and smart use of AI tools. In my experience, the key is balancing creative intent with production efficiency—especially for game, XR, or animation projects. I’ll walk you through my full workflow, from reference gathering to export, sharing practical tips, pitfalls to avoid, and how I integrate AI-powered platforms like Tripo to streamline the process. This guide is ideal for artists, developers, and anyone aiming to create high-quality, stylized 3D characters with modern tools.
Key takeaways
- Reference gathering and planning are crucial for capturing the Super Mario style.
- Block out shapes first, then refine proportions for accuracy and animation readiness.
- Use stylized textures and clean topology to maintain the iconic look.
- AI tools can save time, but manual tweaks ensure quality and consistency.
- Optimize mesh and export settings for your target platform—whether games or XR.
- Troubleshoot texture seams and style mismatches early to avoid rework.
Overview of Super Mario 3D Model Creation
Key characteristics of the Super Mario style
Super Mario’s 3D style is instantly recognizable: rounded forms, clean lines, and saturated, cartoon-like colors. The proportions are exaggerated—large head, hands, and expressive eyes—making the character friendly and readable at any scale. I always pay close attention to these stylized elements, as missing them can break the illusion.
- Rounded, simplified shapes (no sharp edges)
- Bold, primary colors with minimal gradients
- Exaggerated facial features for expressiveness
Common use cases for Super Mario 3D models
I’ve created Mario-style models for various contexts:
- Game engines (Unity, Unreal) for platformers or fan projects
- XR/AR experiences, where light poly counts matter
- Animation shorts or educational content
Each use case has its own technical requirements, but the core workflow remains similar.
Step-by-Step Workflow for Modeling Super Mario
Gathering references and planning the model
I always start by collecting a wide range of references—official artwork, in-game screenshots, and even toys. This helps me nail the proportions and style. I sketch out the main views (front, side) and note key details.
Checklist:
- Gather at least 5–10 reference images
- Sketch or block out the silhouette
- Identify unique features (e.g., hat, mustache, gloves)
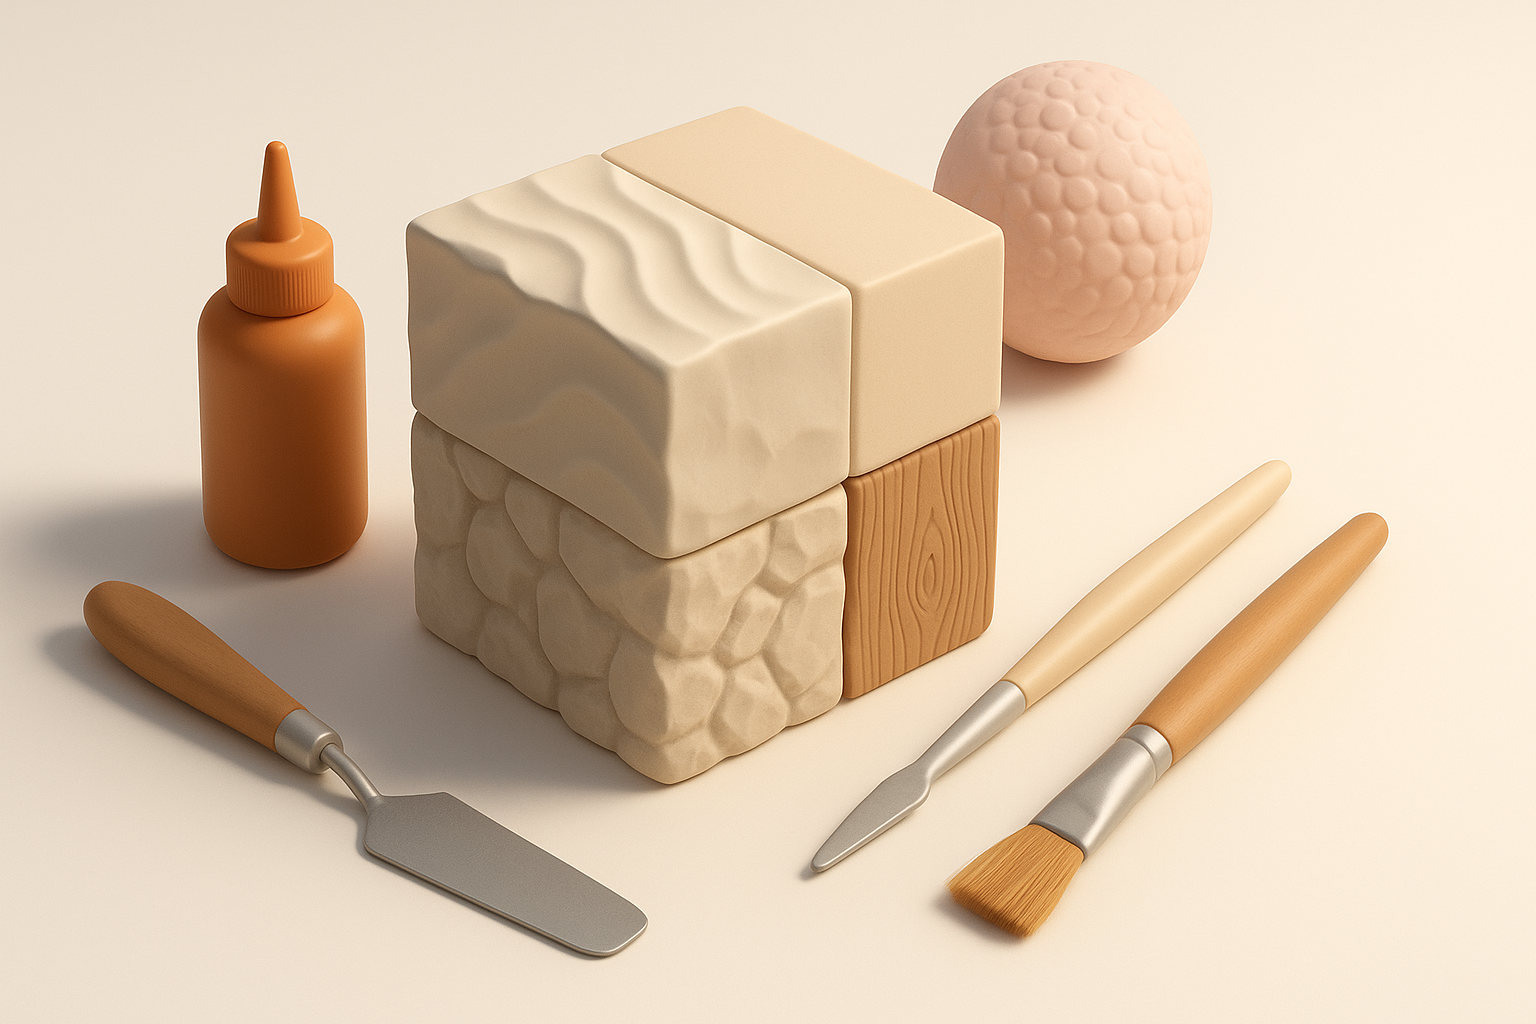
Blocking out shapes and refining proportions
I block out Mario’s body in simple shapes—spheres, cylinders, and cubes—using my 3D software or directly in an AI-powered platform. The goal is to get the main proportions right before adding detail.
My workflow:
- Start with the torso and head; adjust scale until the silhouette matches references.
- Add limbs and accessories as basic shapes.
- Refine the mesh, merging forms and checking in multiple views.
Tip: Don’t rush detailing—proportion errors are hard to fix later.
Texturing and Detailing Techniques
Applying stylized textures and colors
For Mario, I stick to flat, saturated colors with minimal shading. I use hand-painted textures or smart materials, depending on the target platform. If I use Tripo or similar tools, I’ll generate base textures and tweak them manually.
Steps:
- UV unwrap cleanly for minimal seams
- Apply base colors for each part (red hat, blue overalls, etc.)
- Add subtle highlights or gradients for depth
Adding details while maintaining a clean topology
Details like the mustache, gloves, and buttons should be modeled or sculpted, not just textured. I keep the topology simple—quads where possible—and avoid unnecessary edge loops.
Pitfalls to avoid:
- Overcomplicating the mesh (hurts animation)
- Ignoring edge flow around joints
Checklist:
- Add essential features as geometry
- Check topology with subdivision preview
- Remove stray vertices or ngons
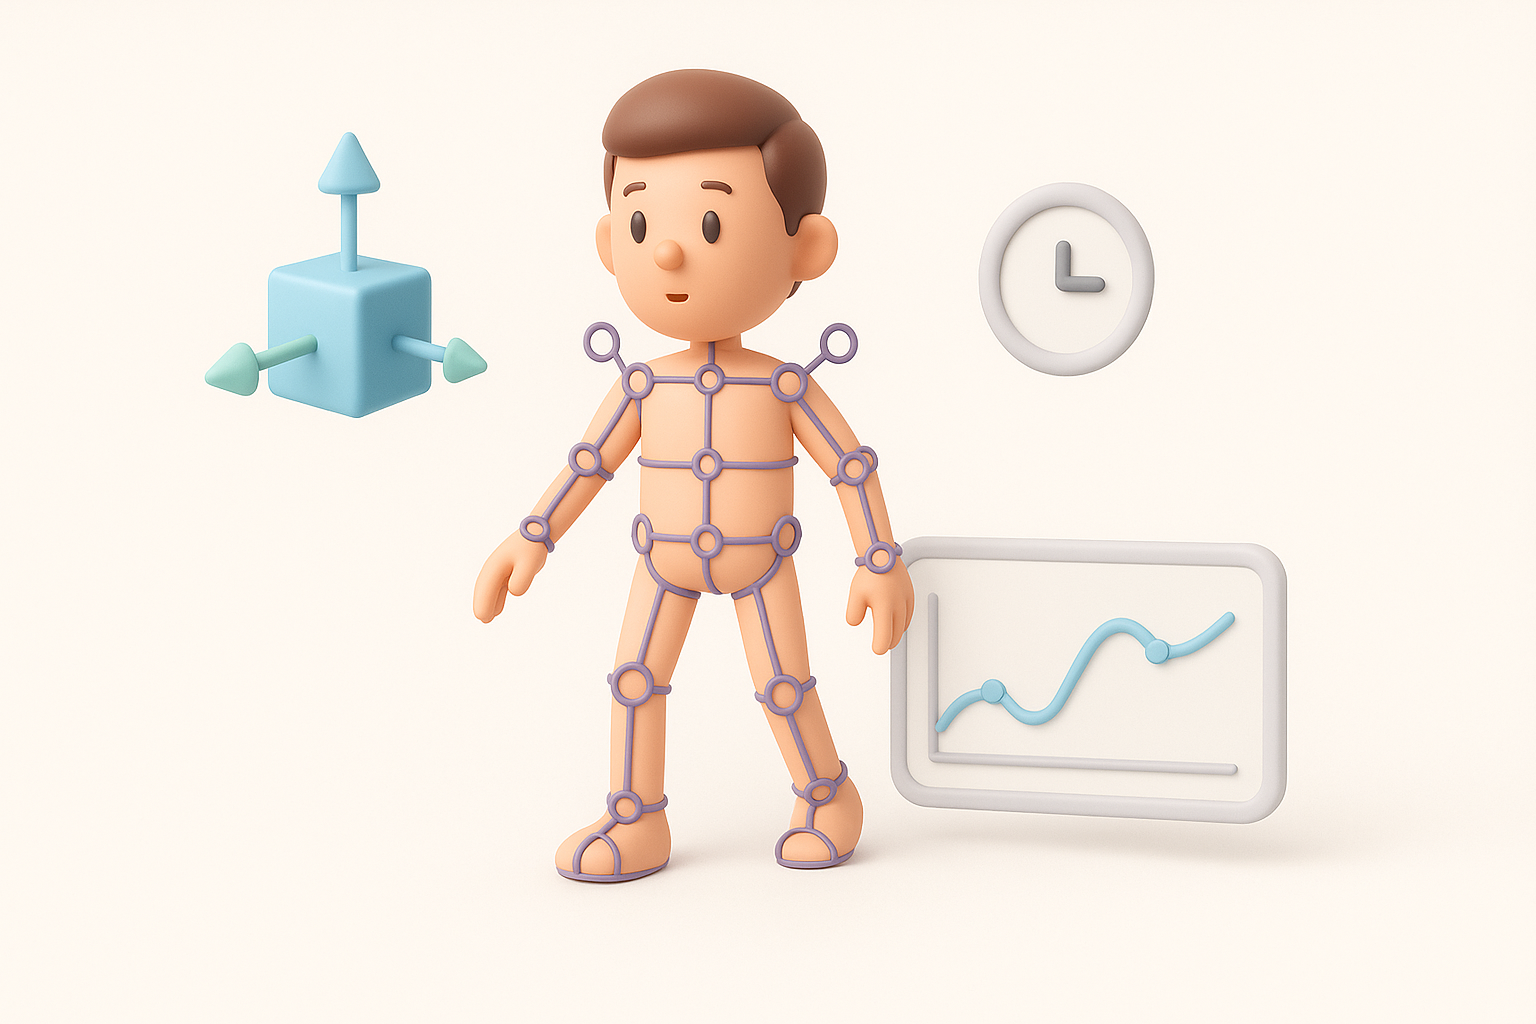
Rigging and Animation Preparation
Best practices for rigging cartoon characters
Mario’s exaggerated style requires flexible rigging. I use simple joint chains and add controls for facial expressions. Clean weight painting is essential for smooth deformations.
My rigging tips:
- Place joints at natural bends (elbows, knees, fingers)
- Use helper bones for hat or mustache if needed
- Test deformations early with simple poses
Setting up basic animations for Super Mario
I usually create idle, run, and jump cycles. Keeping animations snappy and exaggerated matches Mario’s style. If using AI-assisted animation tools, I always review and refine the results.
Animation checklist:
- Keyframe main poses first
- Exaggerate timing and spacing
- Loop test for game engines
Using AI Tools for Efficient 3D Model Creation

How I leverage AI-powered platforms in my workflow
Platforms like Tripo allow me to generate a base mesh from text prompts or sketches, which is a huge time saver. I often use AI to block out the model, auto-unwrap UVs, or generate base textures, then refine manually.
What works well:
- Fast prototyping from text/image
- Automated retopology and UVs
- Quick material assignment
Tips for integrating AI-generated assets with manual edits
AI-generated assets are a starting point, not the final product. I always check topology, fix artifacts, and adjust proportions to match my references.
Best practices:
- Inspect geometry for errors or non-manifold edges
- Repaint or tweak textures as needed
- Retarget rigs for custom animation if required
Exporting and Optimizing for Games or XR

Retopology and mesh optimization strategies
For games and XR, poly count matters. I use auto-retopology tools, then manually clean up edge flow. Baking normal maps from a high-res sculpt helps retain detail.
Steps:
- Decimate unnecessary loops
- Bake normals and AO for detail
- Merge UV islands to minimize draw calls
Export settings for different platforms
I tailor export settings based on the destination:
- Game engines: FBX or glTF, triangulated mesh, embedded textures
- XR/AR: Lower poly count, compressed textures (PNG/JPG), glTF preferred
Checklist:
- Apply transforms and freeze scale
- Test import in target engine
- Check for shading or normal issues
Comparing Manual and AI-Assisted Methods
Pros and cons based on my experience
Manual modeling:
- Full creative control
- Time-consuming, especially for retopology and texturing
AI-assisted workflow:
- Rapid prototyping and iteration
- May require significant cleanup for production use
I usually combine both—AI for the heavy lifting, manual tweaks for polish.
When to choose each approach
- AI-assisted: Early-stage prototyping, tight deadlines, rapid asset generation
- Manual: Unique designs, high-end production, or when style consistency is critical
Common Challenges and How I Overcome Them
Troubleshooting texture seams and shading issues
Texture seams are common—especially with AI-generated UVs. I manually adjust UV islands and use 3D paint tools to blend seams. For shading issues, I check normals and ensure all faces are correctly oriented.
Tips:
- Use checker maps to spot UV stretching
- Smooth normals or recalculate if shading looks odd
Maintaining style consistency across assets
When working on multiple characters or props, I establish a style guide: color palette, line thickness, and level of detail. I regularly compare new assets to my references and tweak as needed.
Checklist:
- Reference a master asset or style sheet
- Review all assets in context (scene or engine)
- Standardize material settings and lighting
By following this workflow and leveraging both manual skills and AI tools like Tripo, I consistently achieve production-ready Super Mario 3D models—efficiently and to a high standard.


