How to 3D Print a Sue Tyrannosaurus Rex Skeleton Model
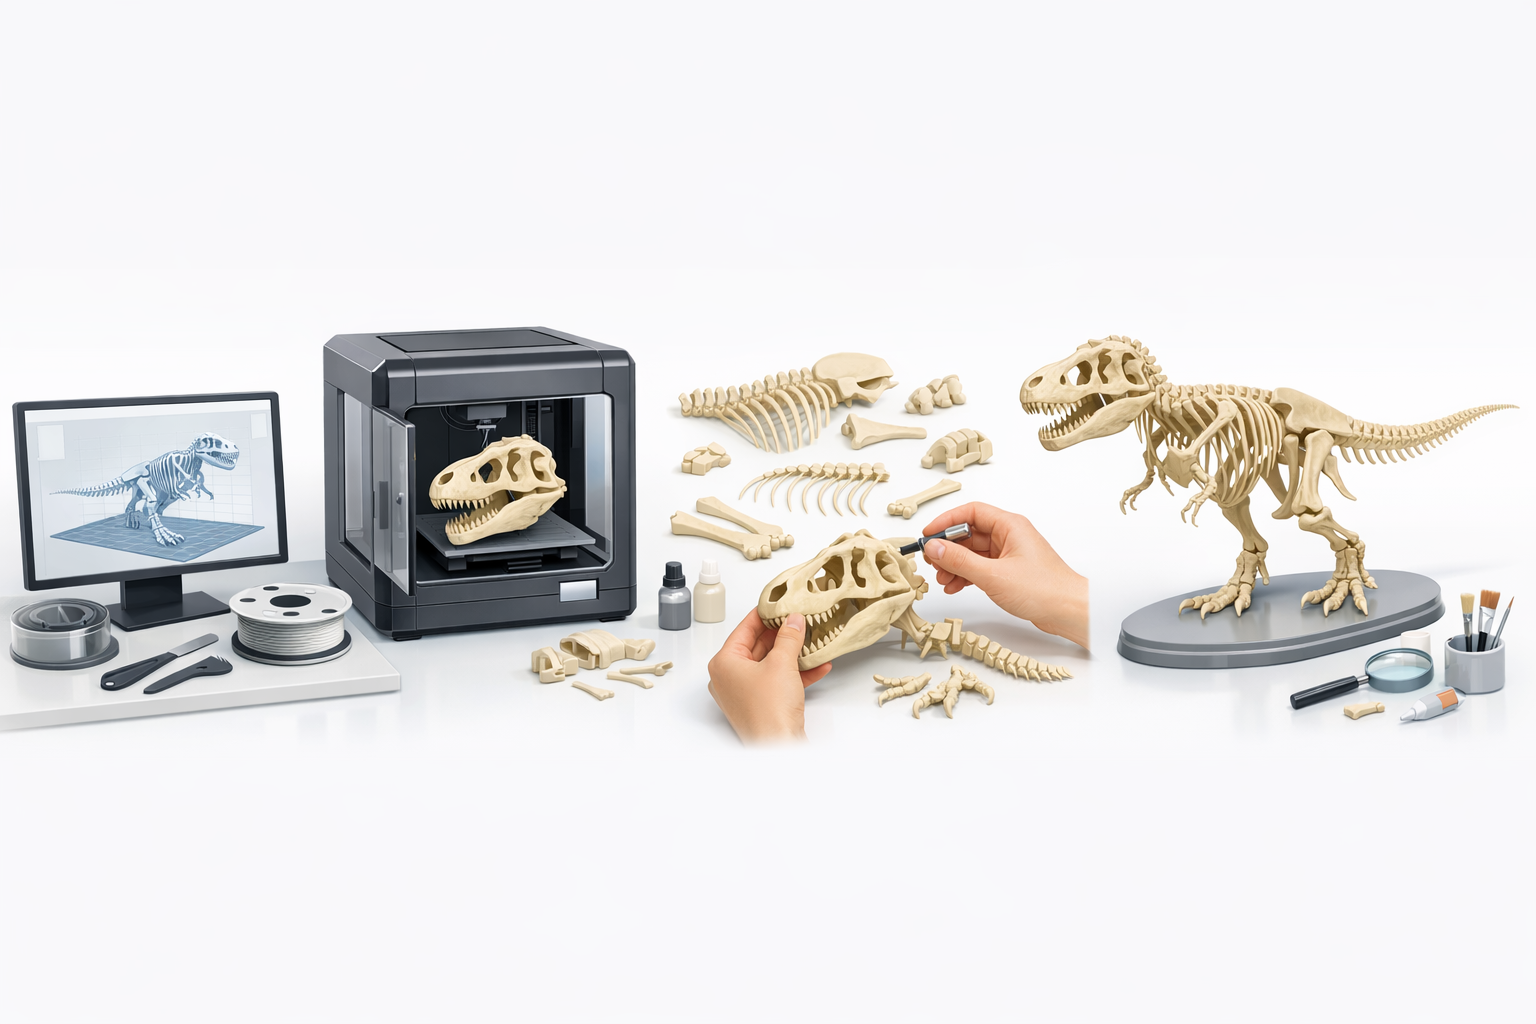
If you want to 3D print a Sue Tyrannosaurus rex skeleton model, the process is more accessible than ever thanks to modern AI-powered tools. I’ve printed several dinosaur skeletons for museums and hobbyists, and I’ve learned that sourcing or creating a high-quality model, prepping it for print, and finishing it are the keys to a successful result. Whether you’re an educator, a designer, or a paleontology fan, this guide walks you through each step—from model selection to final touches—with practical, tested advice.
Key Takeaways:
- Start with a clean, well-segmented 3D model for best print results.
- Use AI-powered platforms for fast, accurate model creation and prep.
- Optimize for printability: check scale, supports, and detail preservation.
- Realistic texturing and careful post-processing elevate the final look.
- Avoid common pitfalls like over-complex geometry and poor segmentation.
- A streamlined workflow saves time and minimizes errors.
Overview: 3D Printing the Sue T. rex Skeleton
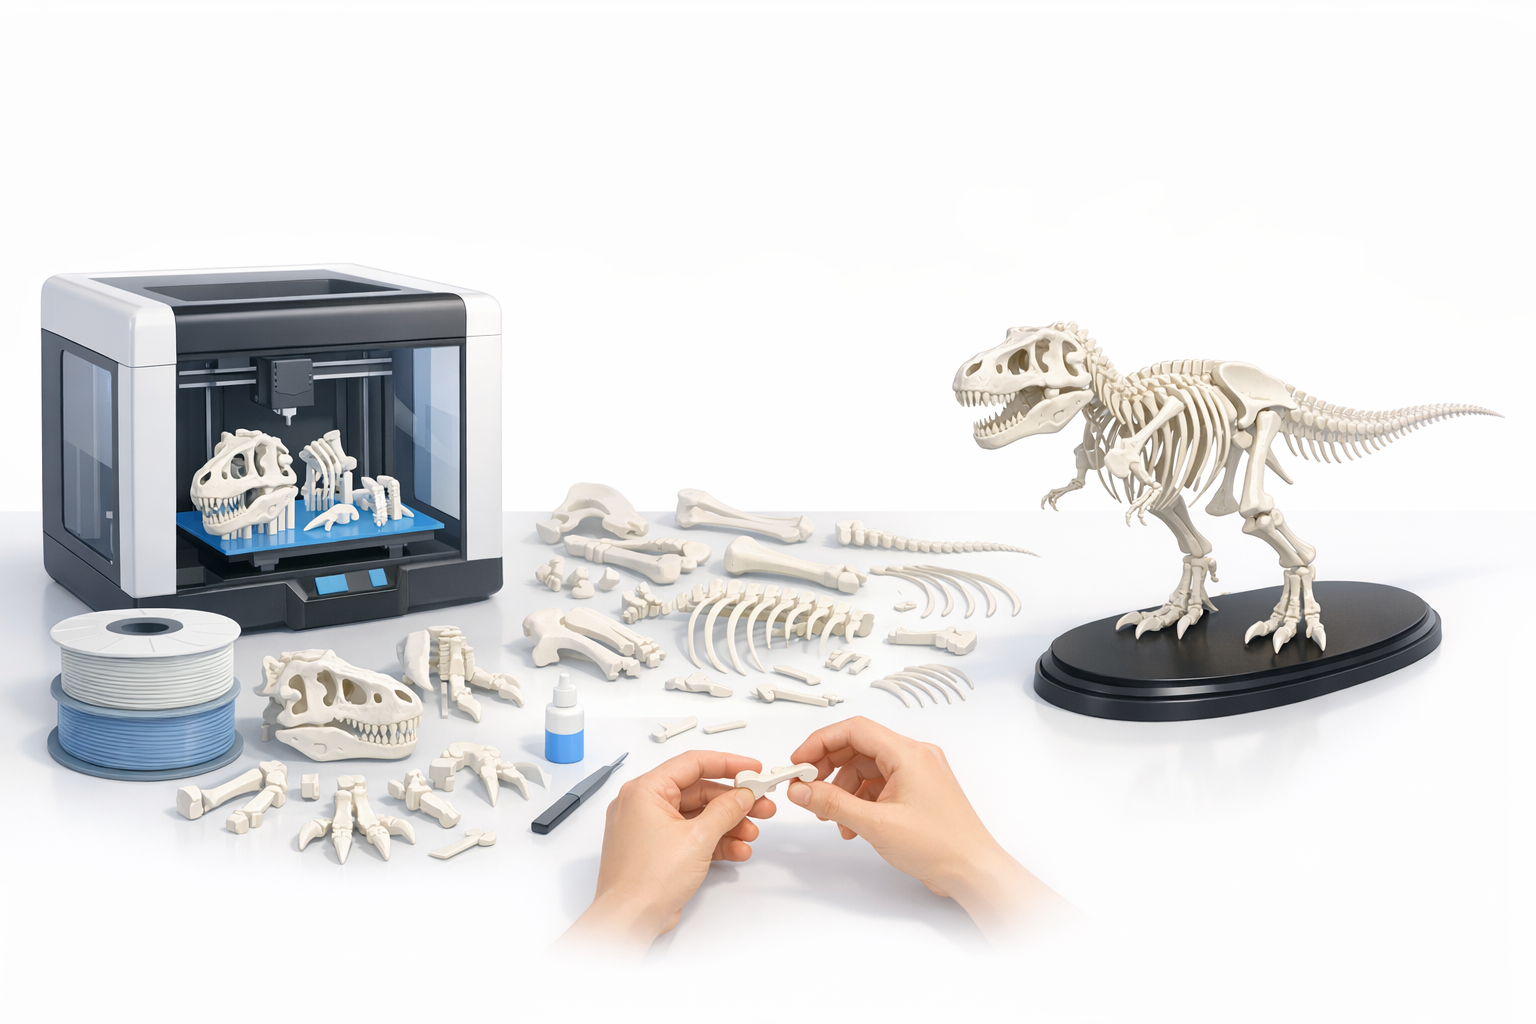
Why Sue is a Popular 3D Print Subject
Sue is the largest and most complete T. rex skeleton ever discovered, making it an iconic subject for 3D printing. In my experience, educators and collectors gravitate toward Sue for her scientific accuracy and visual impact. Printing her skeleton provides both a learning tool and a striking display piece.
Key Takeaways for Successful 3D Printing
To print a Sue skeleton successfully, I focus on:
- Clean segmentation of bones for easy assembly.
- Scalable models to fit different printers and display needs.
- Preserving anatomical detail without over-complicating geometry.
- Planning for supports and print orientation to avoid failures.
Finding or Creating a High-Quality 3D Model
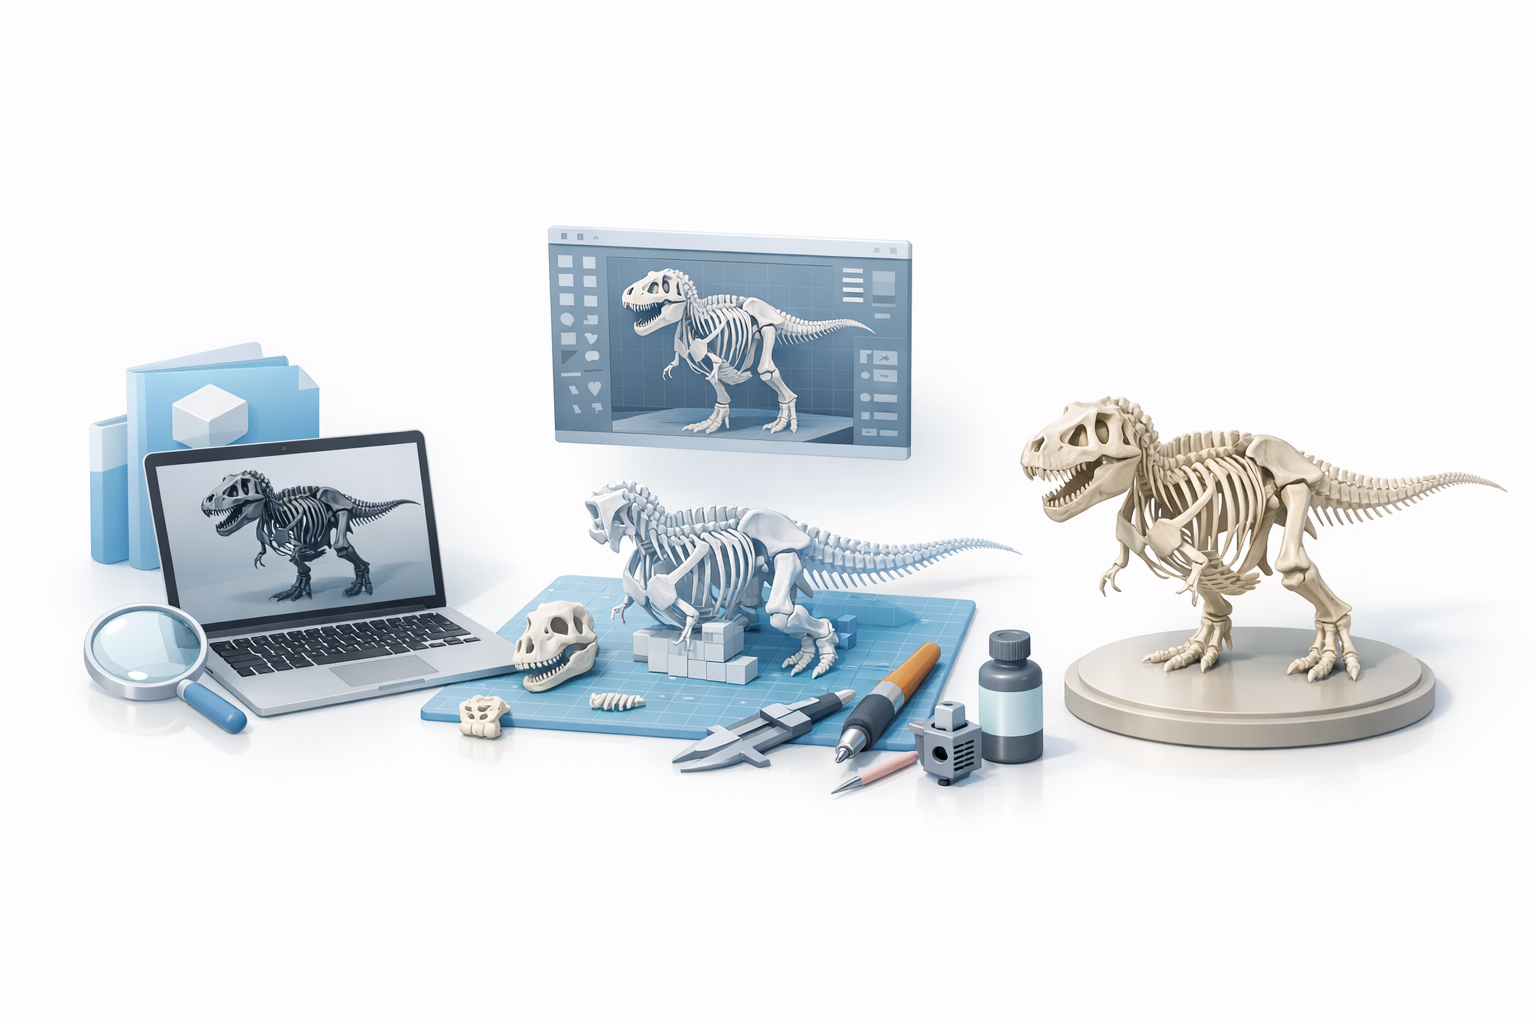
Sourcing Ready-Made Models vs. Custom Creation
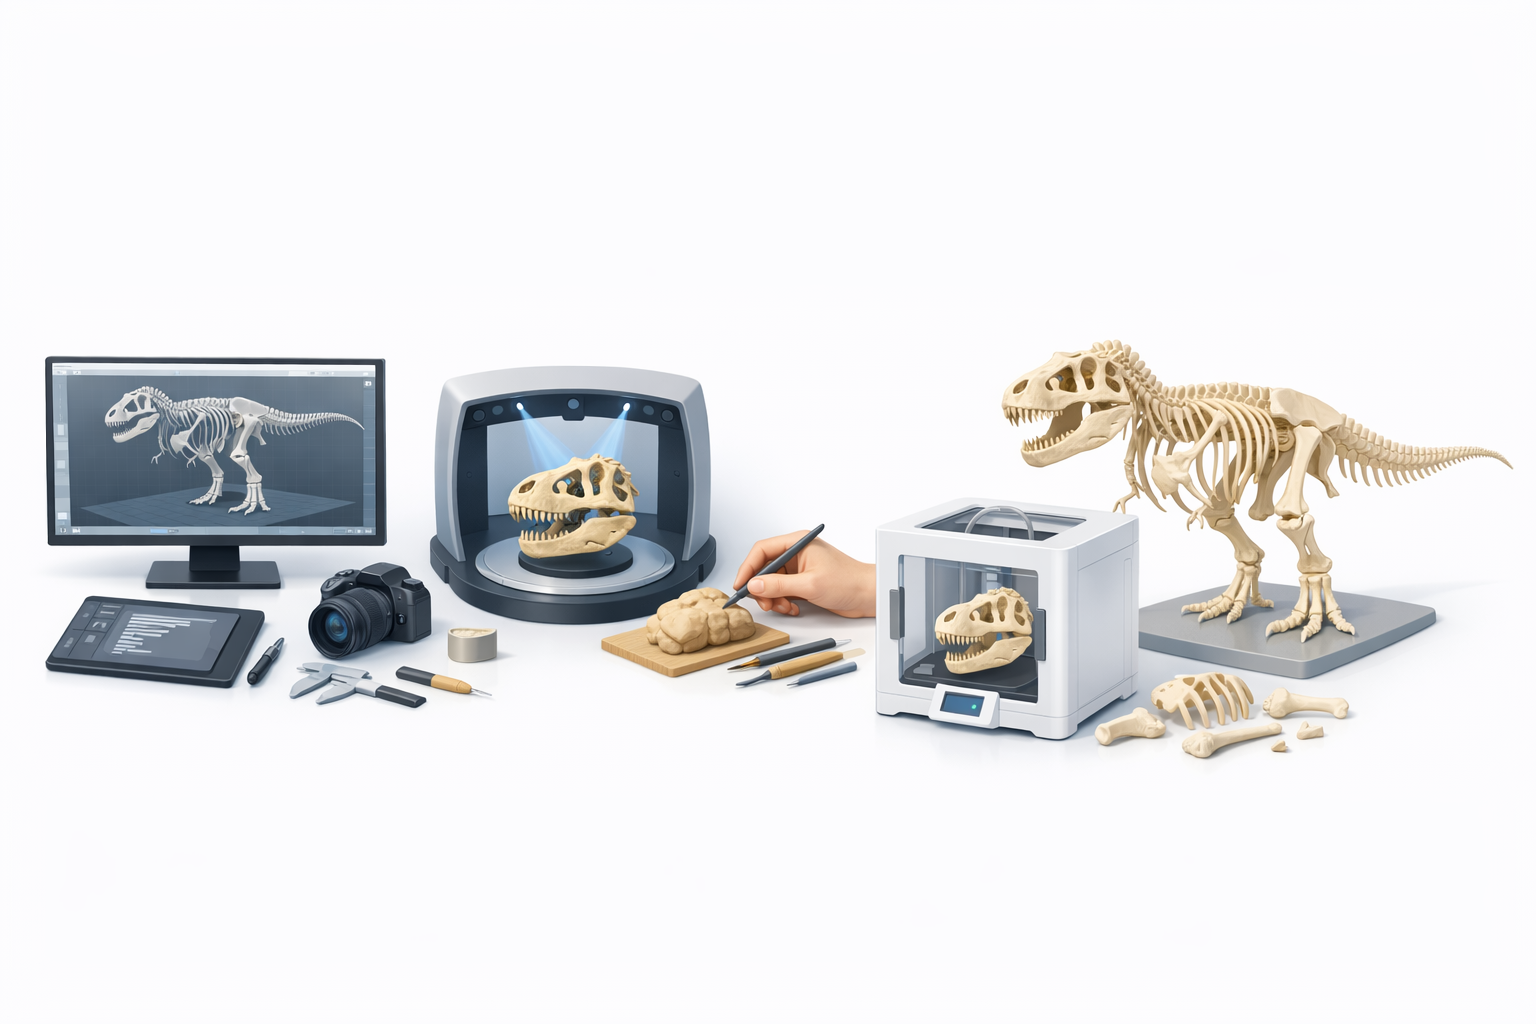
I often start by searching for ready-made digital models from reputable sources—museum archives, educational repositories, or professional artists. However, these can lack print optimization or be incomplete. When that happens, I use AI-powered tools like Tripo to generate or refine custom skeleton models from reference images or sketches, ensuring accuracy and printability.
What I Look for in a Printable Skeleton Model
My checklist includes:
- Proper segmentation: Each bone should be a separate mesh.
- Clean topology: Avoid messy geometry that complicates slicing.
- Scalable detail: The model should retain features at both large and small sizes.
- Reference accuracy: Anatomical correctness is essential for educational or display purposes.
Preparing the Model for 3D Printing
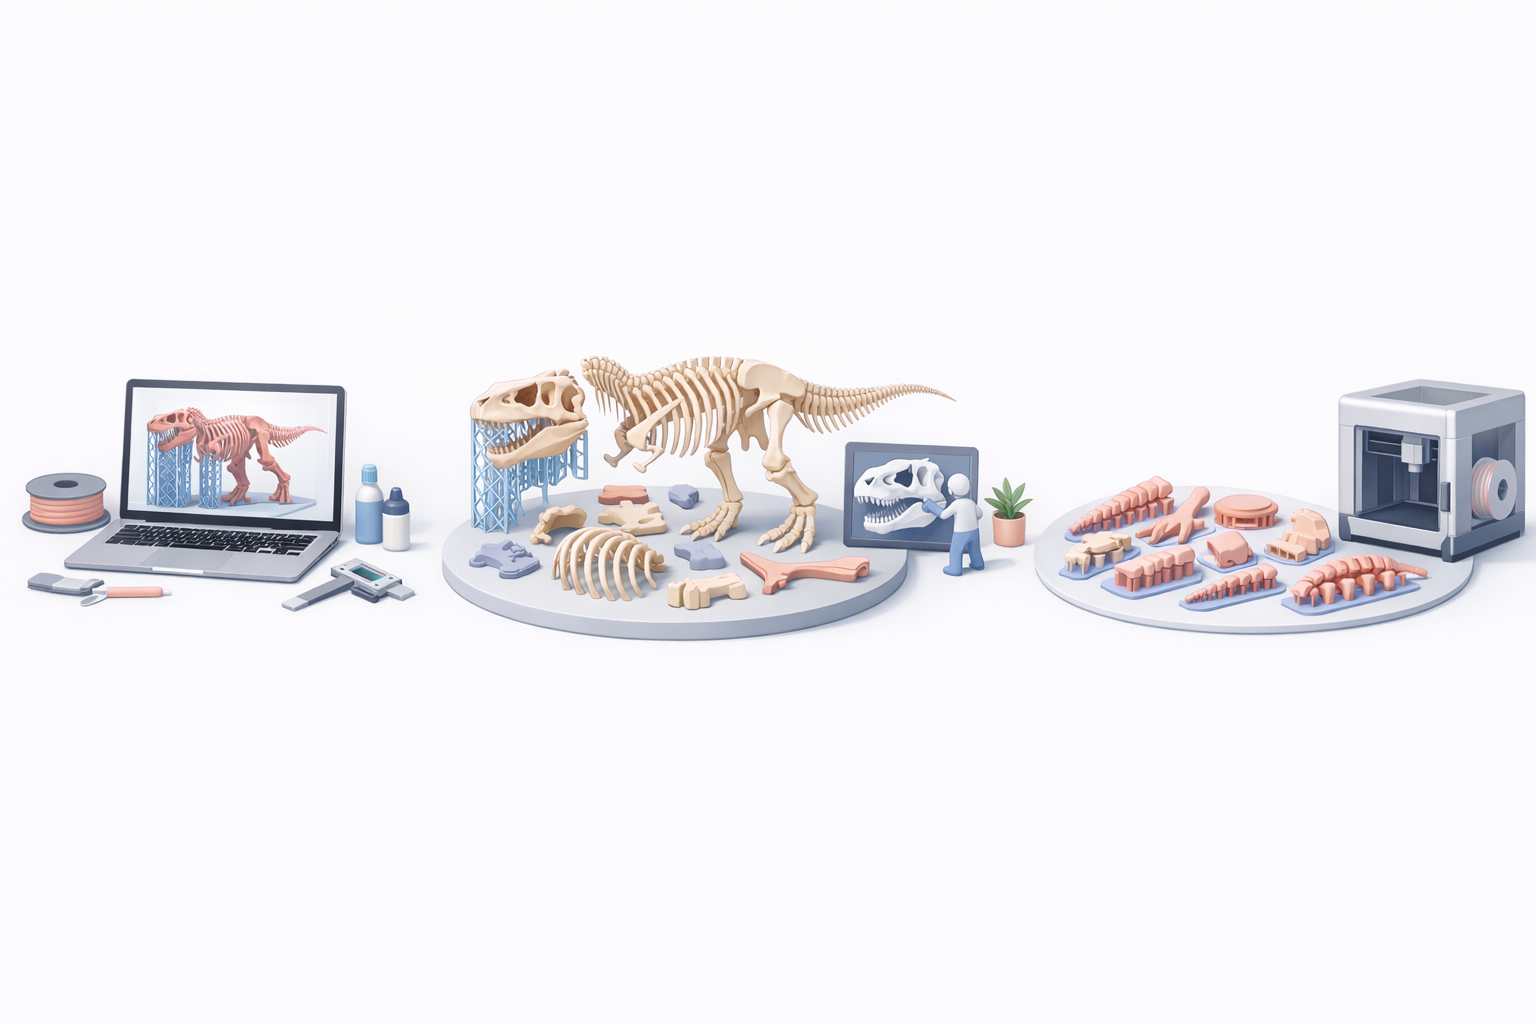
Segmentation, Retopology, and Scaling Tips
Before printing, I segment the skeleton into logical parts—skull, limbs, vertebrae—using Tripo’s intelligent segmentation tools. Retopology is crucial; I simplify meshes to reduce print time and avoid slicer errors. Scaling is handled based on my printer’s build volume and desired final size.
Steps I follow:
- Segment bones for modular printing and assembly.
- Retopologize for efficient, error-free slicing.
- Scale parts to fit printer and display requirements.
Optimizing for Printability and Detail
To optimize, I:
- Check wall thickness and minimum feature size.
- Orient bones to minimize supports and improve surface quality.
- Export STL files and run them through slicer preview for final checks.
Pitfalls to avoid:
- Overly thin bones that snap during assembly.
- Unnecessary mesh complexity that slows printing.
- Poor orientation leading to failed prints or rough surfaces.
Texturing and Finishing Techniques
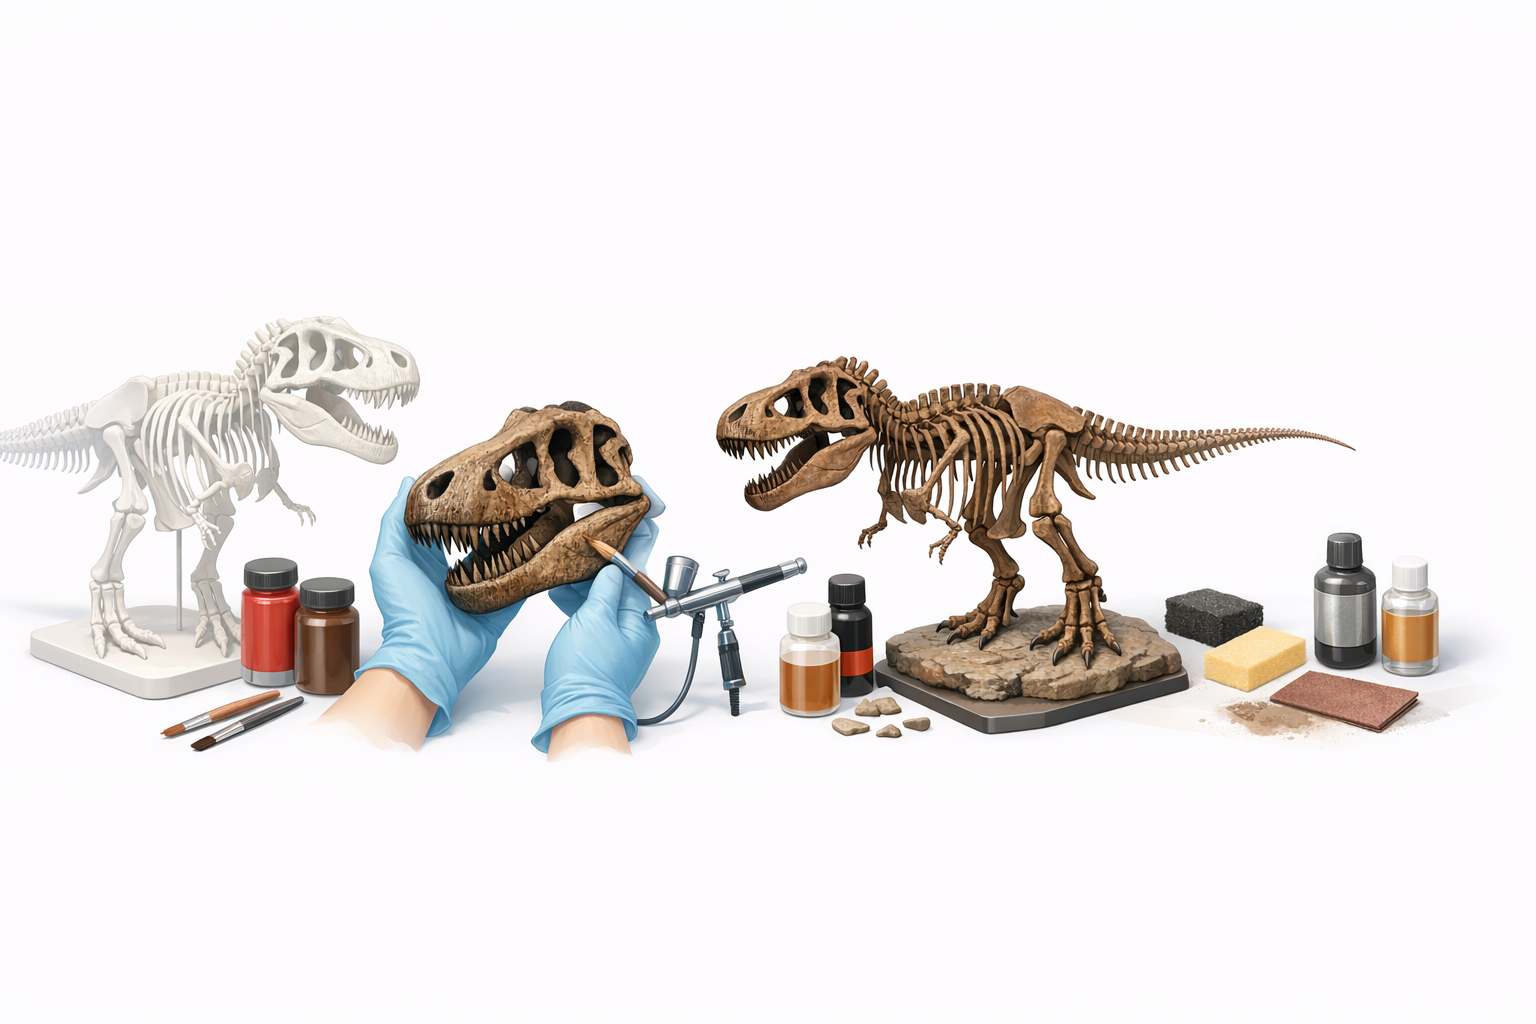
Approaches to Realistic Bone Textures
For realism, I use Tripo’s automated texturing to generate bone-like surfaces, then enhance them with hand-painted details. Texture maps can be baked into the model, but I often prefer adding subtle cracks and color variation post-print.
Painting and Post-Processing Insights
After printing, I:
- Sand and prime the parts for smoothness.
- Use acrylic washes to mimic fossilized bone coloration.
- Seal with matte varnish for durability and a natural finish.
Tips:
- Layer paint for depth; don’t rush.
- Use reference photos of Sue for color accuracy.
- Dry-fit parts before final assembly to ensure alignment.
Best Practices and Lessons Learned
Common Pitfalls and How I Avoid Them
From experience, common mistakes include:
- Ignoring segmentation, leading to assembly headaches.
- Over-detailing small bones, which makes them fragile.
- Skipping test prints—always print a small sample first.
I avoid these by:
- Planning segmentation early.
- Simplifying geometry where needed.
- Running test prints and adjusting settings accordingly.
Workflow Tips Using AI-Powered Tools
AI tools like Tripo have streamlined my workflow:
- Fast segmentation and retopology save hours.
- Automated texturing provides a solid base for hand finishing.
- Easy scaling and export options reduce prep time.
My workflow checklist:
- Input references or sketches.
- Segment, retopologize, and scale.
- Optimize for printing, export, and slice.
- Print, finish, and assemble.
Comparing Tools and Methods for 3D Model Creation
When to Use AI Platforms vs. Traditional Software
I use AI-powered platforms for rapid prototyping, segmentation, and texturing. Traditional software is better for deep customization or when I need manual control over topology and UVs. For most skeleton prints, AI tools accelerate the process without sacrificing quality.
My Preferred Workflow for Fast, Accurate Results
My go-to workflow:
- Generate or refine the base model using an AI platform.
- Segment and retopologize for printability.
- Scale and optimize for my printer.
- Export, slice, and print.
- Finish and assemble for display.
Practical tips:
- Use AI for initial setup and traditional tools for final tweaks.
- Always check models in slicer software before printing.
- Keep reference images handy for anatomical accuracy.
Meta Description:
Learn how to 3D print a Sue Tyrannosaurus rex skeleton model, from sourcing or creating the model to prepping, printing, and finishing with expert tips.
Keywords:
sue t rex 3d model, tyrannosaurus skeleton print, 3d printing dinosaur, ai 3d modeling workflow, dinosaur model finishing, tripo ai


