How to Stitch 3D Models: Expert Workflows and Best Practices
скачать 3d модель для chicken gun
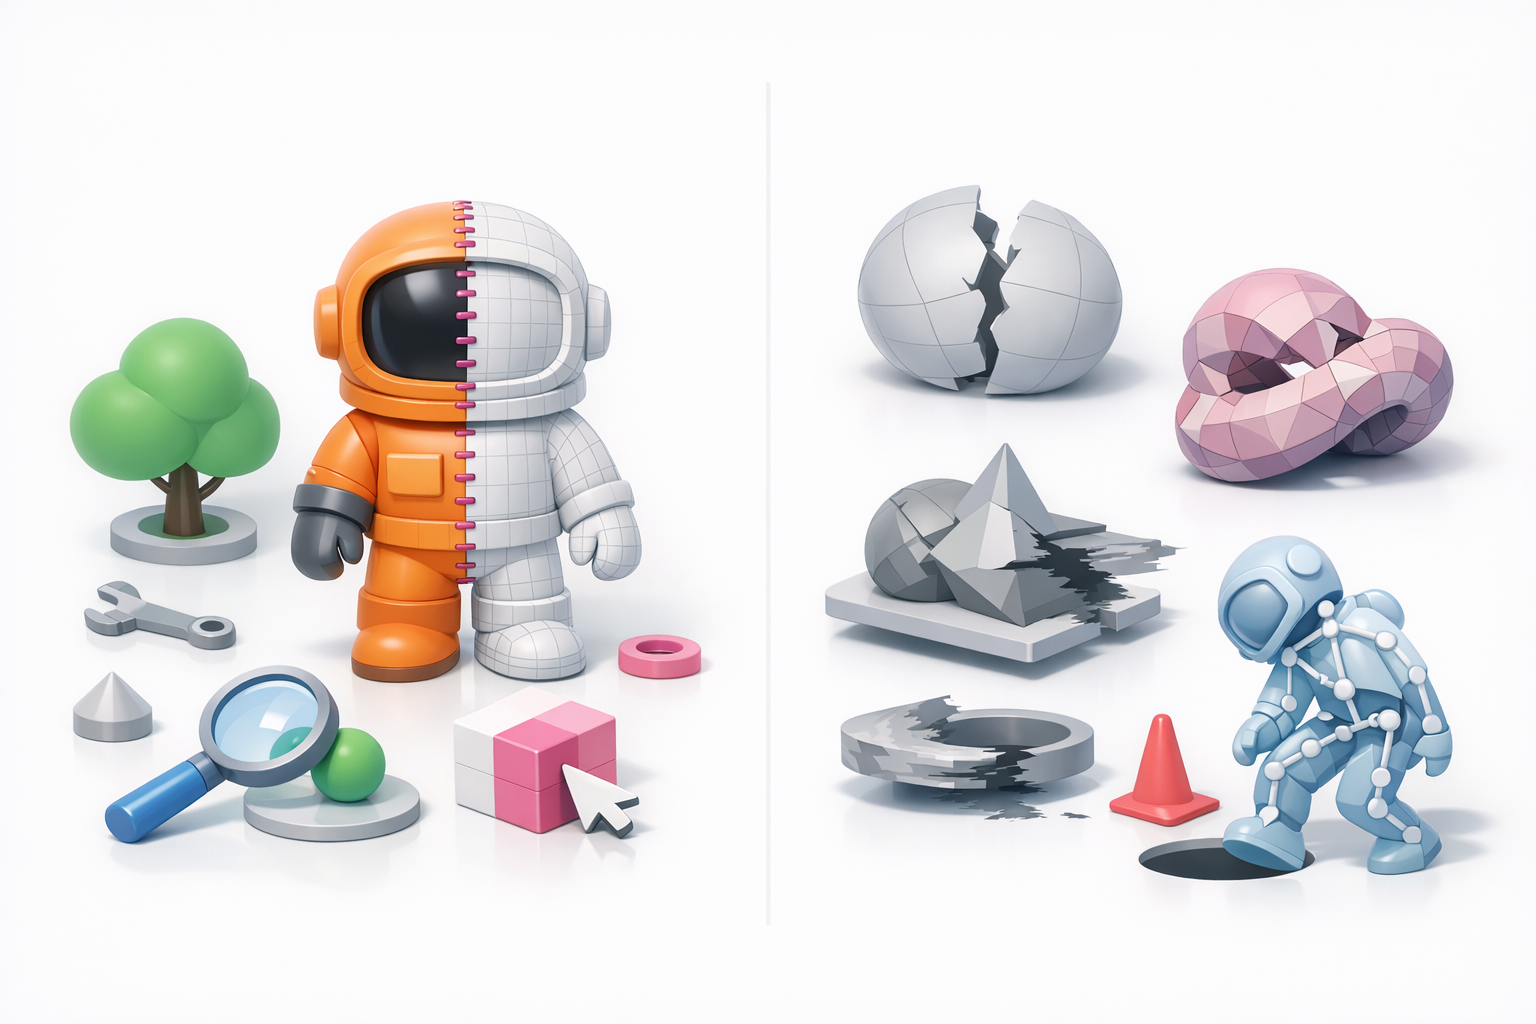
Stitching 3D models—combining separate meshes into a seamless whole—is a core skill in professional 3D workflows across gaming, film, and XR. In my experience, clean stitching is all about careful prep, precise alignment, and smart use of both AI-powered and manual tools. This guide covers my full process, including best practices for geometry, retopology, and texture blending, plus troubleshooting advice. If you want production-ready results without headaches, these methods will help you get there.
Key takeaways
- Preparation is 90% of successful stitching—check scales, pivots, and topology before merging.
- Use AI-powered tools for rapid alignment and retopology; switch to manual methods for tricky fixes.
- Always optimize mesh and UVs after stitching to avoid rendering or animation issues.
- Texture seams are common—plan UVs and use blending tools to minimize artifacts.
- Troubleshoot geometry mismatches early to prevent pipeline headaches later.
Understanding 3D Model Stitching
What is 3D model stitching?
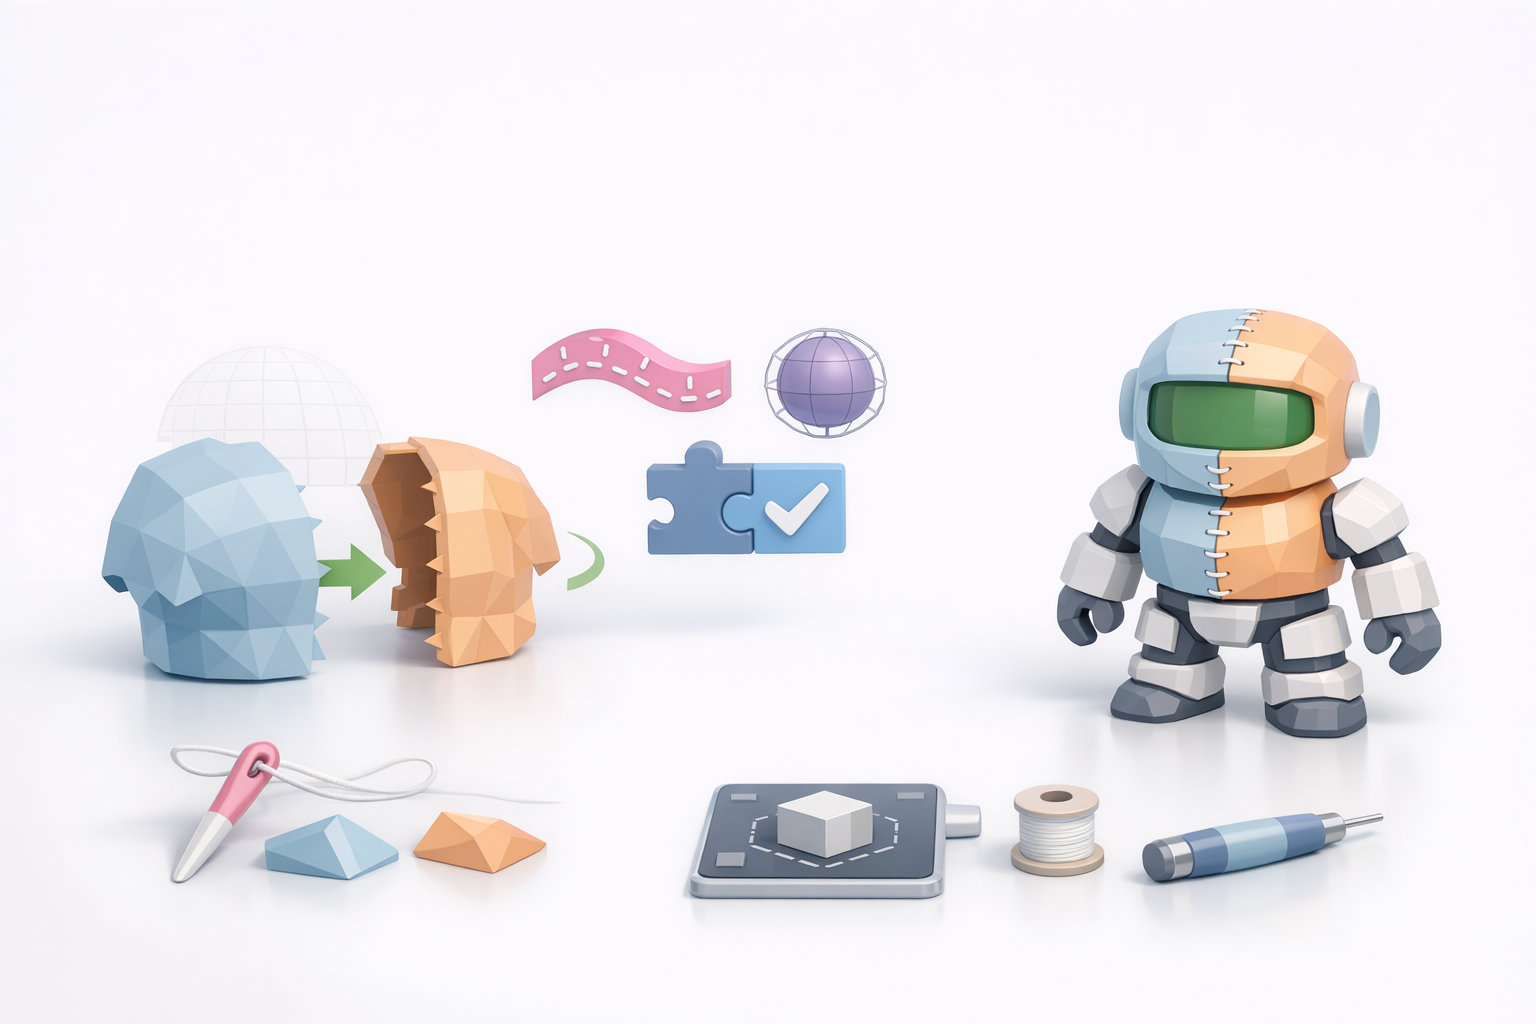
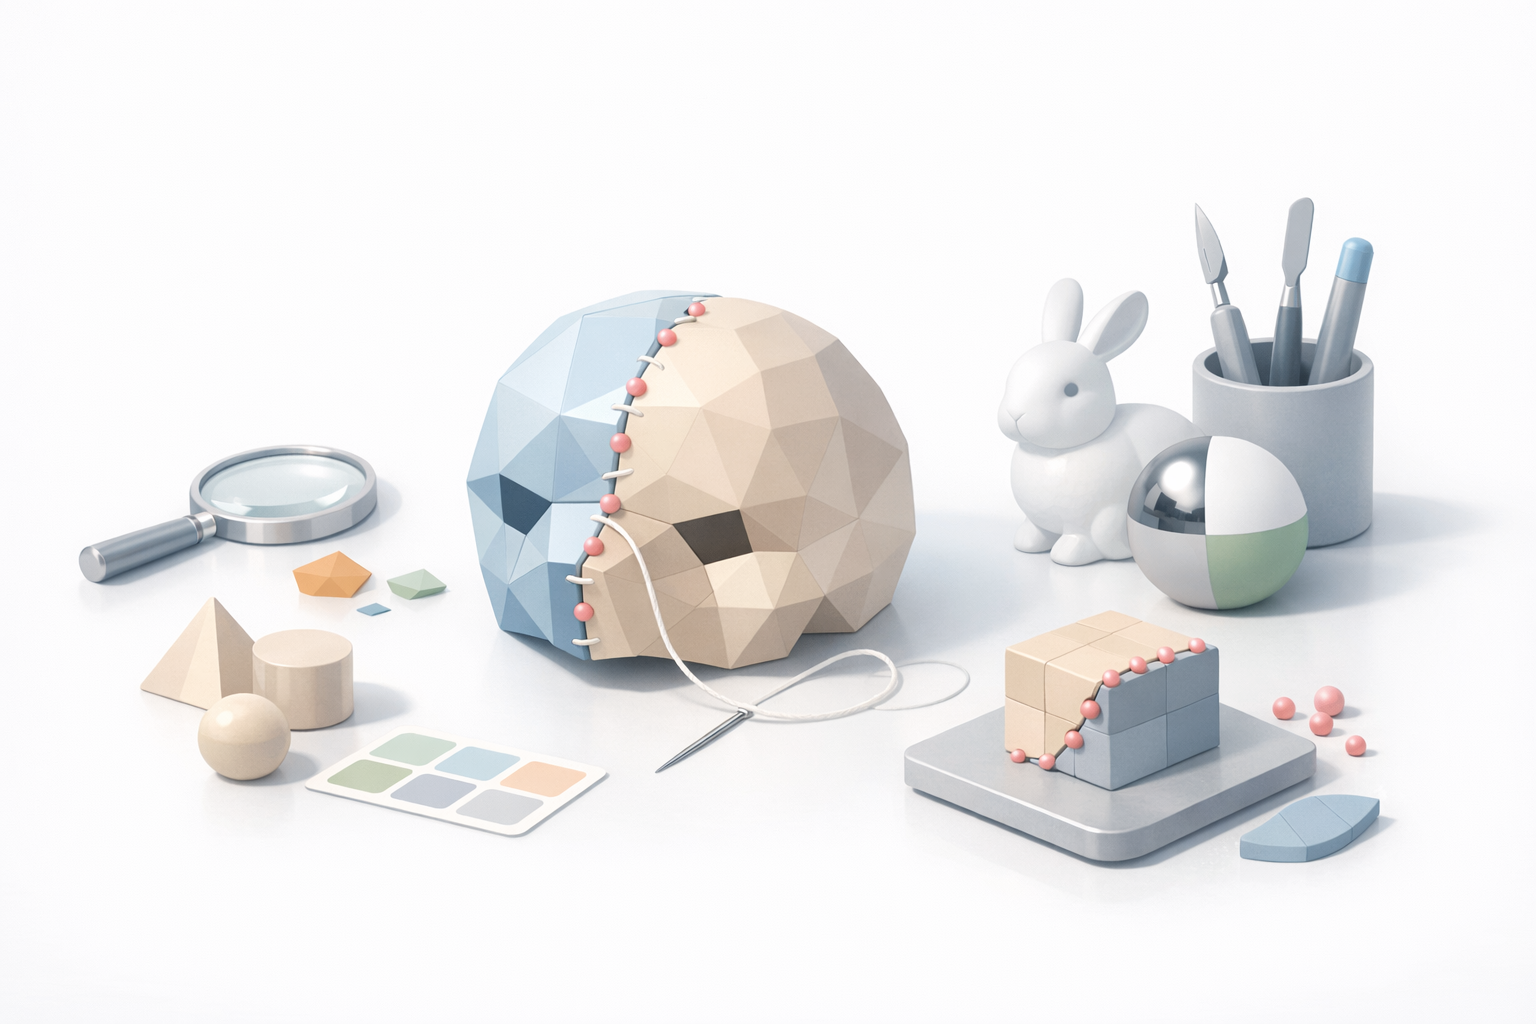
Stitching 3D models means merging separate meshes or model parts into a single, unified object. In my workflow, this often involves connecting scanned assets, modular game pieces, or complex character parts. The goal is a seamless result—no visible seams, overlapping geometry, or shading errors.
Typical tasks include:
- Aligning parts in world or local space.
- Merging vertices and edges.
- Cleaning up overlapping faces and normals.
Common use cases and challenges
I most often stitch models when:
- Combining body parts for character models.
- Merging environment assets (e.g., modular walls, props).
- Integrating scanned data with hand-modeled pieces.
Common challenges:
- Mismatched scales or pivots.
- Inconsistent topology or vertex density.
- Texture and UV seams that are hard to hide.
My Step-by-Step Workflow for Stitching 3D Models
Preparing models for seamless stitching
Preparation is critical. Here’s my prep checklist:
- Standardize scale and orientation: I always reset transforms and make sure all parts share the same world scale.
- Check topology: Consistent edge flow and density make merging much easier.
- Isolate overlapping areas: I duplicate and save versions before destructive edits.
Pro tip: If using an AI-powered platform like Tripo, I upload clean, well-aligned meshes for best results. Garbage in, garbage out.
Aligning, merging, and cleaning up geometry
Once models are prepped:
- Align parts: Snap pivot points or use auto-alignment features. Manual nudge tools help for fine adjustments.
- Merge geometry: In my DCC, I use ‘weld’ or ‘merge’ functions. AI tools can automate this, but I check the result closely.
- Clean up: I delete hidden faces, merge stray vertices, and recalculate normals.
Pitfall: Overlapping faces cause shading artifacts—always check the merged area in wireframe and shaded modes.
Best Practices for Efficient and Clean Stitching
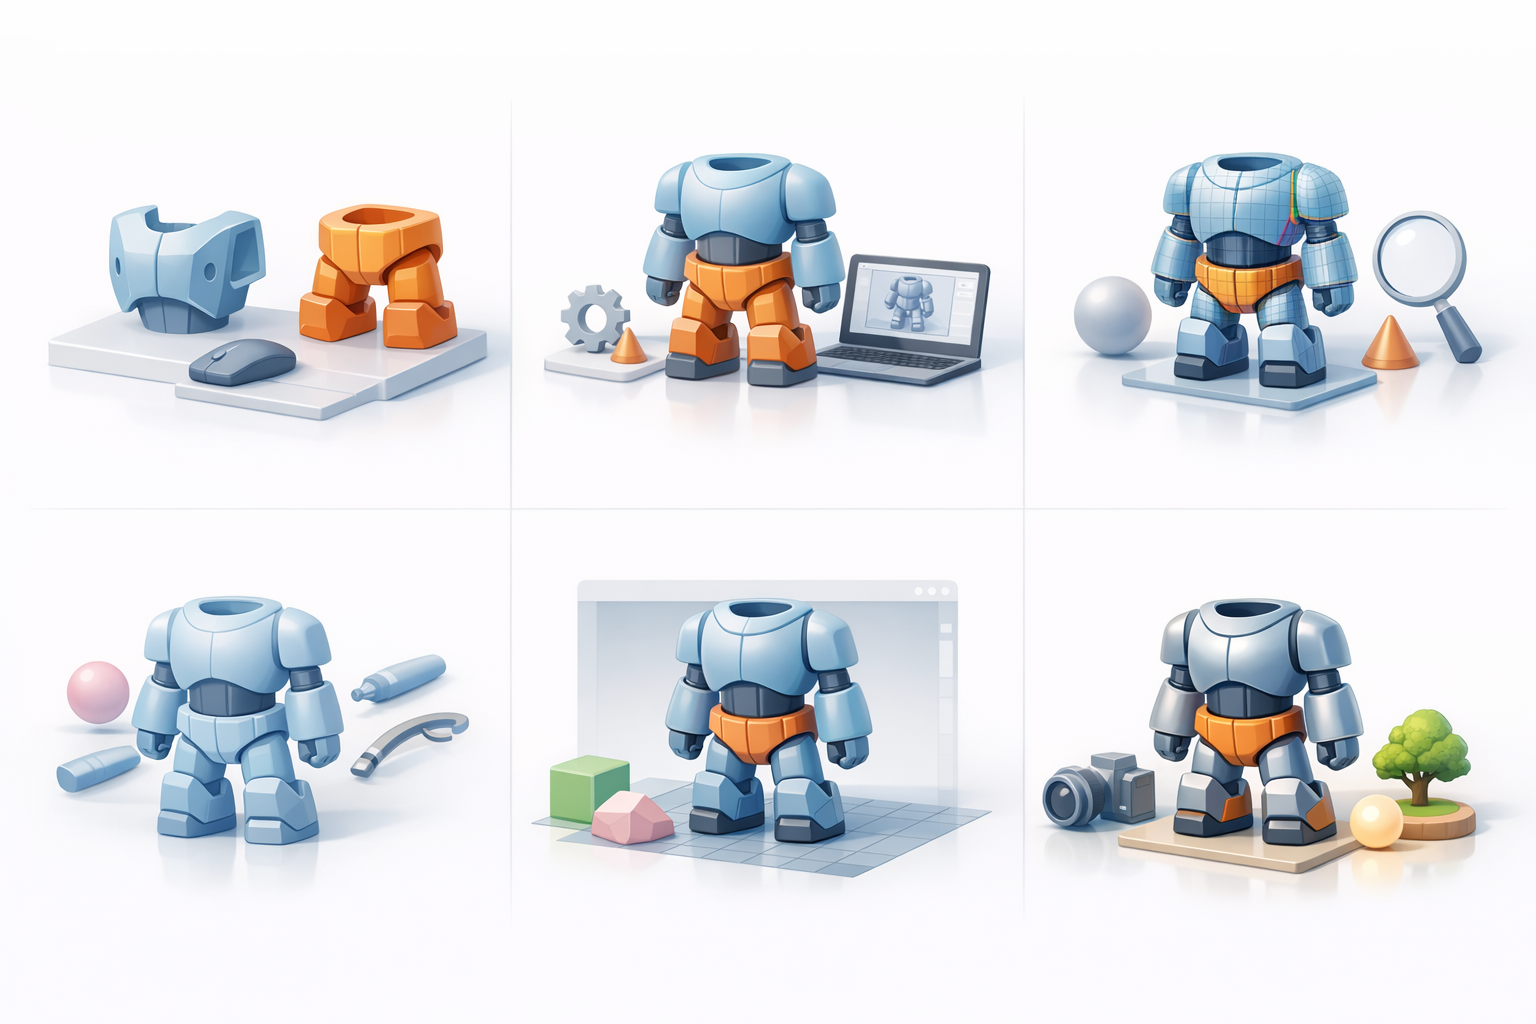
Retopology and mesh optimization tips
After merging, I always retopologize the stitched area:
- Manual retopo: For hero assets, I manually redraw edge loops for clean deformation.
- AI retopo: On background assets or for speed, I use Tripo’s retopology tool and adjust as needed.
Checklist:
- Maintain quad-based topology.
- Avoid long, thin triangles near joints.
- Check for non-manifold edges.
Texture blending and UV management
Texture seams are inevitable, so I:
- Re-unwrap UVs: I use planar or custom seams to minimize stretching.
- Blend textures: Tools with paint-over or clone features help erase visible joins.
- Bake new maps: After stitching, I rebake normal and AO maps for consistent shading.
Tip: Keep UV islands aligned and minimize overlaps for easier texture painting.
Tools and Techniques: AI-Powered and Manual Approaches
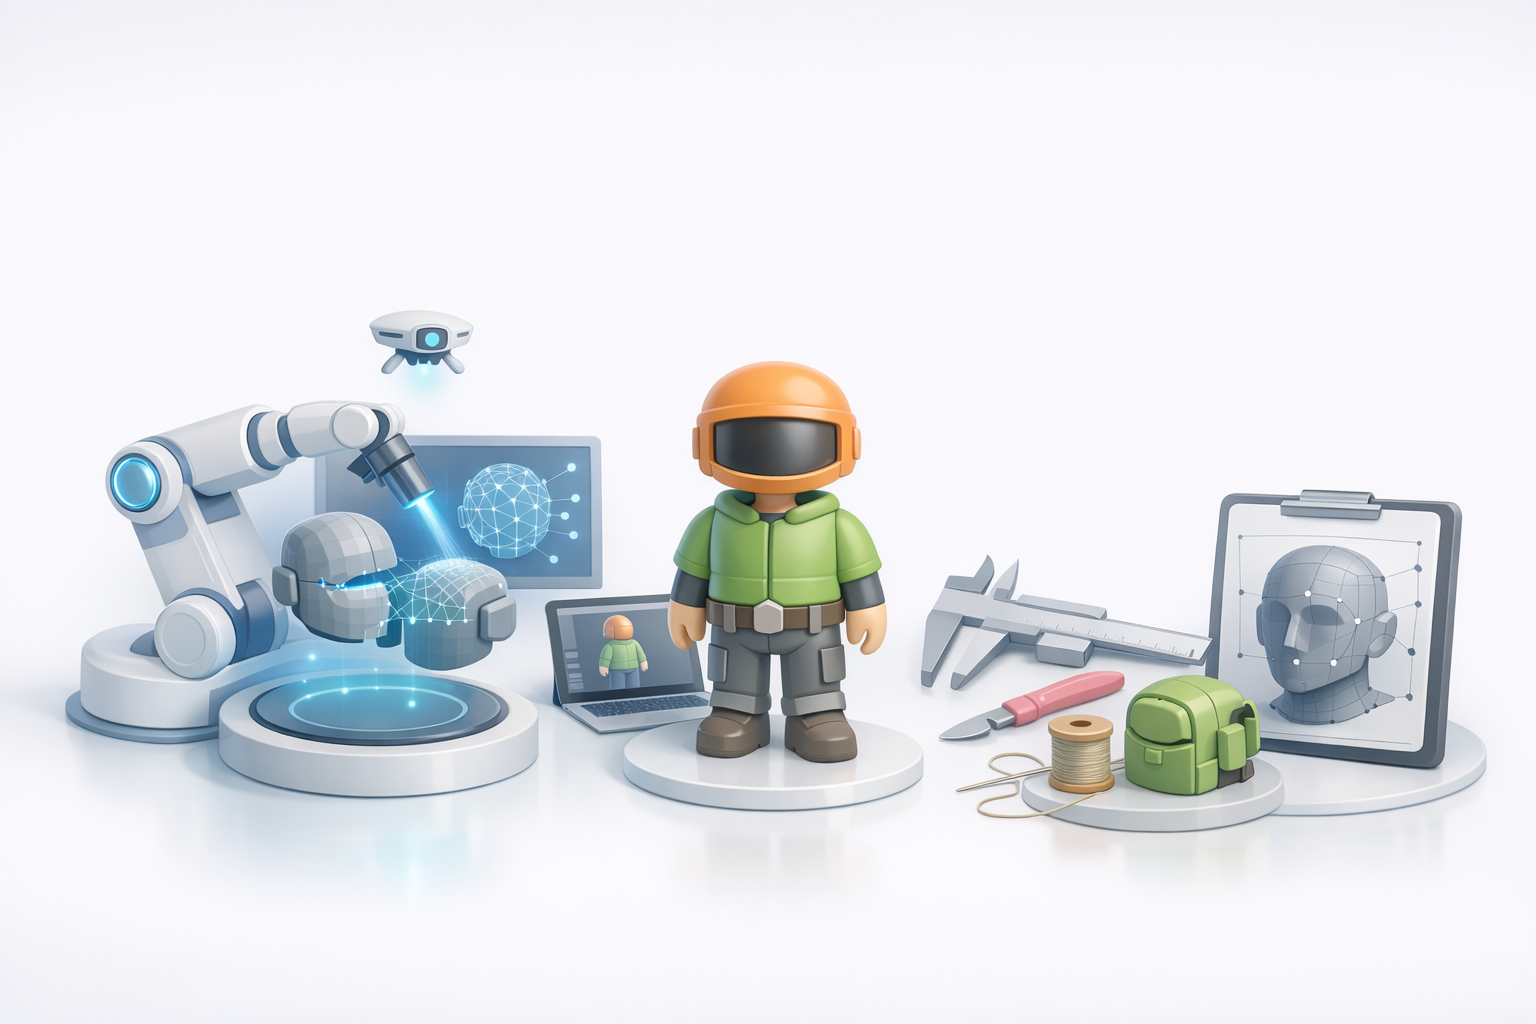
Using AI-driven platforms for stitching
AI tools like Tripo streamline stitching by:
- Auto-aligning parts based on geometry.
- Performing smart retopology and UV unwrapping.
- Suggesting texture blending solutions.
I use these for rapid iteration, especially on large asset batches. Always review output—AI saves time but isn’t perfect.
Manual methods and when to use them
Manual stitching is still essential for:
- Custom edge flow (e.g., characters, faces).
- Artistic control over seam placement.
- Fixing tricky geometry that confuses automation.
My rule: Use AI for speed, manual for precision. I often combine both—AI for the first pass, manual for polish.
Troubleshooting and Common Pitfalls
Fixing seams and geometry mismatches
Common issues and my fixes:
- Visible seams: I merge vertices and smooth normals; sometimes, I add edge loops for better blending.
- Geometry gaps: I bridge edges or fill holes, then retopologize the area.
- Texture mismatches: I repaint or rebake maps, and sometimes use projection tools to blend details.
Ensuring compatibility across pipelines
To avoid downstream issues:
- Test exports: I export to target formats early and check in the destination engine.
- Consistent naming and hierarchy: This prevents lost parts or broken rigs.
- Document changes: I keep notes on stitched areas for team handoffs.
Final tip: Always validate the stitched model in context—animation, lighting, and shading will reveal hidden issues.
By following these expert workflows and best practices, I consistently achieve clean, production-ready stitched models—saving time and avoiding headaches in any 3D pipeline.


