How to Create a Statue of Liberty 3D Model: Expert Workflow
Creating a 3D model of the Statue of Liberty is a complex but rewarding project, suitable for artists, game developers, and XR designers who want a production-ready asset. In my experience, leveraging AI-powered tools like Tripo streamlines the process—from generating a base mesh to refining geometry, texturing, and optimizing for real-world use. I’ll share my workflow, practical tips, and lessons learned, focusing on efficiency and realism. Whether you’re building for games, visualization, or education, this guide will help you avoid common pitfalls and deliver a high-quality result.
Key takeaways:
- Reference accuracy is critical for iconic models—invest time upfront.
- AI-driven tools save hours on segmentation, retopology, and texturing.
- Realism depends on careful material setup and texture detail.
- Optimize geometry and textures for your target platform before export.
- Troubleshooting is easier with modular, iterative workflows.
- Learn from each project—adapt your approach as needed.
Overview: Statue of Liberty 3D Modeling Essentials
Key considerations before starting
Before modeling, I assess the project’s requirements: scale, intended use (game, XR, visualization), and level of detail. The Statue of Liberty is a highly recognizable subject, so accuracy and proportions matter. I also consider polygon budgets, texture resolution, and whether rigging or animation is needed.
Checklist:
- Define target platform and performance constraints.
- Decide on static vs. animated asset.
- Gather reference for both overall shape and fine details.
Executive summary and main takeaways
Success hinges on balancing accuracy, realism, and technical efficiency. AI-powered workflows reduce manual labor but still require careful oversight. My main takeaway: invest in planning and references, then let intelligent tools handle repetitive tasks, so you can focus on artistry and polish.
Reference Gathering and Planning
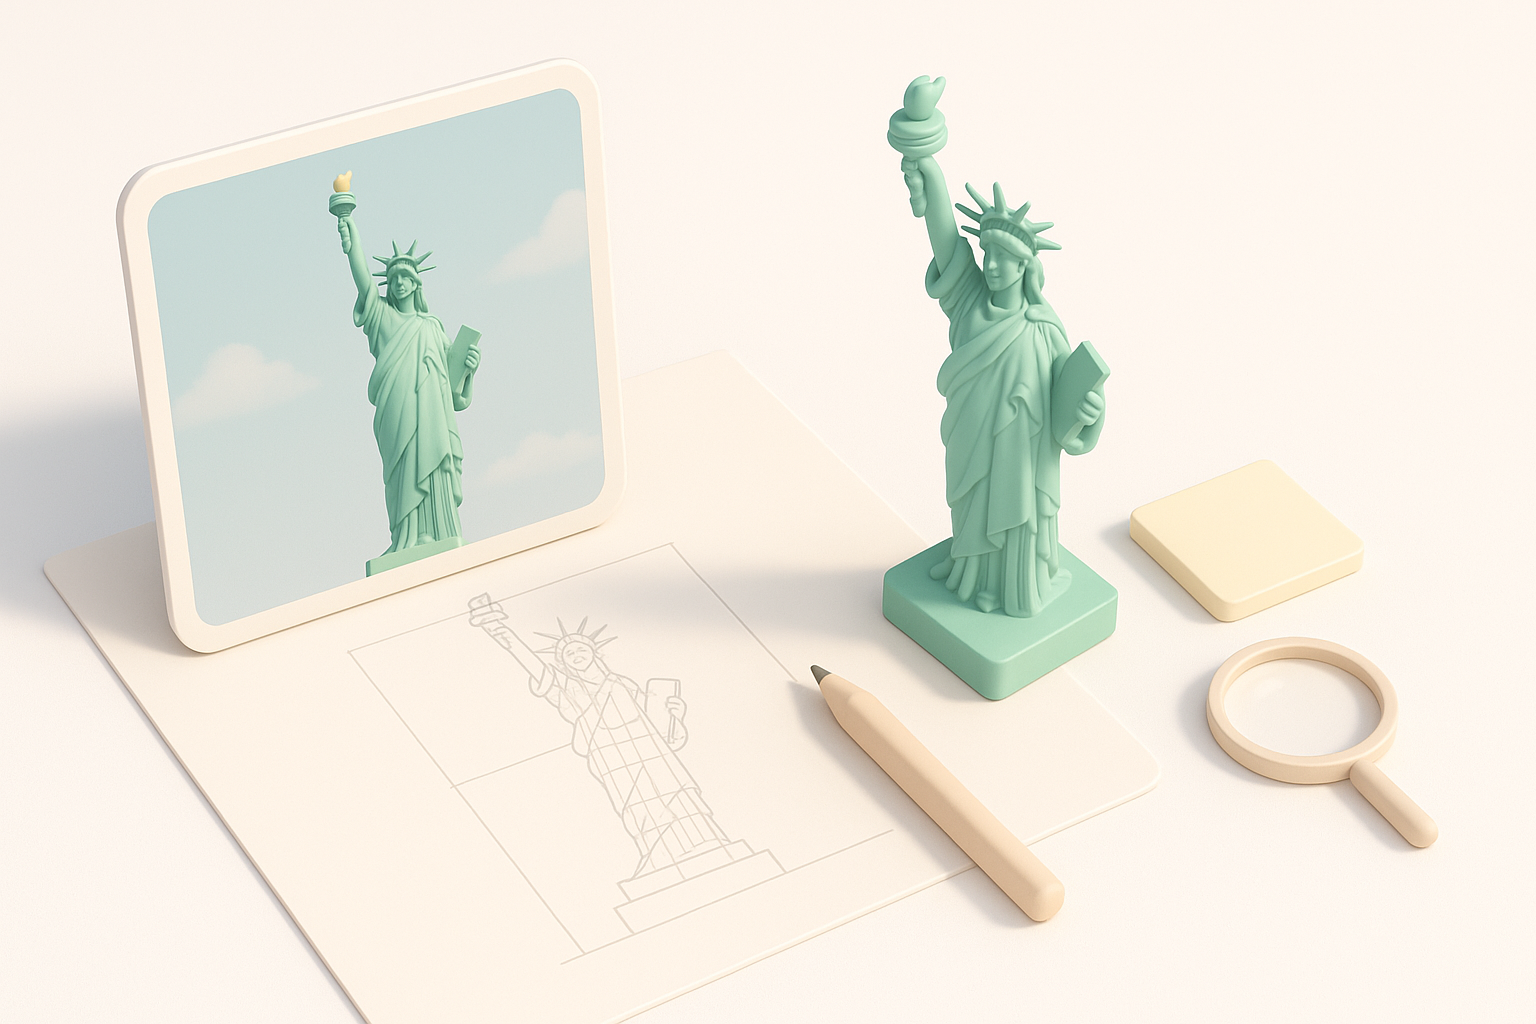
Collecting accurate images and blueprints
I start by sourcing high-resolution images from multiple angles, architectural drawings, and close-up shots of key features (face, torch, drapery). Reliable reference ensures correct proportions and details.
Steps:
- Use official sources, museum archives, and open-access libraries.
- Organize references by parts: head, crown, robe, pedestal.
- Annotate images to highlight unique features.
Defining project scope and detail level
I clarify whether I need a full statue (including pedestal) or just the figure. For games, I may omit ultra-fine details; for visualization, I include them. Setting scope early prevents wasted effort.
Tips:
- Match detail to platform (mobile vs. desktop vs. VR).
- List must-have features and optional embellishments.
- Estimate time and resources based on scope.
Choosing the Right Tools and Platforms
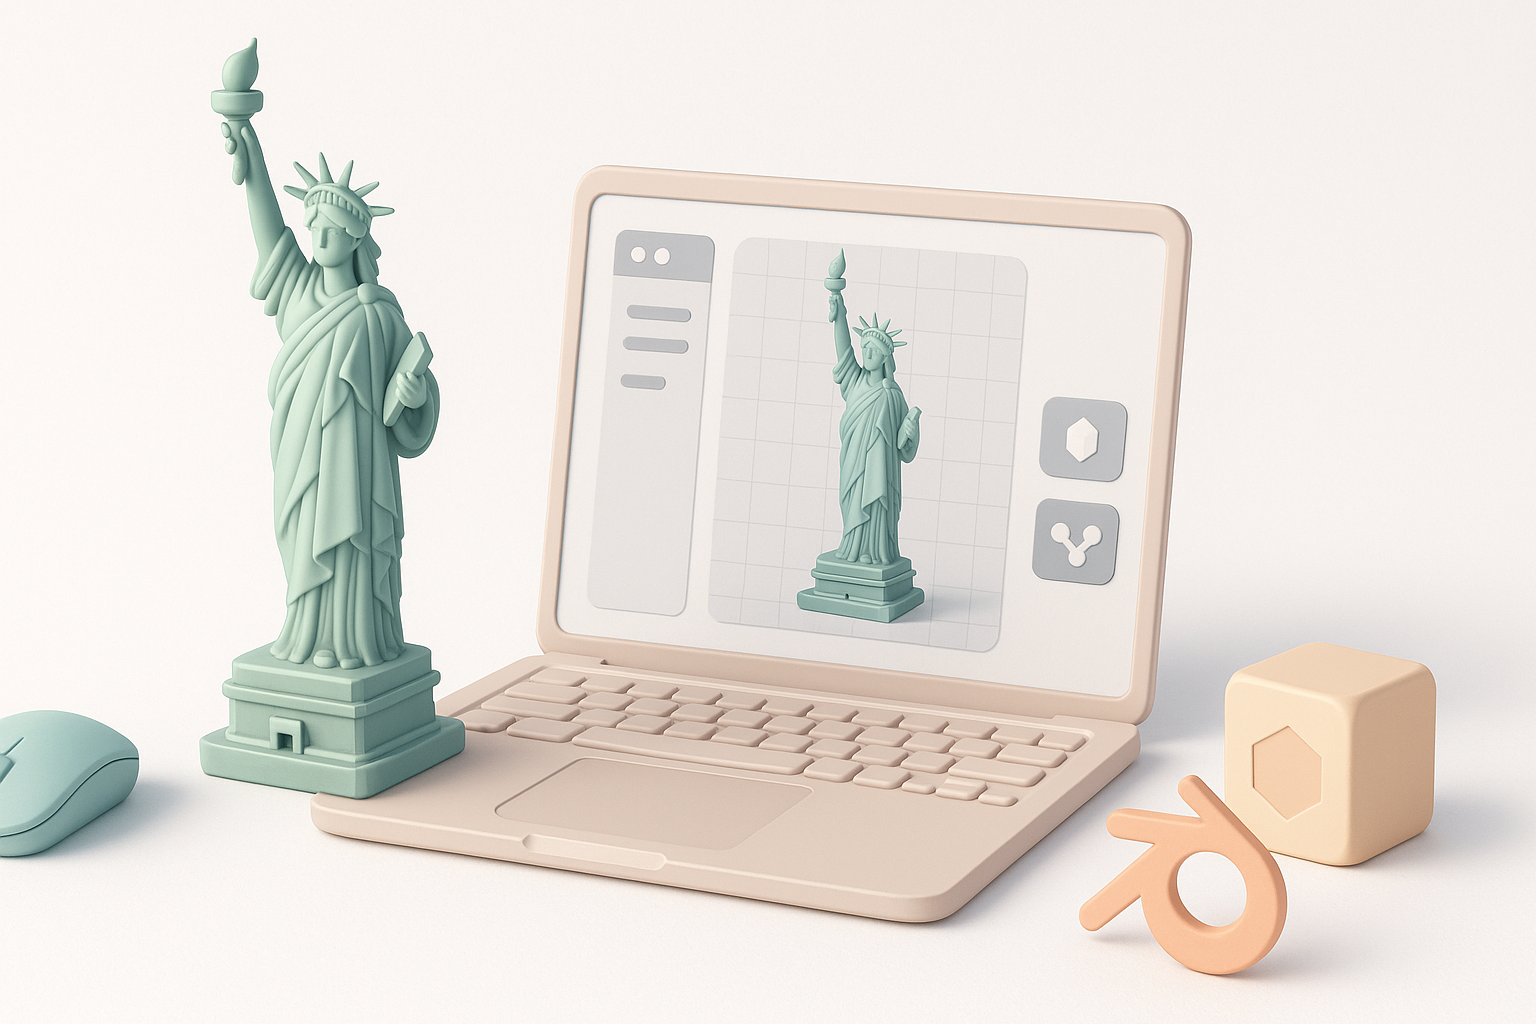
Why I use AI-powered 3D creation tools
AI tools like Tripo accelerate modeling by generating base meshes from text prompts or images, and automating segmentation, retopology, and texturing. This lets me iterate faster and focus on creative decisions.
Benefits:
- Rapid prototyping from sketches or descriptions.
- Automatic mesh cleanup and UV unwrapping.
- Built-in support for rigging and animation.
Comparing traditional and AI-driven workflows
Traditional modeling is manual—sculpting, retopology, texturing—while AI-driven workflows automate these steps. I’ve found AI tools excel for complex, reference-heavy subjects, reducing tedious work and letting me refine details.
Pitfalls:
- AI-generated models may need manual touch-ups.
- Always check mesh integrity and topology before export.
Step-by-Step Workflow: My Process
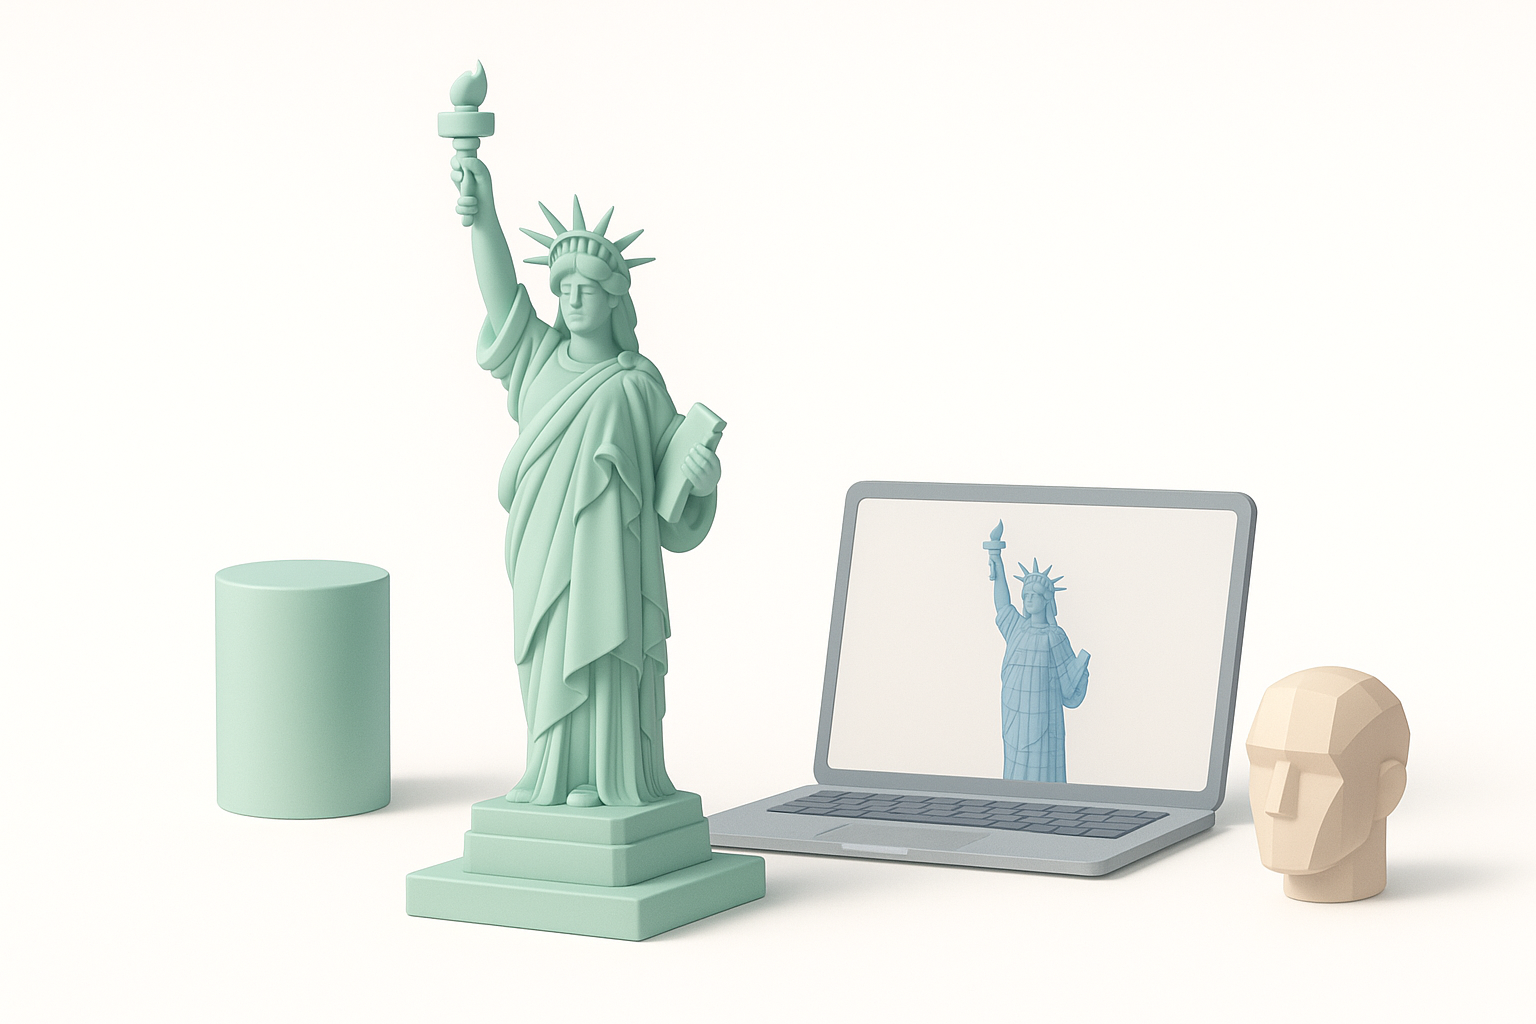
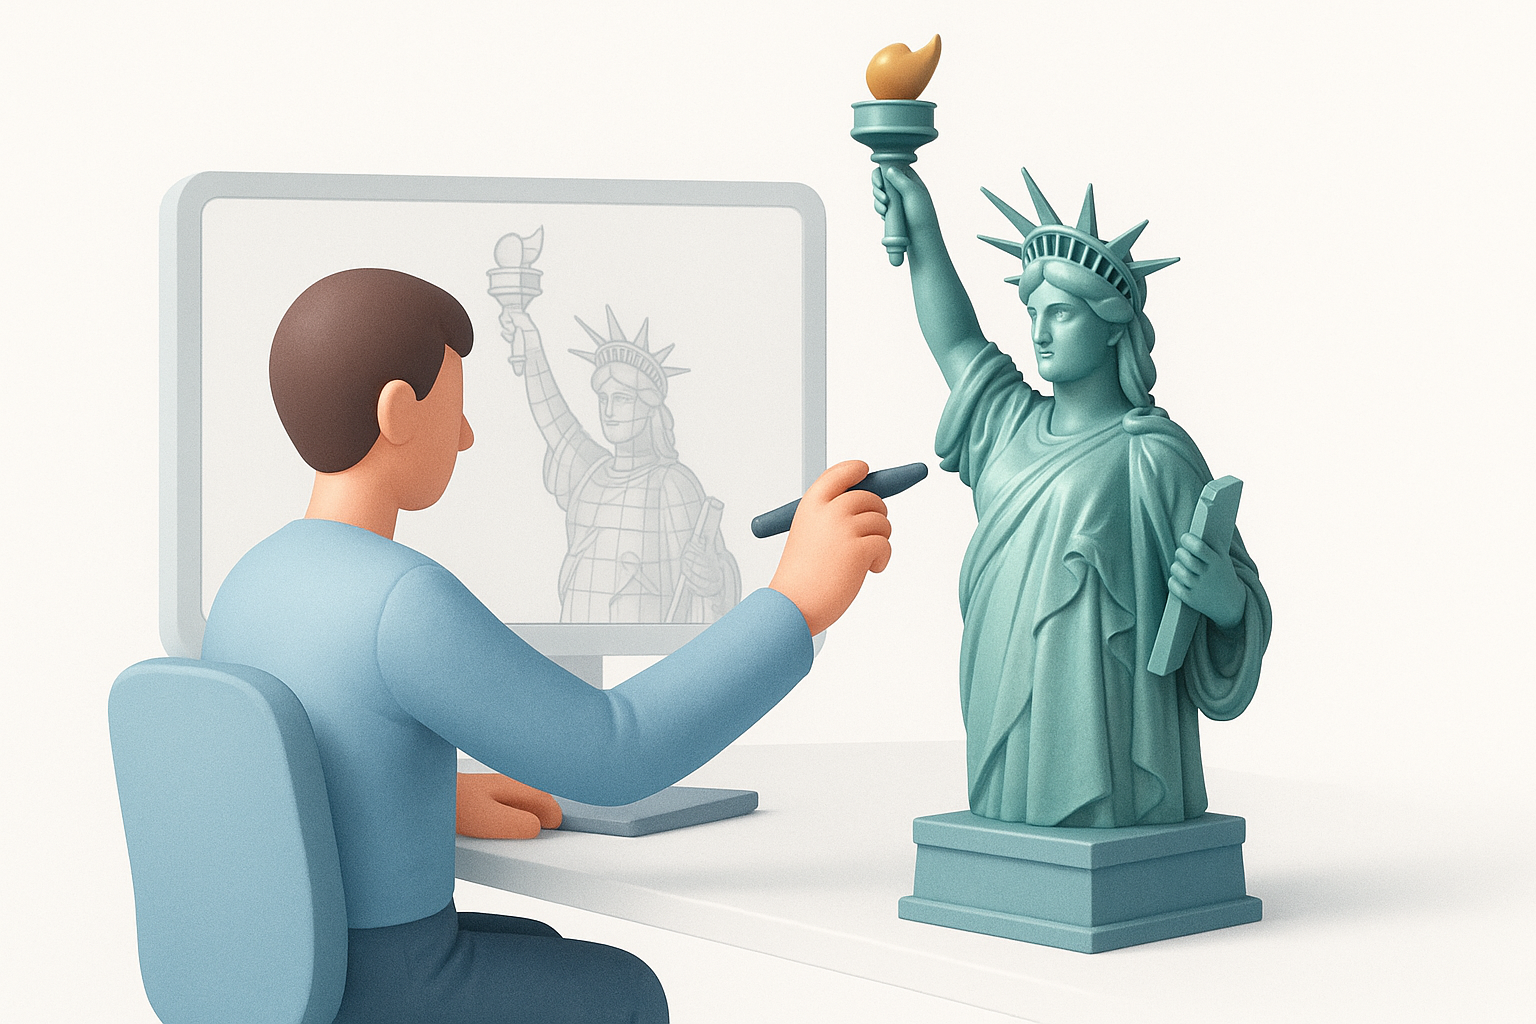
Generating the base model from text or images
I input a detailed prompt or upload reference images into Tripo. The tool generates a base mesh, segmented by logical parts (head, robe, torch). This initial output covers 80% of structural work.
Steps:
- Describe pose, scale, and style in prompt.
- Review generated mesh for proportion and segmentation.
- Adjust prompt or input images as needed for accuracy.
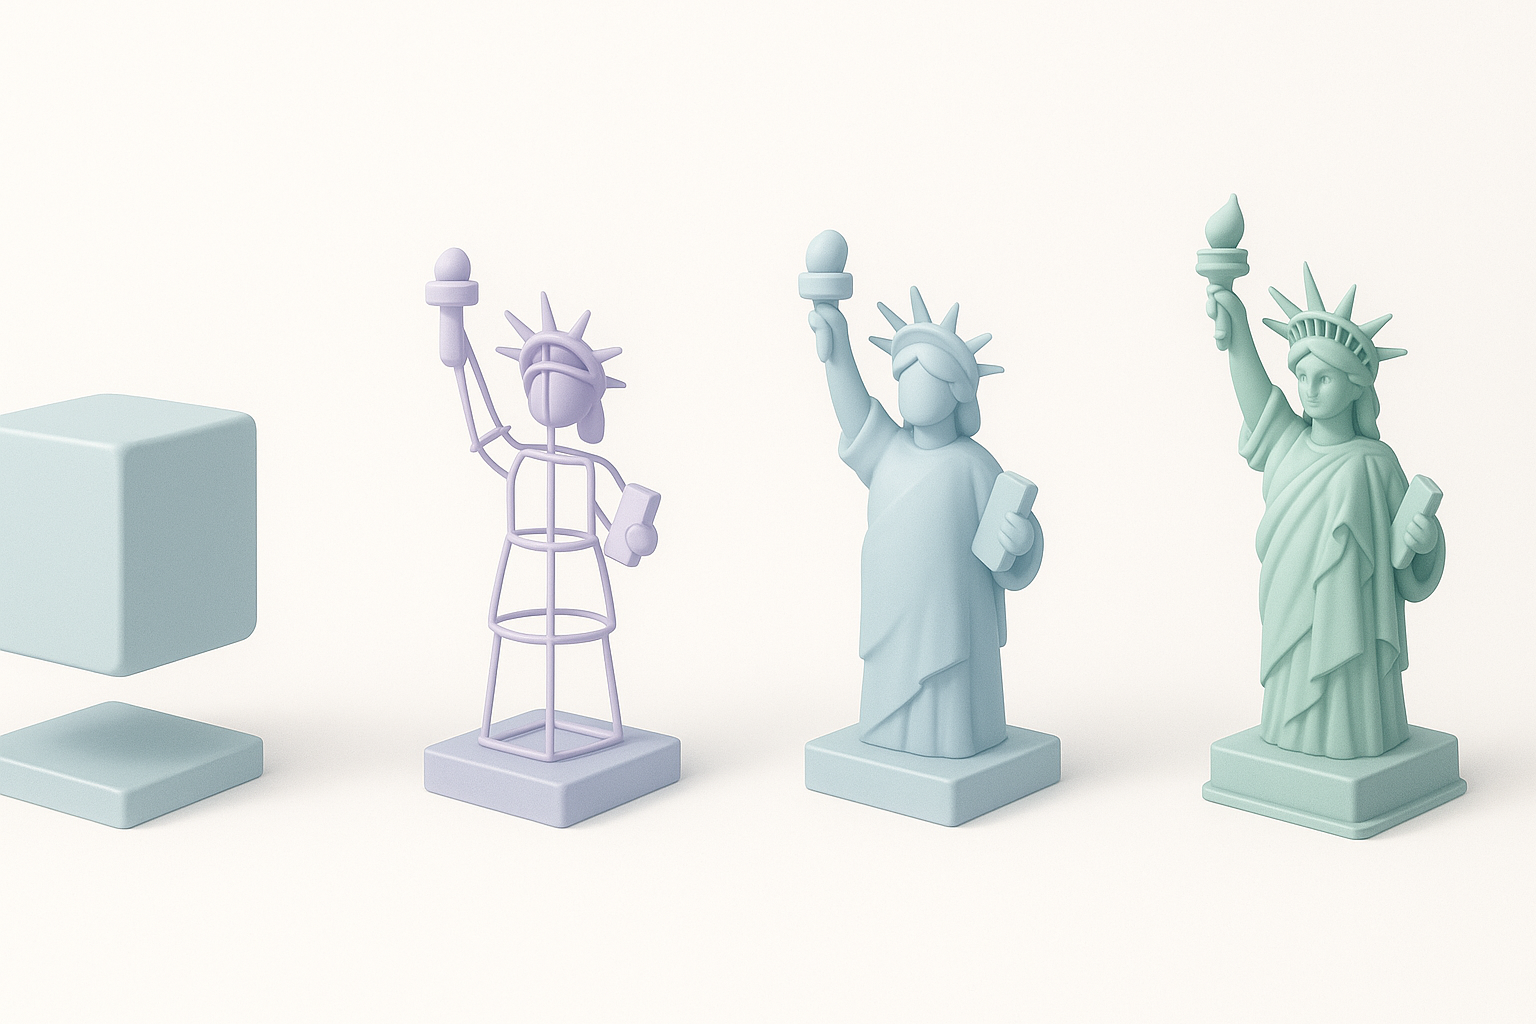
Refining geometry, segmentation, and retopology
Once the base model is ready, I use built-in tools to refine geometry, smooth surfaces, and ensure clean edge loops. Automated retopology saves time, but I manually check areas like the face and hands for artifacting.
Tips:
- Use segmentation tools to isolate and refine parts.
- Run retopology for optimal polygon distribution.
- Manually inspect high-detail areas for errors.
Texturing, Materials, and Realism
Applying realistic textures and materials
Tripo’s texturing tools let me quickly apply base materials (copper, stone, oxidized patina). I supplement with custom maps—normal, roughness, and ambient occlusion—to match real-world references.
Steps:
- Sample colors and surface details from reference images.
- Apply procedural or scanned textures for realism.
- Use layered materials for weathered effects.
Tips for achieving lifelike results
Small details make the difference: subtle color variations, grime, and wear. I use high-res textures and tweak shader settings to mimic how light interacts with the statue’s surface.
Checklist:
- Add edge wear and dirt in crevices.
- Adjust specularity and gloss for aged metal.
- Preview under different lighting conditions.
Exporting, Optimization, and Use Cases
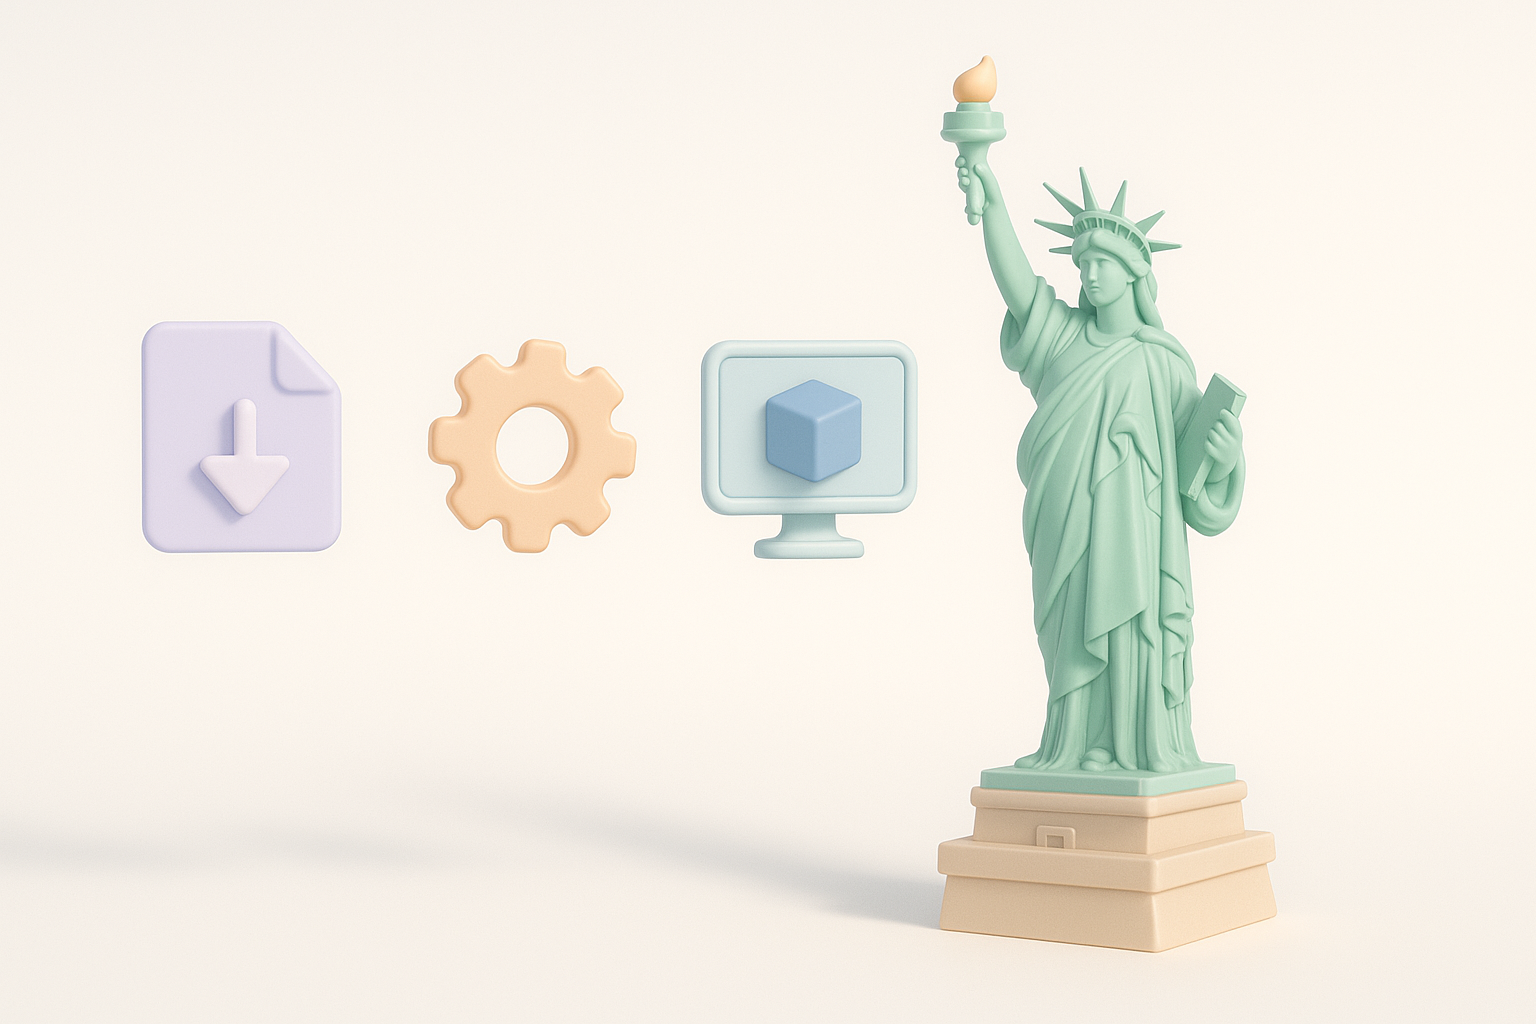
Preparing the model for games, XR, or visualization
I optimize geometry and textures for the target platform. For games, I reduce polygons and bake details into normal maps. For XR, I prioritize lightweight assets and fast load times.
Steps:
- Decimate mesh for performance without losing form.
- Compress textures to suit platform constraints.
- Test model in engine or viewer for compatibility.
Best practices for file formats and optimization
I export in widely supported formats (FBX, GLTF, OBJ), ensuring UVs and textures are correctly mapped. I always check for errors and include LODs (levels of detail) if needed.
Tips:
- Use GLTF for web/XR, FBX for games/animation.
- Verify texture paths and naming conventions.
- Keep backup versions at each major step.
Troubleshooting and Lessons Learned
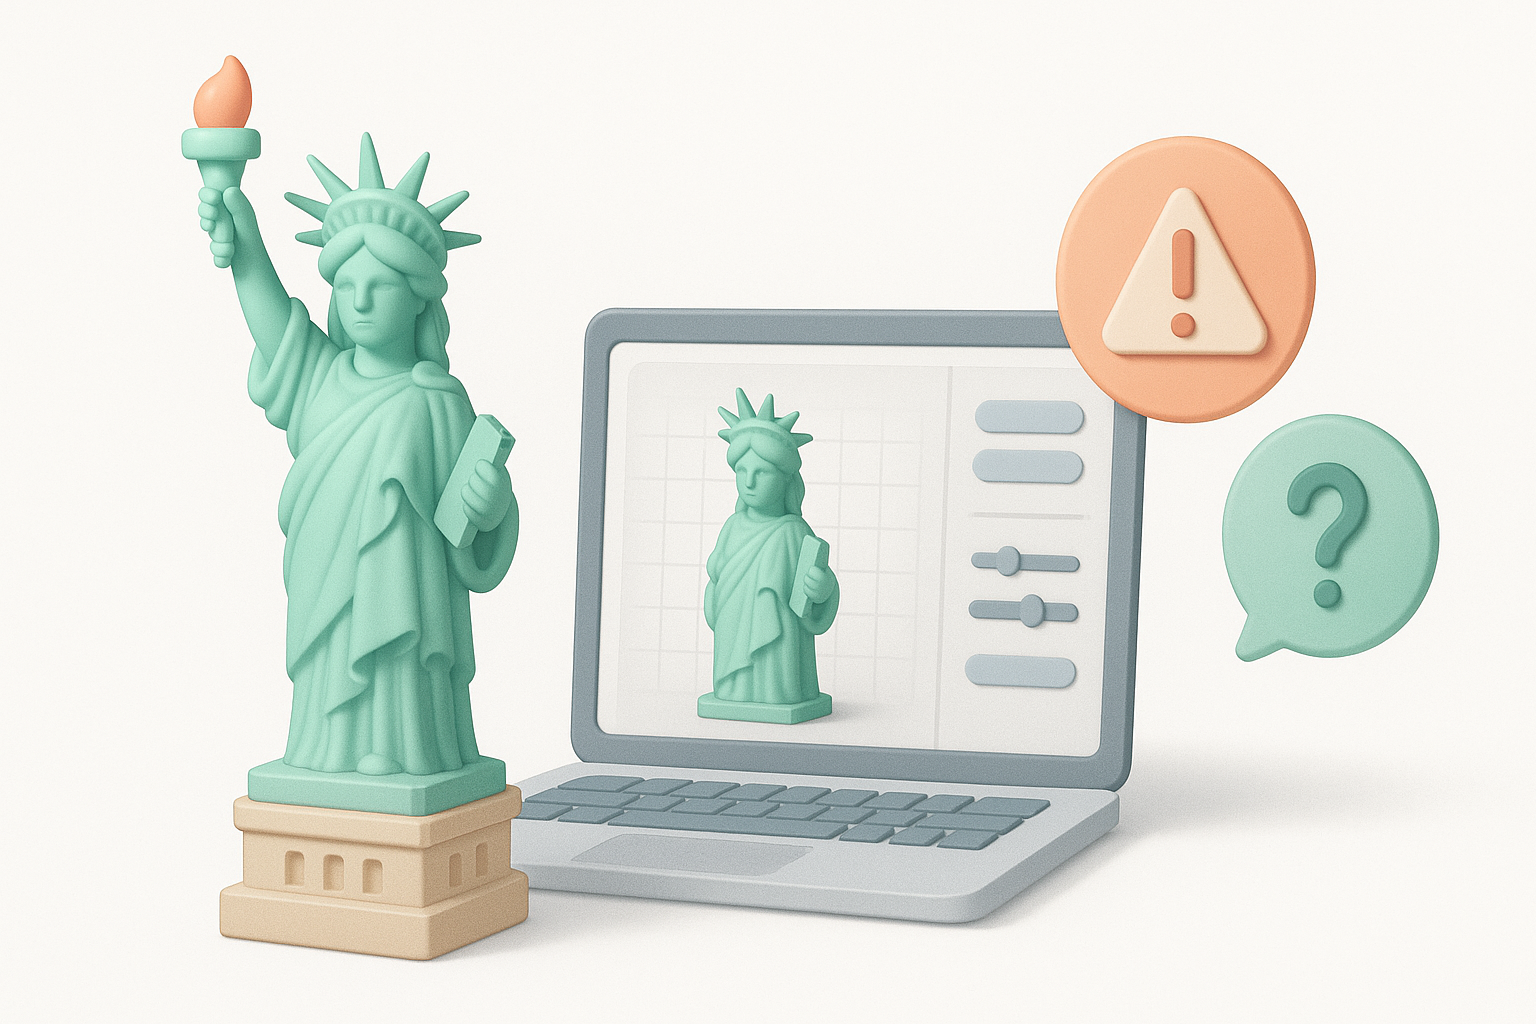
Common challenges and how I solve them
Issues like mesh artifacts, texture stretching, and inaccurate proportions often arise. I address these by iteratively refining the model and using the platform’s diagnostic tools.
Pitfalls:
- Over-reliance on AI can miss subtle errors—always inspect manually.
- Texture seams and UV misalignment are common—use checker maps to test.
What I’ve learned from real-world projects
Each project teaches me to plan more thoroughly and trust iterative workflows. AI tools are invaluable, but hands-on review is essential for quality. Flexibility and attention to detail make the difference between a good and great model.
Takeaways:
- Invest in reference and planning.
- Use AI tools to accelerate, but don’t skip manual checks.
- Adapt workflow based on feedback and platform needs.
If you follow these steps, you’ll create a Statue of Liberty 3D model that’s accurate, optimized, and ready for production. The combination of AI-driven tools and hands-on expertise is key to delivering professional results efficiently.


