Creating a Spyro 3D Model: Workflow, Tips, and Best Practices
Building a 3D model of Spyro is a rewarding project for anyone in gaming, animation, or XR. Over multiple projects, I’ve refined a workflow that balances creative control with speed, using both manual techniques and AI-powered tools like Tripo. In this article, I’ll walk through my end-to-end process: from planning and reference gathering, through sculpting and texturing, to rigging and animation. Whether you’re a beginner or a seasoned artist, you’ll find actionable tips and workflow insights to help you create a production-ready Spyro model.
Key takeaways:
- Start with strong references and clear style/LOD decisions
- Block out forms before diving into details
- Leverage AI tools for rapid prototyping, but refine manually for quality
- Optimize topology and UVs early to save time later
- Rigging basics are essential for animation, even for static poses
- Always tailor workflow for your target platform (game, film, XR)
Executive Summary and Key Takeaways

What to Expect When Modeling Spyro
Modeling Spyro involves a blend of artistic interpretation and technical workflow. The process can be as simple or complex as your project's needs, but always starts with thorough planning and solid references. I’ve found that balancing stylized forms with functional topology is key, especially if you plan to animate or use the model in real-time engines.
Essential Tools and Approaches
My toolkit includes traditional 3D software for modeling and sculpting, texture painting tools, and AI-powered platforms like Tripo for rapid iterations. I alternate between manual and AI-assisted steps, depending on deadlines and required fidelity. A well-organized folder of references and a checklist for each stage keeps the process efficient.
Planning and Reference Gathering for Spyro
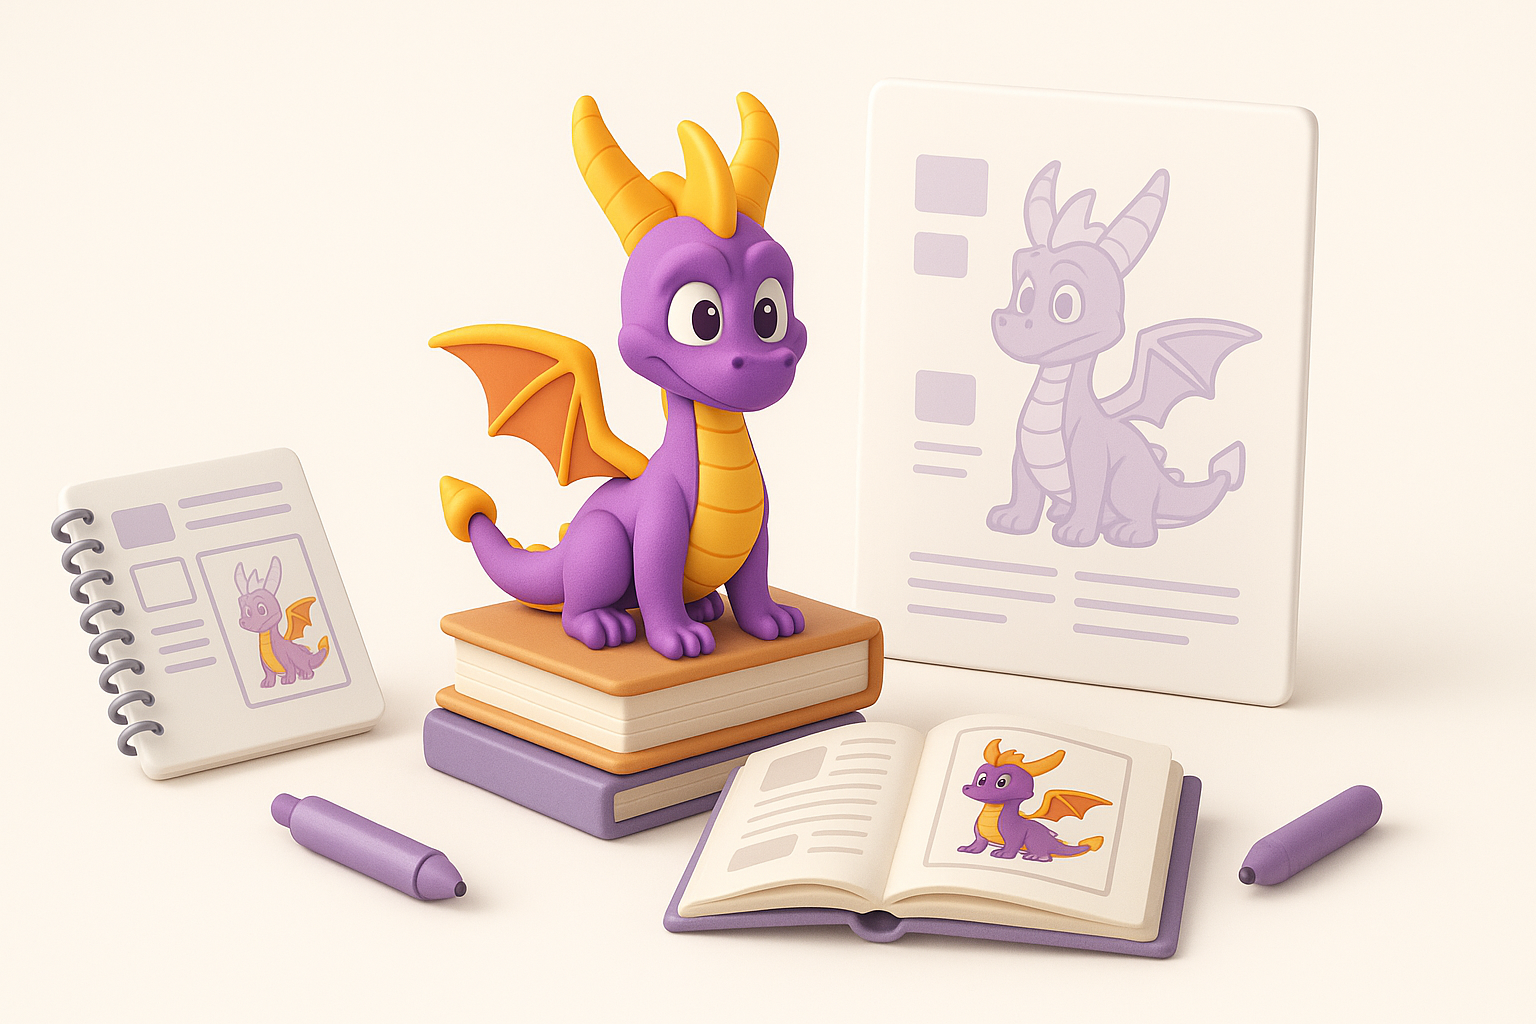
Collecting High-Quality Reference Images
I always begin by gathering as many Spyro references as possible: official art, in-game screenshots, fan art, and even toy photos. High-resolution, orthographic views (front, side, back) are especially helpful for accurate proportions.
Checklist:
- Official character sheets or turnarounds
- Close-ups of key features (horns, wings, scales)
- Style guides from the target game or film
Defining Style and Level of Detail
Before modeling, I define the model’s purpose: is it for a game, cinematic, or AR/VR? This determines the level of detail (LOD) and the style (cartoony, realistic, hybrid). For Spyro, I usually aim for a stylized but functional mesh, ensuring details like scales and claws are readable but not over-modeled.
Tips:
- Decide on polycount early based on platform constraints
- Sketch or moodboard to clarify the visual direction
3D Modeling Workflow: My Step-by-Step Process
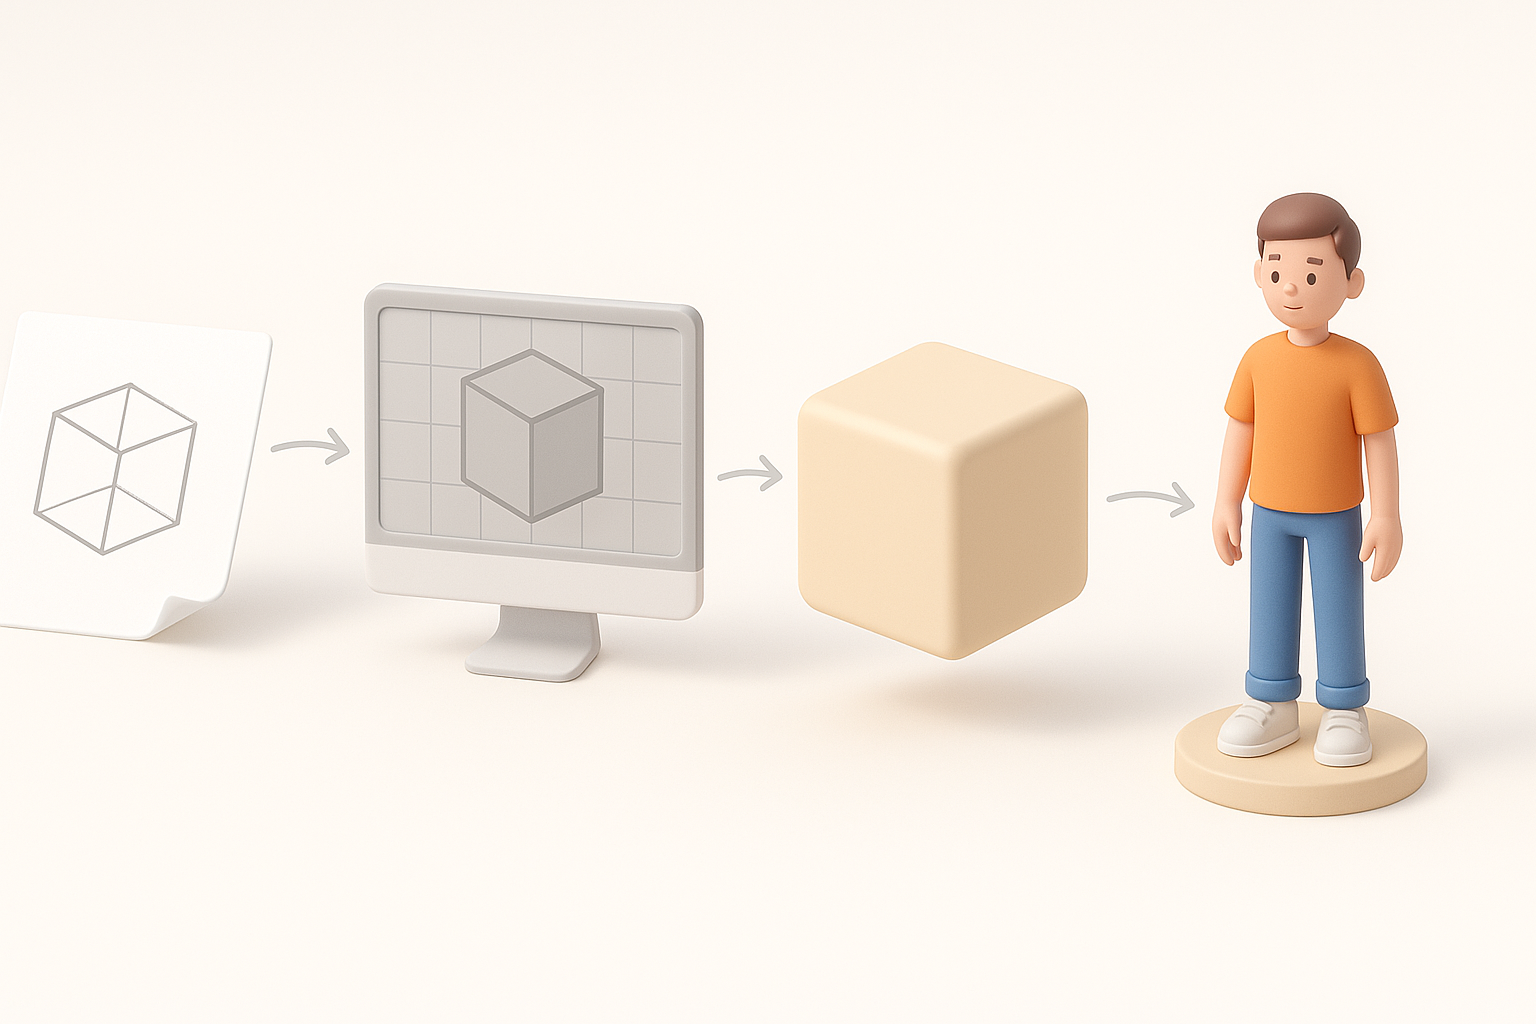
Blocking Out the Base Mesh
I always start with a low-res blockout, focusing on silhouette and proportions. This can be done in traditional 3D software or quickly prototyped using Tripo by inputting a description or reference sketch. The goal is to establish the overall shape before adding detail.
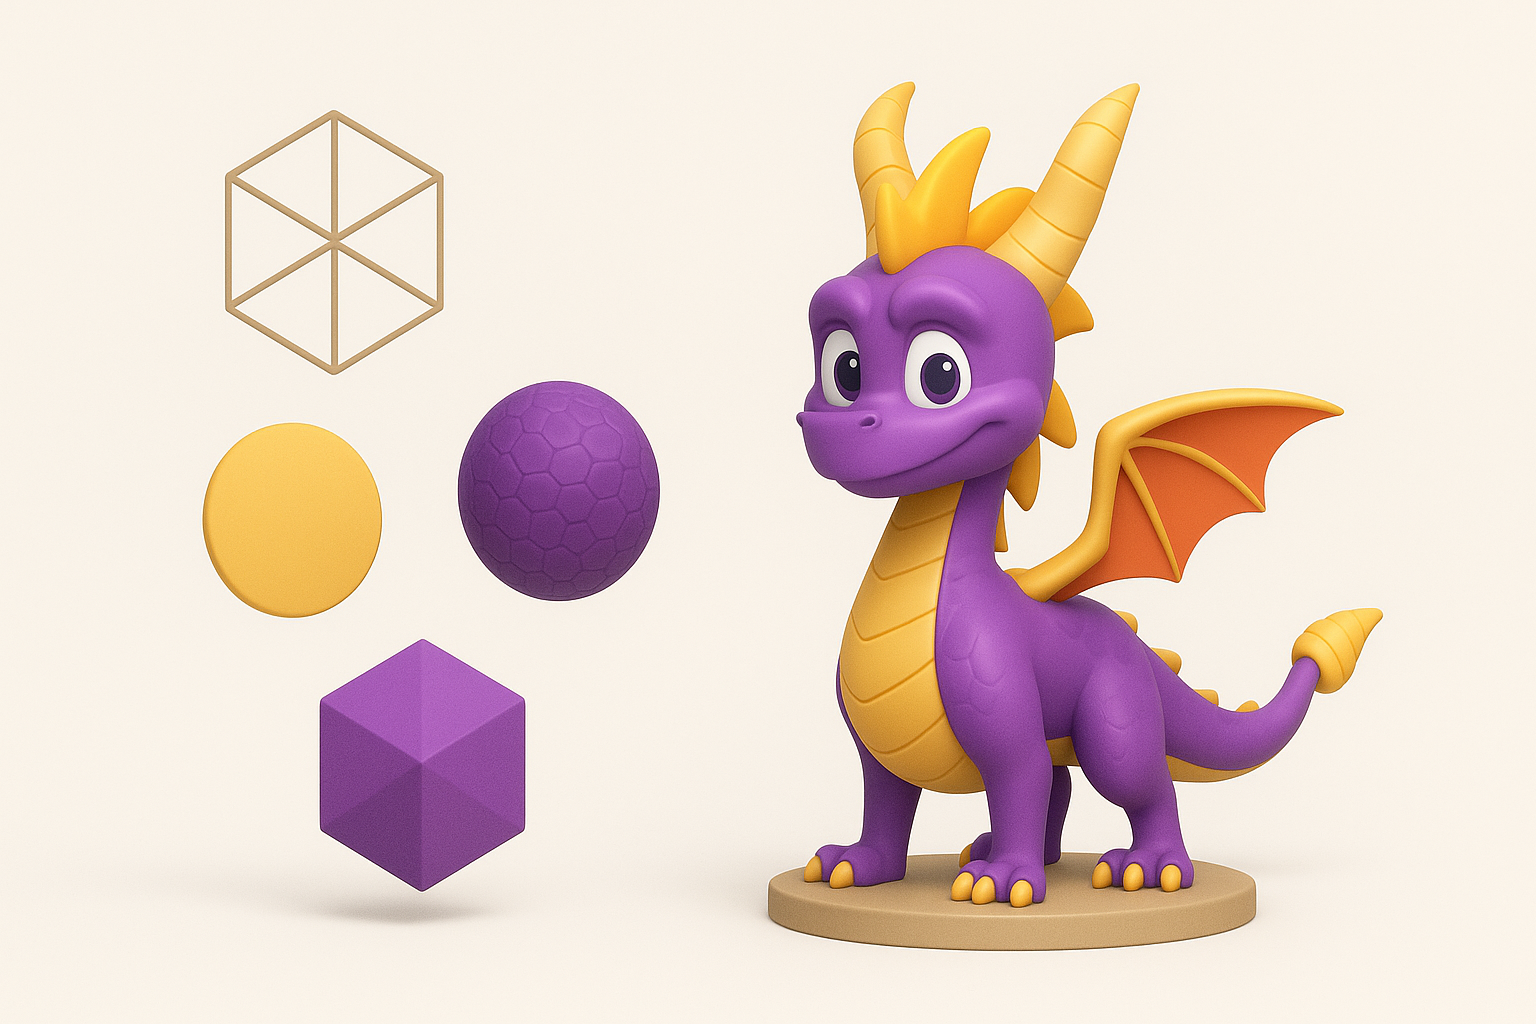
Steps:
- Create simple primitives for head, body, limbs, wings
- Adjust proportions to match references
- Merge and refine primary forms
Sculpting and Refining Spyro’s Features
Once the base mesh feels right, I move to sculpting. Here, I add secondary forms: facial features, muscle definition, and iconic elements like Spyro’s horns and wings. For stylized characters, exaggeration is important—don’t be afraid to push shapes.
What I’ve found:
- Use symmetry tools to speed up work
- Save iterations so you can revert if needed
- Focus on clean topology if you plan to animate
Texturing and Materials: Bringing Spyro to Life
UV Unwrapping and Texture Painting
Good UVs are crucial for clean textures. I unwrap the model carefully, minimizing seams in visible areas. For painting, I use a combination of hand-painted textures and procedural maps, depending on the style.
Checklist:
- Lay out UV islands logically (head, body, wings)
- Use 2K or 4K textures based on target platform
- Test textures on the model early to catch stretching
Choosing Colors and Material Properties
Spyro’s palette is iconic: purples, golds, and oranges. I sample colors from references and tweak them for vibrancy. For materials, I set up basic shaders—diffuse, roughness, and a subtle subsurface effect for a cartoony look.
Tips:
- Avoid overly glossy materials for stylized characters
- Add subtle gradients for depth
Rigging and Animation Considerations
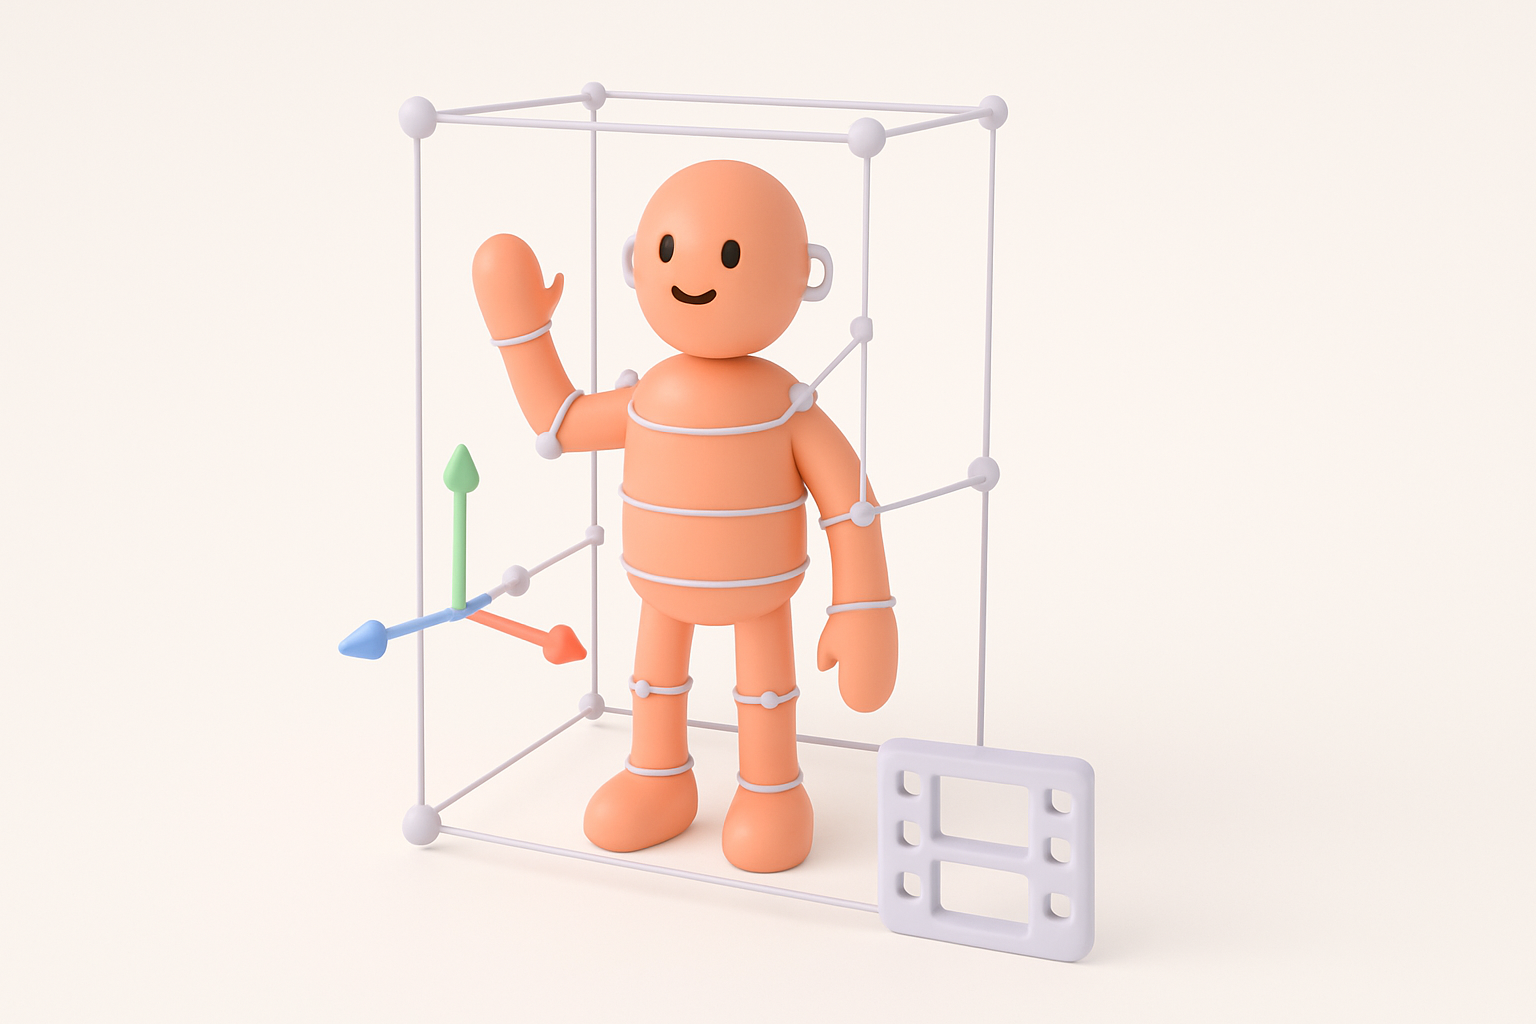
Setting Up a Basic Rig for Spyro
Even if animation isn’t the main goal, a simple rig helps with posing and presentation. I set up a skeleton with controls for head, wings, tail, and limbs. Weight painting is critical—smooth deformations are a must for expressive poses.
Steps:
- Place bones for major joints
- Bind mesh and adjust weights
- Add IK/FK controls for flexibility
Animating Key Poses and Expressions
For portfolio or gameplay, I animate a few signature Spyro poses: idle, flying, and a playful expression. I focus on silhouette and exaggeration, using reference videos for timing.
Pitfalls to avoid:
- Overcomplicating the rig for simple needs
- Ignoring facial expressions—Spyro’s personality is in the face
Best Practices and Lessons Learned

Common Pitfalls and How I Avoid Them
- Rushing the blockout: I always spend extra time here; fixing proportions later is much harder.
- Ignoring topology: Clean loops are essential for animation and deformation.
- Over-detailing: Especially for games, keep polycount and texture sizes in check.
Optimizing for Games, Film, or XR
I tailor my workflow for the end use:
- For games: prioritize efficient topology, texture atlases, and LODs.
- For film: focus on high-res details and displacement maps.
- For XR: optimize for performance (polycount, texture compression).
Tips:
- Test the model in the target engine early
- Bake normal and AO maps for extra detail without extra geometry
AI-Powered Tools and Alternative Methods

How I Use Tripo for Fast 3D Model Generation
When I need a quick prototype or base mesh, I use Tripo to generate a starting point from text prompts or sketches. This saves hours on initial blocking, especially for stylized characters like Spyro. I always review and refine the output, ensuring it meets my quality standards.
Workflow:
- Input a detailed prompt and reference images
- Review generated mesh for accuracy
- Retopologize and refine as needed
Comparing Manual and AI-Assisted Workflows
AI tools accelerate early stages and help with ideation, but manual refinement is still essential for production quality. I often combine both: generate a base with AI, then sculpt, texture, and rig manually.
What I’ve learned:
- AI is a great time-saver, but don’t skip manual checks
- Use AI-generated assets as a base, not a final product
By combining traditional techniques with AI-powered tools, I’ve found I can create high-quality 3D models like Spyro faster and with greater creative freedom. The key is to stay flexible, leverage the strengths of each approach, and always keep the end use in mind.


