How I Create Sonic Arms 3D Models: Workflow & Best Practices
Creating production-ready Sonic arms 3D models requires a blend of accuracy, speed, and technical know-how. Over the years, I’ve refined a workflow that leverages AI-powered tools for rapid prototyping while ensuring the final asset meets the demands of games, XR, and animation. In this article, I’ll share my end-to-end process—from reference gathering to optimization—and highlight practical tips, pitfalls, and best practices for anyone looking to streamline their 3D modeling pipeline.
Key takeaways:
- Start with solid references and clear concept sketches to avoid rework.
- Use AI-powered platforms like Tripo for rapid base mesh generation and segmentation.
- Always retopologize for clean, animation-friendly geometry.
- Prioritize efficient UV mapping and texturing for stylized Sonic arms.
- Rigging and basic animation tests catch issues early.
- Optimize and export models specifically for your target platform.
Executive Summary: Key Takeaways for Sonic Arms 3D Modeling
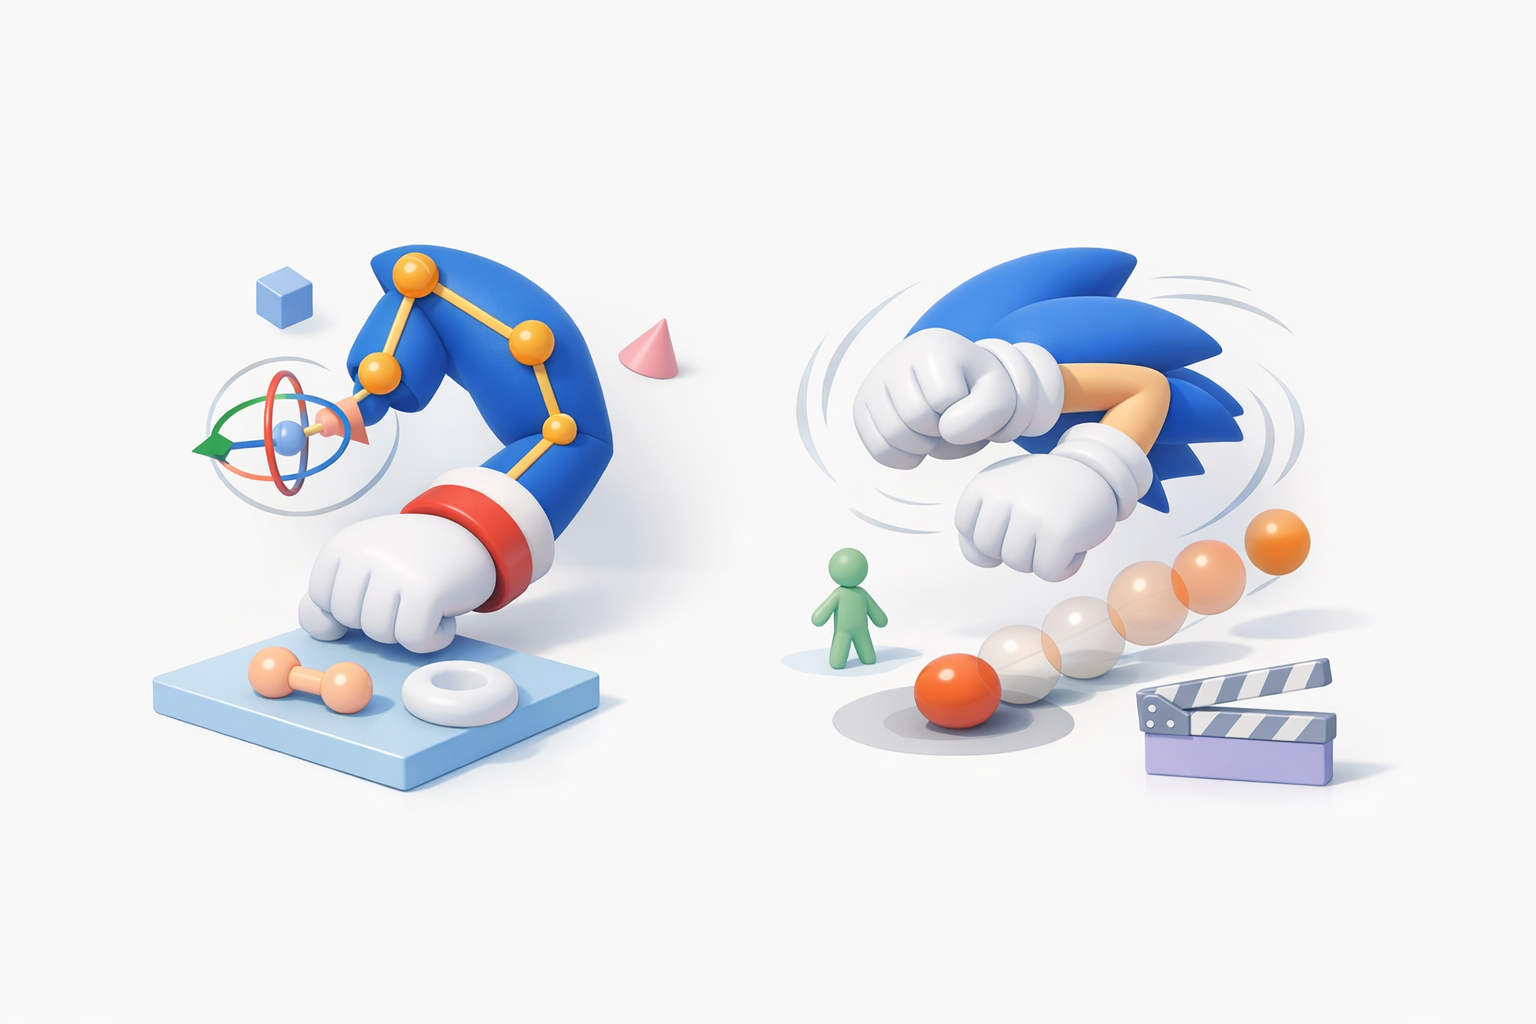
What Makes Sonic Arms Unique in 3D Modeling
Sonic arms present unique challenges due to their stylized proportions, simple yet iconic geometry, and the need for smooth deformation during animation. Unlike generic humanoid limbs, Sonic’s arms require exaggerated shapes and clean topology to maintain their cartoon-like appeal. I focus on silhouette accuracy and edge flow to ensure both visual fidelity and technical usability.
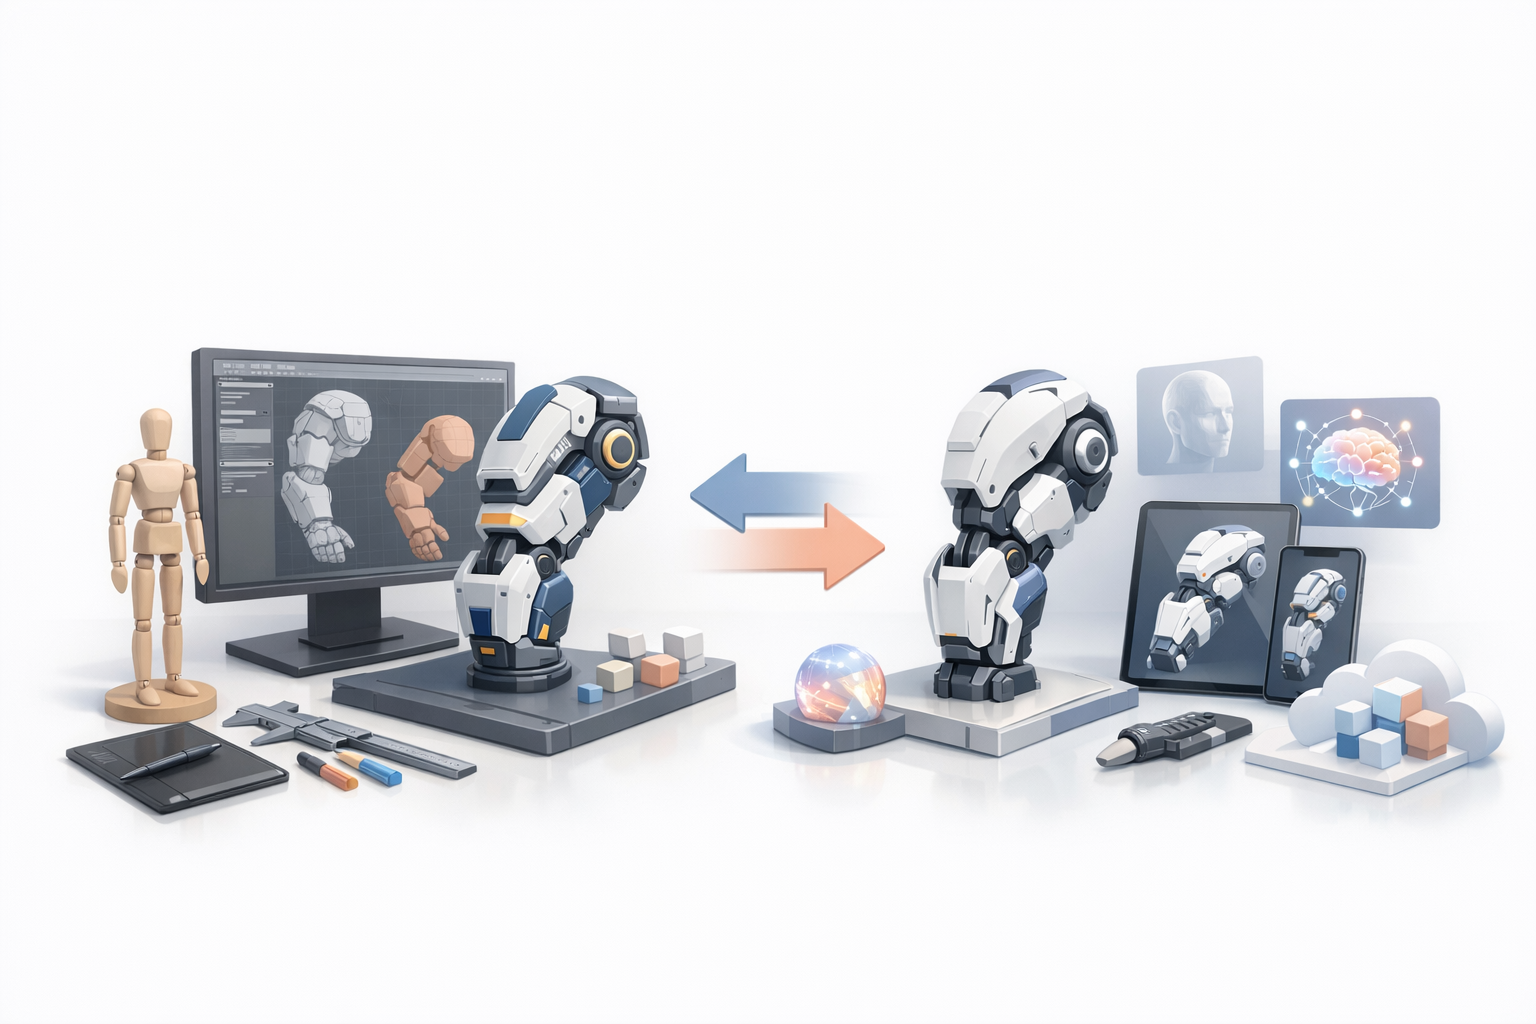
My Approach to Efficient Model Creation
I rely on a hybrid workflow: AI-powered platforms for initial model generation and segmentation, followed by manual refinement. This approach drastically reduces modeling time while allowing for creative control. I always plan ahead for texturing and rigging requirements, ensuring the model is production-ready from the start.
Reference Gathering and Concept Planning
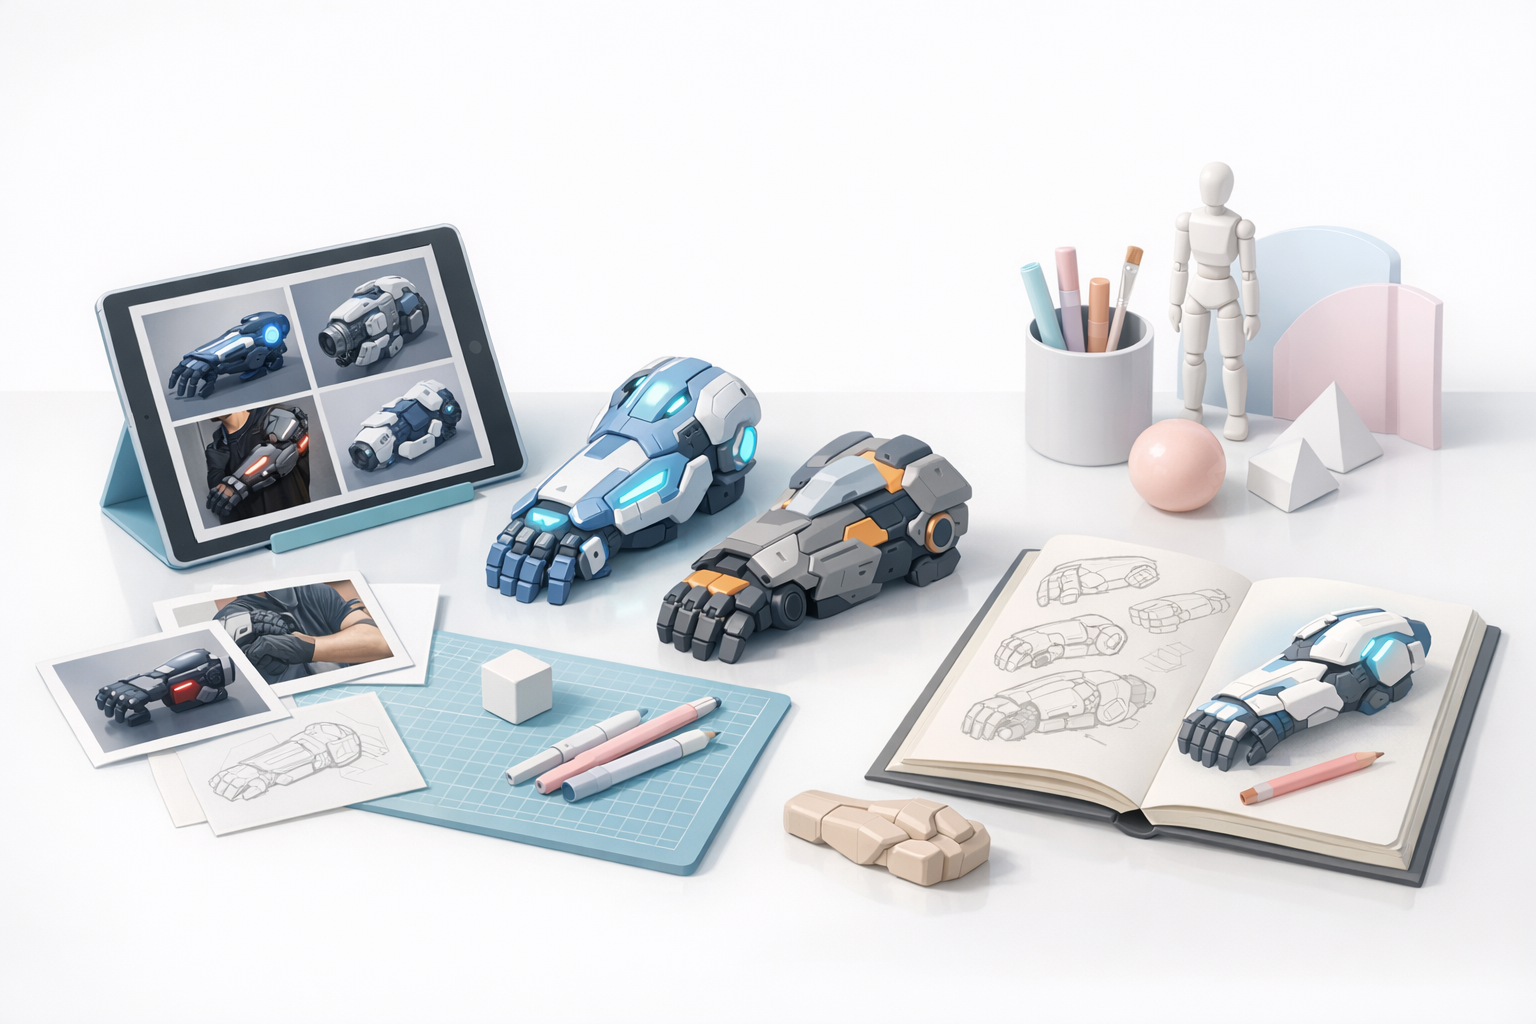
Selecting Accurate Sonic Arms References
Reference gathering is non-negotiable. I collect:
- Official character art and model sheets
- High-res screenshots from games and shows
- Fan models (for alternate angles, but always cross-checked with official sources)
Tips:
- Organize references by angle (front, side, 3/4) for consistency.
- Watch out for off-model fan art; stick to official proportions.
Sketching and Ideation Techniques
Before touching 3D, I sketch the arms in 2D—either on paper or digitally. This helps clarify proportions, joint placement, and stylized curves.
My checklist:
- Block out shoulder, elbow, and wrist positions.
- Emphasize the iconic “tube” shape and glove cuff.
- Annotate twist and bend areas for later rigging.
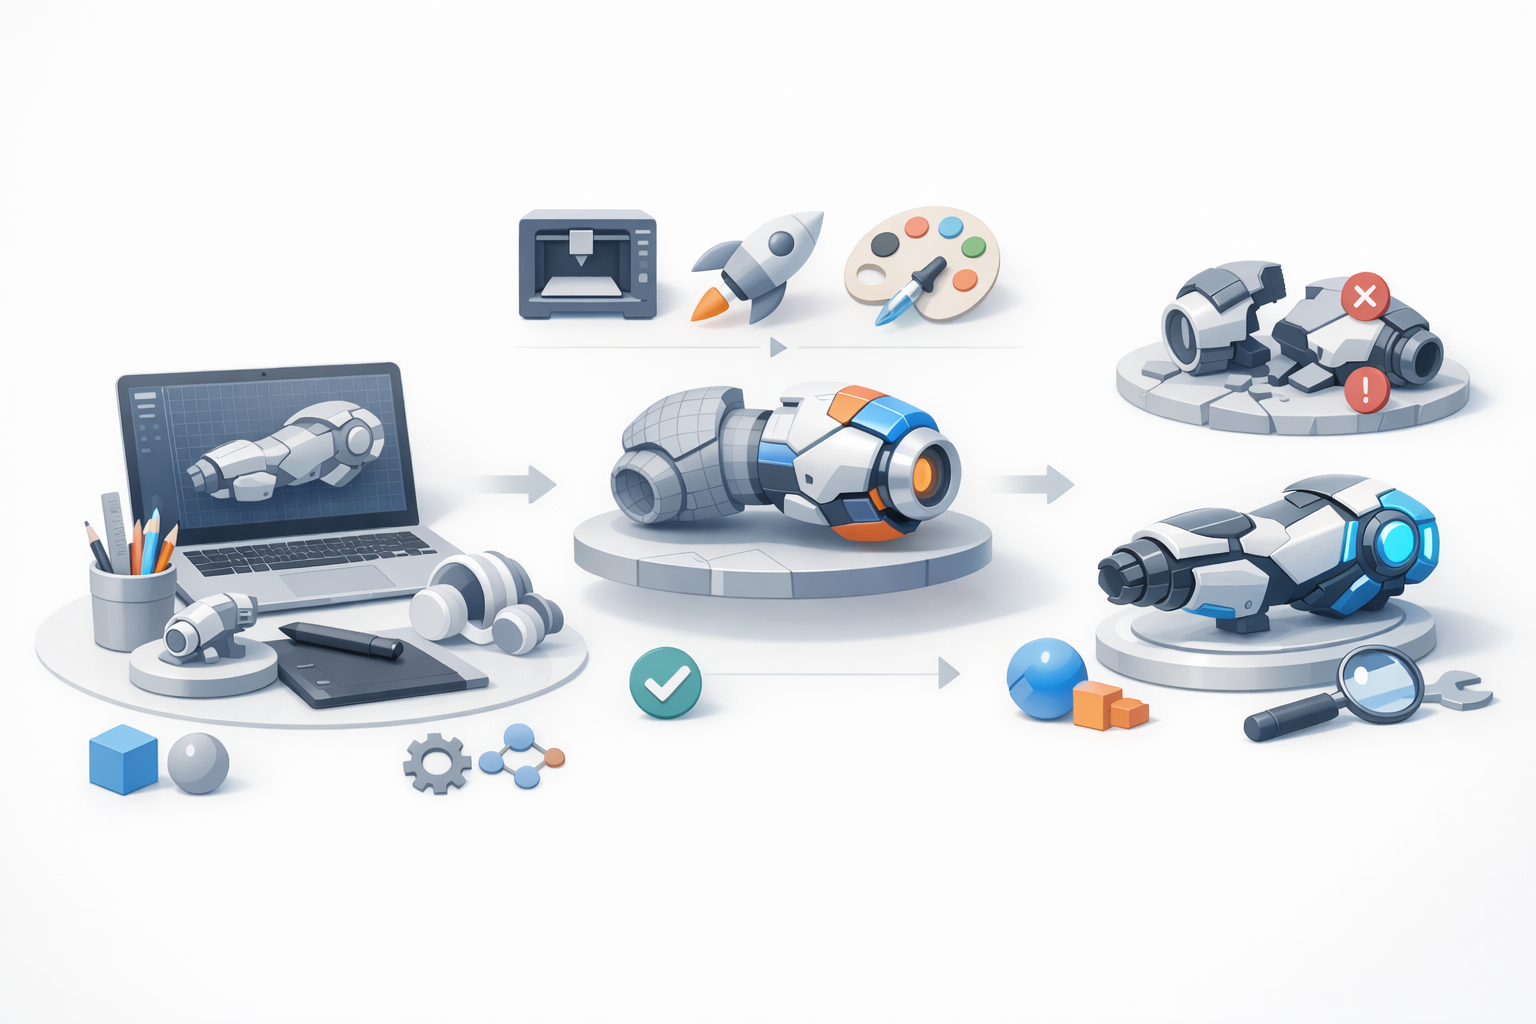
3D Modeling Workflow: Tools and Techniques
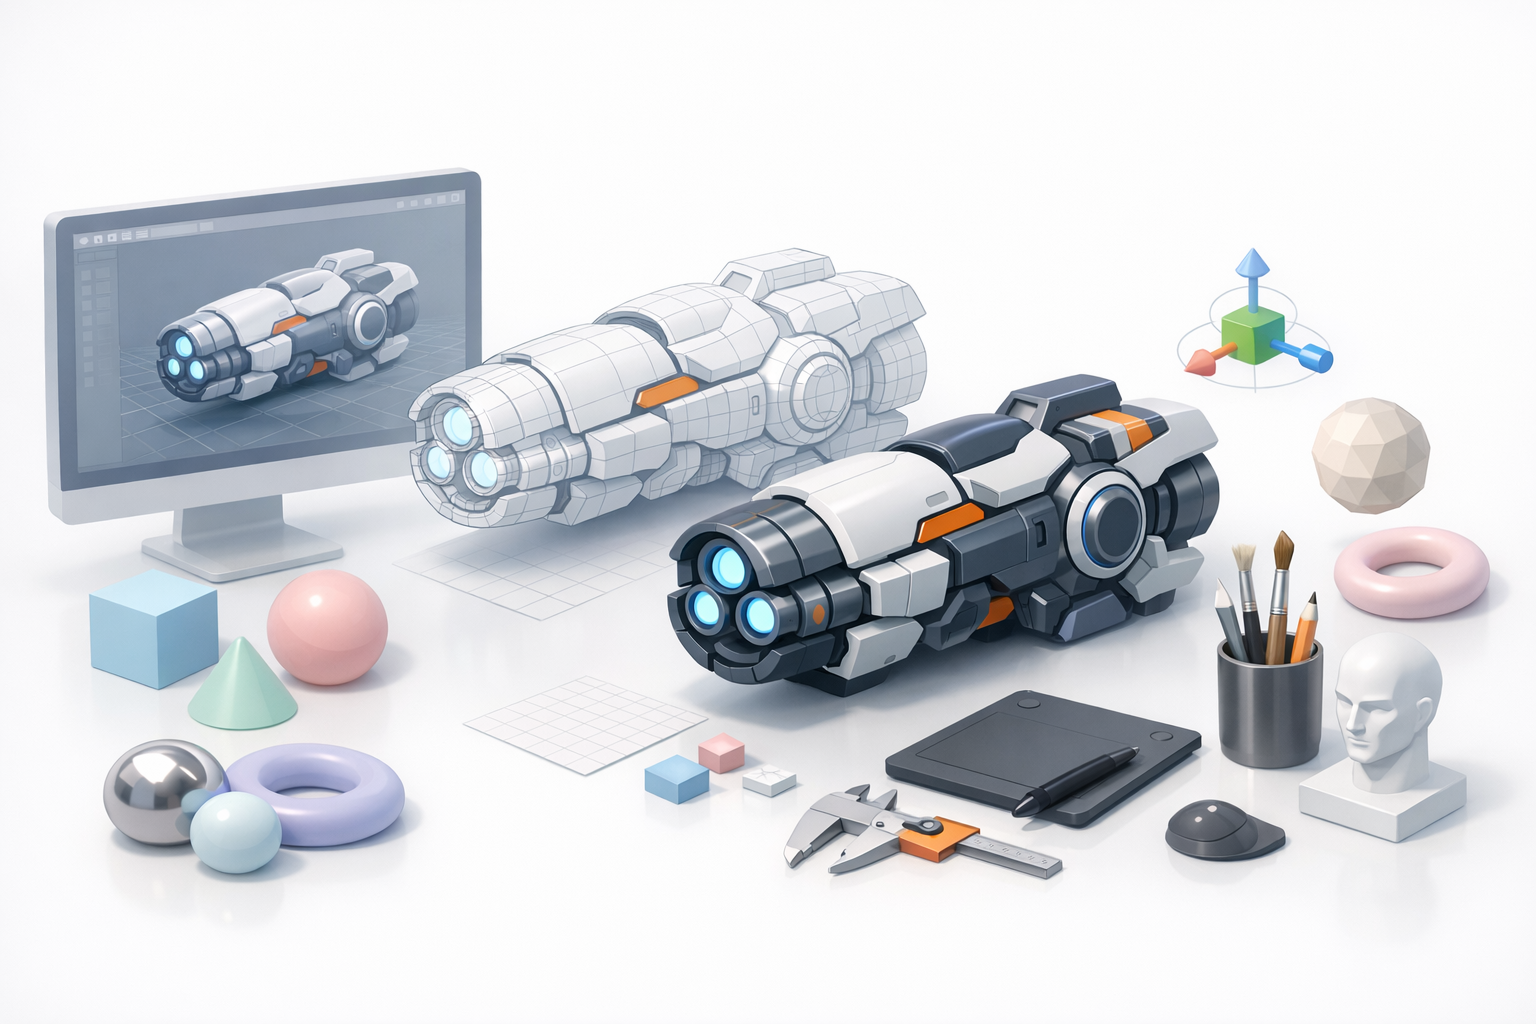
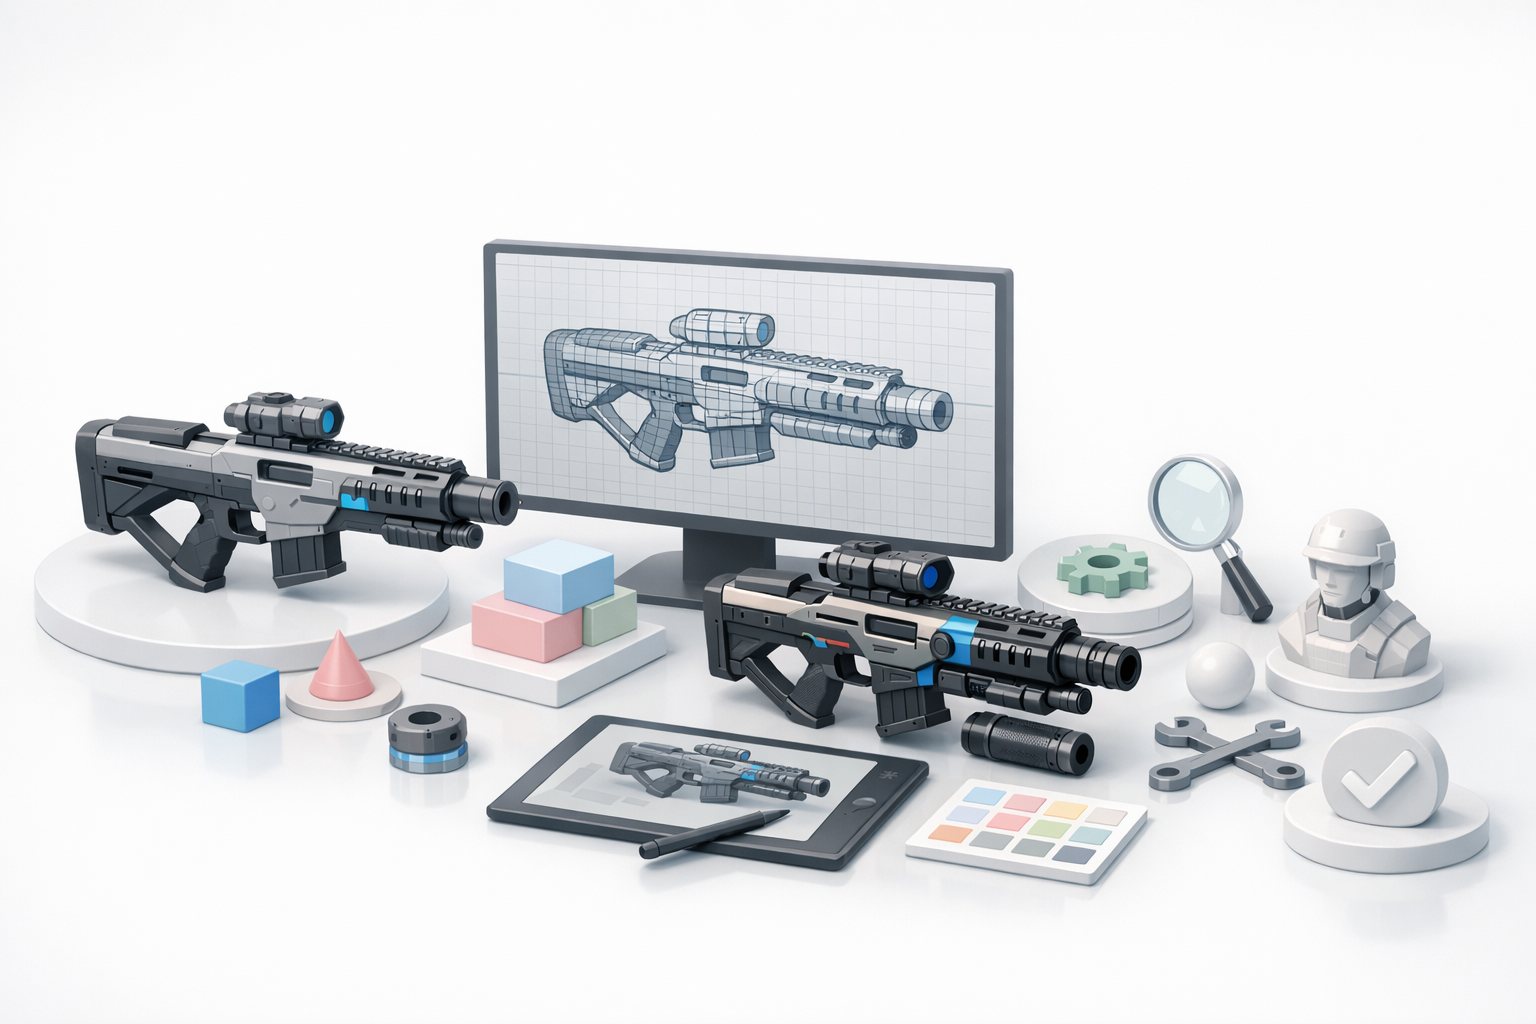
Using AI-Powered Platforms for Rapid Modeling
I use Tripo for fast base mesh creation. By inputting my concept sketches or reference images, I get a segmented, production-ready mesh in seconds.
Workflow:
- Upload reference or sketch.
- Let Tripo generate a base mesh with intelligent segmentation.
- Review and make quick proportion tweaks.
Pitfalls: AI-generated meshes sometimes need manual adjustment for stylized shapes—always double-check the silhouette.
Manual Modeling vs. Automated Solutions
While AI tools offer speed, I often switch to manual modeling for:
- Fine-tuning edge loops around elbows and wrists.
- Sculpting subtle stylizations (e.g., glove wrinkles).
Best practice: Strike a balance—use AI for the heavy lifting, then polish by hand for signature details.
Retopology, Segmentation, and Texturing
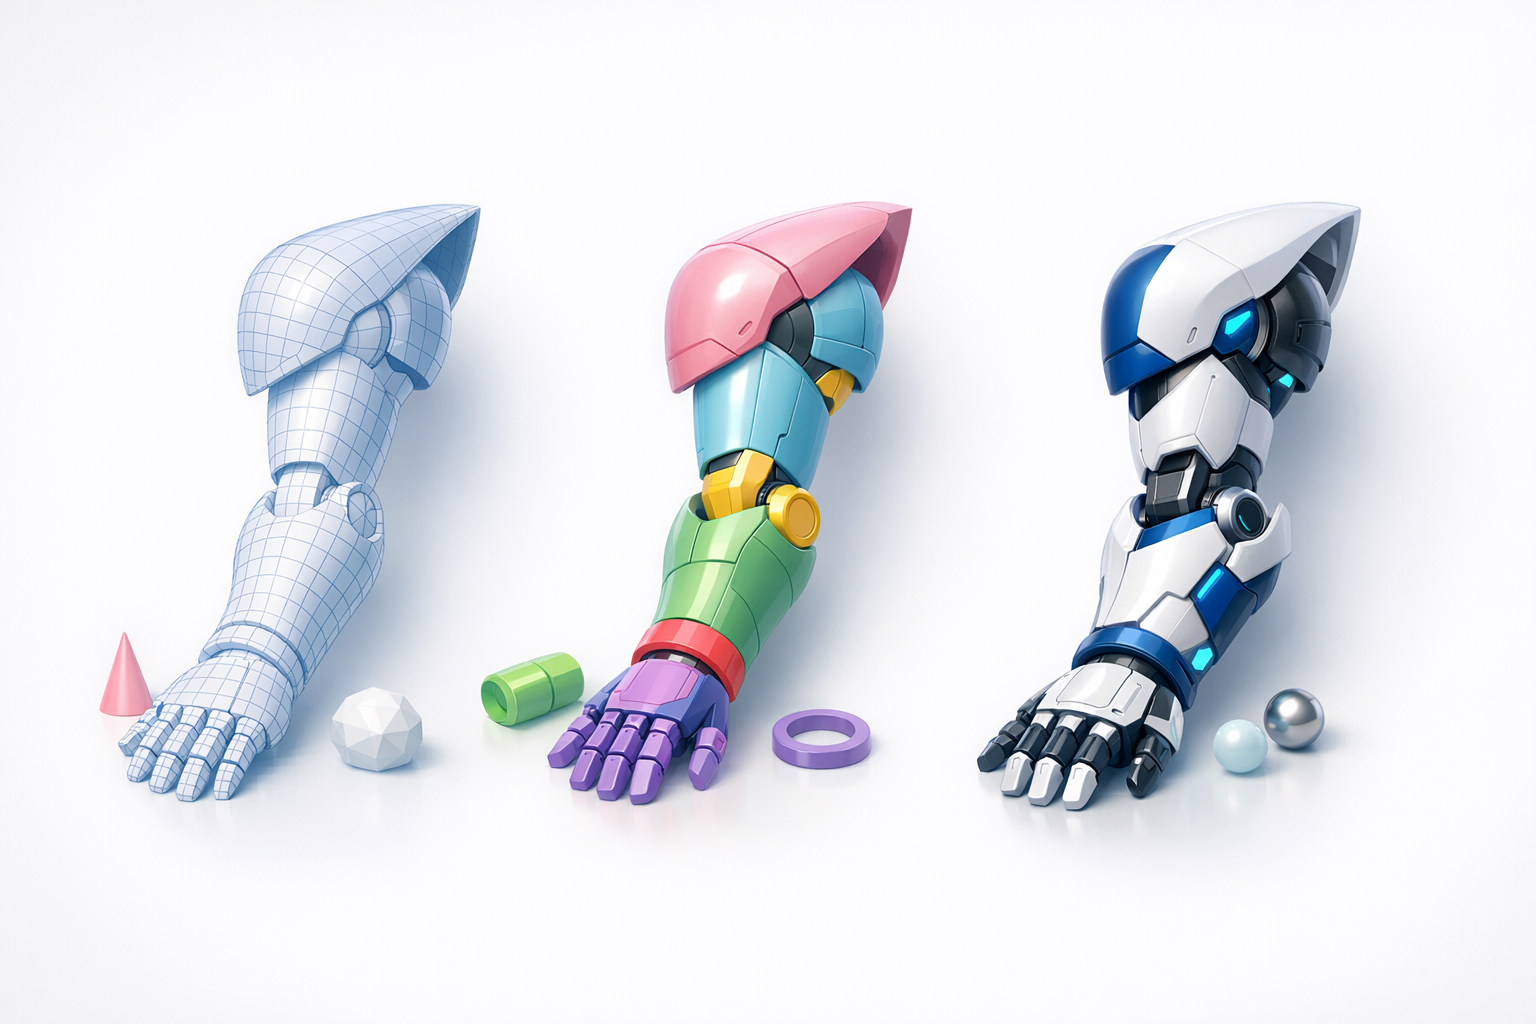
Best Practices for Clean Retopology
Clean topology is critical for animation. I use Tripo’s retopology tools, then manually adjust:
- Ensure edge loops follow the arm’s natural bends.
- Keep polycount low but sufficient for smooth curves.
- Avoid triangles and n-gons near joints.
Checklist:
- Test deformations with basic bends.
- Check for even quad distribution.
Applying Textures and Materials for Sonic Arms
Sonic arms are simple: flat colors, clean lines, and minimal shading. I bake AO maps and paint textures in a stylized manner.
Steps:
- UV unwrap with minimal seams (usually inside the arm).
- Apply flat blue or tan base color.
- Add glove and cuff details as separate material IDs.
Pitfall: Overcomplicating textures—keep it simple for authenticity.
Rigging and Animation for Sonic Arms
Efficient Rigging Strategies
I rig directly in my 3D suite, focusing on:
- Proper joint placement (shoulder, elbow, wrist).
- Spline IK for smoother, cartoonish bending.
- Weight painting for clean deformations.
Tips:
- Test twists and bends early; fix weights before animating.
- Use reference poses from Sonic games for accuracy.
Animating Sonic Arms: What I’ve Learned
Cartoon arms require exaggerated squash and stretch. I create simple test animations (waves, stretches) to check deformation.
Best practices:
- Animate in place before integrating with the full character.
- Watch for mesh collapsing at the elbow—adjust topology or weights as needed.
Exporting, Optimization, and Integration

Optimizing Models for Games and XR
For real-time applications, I:
- Reduce polycount without sacrificing silhouette.
- Bake normal maps for subtle details.
- Use 1K or 2K textures for arms—anything higher is overkill.
Checklist:
- Test model in the target engine (Unity, Unreal, etc.).
- Check for shading or normal issues.
Export Formats and Integration Tips
I export in FBX or GLB, depending on the pipeline.
Tips:
- Always freeze transforms and clean up the scene before export.
- Include separate material slots for gloves and skin for easy tweaking.
Comparing AI Tools and Traditional Methods
Pros and Cons of AI-Driven Workflows
Pros:
- Rapid prototyping and segmentation.
- Consistent base meshes for iteration.
Cons:
- Sometimes lacks nuance for stylized details.
- Manual cleanup often required for animation-ready assets.
When to Use Alternative Methods
I switch to traditional modeling when:
- The design requires heavy stylization or custom topology.
- AI-generated results deviate from the desired look.
Rule of thumb: Use AI for speed, manual methods for precision.
Common Challenges and My Solutions
Troubleshooting Model Accuracy
Issue: Proportions slightly off after AI generation. Solution: Always overlay the model on reference images, tweak in orthographic views.
Issue: Joints don’t deform smoothly. Solution: Add extra edge loops and refine weight painting.
Overcoming Texturing and Rigging Issues
Texturing: Seams visible on simple arms.
- Solution: Place seams in hidden areas and use solid color fills.
Rigging: Glove cuffs collapse during animation.
- Solution: Add support edges and adjust skin weights around cuffs.
By combining AI-powered tools with hands-on refinement, I consistently produce Sonic arms 3D models that are both efficient and production-ready. This workflow balances speed and quality, making it adaptable for any stylized character project.


