Mastering SketchUp 3D Models: Expert Workflows and Best Practices
As someone who’s spent years refining 3D workflows, I know SketchUp is a versatile tool for both beginners and professionals. In this article, I share proven strategies for setting up efficient projects, tackling complex geometry, optimizing performance, and integrating AI-powered platforms like Tripo to streamline modeling. Whether you’re working in architecture, gaming, or XR, these best practices will help you create production-ready models faster and with fewer headaches. I’ll also cover texturing, rigging, exporting, and how SketchUp compares to other 3D solutions.
Key takeaways
- Efficient project setup and organization are critical for scalable SketchUp workflows.
- Advanced geometry and detailing require careful planning and optimization.
- AI-powered tools can accelerate model creation and automate tedious steps.
- Proper texturing and material management ensures models look great and perform well.
- Rigging and export steps are essential for animation and cross-platform compatibility.
- Choosing the right modeling platform depends on your project’s complexity and goals.
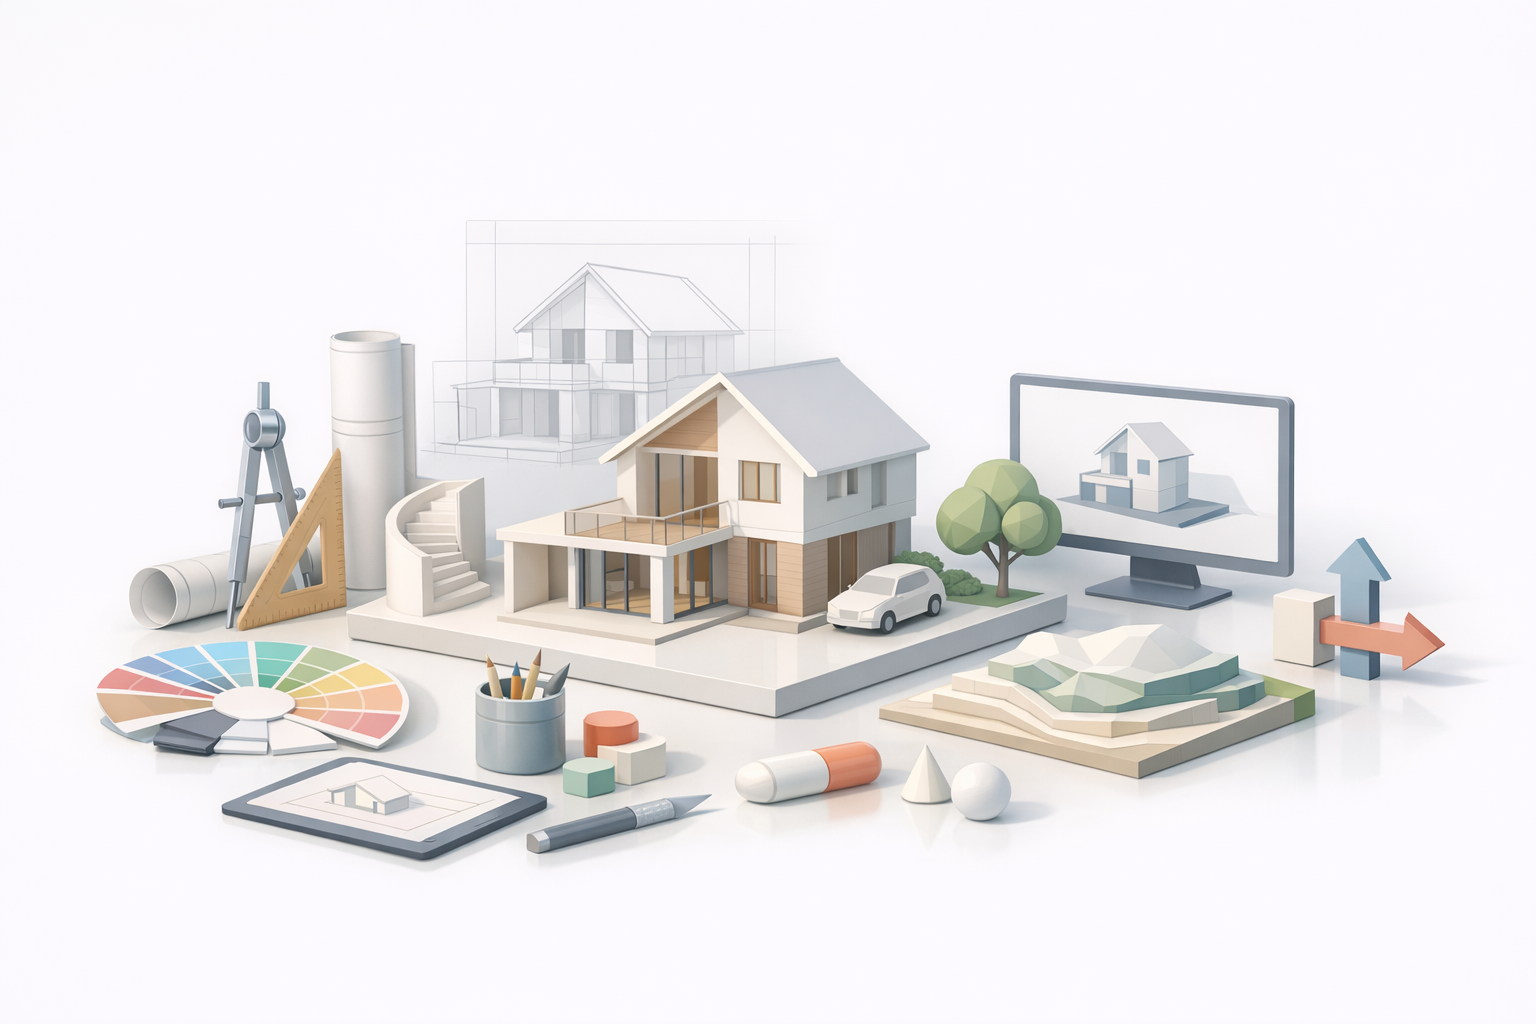
Getting Started with SketchUp 3D Modeling

What I do to set up efficient SketchUp projects
Before diving into modeling, I always start by organizing my workspace and project files. Setting up clear layer structures, naming conventions, and template scenes saves hours down the line. I also define the project scale and units upfront to avoid conversion issues later.
Checklist for efficient setup:
- Establish layer/tag hierarchy for easy visibility control.
- Use descriptive names for components and groups.
- Save a project template with default settings and common assets.
- Set model units and scale before modeling.
Pitfall: Forgetting to set up layers or units can lead to messy projects and scaling errors, especially when collaborating.
Essential tools and features for beginners
For those new to SketchUp, I recommend focusing on the basic drawing tools, push/pull, and grouping. The Outliner and Scenes are invaluable for navigating larger models.
My must-use features:
- Push/Pull for quick extrusion.
- Component creation for reusable parts.
- Outliner for managing hierarchy.
- Scenes for saving camera views and states.
Tip: Practice using the inference engine (snapping and alignment) to build accurate geometry from the start.
Advanced Techniques for SketchUp Model Creation
My workflow for complex geometry and detailing
When modeling intricate objects, I break them into logical components and use groups to isolate geometry. I rely on plugins for advanced shapes and intersections, but always keep geometry clean to avoid performance slowdowns.
Workflow steps:
- Sketch rough forms, then refine details in stages.
- Use groups/components to prevent geometry merging.
- Apply plugins for lofting, bending, or boolean operations.
Pitfall: Overlapping geometry or excessive detail can bog down SketchUp. I periodically purge unused components and clean up edges.
Tips for optimizing models for performance
Optimizing for speed and portability is crucial, especially for large scenes. I monitor polygon counts and use proxies for complex assemblies.
Optimization tips:
- Limit unnecessary edges and faces.
- Replace high-poly assets with simplified versions.
- Use lightweight textures and compressed materials.
- Regularly purge unused elements.
Tool tip: Tripo AI can generate optimized models and handle retopology automatically, saving manual cleanup.
Integrating AI and Automation in SketchUp Workflows

How I leverage AI-powered platforms for rapid model generation
AI-driven tools have transformed my workflow. With platforms like Tripo, I can generate base models from text, images, or sketches, then refine them in SketchUp. This is especially useful for prototyping and concept iterations.
My process:
- Input reference (text/image/sketch) into Tripo.
- Review generated model and import into SketchUp.
- Tweak geometry and add project-specific details.
Tip: Use AI-generated assets as starting points, not finished products—always check for accuracy and suitability.
Combining SketchUp with intelligent segmentation and retopology
Segmenting and retopologizing models used to be tedious. Now, I integrate Tripo’s intelligent segmentation to break down complex meshes and retopologize for animation or real-time use.
Steps I follow:
- Generate or import model into Tripo for segmentation.
- Apply retopology for clean, animation-ready mesh.
- Export and refine details in SketchUp as needed.
Pitfall: Automated segmentation isn’t perfect—always inspect and manually adjust critical areas.
Best Practices for Texturing, Rigging, and Exporting SketchUp Models

My approach to texturing and material management
I prioritize efficient UV mapping and texture assignment. SketchUp’s material editor is straightforward, but for complex projects, I use external tools for advanced texturing.
Texturing workflow:
- Assign materials early to components/groups.
- Use seamless textures and optimize resolution.
- Export UV maps for painting in external apps if needed.
Tip: Keep texture sizes reasonable for real-time projects; avoid 4K unless absolutely necessary.
Steps for preparing models for animation and export
Rigging isn’t native to SketchUp, so I often prep models for export to dedicated animation platforms. I ensure clean geometry and proper hierarchy for smooth transitions.
Export checklist:
- Clean up and group geometry.
- Apply retopology for animation if needed.
- Export in compatible formats (FBX, OBJ, etc.).
- Test imports in target platforms for errors.
Tool tip: Tripo can automate rigging and export steps, reducing manual setup.
Comparing SketchUp with Alternative 3D Modeling Tools
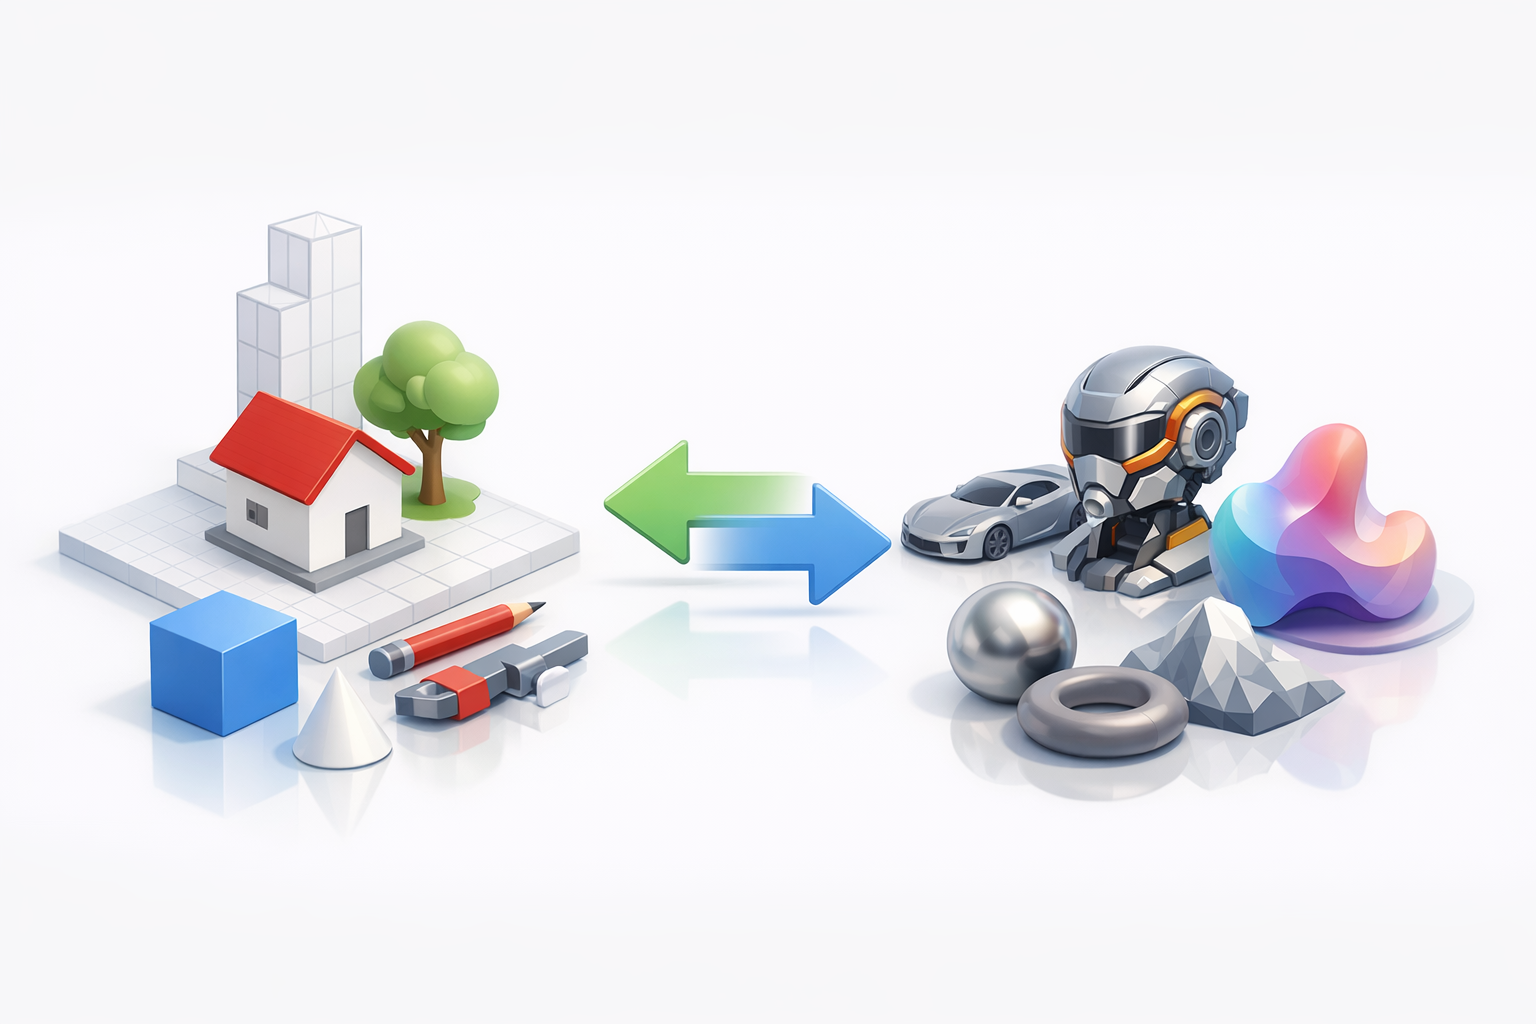
What I’ve learned from using other tools alongside SketchUp
I regularly use other modeling platforms for tasks SketchUp isn’t optimized for, like sculpting or advanced animation. Each tool has strengths: SketchUp excels at architectural and hard-surface modeling, while others may offer more robust organic modeling or rendering.
My observations:
- SketchUp is fast for architectural layouts and product design.
- Other platforms handle organic forms and animation better.
- Combining tools often yields the best results.
Tip: Don’t force SketchUp to do everything—integrate it with specialized tools for complex workflows.
Choosing the right platform for different project needs
Selecting the right 3D tool depends on project scope, complexity, and output requirements. For quick concepting and architectural work, SketchUp is ideal. For game assets, character animation, or high-end rendering, I switch to platforms with those specialties.
Mini-guide:
- Use SketchUp for architectural, interior, and product modeling.
- Choose AI-powered platforms for rapid prototyping and segmentation.
- Opt for specialized animation/rendering tools for cinematic projects.
Pitfall: Sticking to one tool for all tasks can limit quality and efficiency—embrace a hybrid workflow.
In summary: Mastering SketchUp means combining solid foundational practices with advanced techniques and AI-powered automation. By integrating smart tools and optimizing your workflow, you’ll deliver high-quality 3D models efficiently, no matter your industry or project type.


