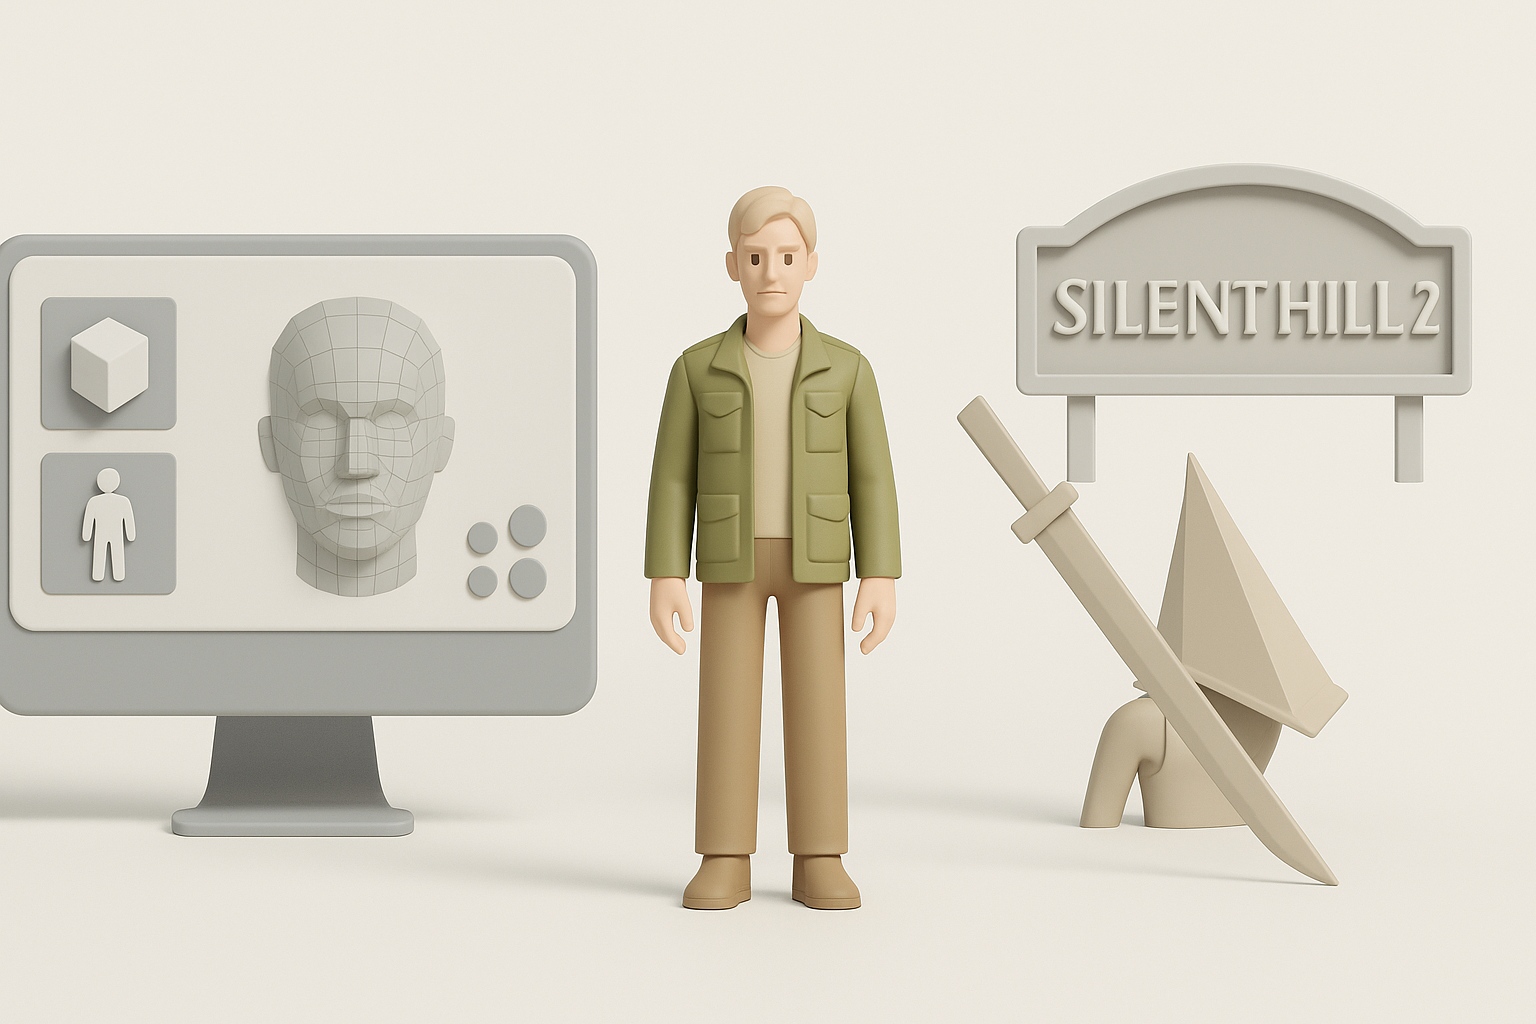
Creating Silent Hill 2 3D Models: Expert Workflow & Tips
Creating production-ready 3D models inspired by Silent Hill 2 demands a balance of artistic fidelity, technical precision, and efficient workflow management. Over the years, I’ve refined my approach to streamline asset creation for games, leveraging both manual techniques and AI-powered tools like Tripo for speed and quality. This article shares my end-to-end process—from gathering references to exporting optimized models—tailored for artists, game developers, and anyone aiming to capture the eerie, atmospheric essence of Silent Hill 2 in 3D.
Key takeaways
- Reference gathering and planning are crucial for capturing Silent Hill 2’s unique mood.
- Blocking, detailing, and texturing workflows must reinforce the game’s gritty, unsettling aesthetic.
- AI-powered tools can drastically speed up base mesh creation and repetitive tasks.
- Retopology, UV mapping, and export settings must be tailored for real-time engines.
- Manual and AI-assisted methods each have strengths; knowing when to use which is key.
Overview: Silent Hill 2 3D Model Creation

Key Challenges and Considerations
Silent Hill 2’s visual style is iconic—moody, distressed, and atmospheric. Replicating this in 3D assets requires careful attention to surface detail, material choice, and overall silhouette. I often grapple with balancing polygon count for real-time performance versus the need for high-detail, especially for hero props and characters. Another challenge is ensuring that assets integrate seamlessly with lighting and fog effects typical in Silent Hill environments.
Executive Summary: My Approach and Results
My workflow combines traditional modeling techniques with modern AI-powered tools to speed up repetitive steps without sacrificing creative control. I prioritize reference gathering, iterative blocking, and texture work, using Tripo AI for rapid prototyping when tight deadlines hit. The result: game-ready, atmospheric models that evoke the unsettling feel of Silent Hill 2 while meeting technical requirements for modern engines.
Gathering References and Planning
Sourcing High-Quality Visuals
Reference quality directly impacts the final model. I typically collect:
- Screenshots from multiple angles (in-game, cutscenes, promotional art)
- Fan recreations and concept art for alternate views
- Real-world analogs for props and environments
I organize references in mood boards or reference sheets, ensuring I can quickly check proportions, materials, and lighting cues.
Defining Model Scope and Detail Level
Before modeling, I define:
- Intended use (cinematic, gameplay, background)
- Target polycount and texture resolution
- Key features (damage, grime, unique shapes)
For Silent Hill 2, I focus on capturing wear, asymmetry, and mood over photorealistic detail. This guides decisions on which elements to model versus bake into textures.
3D Modeling Workflow for Silent Hill 2 Assets
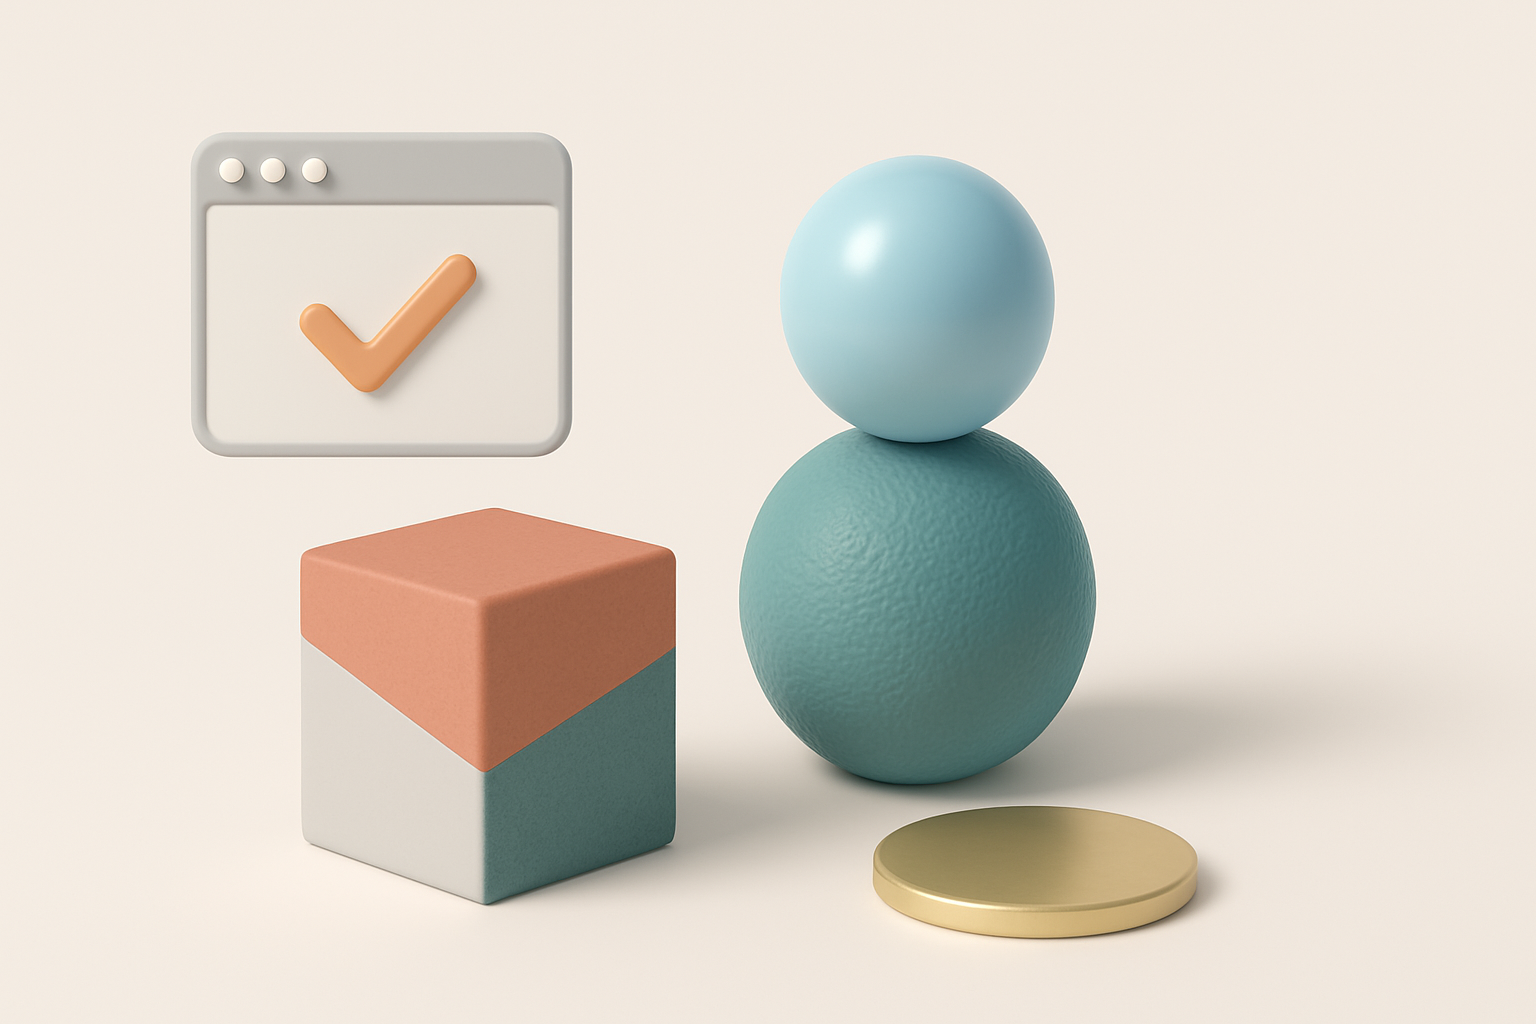
Blocking Out the Base Mesh
My first step is always blocking out the silhouette in my DCC tool of choice. For complex props or characters, I sometimes use Tripo AI to generate a rough base mesh from sketches or text prompts, then refine manually.
Blocking checklist:
- Match main proportions to references
- Keep geometry simple for easy edits
- Avoid adding details at this stage
Refining Details and Proportions
Once the blockout feels right, I move to secondary forms and key details—distressed edges, dents, or torn fabric. I constantly compare against references, adjusting proportions as needed.
Pitfalls to avoid:
- Over-detailing early (harder to fix later)
- Ignoring silhouette changes from damage or wear
Texturing and Material Best Practices
Capturing the Silent Hill 2 Aesthetic
Texturing is where the Silent Hill 2 mood comes alive. I use a mix of hand-painted and procedural techniques to achieve that signature grimy look—stains, rust, and faded paint.
Tips:
- Use high-contrast, desaturated palettes
- Overlay grunge maps and subtle noise
- Reference in-game lighting for material roughness
Efficient UV Mapping and Texture Application
Efficient UVs are essential for game assets. I rely on automatic UV tools for quick unwraps, then manually optimize islands to minimize seams.
Workflow:
- Lay out UVs to prioritize visible areas
- Use texture atlases for repeated props
- Test textures in-engine for lighting accuracy
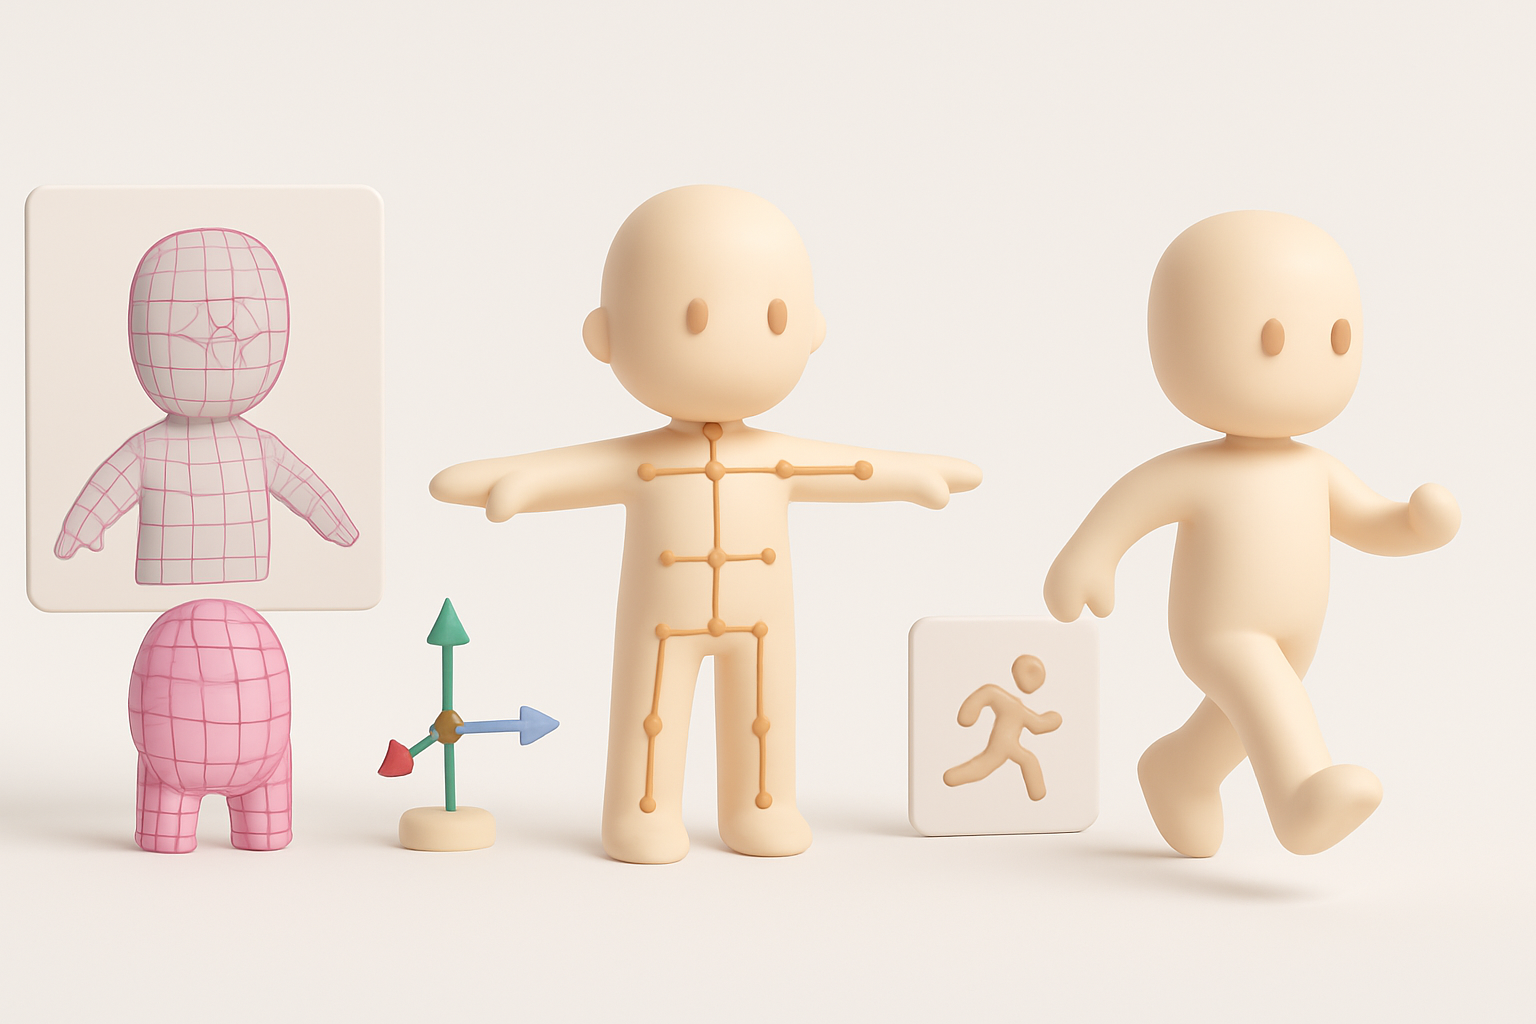
Retopology, Rigging, and Animation

Optimizing for Game Engines
After sculpting or high-res modeling, I retopologize for clean, animation-friendly meshes. Tripo’s segmentation and retopo features help speed up this phase, especially for organic shapes.
Checklist:
- Keep edge loops clean for deformation
- Target engine-specific polycount budgets
- Bake normal and AO maps from high to low poly
Adding Animation and Interactivity
For characters or interactive props, I rig using simple skeletons and test basic animations (idle, walk, interaction). I keep rigs lightweight for real-time performance and ensure pivot points are accurate for in-game logic.
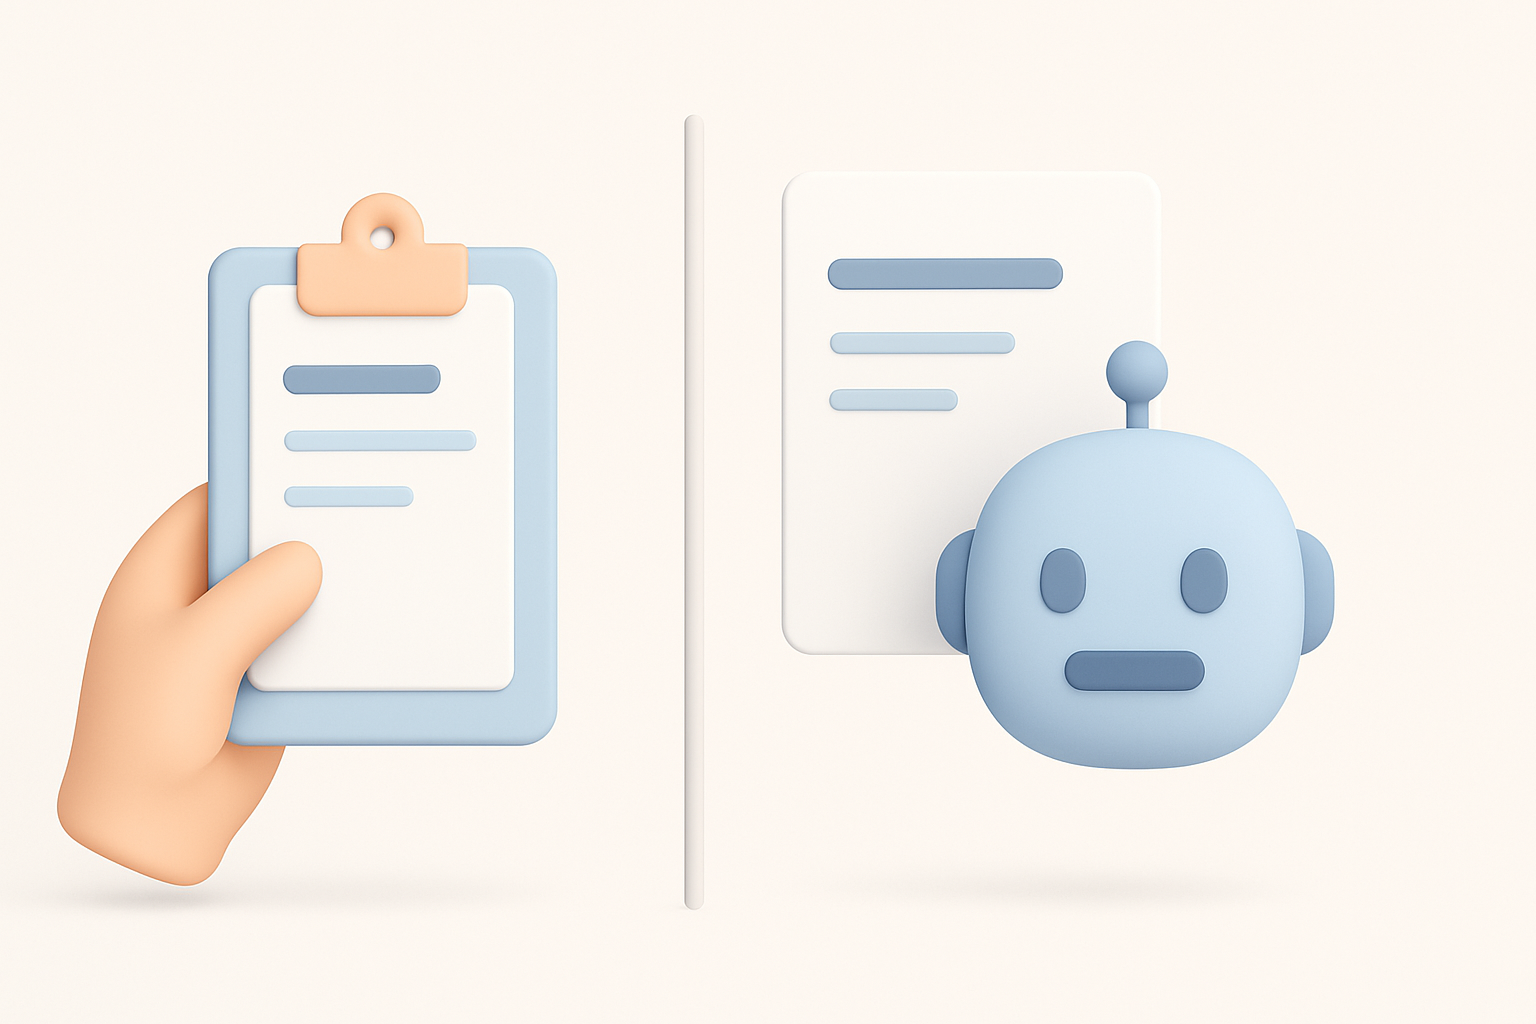
AI-Powered Tools in My Workflow
How I Use Tripo for Fast 3D Model Generation
Tripo AI is invaluable for rapid prototyping and base mesh generation. I input sketches or descriptive text to get a starting point, then customize geometry and textures as needed. This is especially useful for background props or when iterating on multiple concepts quickly.
Best uses:
- Generating variations of similar props
- Jumpstarting creative block with quick drafts
- Filling out environment clutter
Integrating AI with Traditional Techniques
I rarely rely solely on AI output. Instead, I treat it as a foundation—refining topology, adjusting proportions, and hand-painting textures to match Silent Hill’s unique style. This hybrid approach maximizes speed without sacrificing quality.
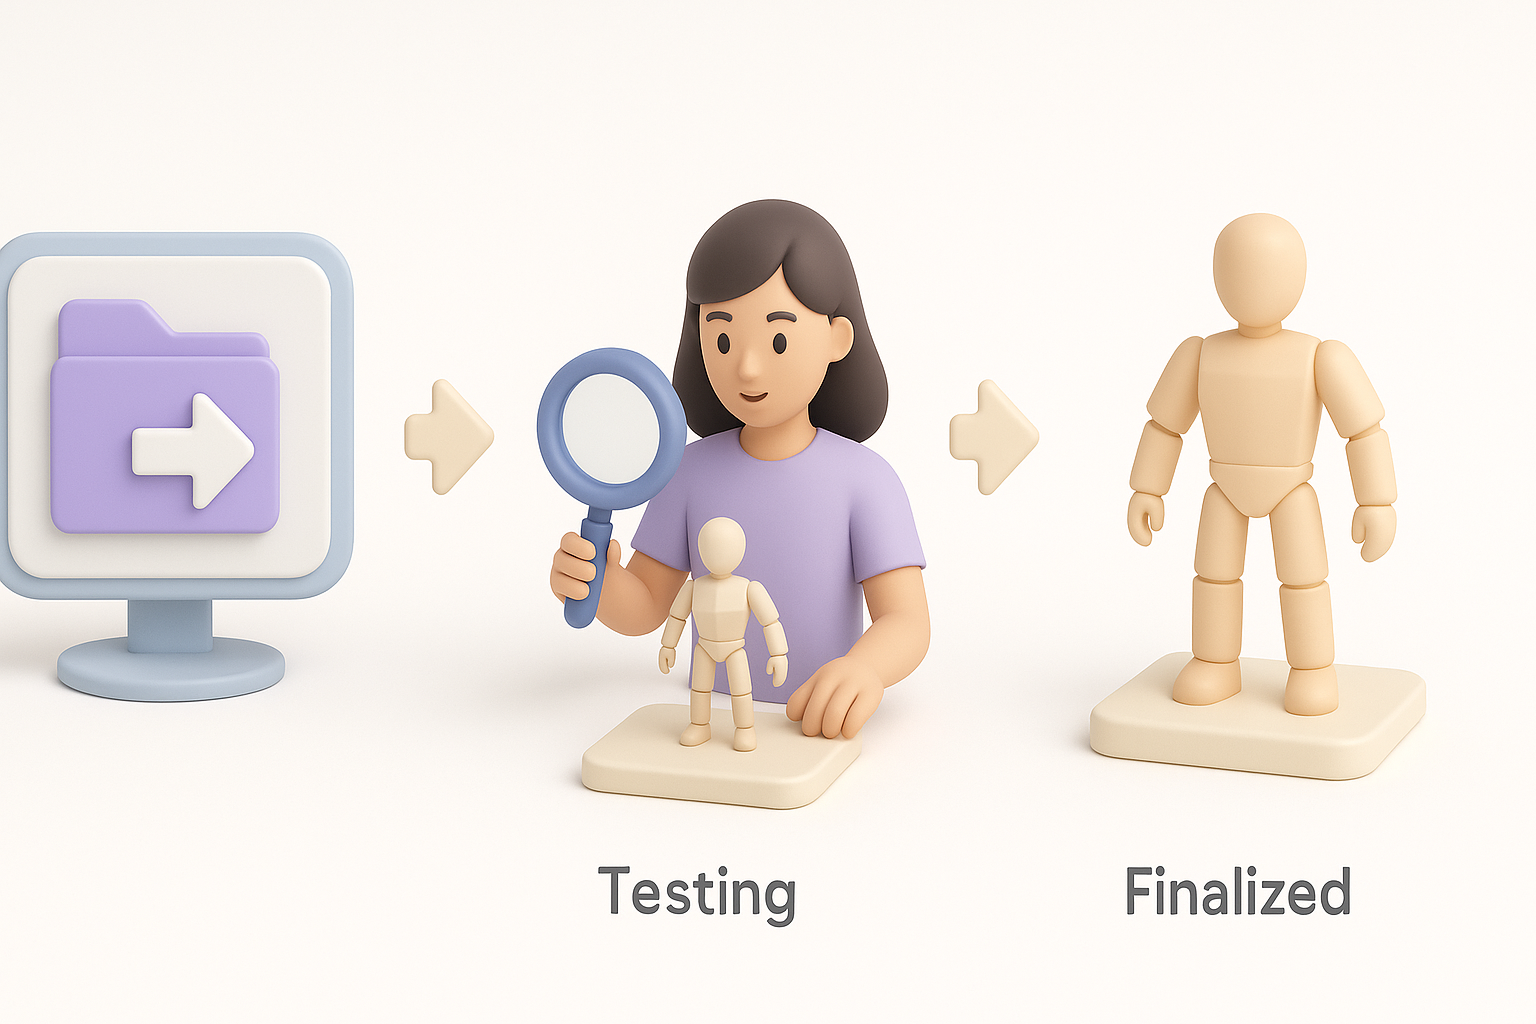
Exporting, Testing, and Finalizing Models
Export Settings and Compatibility
Exporting correctly is critical for smooth engine integration. I use standardized formats (FBX, OBJ) and double-check scale, orientation, and material assignments.
Checklist:
- Freeze transforms and apply scale
- Name meshes and materials clearly
- Test import in the target engine (Unity, Unreal, etc.)
Quality Assurance and Troubleshooting
Before final delivery, I run through a QA pass:
- Check for missing textures or flipped normals
- Verify animations and rigging in-engine
- Inspect for UV stretching or shading errors
Quick iterations and spot fixes here prevent major issues down the line.
Comparing Methods: Manual vs. AI-Assisted
Pros and Cons from My Experience
Manual modeling:
- Full creative control
- Best for hero assets and unique details
- Time-consuming for repetitive tasks
AI-assisted workflow:
- Rapid iteration and prototyping
- Great for background or modular assets
- Requires manual cleanup for polish
When to Choose Each Approach
I use manual methods for centerpiece assets or when accuracy is paramount. For filler props, early drafts, or when under tight deadlines, AI-powered tools like Tripo are a game-changer. The key is knowing when to blend both for the best mix of speed and quality.
Creating Silent Hill 2-inspired 3D models is equal parts art and engineering. With the right blend of planning, technique, and smart tool use, I can consistently deliver assets that capture the game’s haunting atmosphere while meeting modern production standards.


