Creating and Optimizing Shipping Container 3D Models
In my experience, shipping container 3D models are essential assets across gaming, XR, architecture, and design. The ability to quickly generate accurate, production-ready containers—especially with AI-assisted platforms like Tripo—has transformed my workflow. I can go from concept to export in minutes, focusing on creative detail instead of technical hurdles. This guide covers my step-by-step process, best practices for segmentation, retopology, and texturing, plus optimization tips for real-time applications. If you need robust, modular, and efficient shipping container assets, this article is for you.
Key takeaways:
- Fast, accurate shipping container models are achievable with AI-powered tools and smart workflows.
- Modular segmentation and clean retopology are critical for flexibility and performance.
- Realistic texturing and UV mapping elevate asset quality and usability.
- Rigging and animation prep are essential for interactive/game/XR projects.
- Manual refinement remains important alongside automated generation.
- Common pitfalls (like mesh errors and texture stretching) are avoidable with targeted checks.
Overview and Use Cases for Shipping Container 3D Models
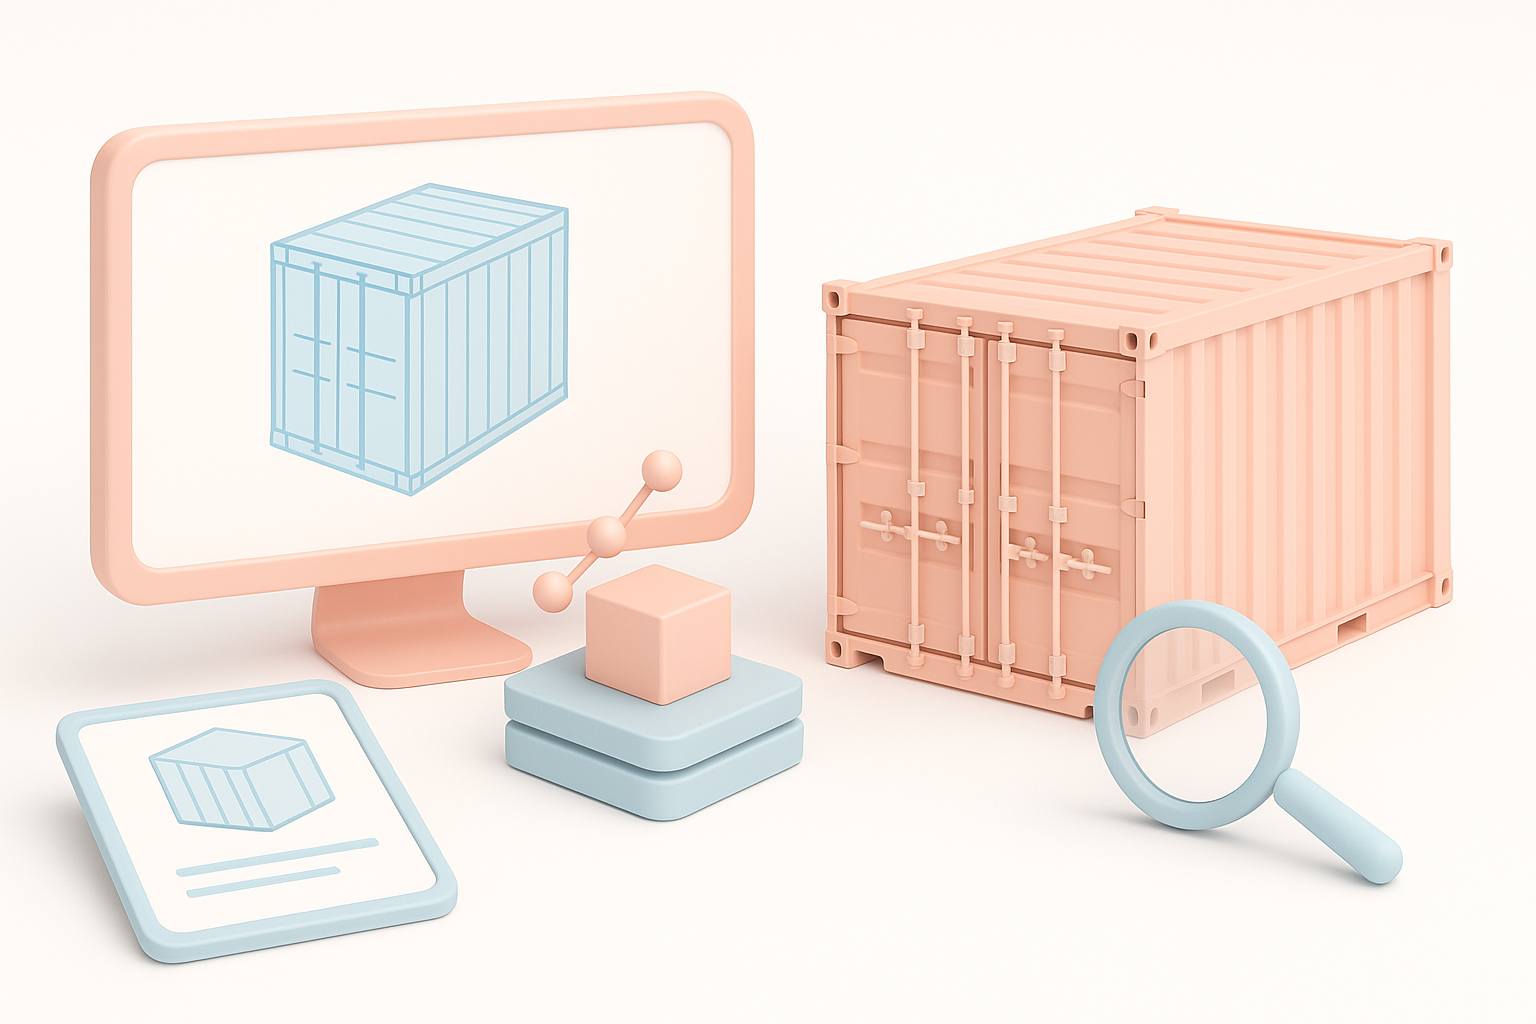
Industry applications and project types
Shipping container models are ubiquitous in:
- Game environments (urban, industrial, post-apocalyptic)
- XR/AR simulations and training apps
- Architectural visualization (temporary structures, modular housing)
- Film and animation set design
I’ve used them in everything from level design to VR logistics demos. Their modularity makes them ideal for kitbashing and rapid prototyping.
Key features and requirements
For most projects, I prioritize:
- Accurate proportions (standard ISO sizes)
- Clean geometry (low poly for real-time, higher poly for close-ups)
- Modular doors, latches, and corner fittings
- Realistic textures (weathered metal, decals, rust)
- Efficient UV layouts for easy texture swaps
A checklist I follow:
- Reference real-world dimensions (e.g., 20ft, 40ft containers)
- Include basic structural details (corrugated sides, frame, locking bars)
- Plan for scalability—single containers, stacks, and custom layouts
My Workflow: Generating Shipping Container 3D Models from Scratch
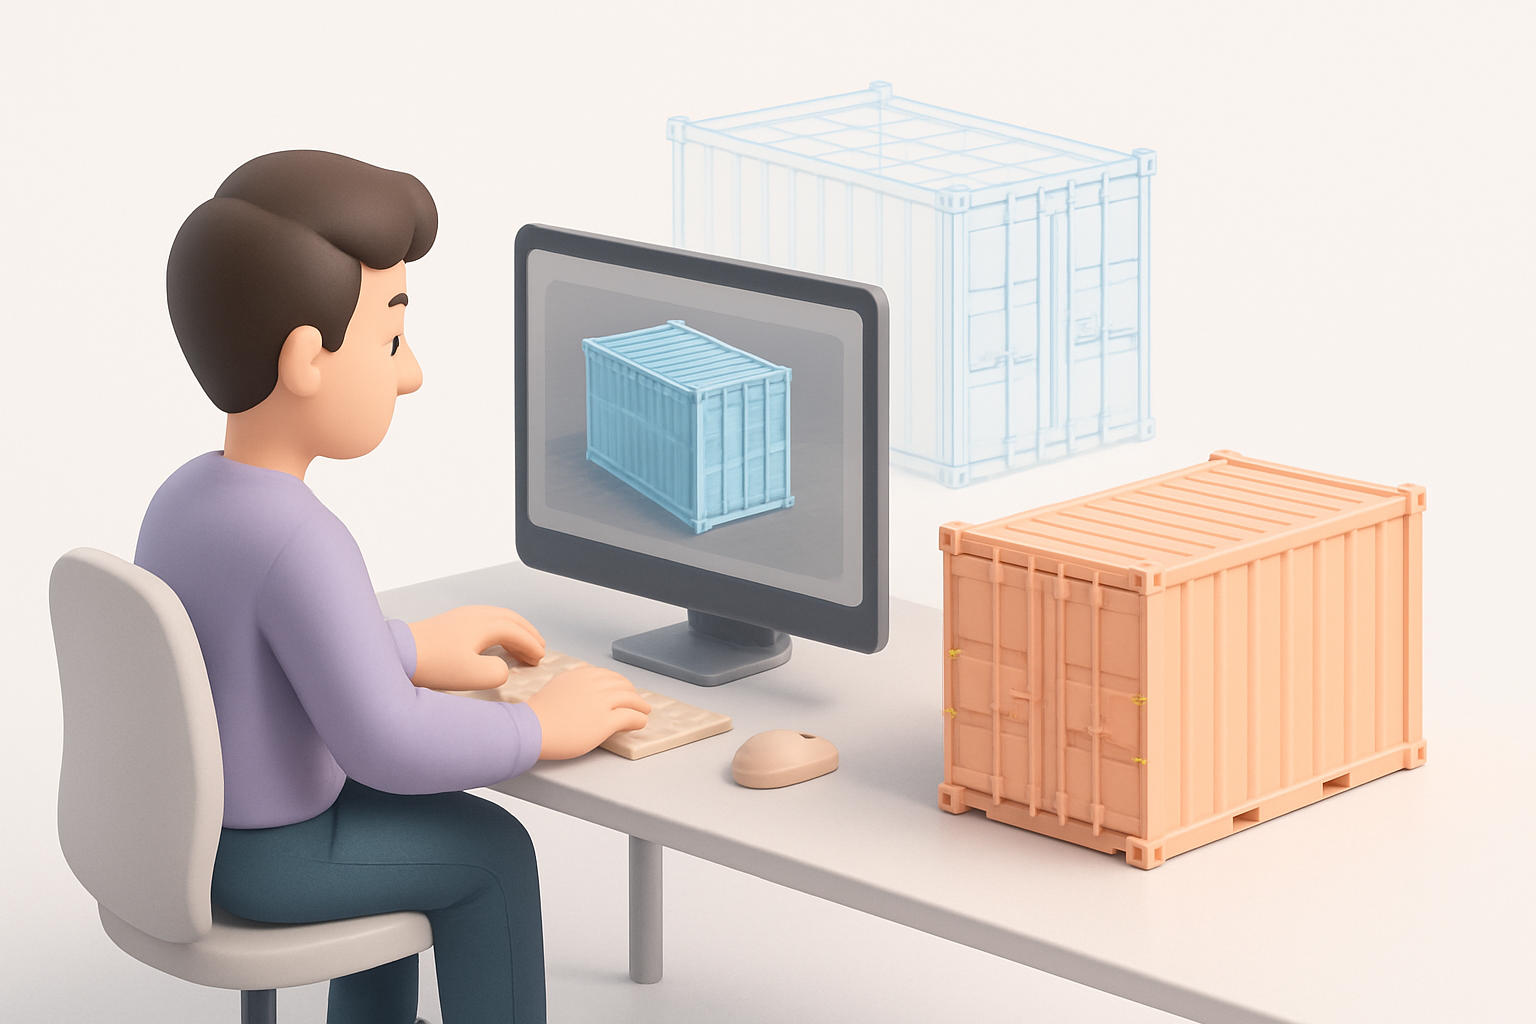
Text, image, and sketch-based creation methods
Using Tripo, I can start with:
- Text prompts: “A weathered 20ft shipping container with open doors”
- Reference images: Uploading photos or concept art for style matching
- Sketches: Quick hand-drawn outlines for custom shapes
What I’ve found:
- Text prompts are fastest for generic containers.
- Images/sketches help nail unique features or branding.
- I always review the auto-generated mesh for accuracy before proceeding.
Steps:
- Input prompt/image/sketch.
- Review initial mesh and adjust parameters (scale, detail level).
- Export for further refinement if needed.
Tips for achieving accurate proportions and details
- Double-check container dimensions against real-world specs.
- Use grid snapping and measurement tools when manually refining.
- Pay attention to door hinges, corner castings, and panel spacing.
- For branded containers, add decals or logos as separate texture layers.
Pitfalls:
- Overlooking thickness of walls/doors (can cause visual issues in close-up shots).
- Ignoring modularity—always design with stacking and placement in mind.
Best Practices for Segmentation, Retopology, and Texturing
Efficient segmentation for modular design
I segment containers into:
- Main body
- Doors (separate for animation)
- Corner fittings
- Accessories (locks, vents)
This modular approach lets me:
- Animate doors easily
- Swap components for variety
- Optimize for instancing in game engines
Checklist:
- Keep segment boundaries clean (no overlapping geometry)
- Name segments logically for easy selection
Retopology and UV mapping strategies
For retopology:
- Aim for quads, avoid n-gons (especially for game assets)
- Minimize poly count on flat surfaces; add detail only where needed
- Use edge loops for structural features
UV mapping:
- Flatten large panels for easy texture painting
- Separate UV islands for doors and fittings
- Pack UVs efficiently to maximize texture resolution
Tips:
- Test UVs with checker maps to spot stretching
- Bake normal maps for added detail without extra geometry
Rigging, Animation, and Exporting for Real-Time Applications

Adding basic rigging and movement
To animate doors or container placement:
- Rig doors with simple hinge bones or pivot points
- Use parent-child relationships for modular stacking
- Test animations in your target engine (Unity, Unreal, etc.)
Practical steps:
- Assign pivots to door meshes.
- Add simple rotation animations.
- Export with animation data if needed.
Preparing models for game engines and XR
I always:
- Export in engine-friendly formats (FBX, GLTF)
- Check scale and orientation (meters, Y-up/Z-up as required)
- Optimize mesh for real-time use (LOD levels, collision meshes)
Pitfalls:
- Forgetting to triangulate meshes before export
- Neglecting collision setup—always add simple box colliders for containers
Comparing AI-Powered and Traditional 3D Modeling Approaches
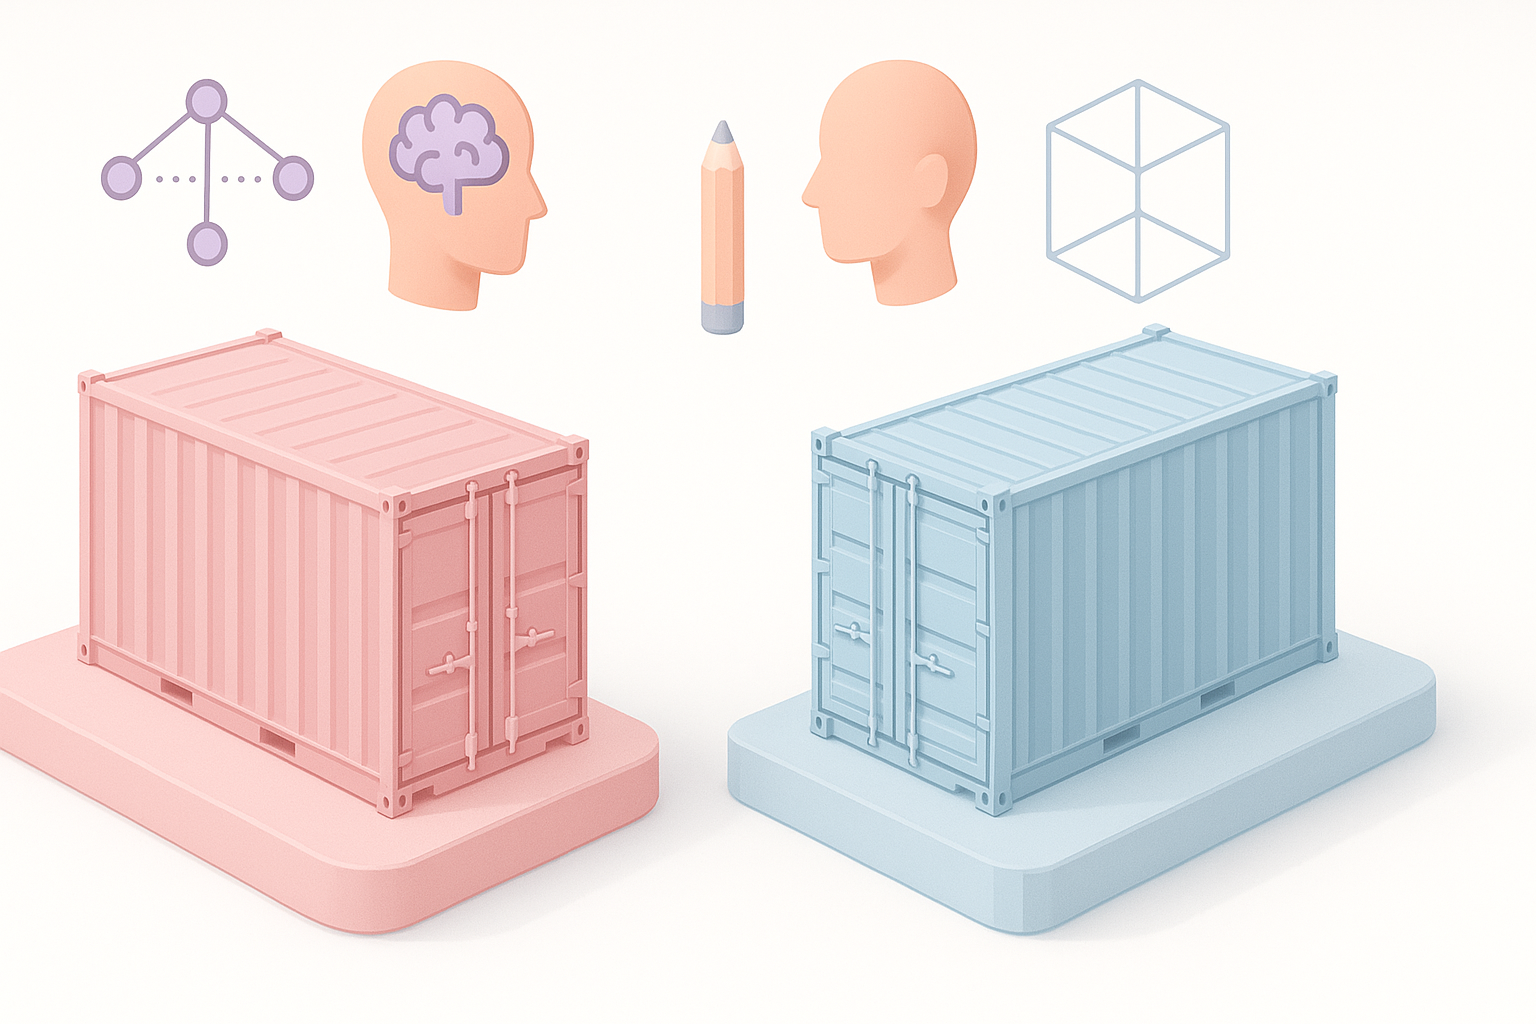
Strengths and limitations of automated workflows
AI tools like Tripo:
- Save hours on base mesh creation and texturing
- Offer rapid iteration for concepting and prototyping
- Can struggle with highly custom or intricate details
Traditional manual modeling:
- Offers full control over topology and detail
- More time-consuming, but essential for hero assets
What I’ve learned:
- Use AI to generate base assets, then refine manually for project-specific needs
- Automated workflows are best for background assets or rapid prototyping
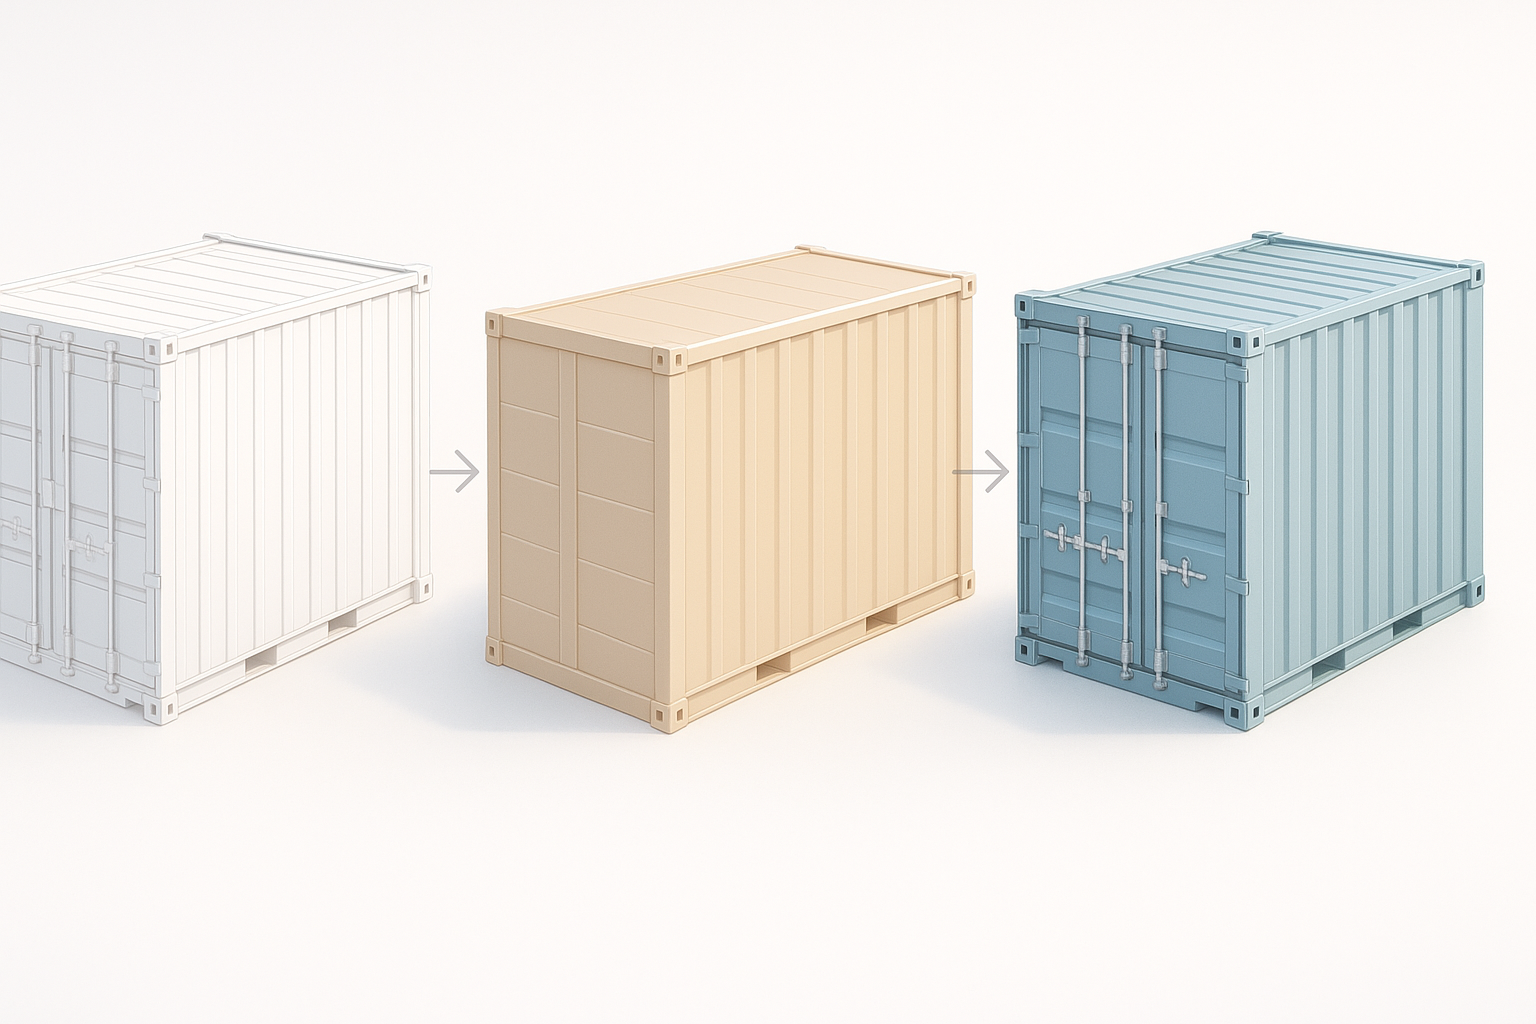
Integrating AI tools with manual refinement
My workflow:
- Generate base container with AI tool.
- Import into DCC software (Blender, Maya, etc.) for cleanup.
- Adjust topology, UVs, and add custom details as needed.
- Finalize textures and rigging.
Tips:
- Always review auto-generated assets for mesh errors or UV issues
- Manual tweaks can elevate quality and fix edge cases
Troubleshooting and Optimization: Lessons from My Experience
Common issues and how I solve them
Frequent problems:
- Mesh artifacts (e.g., overlapping faces, stray verts)
- Texture stretching or misalignment
- Incorrect pivot points for doors
How I fix:
- Use mesh cleanup tools to merge and remove doubles
- Re-unwrap UVs and test with checker maps
- Reset pivots and parent hierarchies for animation
Checklist:
- Inspect mesh in wireframe mode
- Run automated checks for non-manifold geometry
Performance optimization for large scenes
For scenes with many containers:
- Use instancing to save memory
- Optimize textures (lower resolution, shared atlases)
- Simplify collision meshes (use boxes, not detailed shapes)
Tips:
- Bake lighting and shadows for static containers
- Profile scene performance—watch draw calls and poly counts
Pitfalls:
- Overloading scenes with unique high-poly containers (instancing and LODs solve this)
- Neglecting texture atlases—can cause excessive memory use
If you need fast, reliable shipping container assets for your next game, XR, or visualization project, integrating AI-powered workflows with smart manual refinement is the most efficient path. My approach balances speed, quality, and modularity—so you can focus on creativity, not complexity.


