Creating and Optimizing Second Life 3D Models: Expert Workflow
Creating production-ready 3D models for Second Life demands both technical know-how and creative finesse. Over years of hands-on experience, I’ve developed an efficient workflow that leverages AI-powered tools alongside traditional methods to streamline modeling, optimize performance, and ensure seamless imports. This article is for creators, designers, and developers aiming to produce high-quality, interactive assets for Second Life while minimizing common pitfalls and maximizing efficiency.
Key takeaways:
- Second Life requires specific mesh formats and optimization for smooth performance.
- Combining AI tools with manual techniques accelerates the workflow and improves results.
- Rigorous testing and troubleshooting are essential for reliable imports.
- Concept and reference work are crucial for creative direction.
- Ongoing improvement comes from real-world project experience and adaptability.
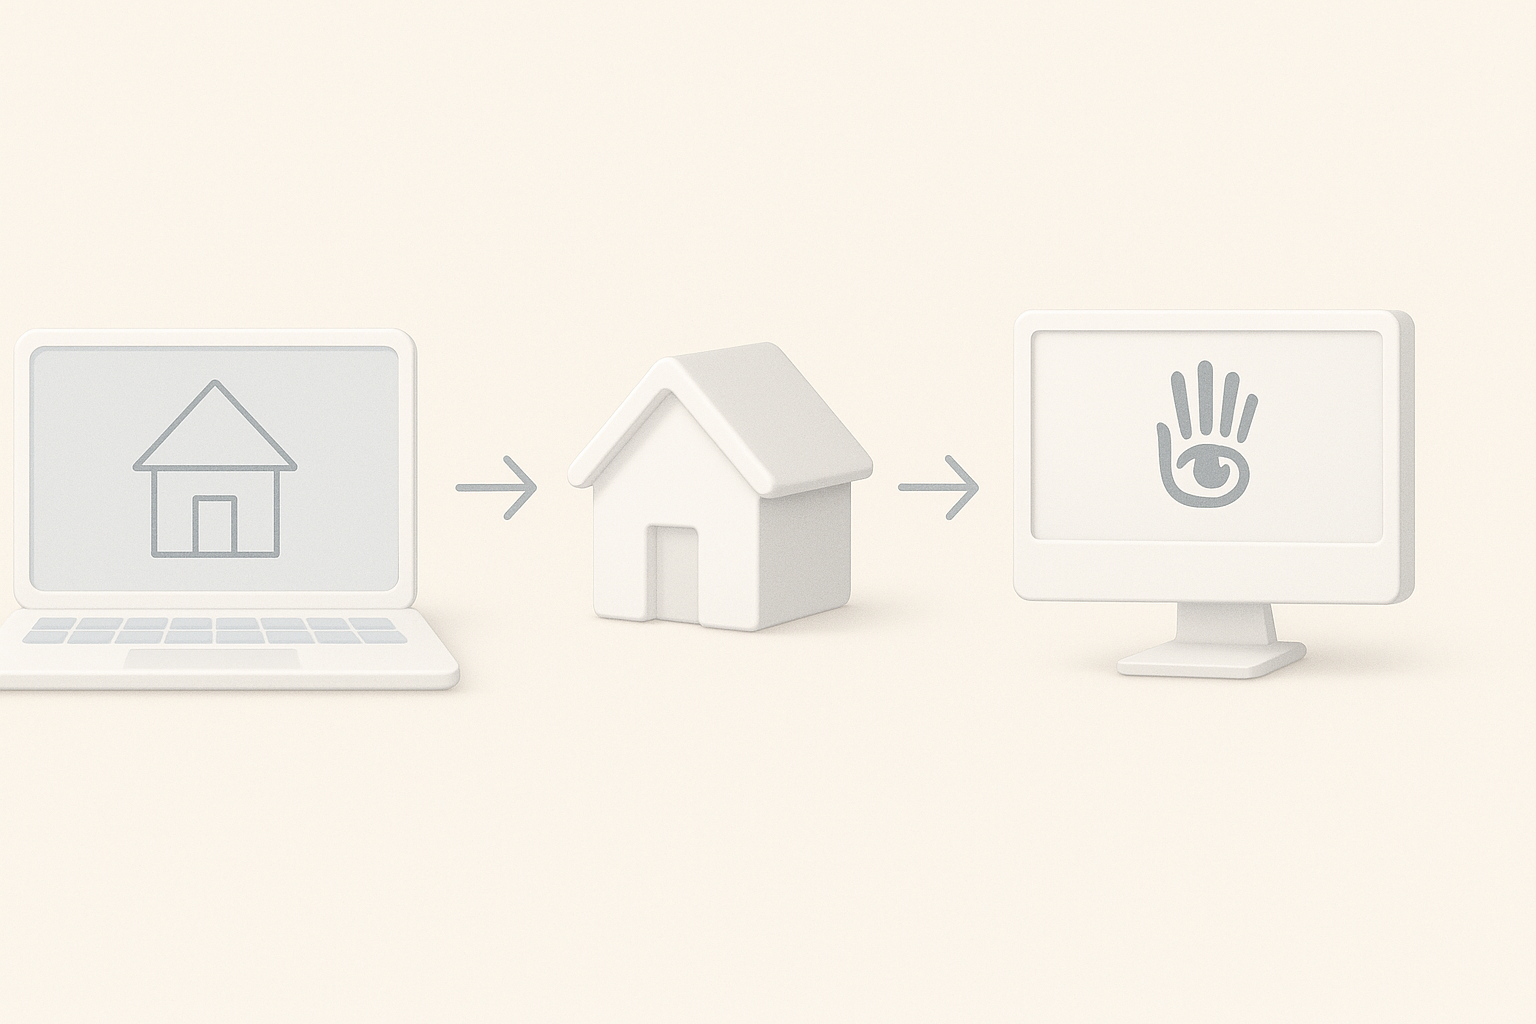
Understanding Second Life 3D Model Requirements

Mesh formats and compatibility
Second Life primarily supports COLLADA (.dae) mesh files. I always ensure my models are exported with correct scale, orientation, and hierarchy to avoid import issues. Materials and UVs must be properly assigned; otherwise, textures won’t display as intended.
Checklist:
- Export as COLLADA (.dae)
- Apply transformations (scale, rotation) before export
- Check UV mapping and material assignments
Performance and optimization guidelines
Performance is critical in Second Life due to real-time rendering and user interaction. I optimize models by minimizing polygon count, using efficient UV layouts, and limiting texture sizes. Level of Detail (LOD) meshes are essential—Second Life requires multiple LODs for smooth transitions.
Best practices:
- Keep polygon count as low as possible without sacrificing detail
- Create LOD meshes for high, medium, low, and lowest detail
- Use compressed textures (preferably 1024x1024 or smaller)
My Workflow for Designing Second Life 3D Models
Concept development and reference gathering
I start every project by collecting references—screenshots, sketches, and mood boards. This helps clarify design goals and technical constraints. For Second Life, I pay close attention to scale and interactivity.
Steps:
- Gather visual references and sketches
- Define functional requirements (e.g., animations, interactivity)
- Plan scale and proportions based on Second Life avatar sizes
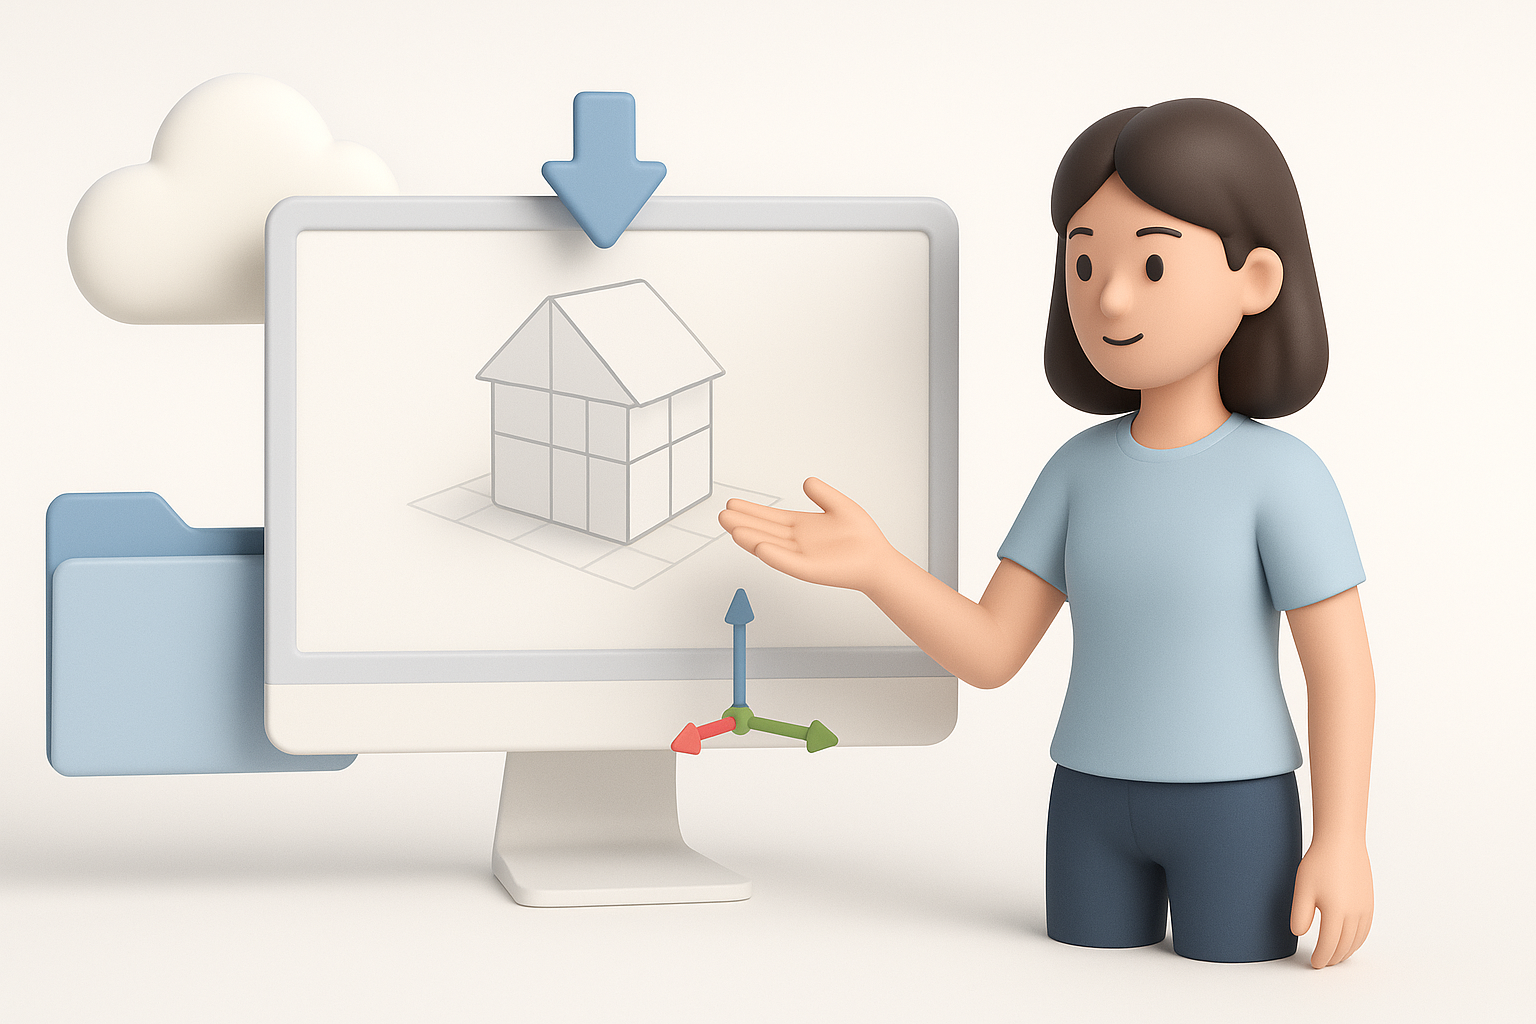
Choosing the right tools and platforms
I use a mix of traditional 3D software and AI-powered platforms. Tripo AI is particularly useful for rapid prototyping and generating base meshes from text or images, which I refine further in my main modeling software.
What works for me:
- Start with AI-generated base meshes for speed
- Refine geometry and details in Blender or similar tools
- Use Tripo AI for segmentation, retopology, and quick texture generation
Step-by-Step Guide: Building a Second Life 3D Model

Modeling and retopology best practices
I block out the basic form, then focus on clean topology. Tripo AI’s retopology features help automate mesh cleanup, saving hours of manual labor. I avoid unnecessary geometry and ensure edge loops support animation if needed.
Modeling steps:
- Block out main shapes
- Use AI tools for automatic retopology
- Manually adjust topology for animation or deformation
Texturing, rigging, and animation tips
For texturing, I rely on AI-assisted texture generation for base maps, then polish in Photoshop or Substance Painter. Rigging is straightforward: I create simple bone structures for static objects and more complex rigs for avatars. Animation can be imported as baked COLLADA animations.
Tips:
- Use AI tools for quick texture generation, then refine manually
- Keep rig structures simple for props; more detailed for avatars
- Export animations as baked COLLADA files
Importing and Testing Models in Second Life
Uploading and configuring mesh assets
Uploading meshes to Second Life involves configuring LODs, physics shapes, and materials. I always test the asset in a sandbox region before final deployment.
Steps:
- Upload .dae file and configure LODs
- Assign physics shape for collision
- Apply textures and test materials
Troubleshooting common issues
Common issues include missing textures, incorrect scaling, and broken rigging. I troubleshoot by double-checking UVs, scale settings, and skeleton hierarchy before upload. If problems persist, I re-export with adjusted settings.
Pitfalls to avoid:
- Forgetting to apply scale/rotation before export
- Misaligned UVs leading to texture errors
- Incomplete rigging causing animation failures
Comparing AI-Powered and Traditional 3D Creation Methods
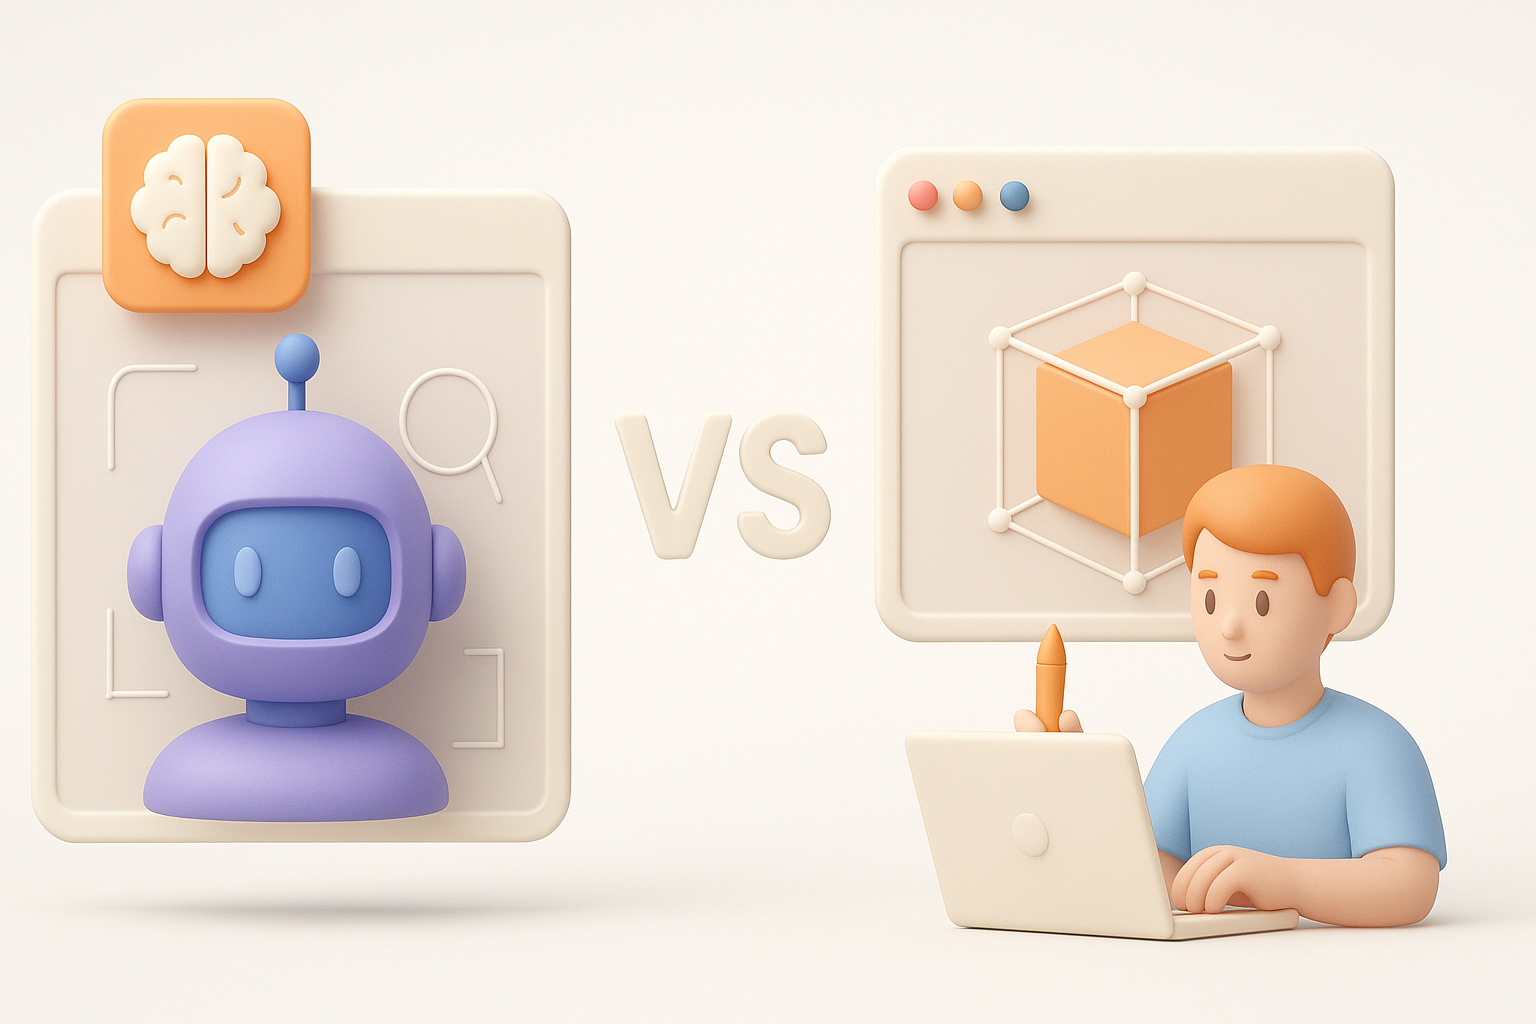
Advantages of AI-driven workflows
AI tools like Tripo AI significantly reduce modeling and texturing time, especially for base meshes and rapid prototyping. They automate segmentation, retopology, and even basic rigging, freeing me to focus on creative refinements.
Benefits I notice:
- Faster turnaround from concept to base mesh
- Automated mesh cleanup and optimization
- Easier texture and material generation
Integrating AI tools into Second Life projects
I integrate AI-generated assets by using them as starting points, then manually refine for Second Life-specific requirements. This hybrid approach lets me maintain quality while leveraging AI speed.
Integration steps:
- Generate base mesh and textures with AI
- Refine topology and UVs in traditional software
- Export and test in Second Life
Expert Tips for Success and Avoiding Pitfalls

What I’ve learned from real-world projects
Real-world projects taught me the importance of iterative testing and feedback. I always test early and often, and document settings for repeatability. Collaboration with other creators helps catch issues I might miss.
Lessons:
- Test assets in Second Life before finalizing
- Keep detailed notes on export settings
- Seek peer feedback for quality control
Best practices for ongoing improvement
Continuous learning is key. I stay updated on Second Life’s evolving requirements, experiment with new AI tools, and refine my workflow based on project outcomes.
Best practices:
- Regularly update knowledge of Second Life mesh guidelines
- Experiment with new AI features for efficiency gains
- Review and refine workflow after each project
By combining AI-powered tools with proven manual techniques, I consistently deliver optimized, interactive assets for Second Life. The workflow outlined here balances speed, quality, and adaptability—essential for creators aiming to succeed in virtual worlds.


