Creating a Sci-Fi Road 3D Model: Expert Workflow & Tips
Designing a sci-fi road 3D model is about blending creativity with technical precision. In my experience, the process is streamlined by careful planning, smart use of AI-powered tools, and an iterative workflow that balances speed with quality. Whether you’re aiming for game environments, cinematic renders, or interactive XR scenes, the right approach lets you focus on visual storytelling and avoid common pitfalls. This guide is for artists and developers looking to elevate their sci-fi road modeling from concept to production-ready assets.
Key takeaways:
- Reference and planning are essential for unique, functional sci-fi road designs.
- Efficient blocking and detailing save time and enable rapid iteration.
- Smart texturing and material choices drive realism and style.
- Retopology and UV mapping must be tailored for target platforms.
- AI-powered tools (like Tripo AI) can accelerate workflows, but manual control is often needed for fine details.
- Export settings and presentation impact integration with games, film, or XR.
Executive Summary: Key Takeaways for Sci-Fi Road Modeling
What Makes a Great Sci-Fi Road Model?
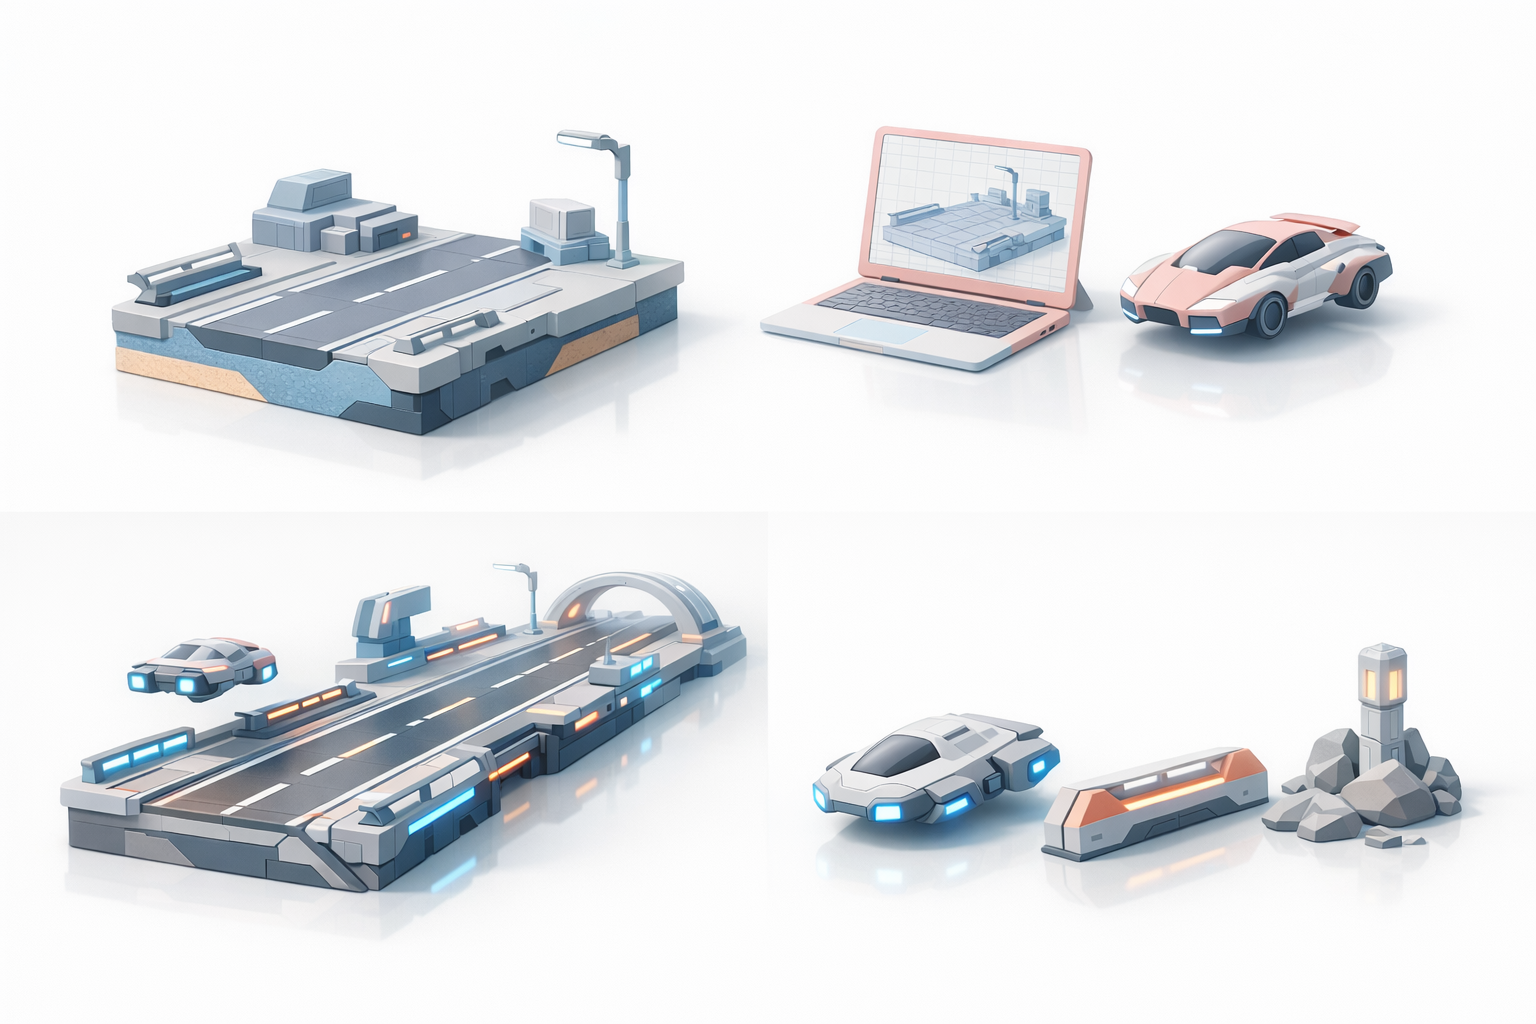
A great sci-fi road model combines imaginative design with technical execution. In my workflow, I prioritize believable scale, modularity, and interactive details—think glowing surfaces, embedded tech, and seamless transitions. The best models are visually striking but also optimized for their end use, whether that’s a real-time game or a high-res cinematic.
Top Workflow Insights from My Experience
- Start with clear references and style guides; avoid generic designs.
- Block out the layout before diving into details.
- Use AI-powered segmentation and retopology to speed up geometry prep.
- Layer textures and materials for depth; don’t rely solely on procedural effects.
- Always check geometry and UVs for clean, artifact-free results.
Planning and References: Laying the Creative Foundation
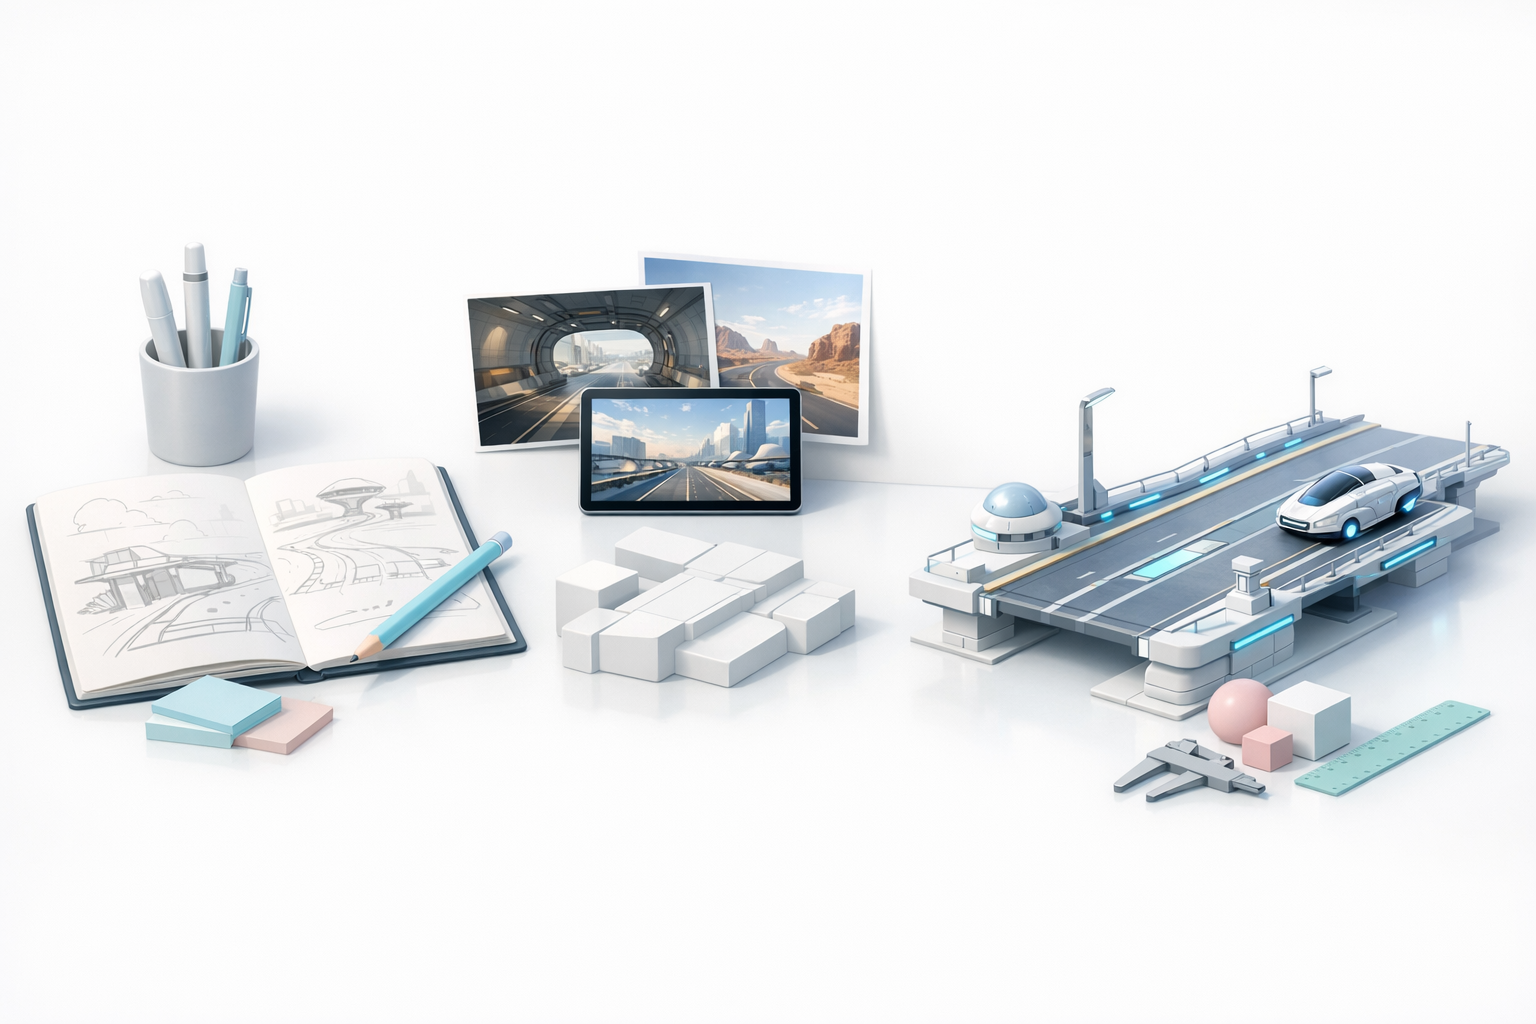
Gathering Inspiration and Reference Images
I always begin by collecting reference images—concept art, sci-fi films, and real-world highways. Mood boards help clarify the visual direction and avoid clichés. For sci-fi roads, I look for unique lighting, futuristic materials, and interesting structural features.
Checklist:
- Compile 10–20 reference images
- Identify color palettes and key motifs
- Note functional elements (lanes, signage, barriers)
Defining Style, Scale, and Functionality
Before modeling, I define the road’s purpose: is it for vehicles, pedestrians, or something more exotic? Scale is critical—oversized elements can break immersion. I sketch rough layouts and annotate them with style notes (e.g., “neon trim,” “modular panels”).
Tips:
- Set real-world measurements for reference
- Decide on modular vs. bespoke design
- Clarify how the road integrates with the environment
Blocking Out the Sci-Fi Road: My Step-by-Step Approach
Choosing the Right Tools and Software
For blocking, I use a mix of traditional 3D software and AI-powered platforms like Tripo AI. Tripo’s rapid model generation lets me iterate layouts quickly, especially when testing different shapes or proportions.
Pitfalls:
- Don’t overcomplicate the blockout—keep it simple for easy adjustments
- Avoid committing to details too soon
Efficient Blocking Techniques for Road Layouts
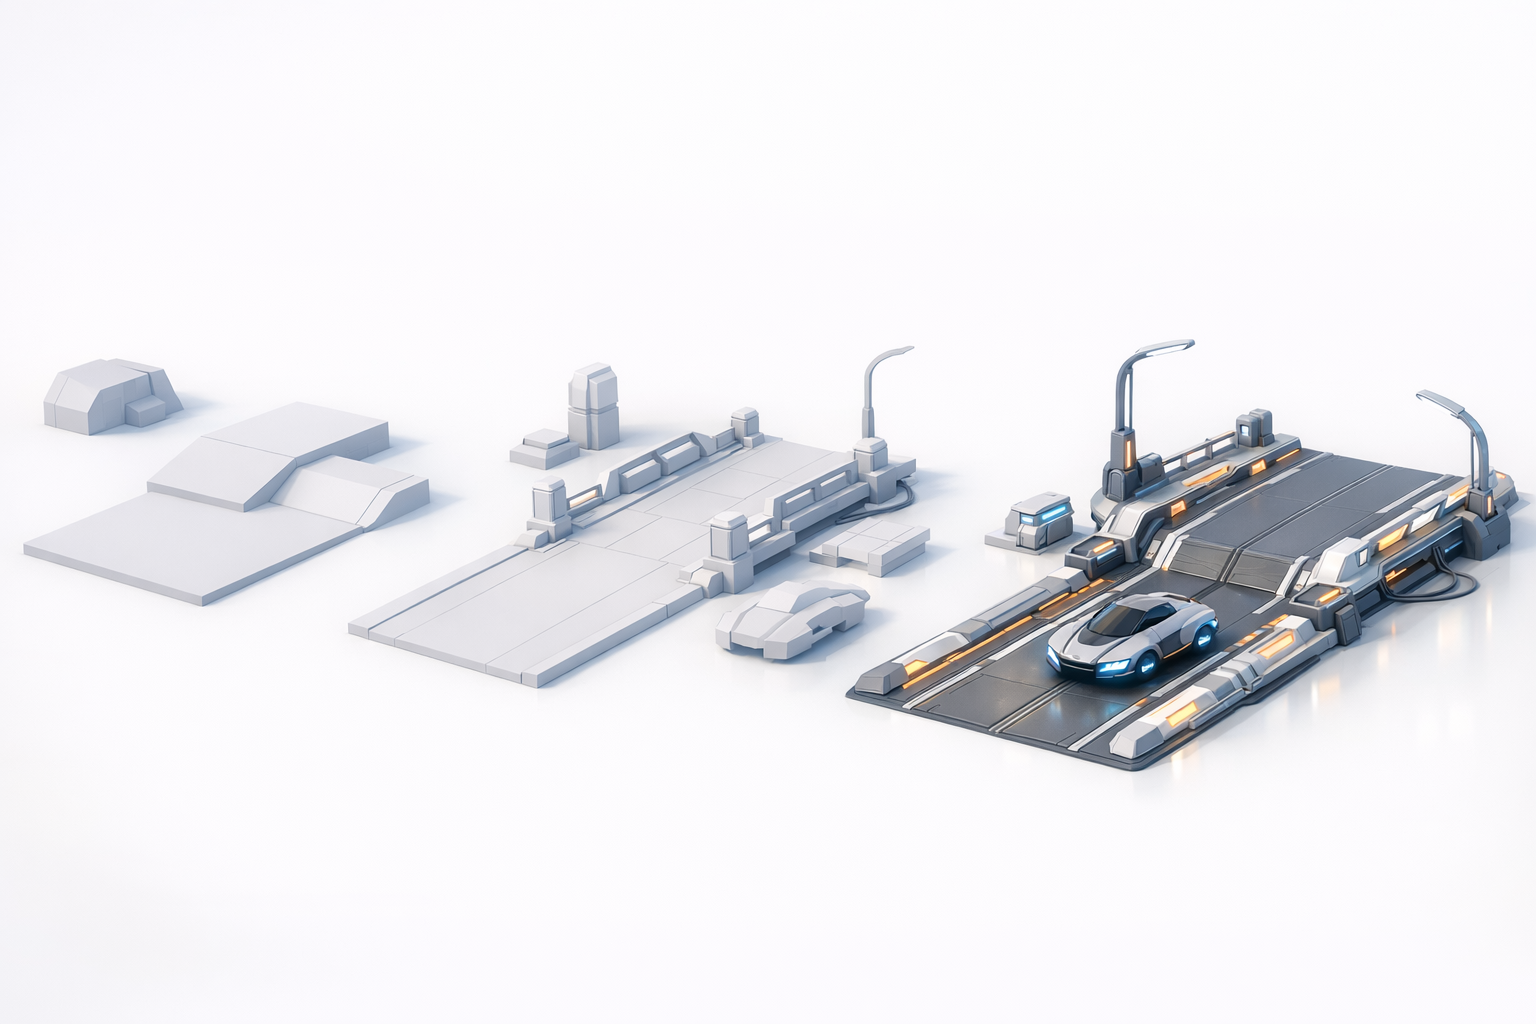
I start with primitive shapes (planes, cubes) to define the road’s footprint. Modular blockouts help with scalability and later asset reuse. When using Tripo AI, I input rough sketches or text prompts to generate base meshes, then refine them manually.
Steps:
- Lay out main road sections and junctions
- Add elevation changes and ramps if needed
- Test proportions using dummy vehicles or figures
Detailing and Texturing: Bringing the Road to Life
Adding Sci-Fi Elements and Surface Details
Detailing is where the road’s personality emerges. I add features like glowing lines, embedded panels, and techy signage. Using Tripo AI’s intelligent segmentation, I isolate areas for custom detailing without messy geometry.
Tips:
- Use layered geometry for lights and panels
- Integrate wear and tear for realism
- Avoid overcrowding—maintain visual clarity
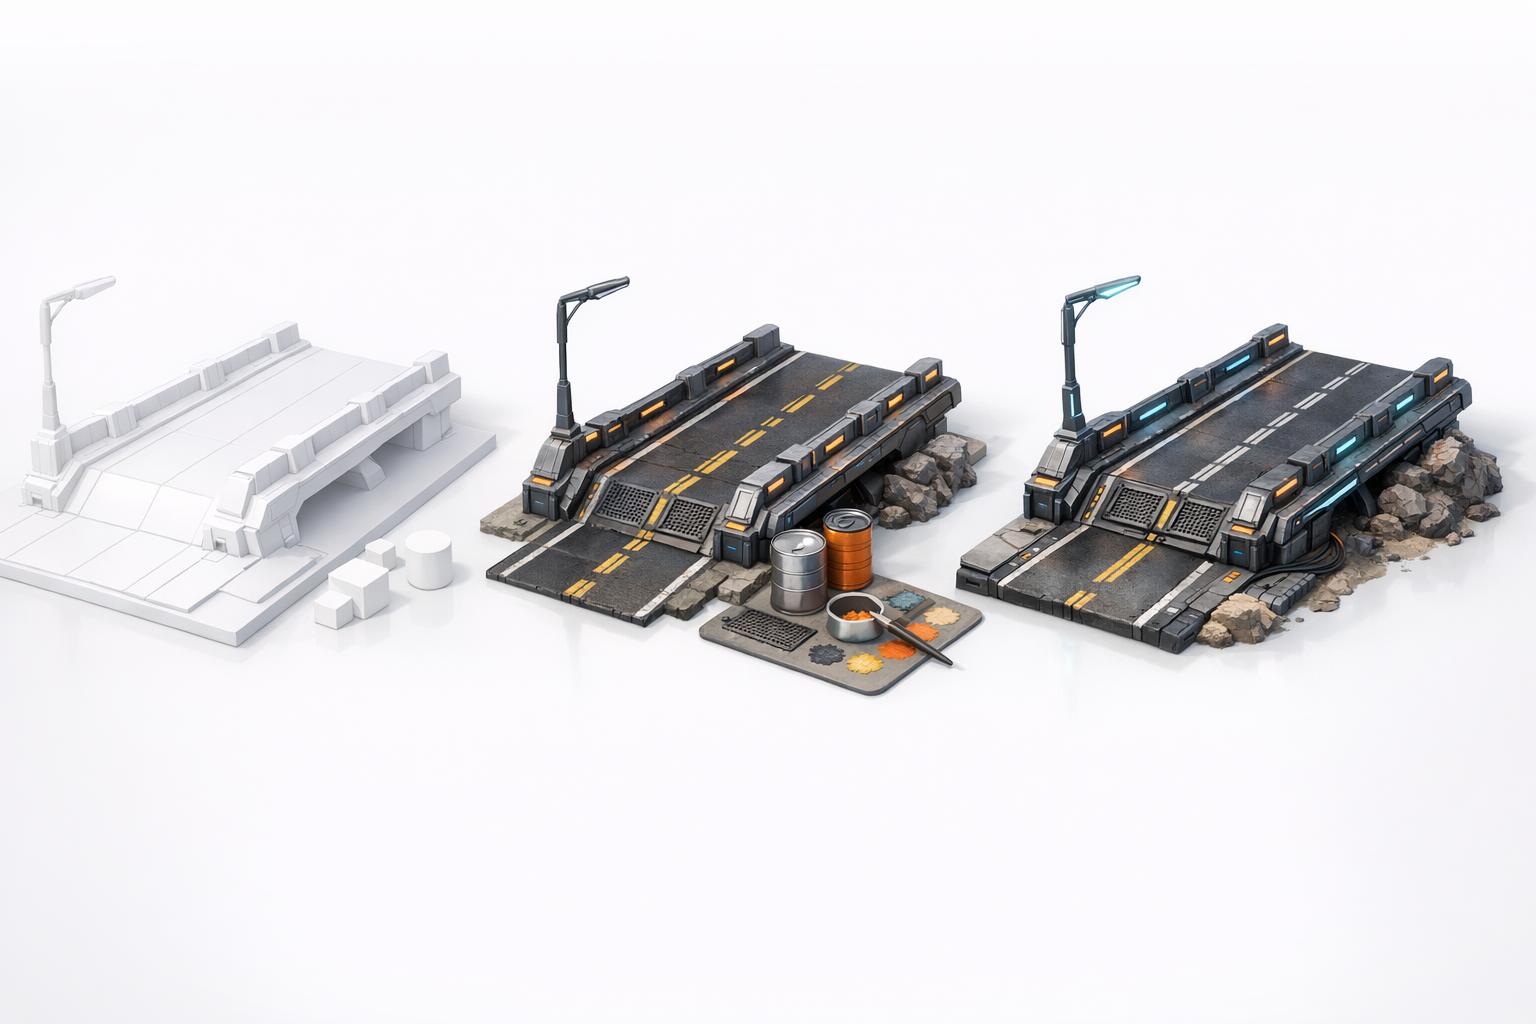
Smart Texturing Workflows and Material Choices
I rely on a mix of procedural and hand-painted textures. Tripo AI’s automated texturing speeds up base material assignment, but I always tweak maps for uniqueness. Metallics, emissives, and roughness maps are key for sci-fi surfaces.
Checklist:
- UV unwrap before texturing
- Assign base materials, then overlay detail maps
- Test in lighting scenarios to ensure realism
Optimizing Geometry: Retopology and UV Best Practices
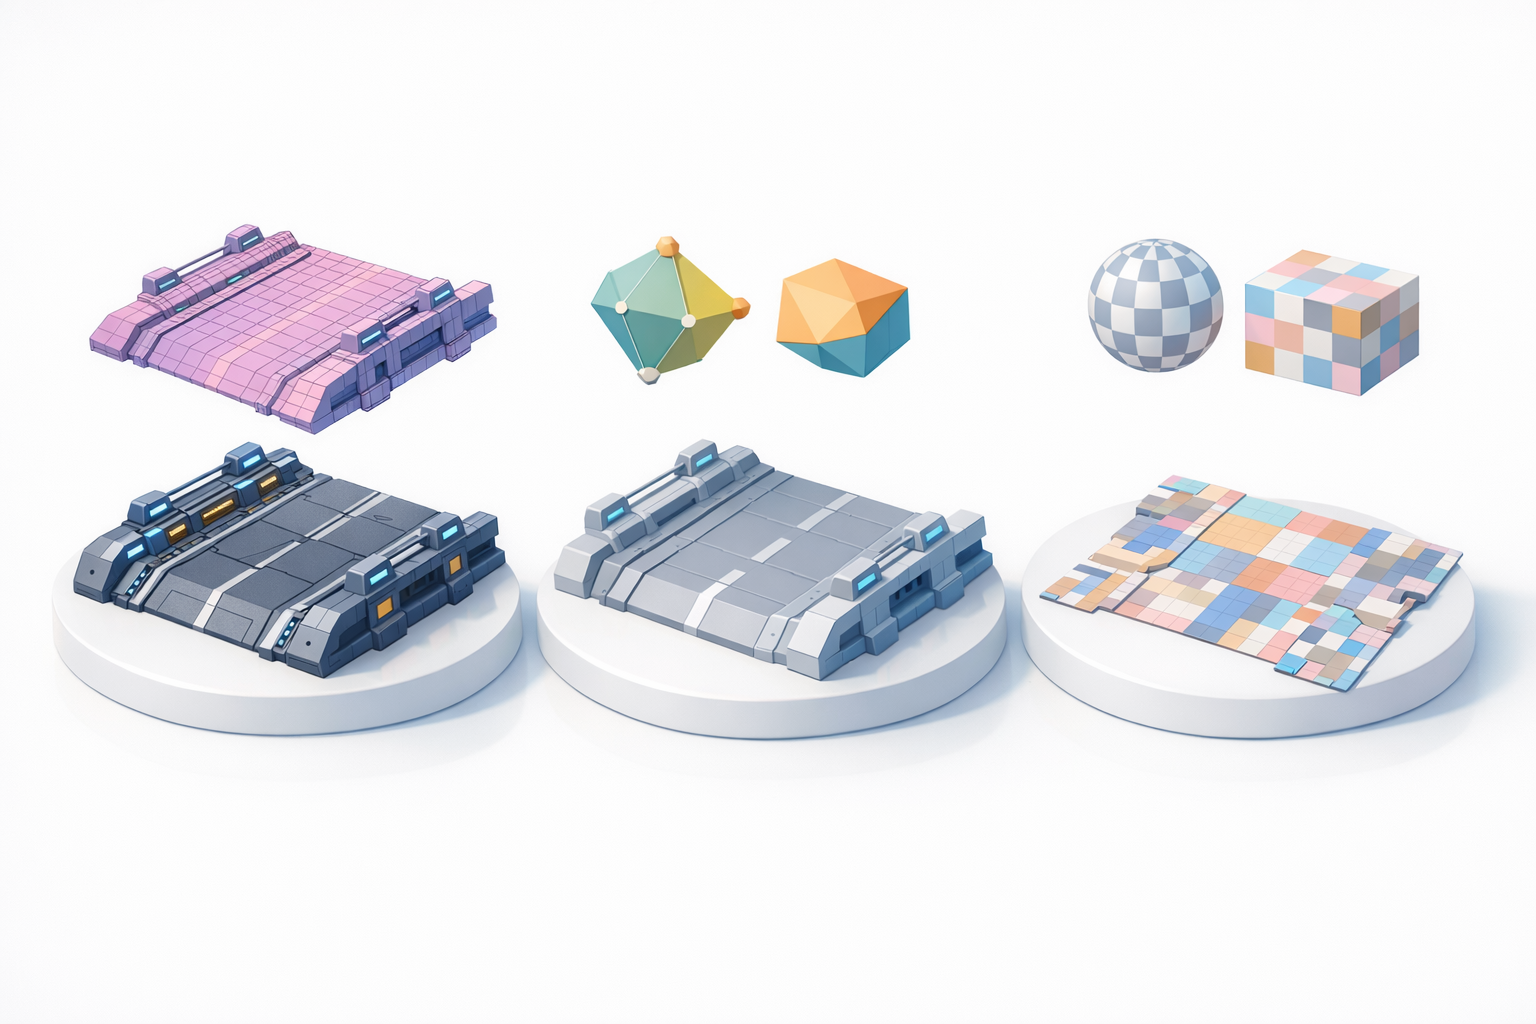
Retopology for Real-Time and Rendered Scenes
Clean geometry is vital for performance and visual quality. I use Tripo AI’s retopology tools to generate optimized meshes, then manually check edge flow and polygon count. For real-time use, I target low-poly meshes; for film, I allow more detail.
Pitfalls:
- Don’t rely solely on automatic retopology—always inspect results
- Avoid dense meshes for game assets
UV Mapping Tips for Seamless Textures
UV mapping is often overlooked but critical. I aim for minimal seams and uniform texel density. Tripo AI’s UV tools help speed up layout, but I manually adjust for important areas (logos, signs, glowing elements).
Tips:
- Use checker maps to spot stretching
- Pack UVs efficiently for modular assets
- Align UVs for easy texture painting
Exporting, Integration, and Presentation

Export Settings for Games, Film, and XR
Export settings depend on the target platform. I check scale, orientation, and file formats (FBX, OBJ, GLTF). Tripo AI’s export presets simplify this step, ensuring compatibility and clean asset handoff.
Checklist:
- Set units and scale correctly
- Test exports in target engines (Unity, Unreal, etc.)
- Include all necessary maps (diffuse, normal, emissive)
Showcasing and Rendering the Final Model
For presentation, I set up simple lighting rigs and camera angles. Rendering in real-time engines or offline renderers depends on the project. Adding context—vehicles, environment props—helps sell the sci-fi road’s story.
Tips:
- Use turntables or fly-throughs for portfolio shots
- Add post-processing for mood (bloom, color grading)
- Share wireframes to highlight geometry quality
Comparing AI-Powered and Traditional 3D Workflows
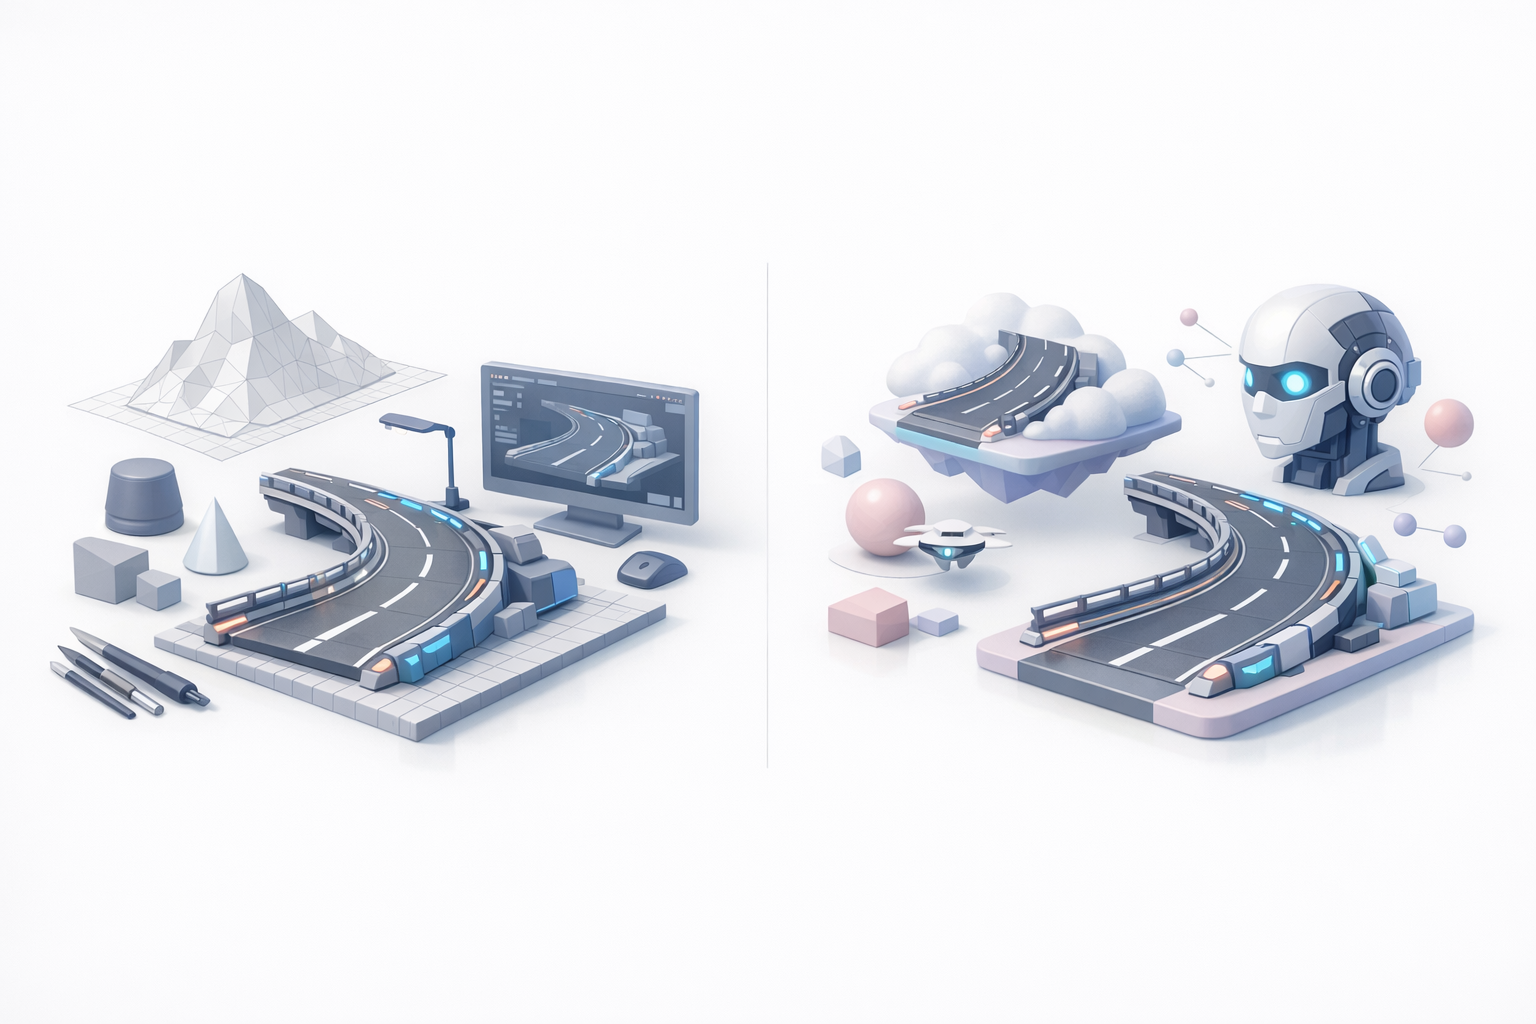
When to Use AI Tools for Sci-Fi Road Modeling
AI-powered tools like Tripo AI excel at rapid prototyping, segmentation, and retopology. I use them for initial blockouts and texture assignment, especially when speed matters. For bespoke details or stylized elements, manual modeling remains essential.
Pitfalls:
- Don’t expect AI to handle complex custom shapes perfectly
- Always review and refine AI-generated results
My Lessons Learned: Speed vs. Creative Control
AI tools dramatically reduce repetitive tasks, but creative control comes from hands-on tweaking. I combine both approaches: AI for efficiency, manual work for artistry. The best results come from a hybrid workflow, tailored to project needs.
Takeaways:
- Use AI for base mesh, segmentation, and quick texturing
- Reserve manual work for hero assets and unique features
- Iterate and refine—don’t settle for first results
Meta Description:
Learn expert workflows for creating a sci-fi road 3D model, from planning and blocking to texturing, optimization, and AI-powered techniques.
Keywords:
sci fi road 3d model, 3d modeling workflow, texturing sci fi roads, ai 3d creation, retopology tips, tripo ai


