Creating and Texturing Realistic Rust 3D Models
Creating convincing rust on 3D models is essential for realism, especially in games, films, and XR. In my experience, a well-executed rust effect can transform a sterile asset into something believable and full of history. The process involves careful mesh preparation, nuanced texturing, and smart use of both manual and AI-powered workflows. This guide is for artists and developers looking to streamline their rust asset creation, whether for quick prototyping or high-detail production.
Key takeaways:
- Rust effects add authenticity and storytelling to 3D assets.
- Start with clean geometry and UVs for best results.
- Layering textures is key for depth and realism.
- AI tools can accelerate rust generation but require manual refinement.
- Optimize models for game engines with proper retopology and UV mapping.
- Choose manual or automated workflows based on project needs.
Understanding Rust in 3D Modeling
Why Rust Effects Matter for Realism
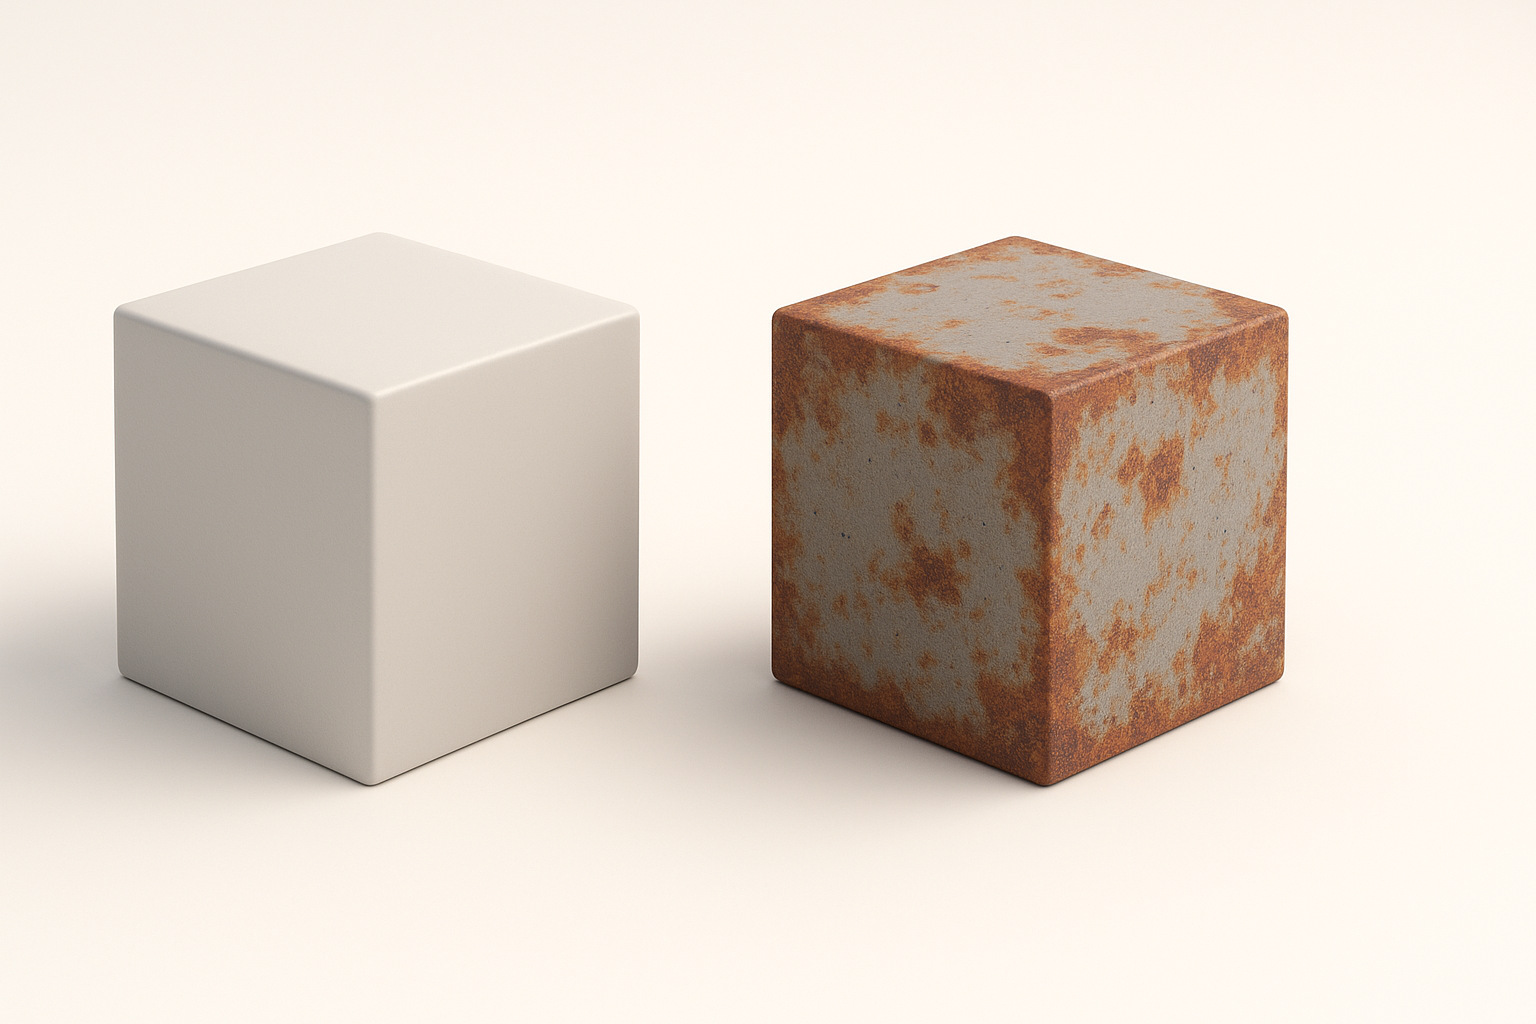
Rust signals age, neglect, and environmental impact—details that ground assets in reality. In my workflow, adding rust instantly shifts a model from generic to story-rich. Whether it’s an old pipe or a derelict vehicle, rust cues viewers to the asset’s history and context.
Common Use Cases for Rusty Assets
I often create rusty assets for post-apocalyptic environments, industrial scenes, and props in games. Typical examples include metal containers, machinery, weapons, and architectural elements. Rust not only adds visual interest but also helps guide player attention and world-building.
Step-by-Step Workflow: Making a Rust 3D Model
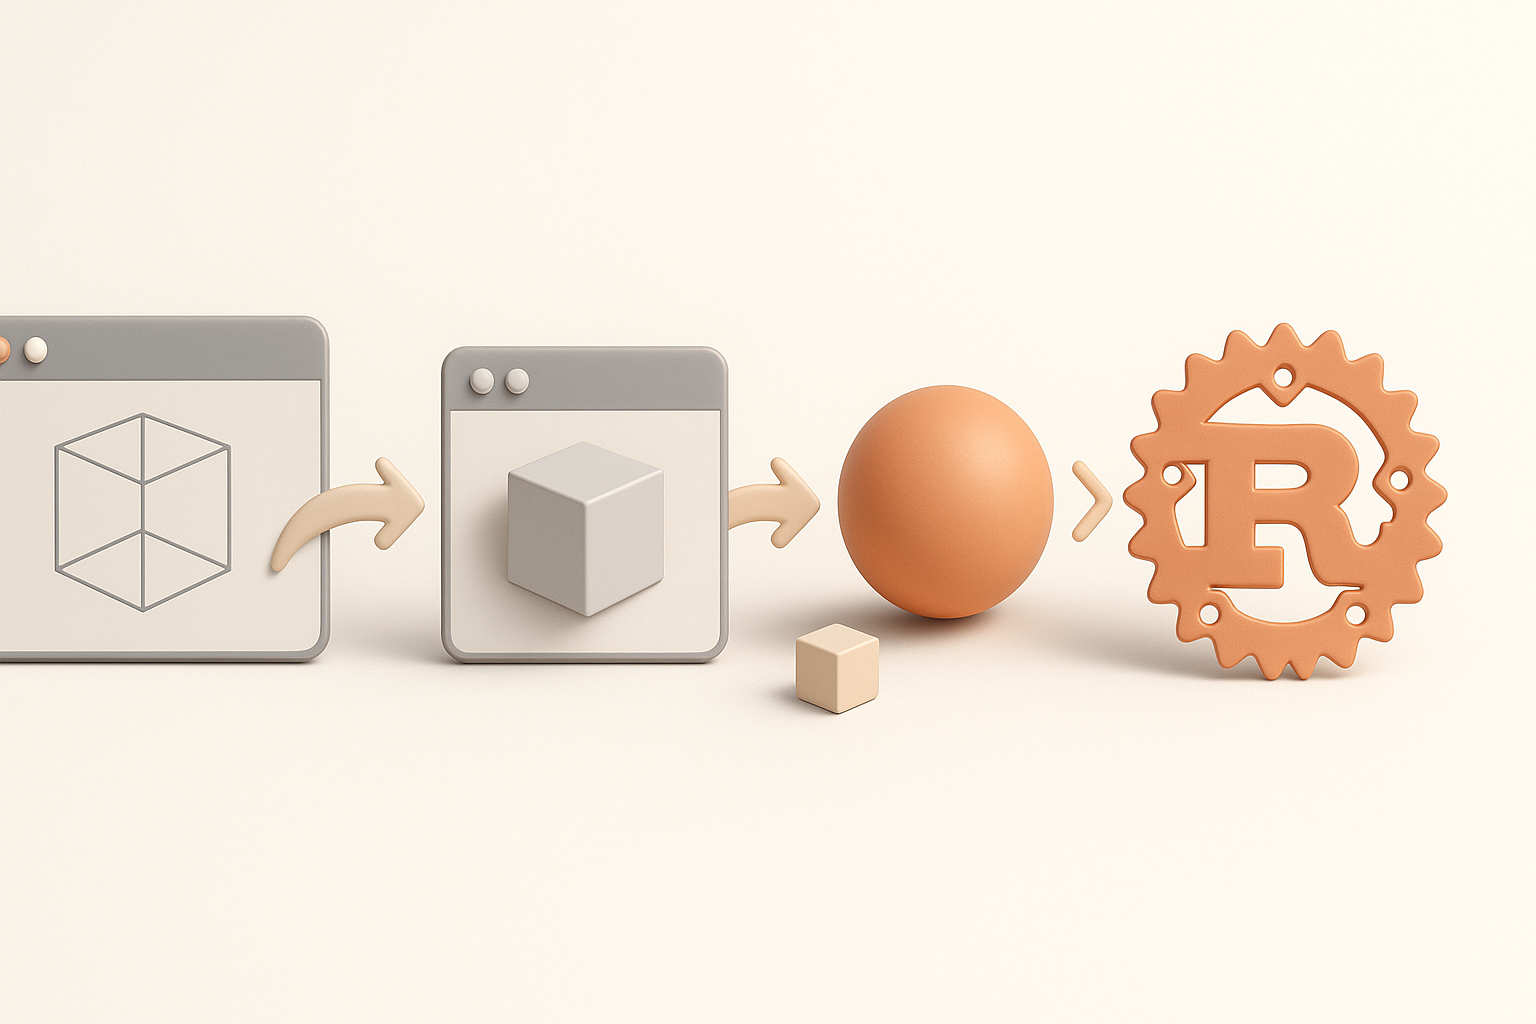
Blocking Out the Base Mesh
I always start with a clean base mesh. For hard-surface objects, I block out key shapes before refining details. Here’s my checklist:
- Keep geometry simple for easy texturing.
- Ensure edge loops are clean for smooth subdivision.
- Plan UV seams early to avoid stretching.
Applying Rust Textures and Materials
Once the mesh is ready, I move to texturing. I use a mix of procedural generators and hand-painting for rust layers. Practical steps:
- Apply a base metal material.
- Layer rust using masks for edge wear, crevices, and random patches.
- Use high-res textures for detail; Tripo AI can generate rust maps from references or prompts, speeding up this step.
Best Practices for Authentic Rust Detailing

Layering Techniques for Depth
Depth is crucial for realistic rust. I combine multiple texture layers—base metal, rust, grime, and paint chips. What I’ve found:
- Use opacity masks to blend layers.
- Add subtle normal and bump maps for surface variation.
- Overlay dirt and dust for extra realism.
Balancing Procedural and Hand-Painted Effects
Procedural tools are fast but can look repetitive. I usually tweak results by hand:
- Paint unique rust streaks and drips.
- Adjust color variation for natural look.
- Avoid overusing procedural patterns—break symmetry for authenticity.
AI Tools and Automation for Rusty Surfaces
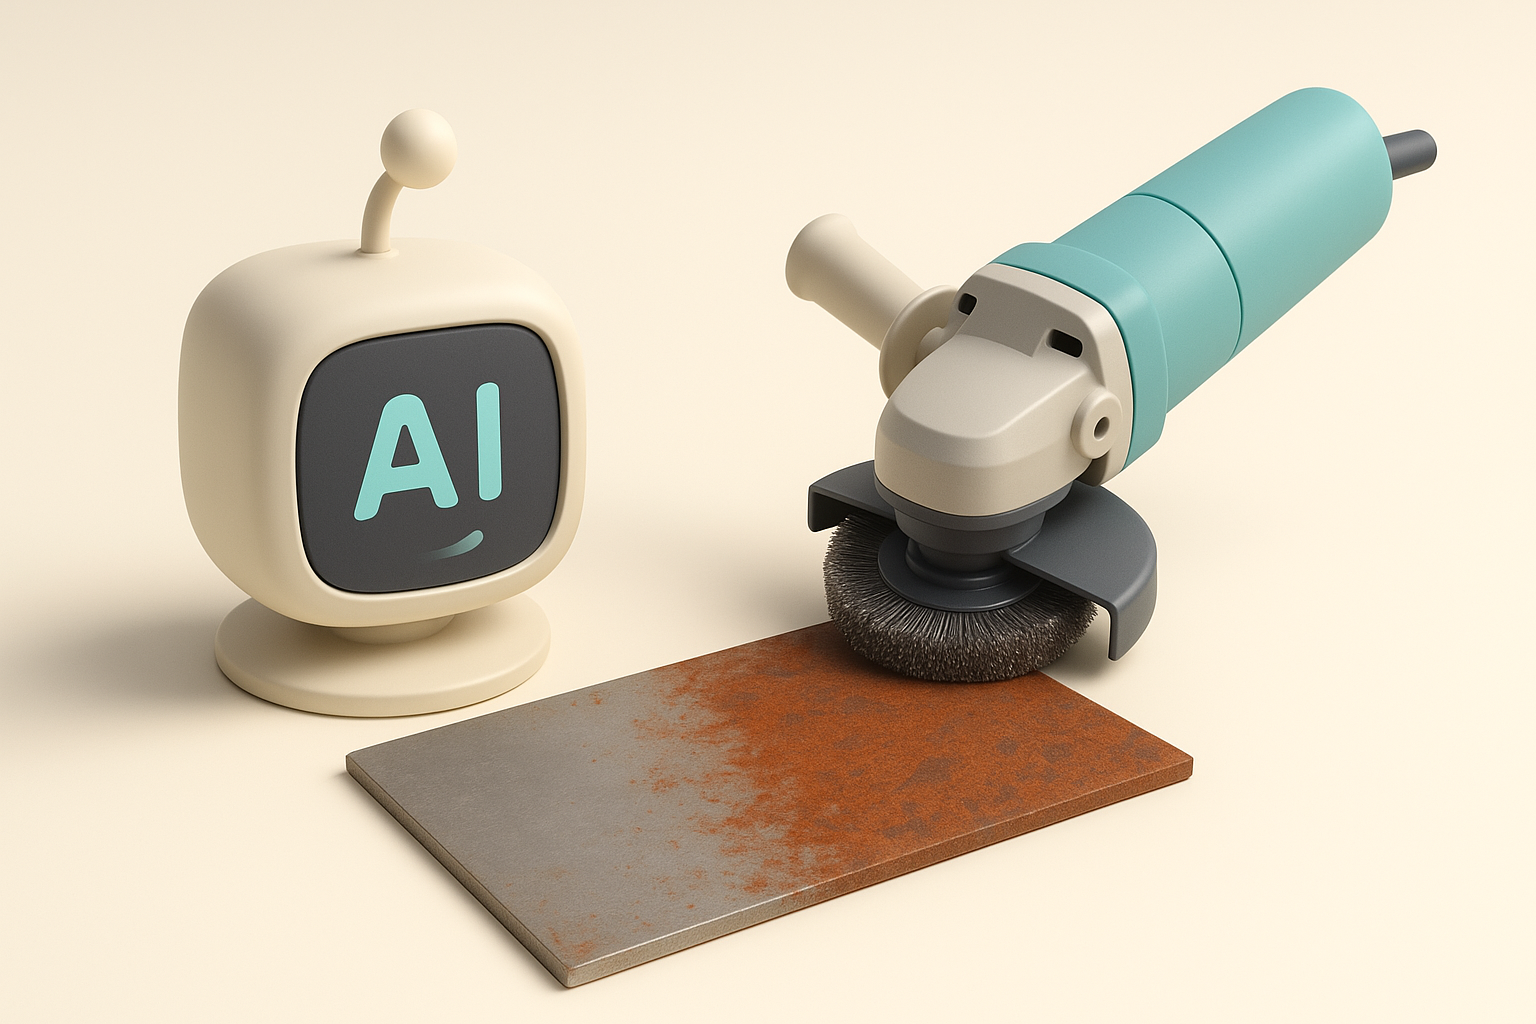
Using AI Platforms for Fast Rust Generation
AI-powered tools like Tripo have changed my workflow. I can generate rust textures or even full rusty assets from a prompt or photo. This is especially useful for rapid prototyping or when time is tight.
Steps:
- Input a text or image prompt describing the rust style.
- Review generated results for quality and adjust parameters.
- Export maps or meshes directly for further editing.
Integrating AI Results into Custom Pipelines
AI outputs often need refinement. I import generated assets into my main 3D software and:
- Tweak UVs and textures for consistency.
- Blend AI-generated rust with my custom materials.
- Use AI maps as starting points, then layer hand-painted details.
Exporting and Optimizing Rust 3D Models
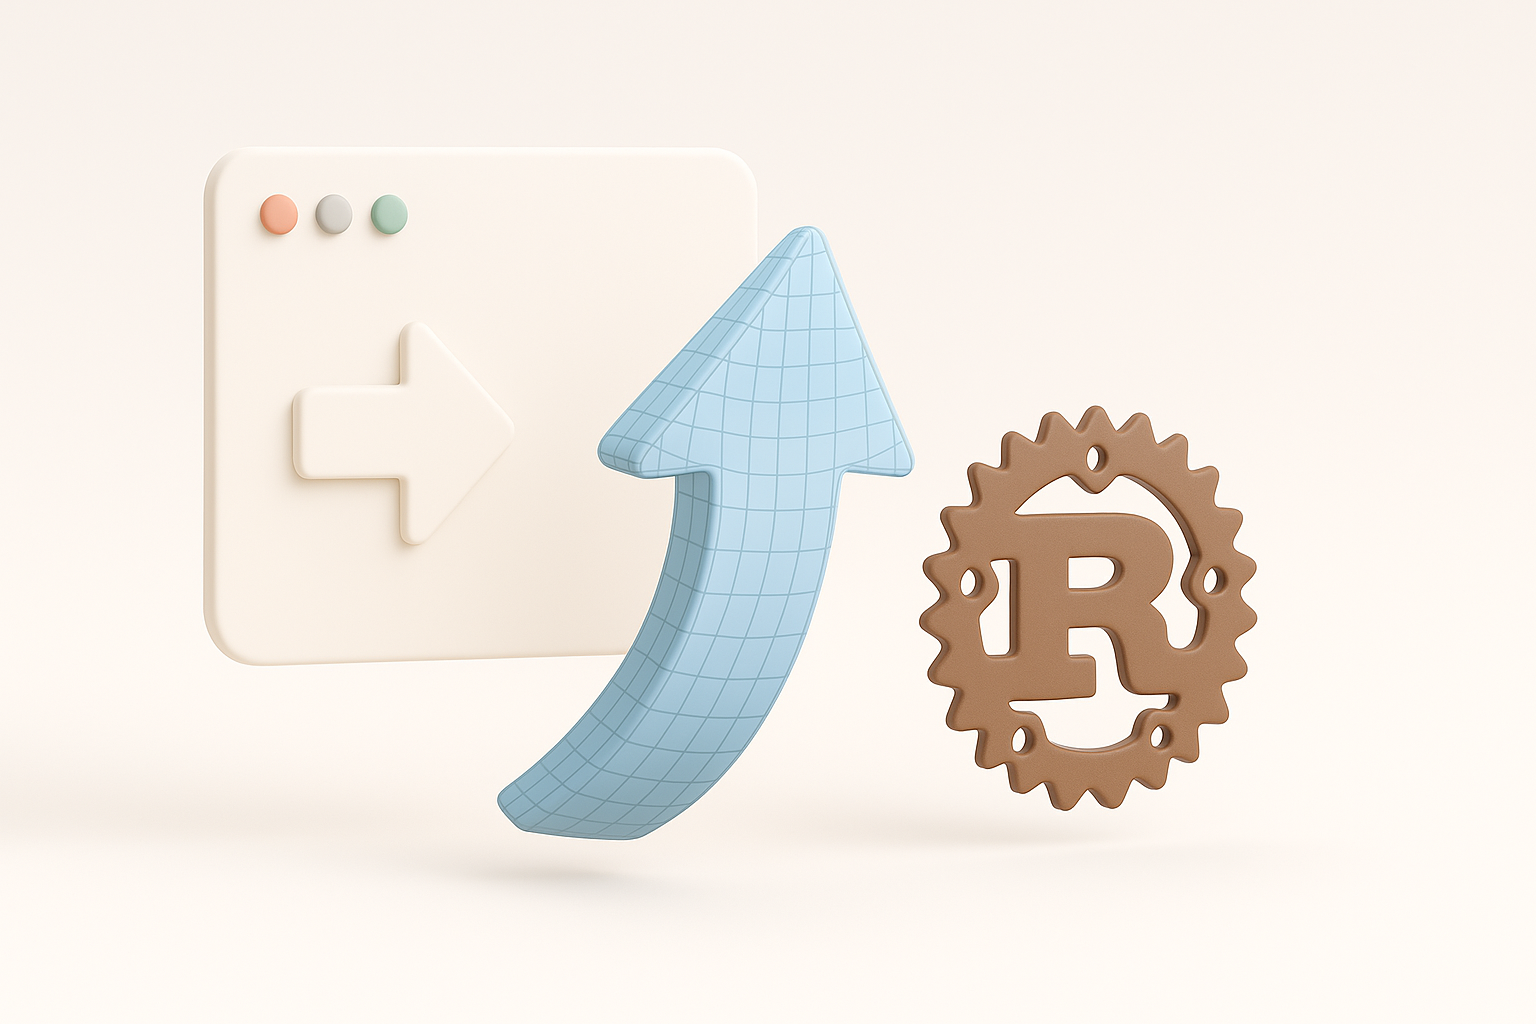
Retopology and UV Mapping Tips
For game-ready assets, I always retopologize after detailing. Tips:
- Keep poly count reasonable; prioritize silhouette and key surface details.
- Lay out UVs to maximize texture space for rust-heavy areas.
- Avoid overlapping UVs unless using mirrored elements.
Ensuring Compatibility with Game Engines
Before export, I check:
- Texture formats (PNG, TGA, etc.) and resolutions.
- Material setup (PBR-compatible shaders).
- Test asset in-engine for lighting and performance.
Comparing Manual and Automated Rust Workflows
Pros and Cons of Each Approach
Manual:
- Pros: Full control, unique results, high fidelity.
- Cons: Time-consuming, skill-dependent.
Automated (AI):
- Pros: Fast, scalable, good for batch assets.
- Cons: May lack nuance, needs manual touch-up.
When to Choose Automation vs. Handcrafting
I use automation for quick iterations and background assets. For hero props or close-up shots, manual detailing is irreplaceable. The best results often come from blending both: start with AI, then refine by hand.
Final tip: Realistic rust is all about storytelling and subtlety. Whether you use manual or AI workflows, spend time on details and context—your assets will stand out.


