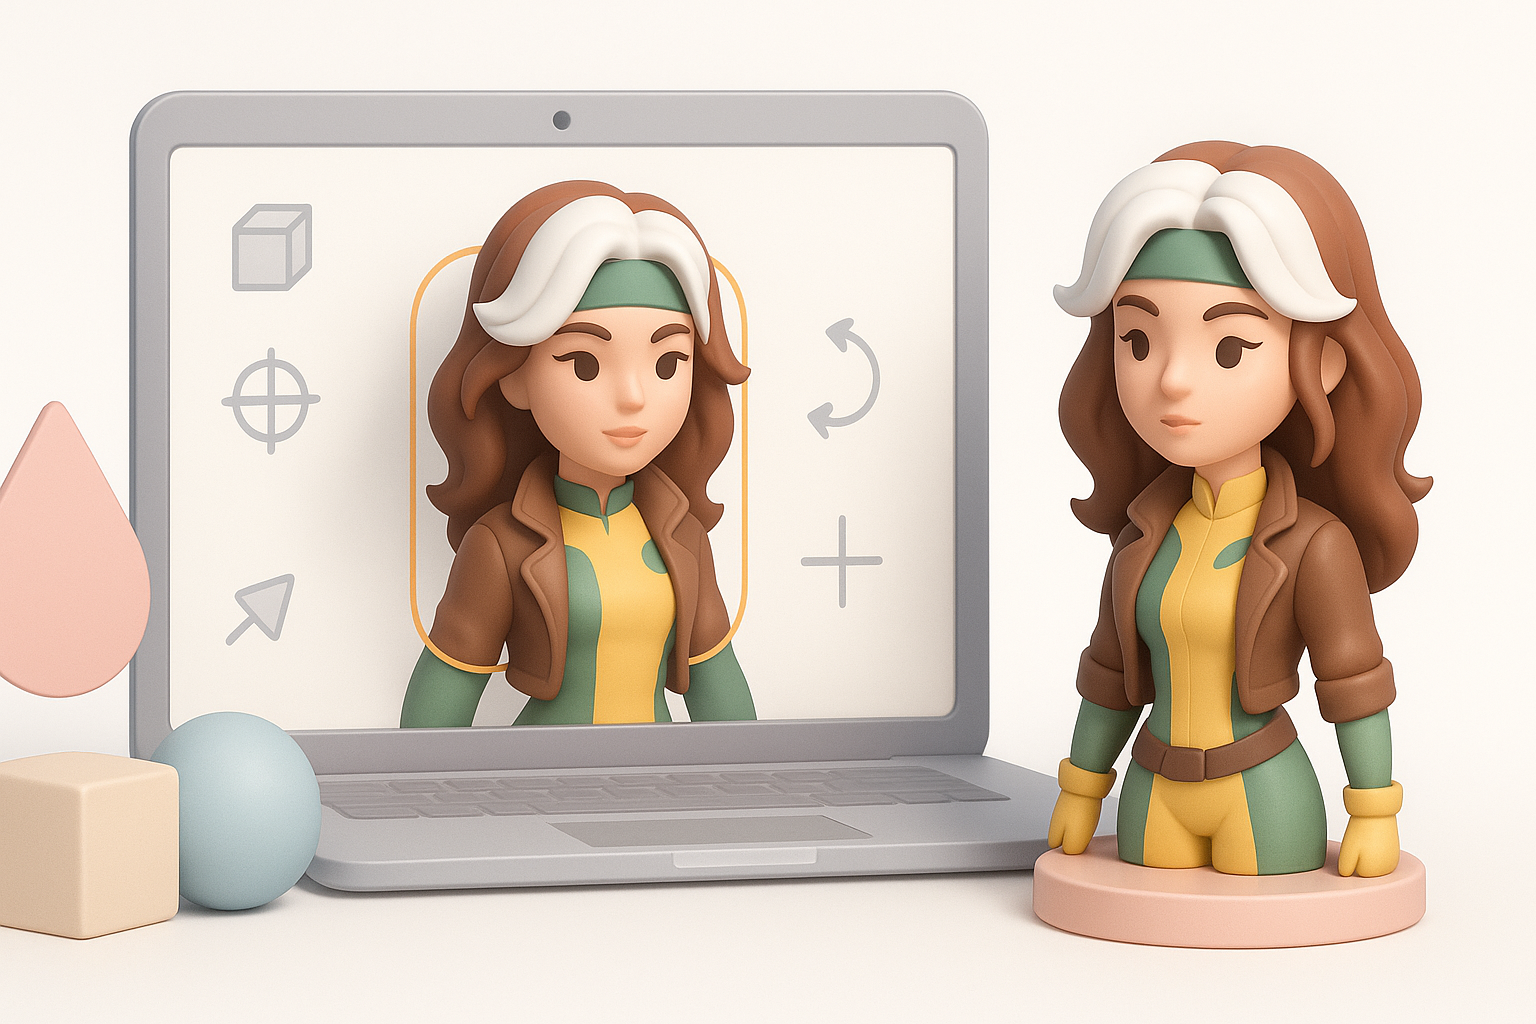
Creating a Rogue X-Men 3D Model: Expert Workflow & Tips
Creating a production-ready Rogue (X-Men) 3D model is a rewarding project for character artists, whether you’re aiming for games, film, or XR. In my experience, the process hinges on solid planning, efficient modeling, and leveraging the right tools—including AI-powered platforms—to speed up repetitive tasks. Here, I’ll break down my workflow, highlight common pitfalls, and offer actionable tips to help you achieve high-quality results without getting bogged down in technical hurdles. This guide is for artists and developers looking to streamline their 3D character workflow, especially when working with iconic characters like Rogue.
Key Takeaways
- Reference gathering and style definition are critical for consistency.
- Efficient base mesh blocking saves time in later sculpting and detailing.
- Clean UVs and smart retopology make texturing and rigging painless.
- AI-powered tools like Tripo can automate segmentation, retopology, and texturing.
- Rigging and pose testing early helps catch deformation issues.
- Optimize exports for your target platform to avoid rework.
Executive Summary: Key Takeaways for 3D Modeling Rogue
Why Rogue is a Popular Choice for 3D Artists
Rogue stands out as a fan-favorite X-Men character, thanks to her dynamic costume, iconic hair streak, and expressive personality. Artists gravitate toward her because she offers opportunities to showcase anatomy, fabric simulation, and character storytelling. In my experience, modeling Rogue is a great test of both technical skill and creative interpretation.
Summary of Workflow and Best Practices
My workflow always starts with reference gathering and style definition. I block out the base mesh quickly, then move to sculpting and detailing. For texturing, I focus on clean UVs and efficient material work. Rigging and posing come next, followed by export and integration—each step benefiting from automation where possible. The biggest lesson: plan ahead, and don’t skip the fundamentals.
Planning and References: Setting Up for Success
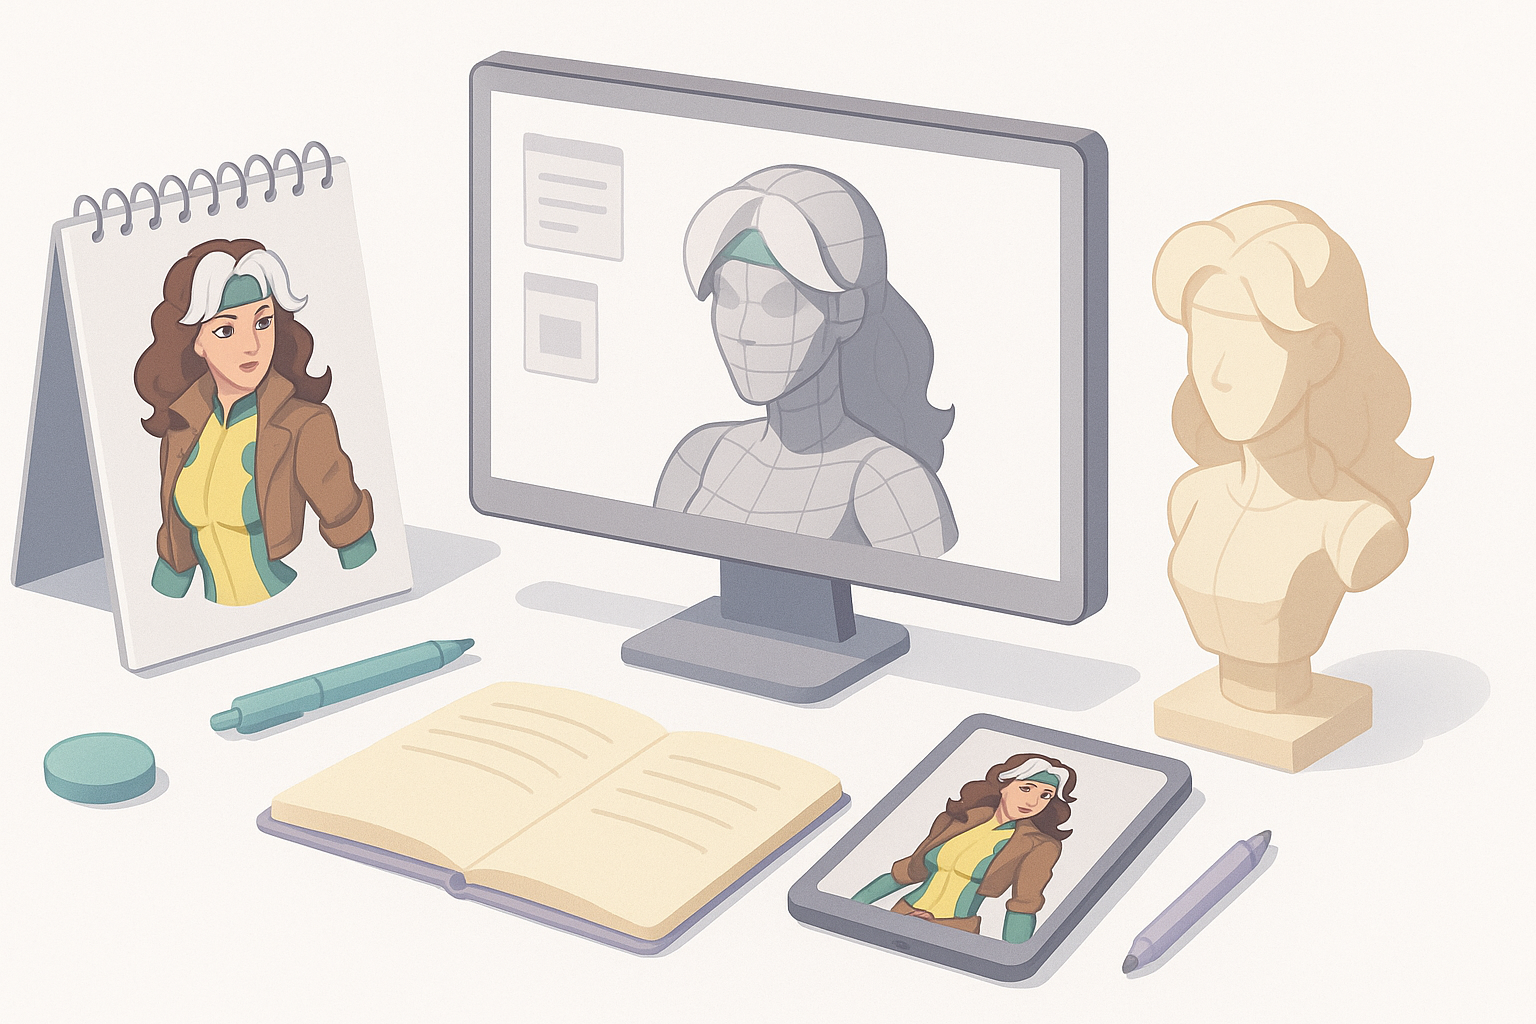
Gathering High-Quality Rogue References
I always start by collecting a wide range of references—comic panels, animated series stills, cosplay photos, and official concept art. This helps me nail down costume details, color palettes, and anatomical proportions. I organize references into folders by category (face, costume, poses) for easy access throughout the project.
Checklist:
- Gather front, side, and back views
- Save high-res images of key costume elements
- Reference various art styles for inspiration
Defining Style and Intended Use
It’s crucial to define the project’s style early: is this for a stylized game, a realistic cinematic, or XR? I decide on polycount, texture resolution, and level of detail based on the intended platform. This informs every step, from sculpting to export.
Tips:
- Write a short style guide for consistency
- Clarify target platform specs (e.g., game engine requirements)
- Decide on realism vs. stylization before starting
Modeling Rogue: My Step-by-Step Workflow
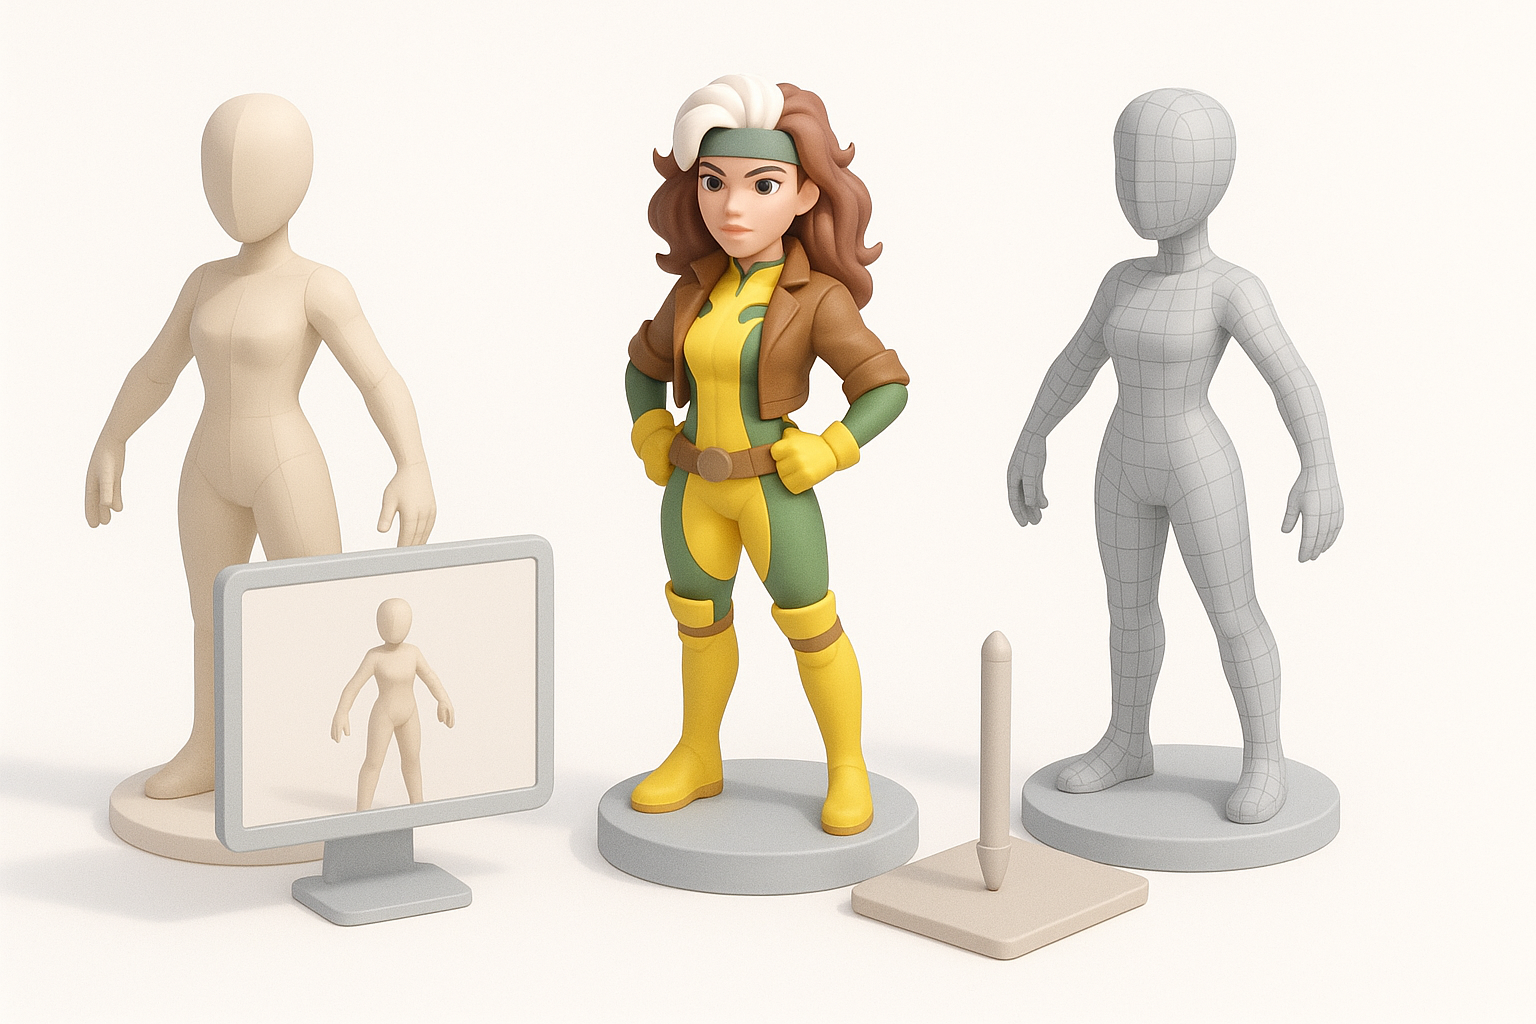
Blocking Out the Base Mesh
I block out the base mesh using simple primitives, focusing on proportions and silhouette. For speed and flexibility, I often use AI-powered tools to generate a starting mesh from my sketches or reference images, then refine manually. This jumpstarts the process and lets me iterate quickly.
Steps:
- Start with head, torso, limbs as separate objects
- Adjust proportions to match references
- Merge and refine for clean topology
Sculpting Details and Anatomy
Once the base mesh is set, I move to sculpting. I pay special attention to facial features, hair (including Rogue’s white streak), gloves, and boots. I use layers to separate anatomical detail from costume elements, making it easier to adjust later.
Pitfalls to Avoid:
- Over-detailing too early—establish forms first
- Ignoring edge flow, which affects later rigging
- Forgetting to save incremental versions
Texturing and Materials: Bringing Rogue to Life
UV Mapping and Retopology Essentials
Clean UVs and good topology make texturing and rigging much easier. I use automatic retopology and UV unwrapping where possible, then manually tweak problem areas. AI-driven solutions can handle most repetitive tasks, freeing me to focus on creative decisions.
Checklist:
- Ensure even texel density across the model
- Minimize seams in visible areas
- Use checker patterns to spot stretching
Painting Textures and Material Choices
For Rogue, I focus on bold, readable colors and subtle fabric details. I use layer-based painting for skin, costume, and hair, referencing my earlier style guide. When using AI-driven texturing, I always review and adjust masks and materials for accuracy.
Tips:
- Use material IDs to separate costume parts
- Add subtle wear and tear for realism
- Preview textures in your target engine
Rigging and Animation: Making Rogue Dynamic
Setting Up a Clean Rig for Posing
I build a simple but robust skeleton, prioritizing clean joint placement (especially shoulders and hips). Automated rigging tools can save time, but I always check weights manually to avoid deformation issues. For facial expressions, I add basic blendshapes or bones as needed.
Steps:
- Align joints to natural pivot points
- Test deformation with simple poses
- Group bones logically for easy animation
Animating Key Poses and Expressions
I block out key poses—hero stance, action, and idle. Even if the final project won’t include animation, posing helps spot rigging issues and brings the character to life. For facial animation, I test a few expressions to ensure the mesh deforms naturally.
Tips:
- Use reference photos or video for pose accuracy
- Save pose presets for quick iteration
- Check for mesh clipping in extreme poses
Exporting and Integration: Game, Film, and XR Workflows
Optimizing for Real-Time Engines
I reduce polycount and bake normal/ambient occlusion maps for real-time use. I test the model in the target engine early to catch issues with shading or scale. For XR and mobile, I’m extra vigilant about texture sizes and draw calls.
Checklist:
- Bake all necessary maps (normal, AO, etc.)
- Use LODs for performance
- Check model scale and orientation
Export Settings and File Formats
I export in formats best suited for the target platform—FBX for games, OBJ for film, GLTF for XR. I double-check that all textures and materials are correctly linked. Automated export tools can help, but I always review the output manually.
Tips:
- Name files and texture maps clearly
- Test imports in the final environment
- Document export settings for future updates
Best Practices and Lessons Learned
Common Pitfalls and How I Avoid Them
I’ve found the biggest pitfalls are skipping planning, overcomplicating geometry, and neglecting topology. I avoid these by sticking to my checklists and reviewing each stage before moving on.
Pitfalls to Watch:
- Inconsistent scale between assets
- Unoptimized UVs causing texture issues
- Missing backup files
Tips for Faster, Higher-Quality Results
Automate repetitive tasks with AI tools when possible, but always review their output. Keep your workflow modular—work in layers, name everything, and document decisions. This pays off in both speed and quality, especially when collaborating.
Quick Wins:
- Use symmetry and instancing for repetitive elements
- Save reusable base meshes and materials
- Regularly seek feedback from peers
Comparing Tools and AI Solutions for 3D Character Creation
When to Use AI-Powered Platforms Like Tripo
I turn to AI-powered platforms when I need to generate base meshes, automate retopology, or quickly segment and texture complex characters. They’re especially useful for rapid prototyping or when working under tight deadlines. However, I always reserve manual passes for final polish and creative tweaks.
Ideal Use Cases:
- Rapid concept-to-model iterations
- Automating segmentation and retopology
- Generating base textures for further refinement
Alternative Methods and Manual Approaches
Traditional modeling and texturing workflows give me granular control, which is vital for hero assets or when aiming for a unique style. I combine manual sculpting, hand-painted textures, and custom rigs when the project demands it. The best results often come from blending automation with hands-on artistry.
Consider Manual When:
- High-detail or highly stylized assets are required
- Unique topology or custom rigs are needed
- Full creative control is a priority
By combining solid fundamentals with smart use of automation, I can deliver a production-ready Rogue 3D model efficiently and at a high quality—ready for games, film, or XR applications.


