Roblox 3D Model Creation: Expert Workflows and Best Practices
Creating production-ready 3D models for Roblox demands a blend of technical know-how and creative efficiency. Over the years, I’ve refined my workflow to streamline concepting, modeling, texturing, rigging, and integration—leveraging both traditional and AI-powered tools. This article distills my hands-on experience, highlighting practical steps, optimization strategies, and the best practices that matter most for game developers, artists, and designers working with Roblox. If you’re aiming for high-quality, performant models with minimal friction, these insights will save you time and help you avoid common pitfalls.
Key takeaways:
- Start with a clear understanding of Roblox’s unique model requirements and supported formats.
- Efficient workflows combine AI-powered tools with manual refinement for best results.
- Proper UV mapping and texture optimization are crucial for performance.
- Rigging and animation need to be tailored to Roblox’s engine limitations.
- Always test and troubleshoot models in Roblox Studio before final deployment.
Understanding Roblox 3D Models
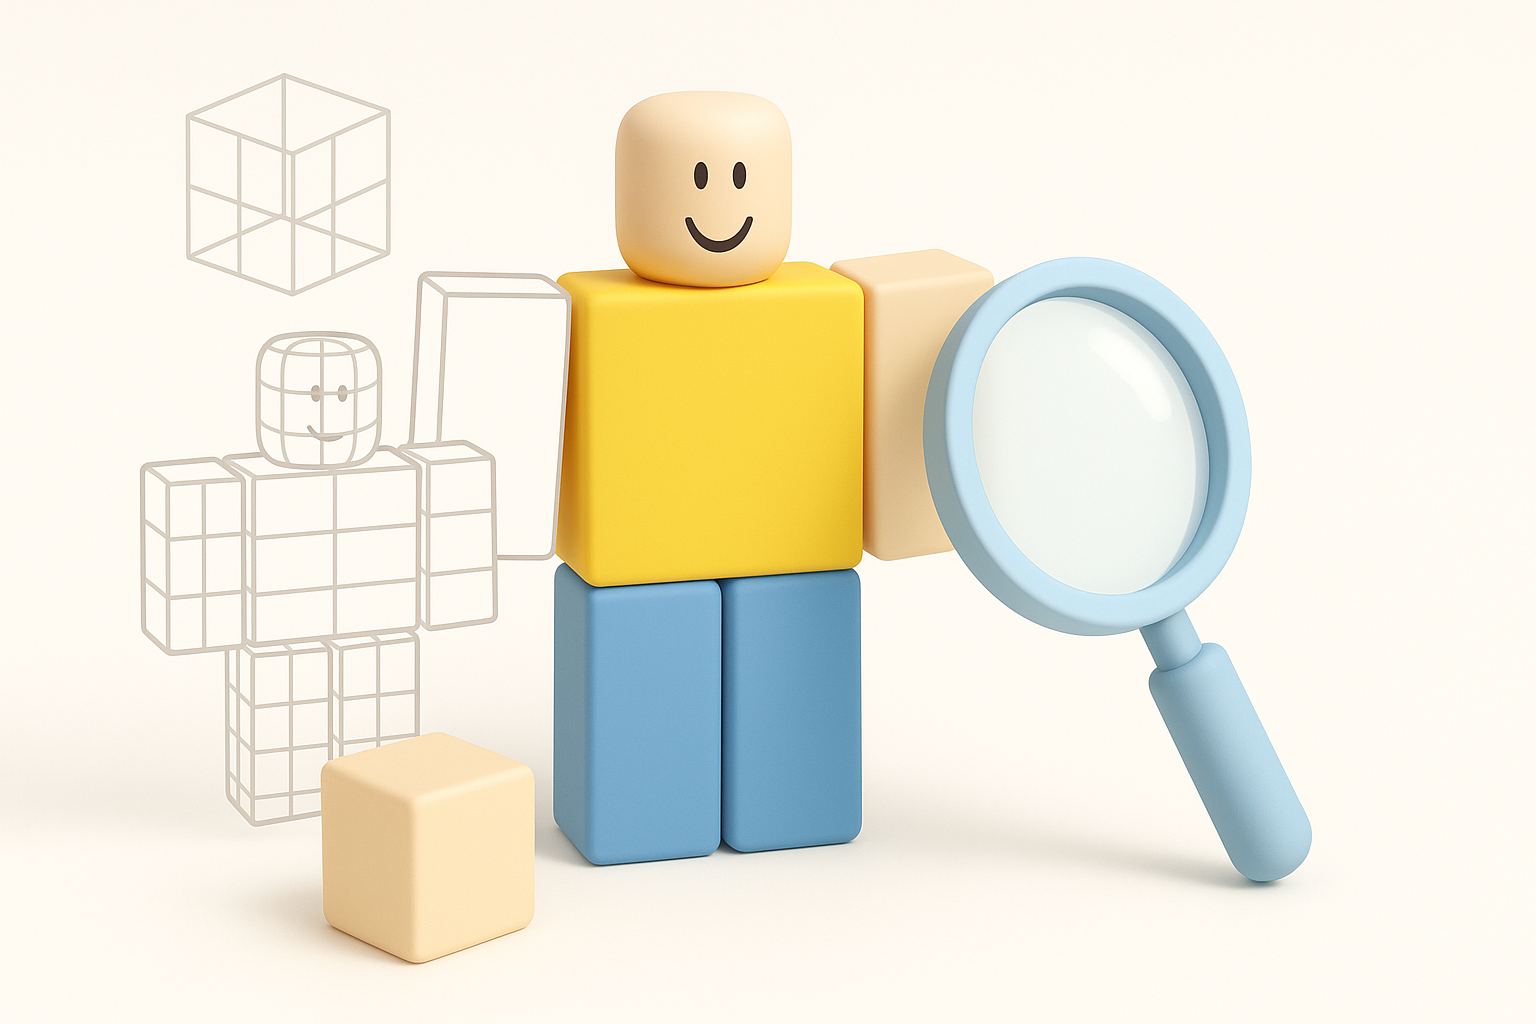
What Makes a Roblox 3D Model Unique
Roblox models are distinct in their low-poly, performance-oriented design and compatibility with the Roblox engine. I’ve found that models for Roblox must balance visual appeal with strict polygon and texture limits to ensure smooth gameplay. Interactivity and modularity are also key—models often need to be easily manipulated or combined in-game.
Tips:
- Keep poly count low—usually under 10k triangles per asset.
- Avoid excessive detail; rely on textures for nuance.
- Ensure modularity for easy assembly and customization.
Supported Formats and Platform Requirements
Roblox primarily accepts .obj and .fbx formats for imported meshes, with specific guidelines on scale, orientation, and texture mapping. I always double-check that models are exported with the correct axis alignment (Y-up) and that textures are packed as .png or .jpg.
Checklist:
- Export models as
.objor.fbx. - Use Y-up orientation.
- Textures should be square and power-of-two (e.g., 512x512).
- Avoid embedded materials; use texture maps instead.
My Workflow for Creating Roblox 3D Models
Concept to Completion: Step-by-Step Process
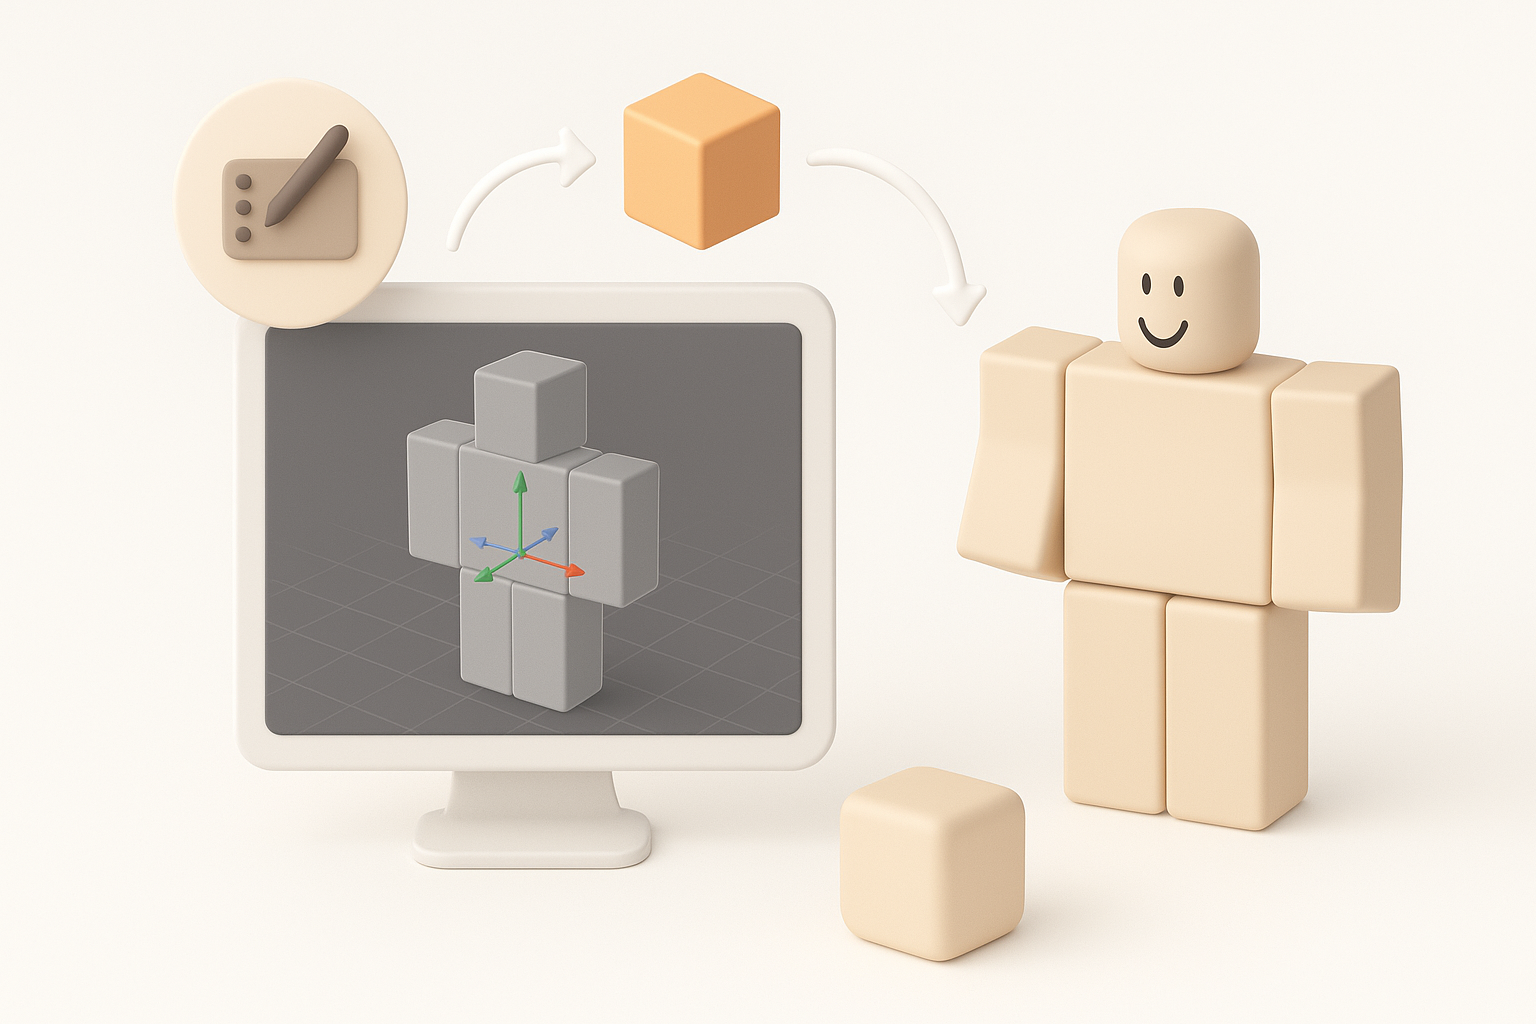
My process starts with rough concept art or references, followed by rapid prototyping in a 3D modeling tool. For speed and accuracy, I often use AI-powered platforms like Tripo to generate base meshes from sketches or descriptions, then refine topology and details manually.
Workflow steps:
- Gather references and define scale.
- Generate base mesh (Tripo or manual modeling).
- Refine geometry, ensuring low poly count.
- UV unwrap and prepare for texturing.
- Export and review in Roblox Studio.
Tools and Platforms I Use for Efficiency
For efficiency, I combine AI-driven generators and traditional modeling software. Tripo AI accelerates the initial mesh creation, while I rely on established 3D tools for manual tweaks, UV mapping, and final exports.
Pitfalls to avoid:
- Over-reliance on AI outputs—always check topology and fix artifacts.
- Skipping manual optimization steps, which can lead to performance issues in-game.
Best Practices for Texturing and Optimization
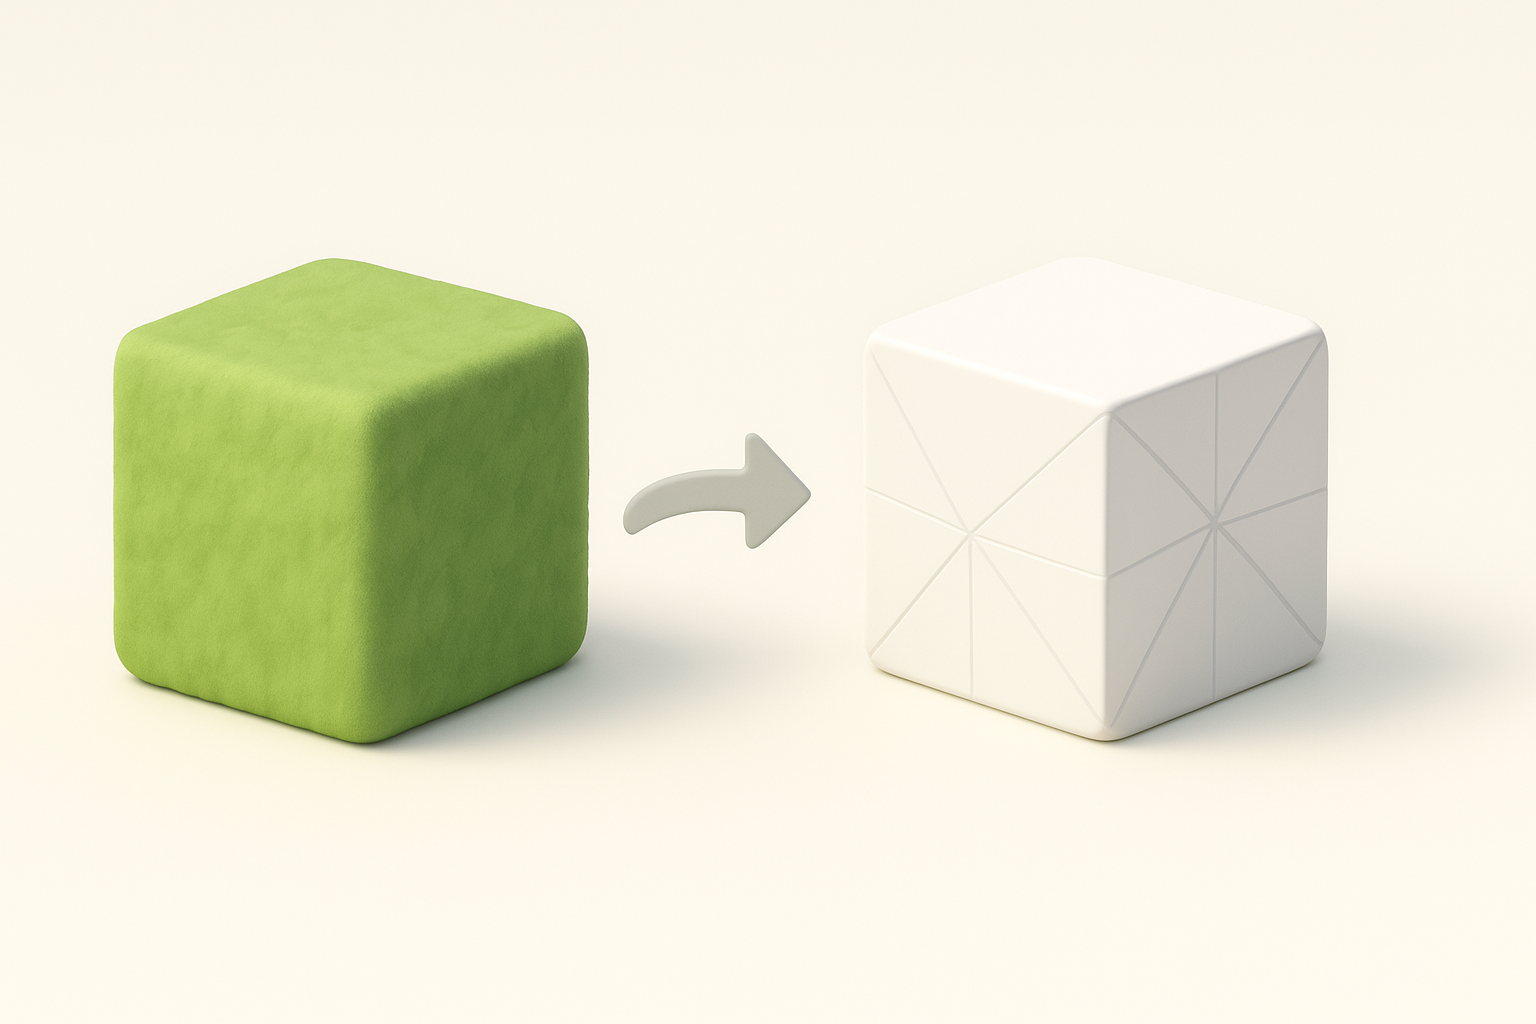
UV Mapping and Texture Guidelines
Proper UV mapping is essential for clean, efficient textures in Roblox. I always ensure UV islands are well-organized and minimize stretching. Textures should be simple, with clear color blocks and minimal gradients to reduce memory usage.
Mini-checklist:
- UVs must fill the texture space efficiently.
- Avoid overlapping UVs unless for mirrored elements.
- Use small, square textures (e.g., 256x256, 512x512).
Optimizing Models for Performance
Optimization is non-negotiable for Roblox. I target minimal polygon counts and use texture atlases to consolidate materials. Tripo’s intelligent retopology tools help automate mesh simplification, but I always review results manually.
Tips:
- Merge meshes where possible.
- Remove hidden faces.
- Test model performance in Roblox Studio.
Rigging and Animation for Roblox
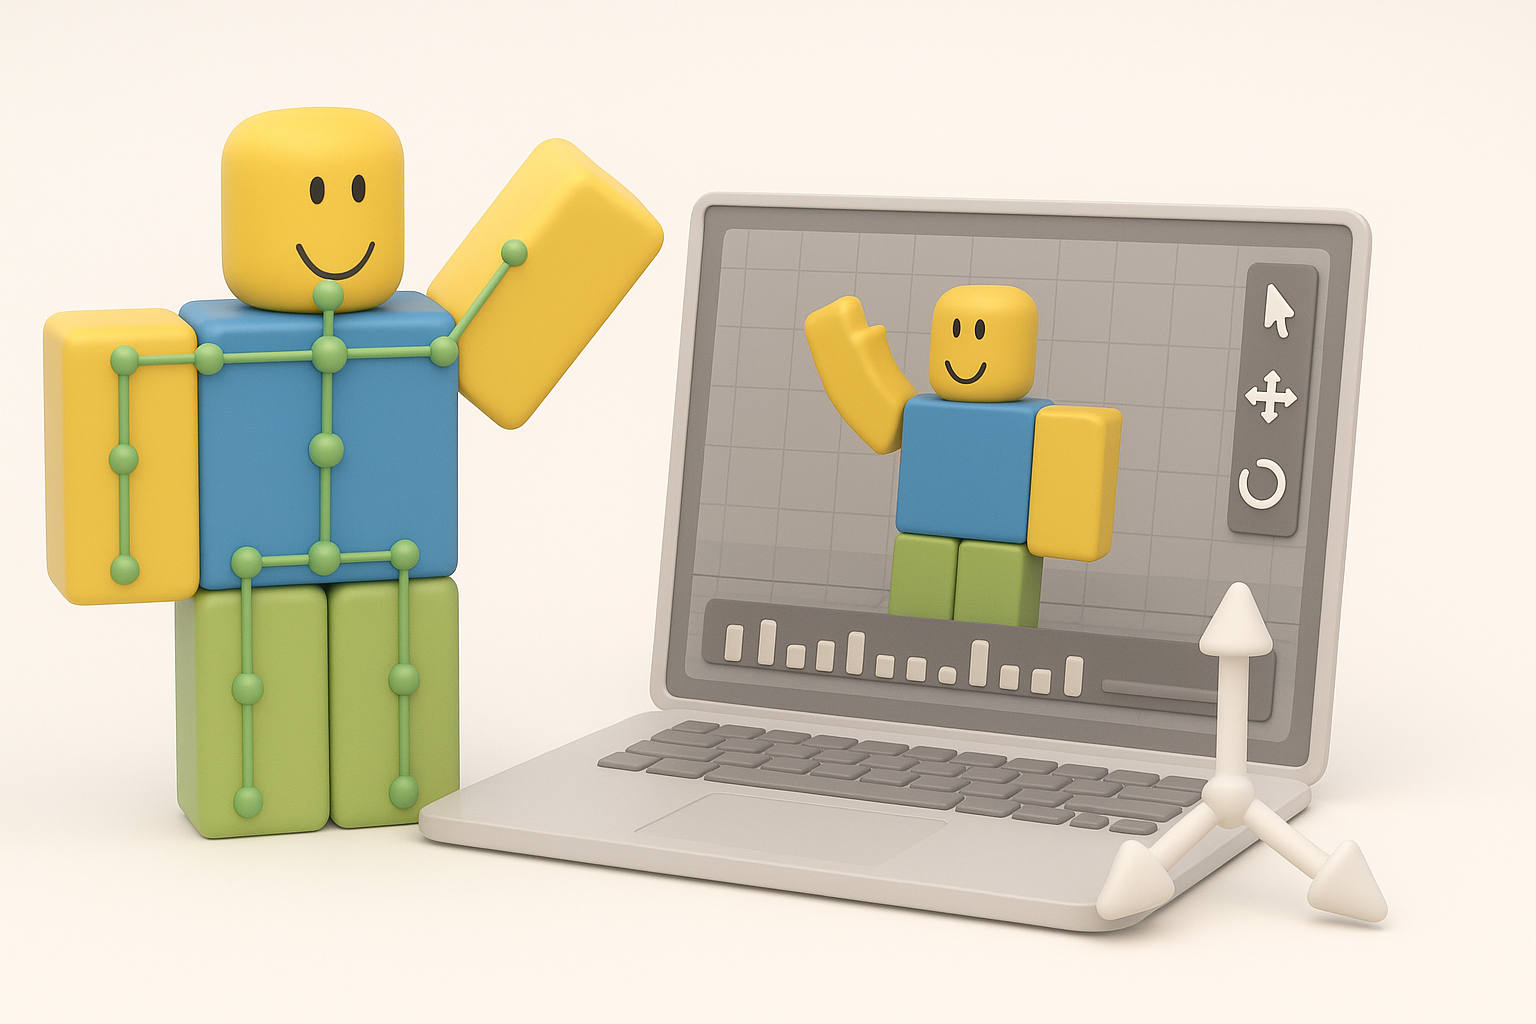
Setting Up Bones and Joints
Roblox supports basic skeletal rigging. I set up bones and joints in external software, ensuring naming conventions match Roblox’s requirements. Simplicity is key—complex rigs may not import correctly.
Steps:
- Create a simple skeleton structure.
- Name bones clearly (e.g., “Root”, “Arm”, “Leg”).
- Export as
.fbxwith rig included.
Animating Characters and Objects
Animations should be concise and loopable. I prefer to create short action sequences and idle loops, testing them in Roblox Studio for smooth playback. AI tools can help generate basic animations, but manual tweaking is usually necessary for polish.
Pitfalls:
- Avoid excessive bone counts.
- Test all animations for compatibility and smoothness in Roblox Studio.
Comparing AI-Powered and Traditional Methods

Advantages of AI-Driven Workflows
AI tools like Tripo dramatically reduce modeling time, especially for base mesh generation and automatic retopology. In my experience, they’re invaluable for rapid prototyping and iterating on concepts.
Benefits:
- Faster asset turnaround.
- Easier segmentation and retopology.
- Useful for artists with limited technical modeling skills.
When to Use Alternative Methods
Traditional modeling is still best for detailed, highly customized assets or when precise control is needed. I switch to manual workflows for hero assets, complex rigs, or when AI results need significant refinement.
Consider:
- Manual modeling for high-detail or unique shapes.
- AI tools for background assets and rapid prototyping.
Publishing and Integrating Models in Roblox Studio
Importing and Testing Models
I import models via Roblox Studio’s asset importer, checking for scale, orientation, and texture fidelity. Testing in-game is essential to catch issues early.
Steps:
- Import
.objor.fbxinto Roblox Studio. - Assign textures and materials.
- Test model in live preview.
Troubleshooting Common Issues
Common problems include broken textures, incorrect scaling, or missing rig data. I always review import logs and adjust exports as needed.
Tips:
- Double-check texture paths.
- Verify bone hierarchy and naming.
- Re-export if issues persist; sometimes minor tweaks solve major problems.
In summary: With the right mix of tools, best practices, and attention to detail, creating production-ready Roblox 3D models is efficient and rewarding. AI-powered platforms like Tripo can streamline workflows, but manual oversight remains critical for quality and performance. Always test and optimize before publishing to ensure seamless integration and gameplay.


