Creating a High-Quality 3D Model of the Respiratory System
Creating a detailed 3D model of the respiratory system is essential for educational, medical, and interactive applications. In my experience, the right workflow combines strong anatomical references, efficient segmentation, and practical use of AI-driven tools to accelerate the process without sacrificing accuracy. This guide walks through my proven approach—from gathering references to exporting a polished model—highlighting practical tips, common pitfalls, and where AI platforms like Tripo can save time. Whether you’re a medical illustrator, educator, or developer, you’ll find actionable steps to create production-ready respiratory system models for real-world use.
Key takeaways
- Start with high-quality references and clear planning for anatomical accuracy.
- Leverage AI-powered tools for rapid segmentation, retopology, and texturing.
- Manual refinement is crucial for realism and educational clarity.
- Optimize topology and textures for real-time use and animation.
- Export in the right formats for your intended platforms (XR, games, education).
Overview of 3D Respiratory System Modeling
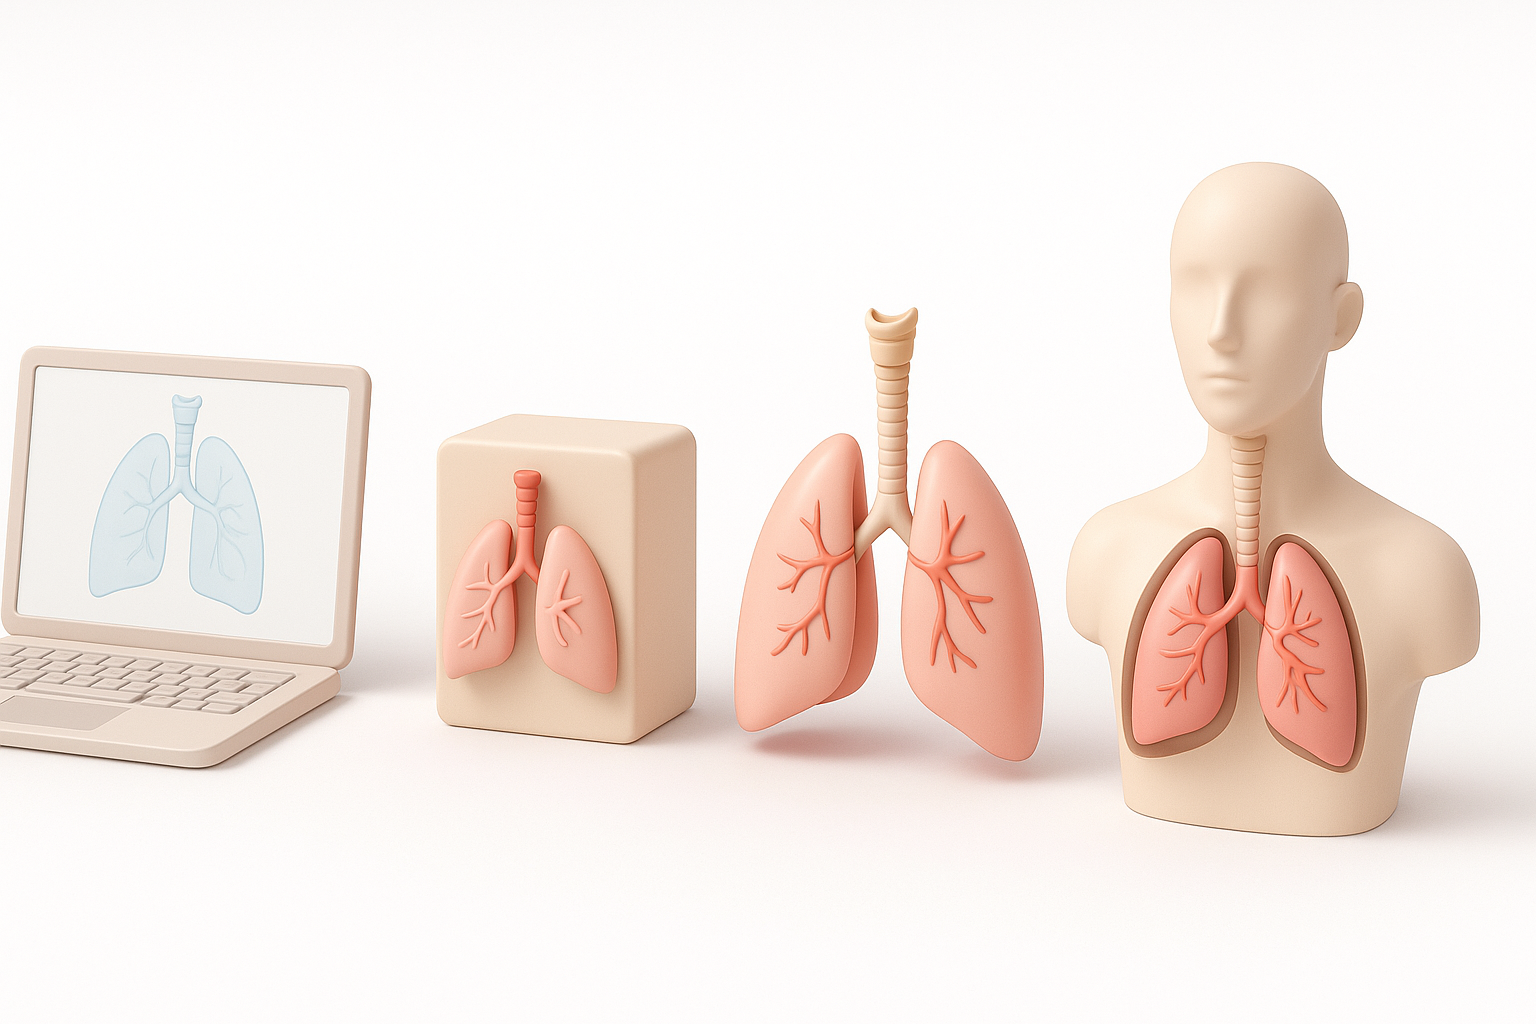
Why 3D models matter in education and healthcare
3D models of the respiratory system are invaluable for teaching, diagnosis, and simulation. They allow users to interact with anatomy in ways that flat images or diagrams cannot. In my experience, students and professionals grasp spatial relationships and complex processes much faster with interactive models.
- Education: Visualize airflow, gas exchange, and disease progression.
- Healthcare: Plan surgeries, explain procedures, or simulate interventions.
- XR/Simulation: Enable immersive, hands-on learning environments.
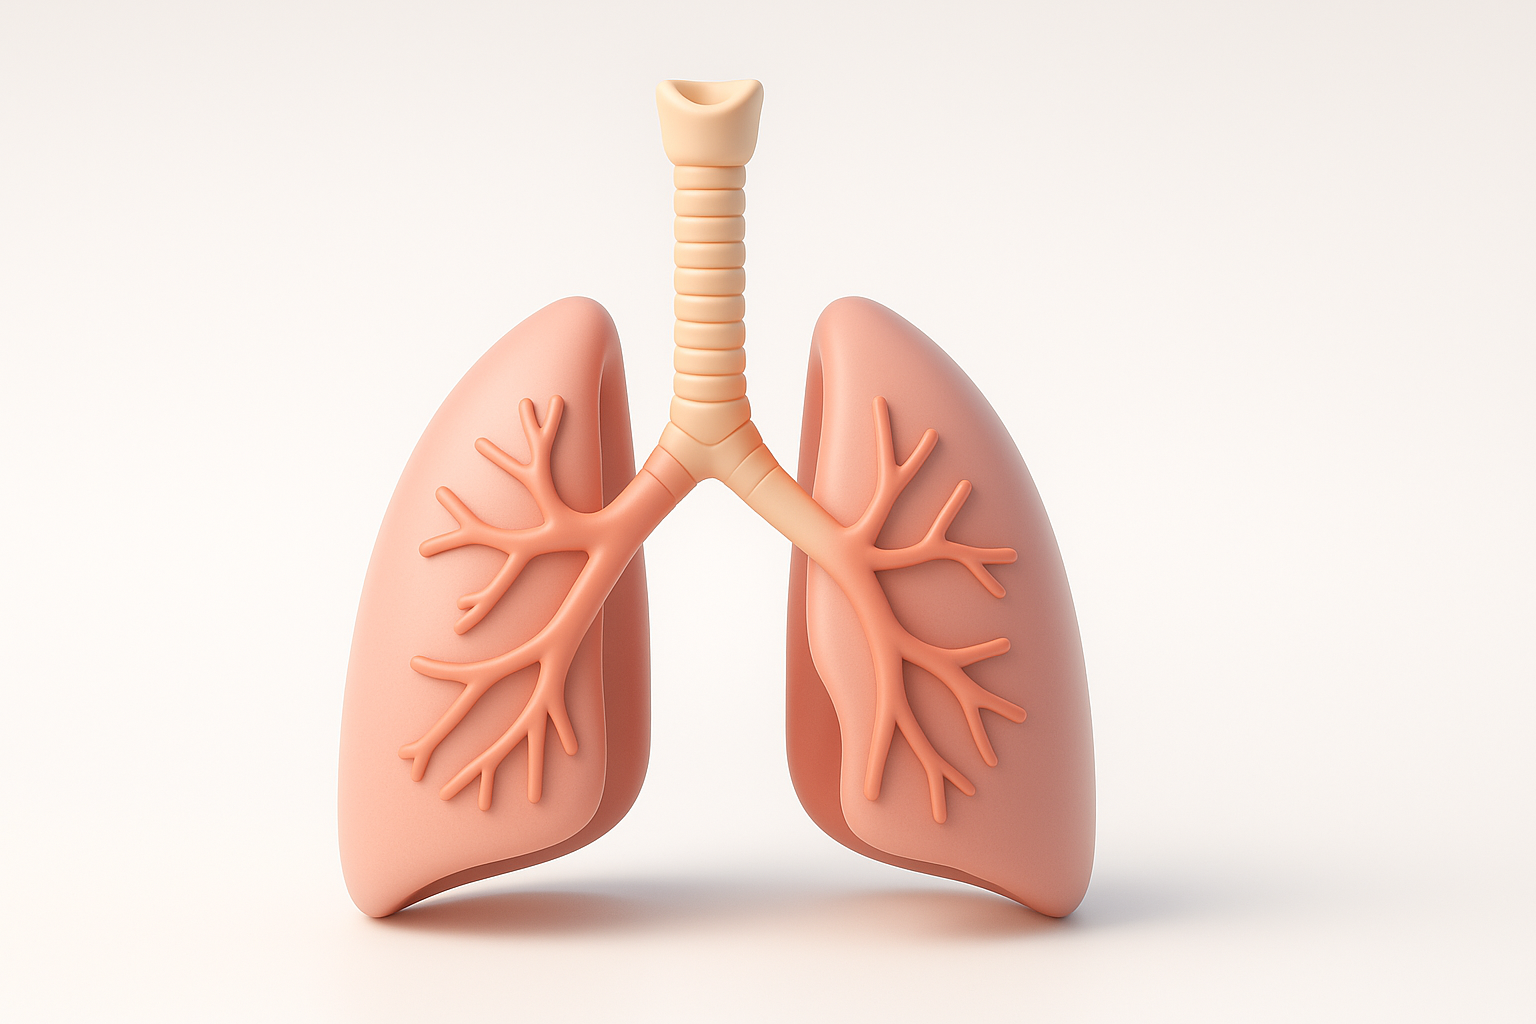
Key anatomical features to include
A comprehensive respiratory system model should cover both macro and micro structures. I always ensure these essentials are present:
- Nasal cavity, pharynx, larynx
- Trachea and bronchial tree
- Lungs (lobes, bronchioles, alveoli)
- Diaphragm and relevant musculature
Including secondary details (like blood vessels or cilia) depends on your use case. For educational models, I prioritize clarity and color-coding for each major part.
My Step-by-Step Workflow for Building a Respiratory System Model
Gathering references and planning the model
I start every project by collecting high-resolution reference images, anatomical atlases, and—if possible—medical scans (CT/MRI). Planning is crucial:
- Sketch the main structures for proportion and layout.
- Define the level of detail based on the audience (e.g., medical students vs. general public).
- List key features and variations (e.g., right vs. left lung differences).
Reference checklist
- Peer-reviewed anatomical diagrams
- Cross-sectional scans
- 3D anatomy databases
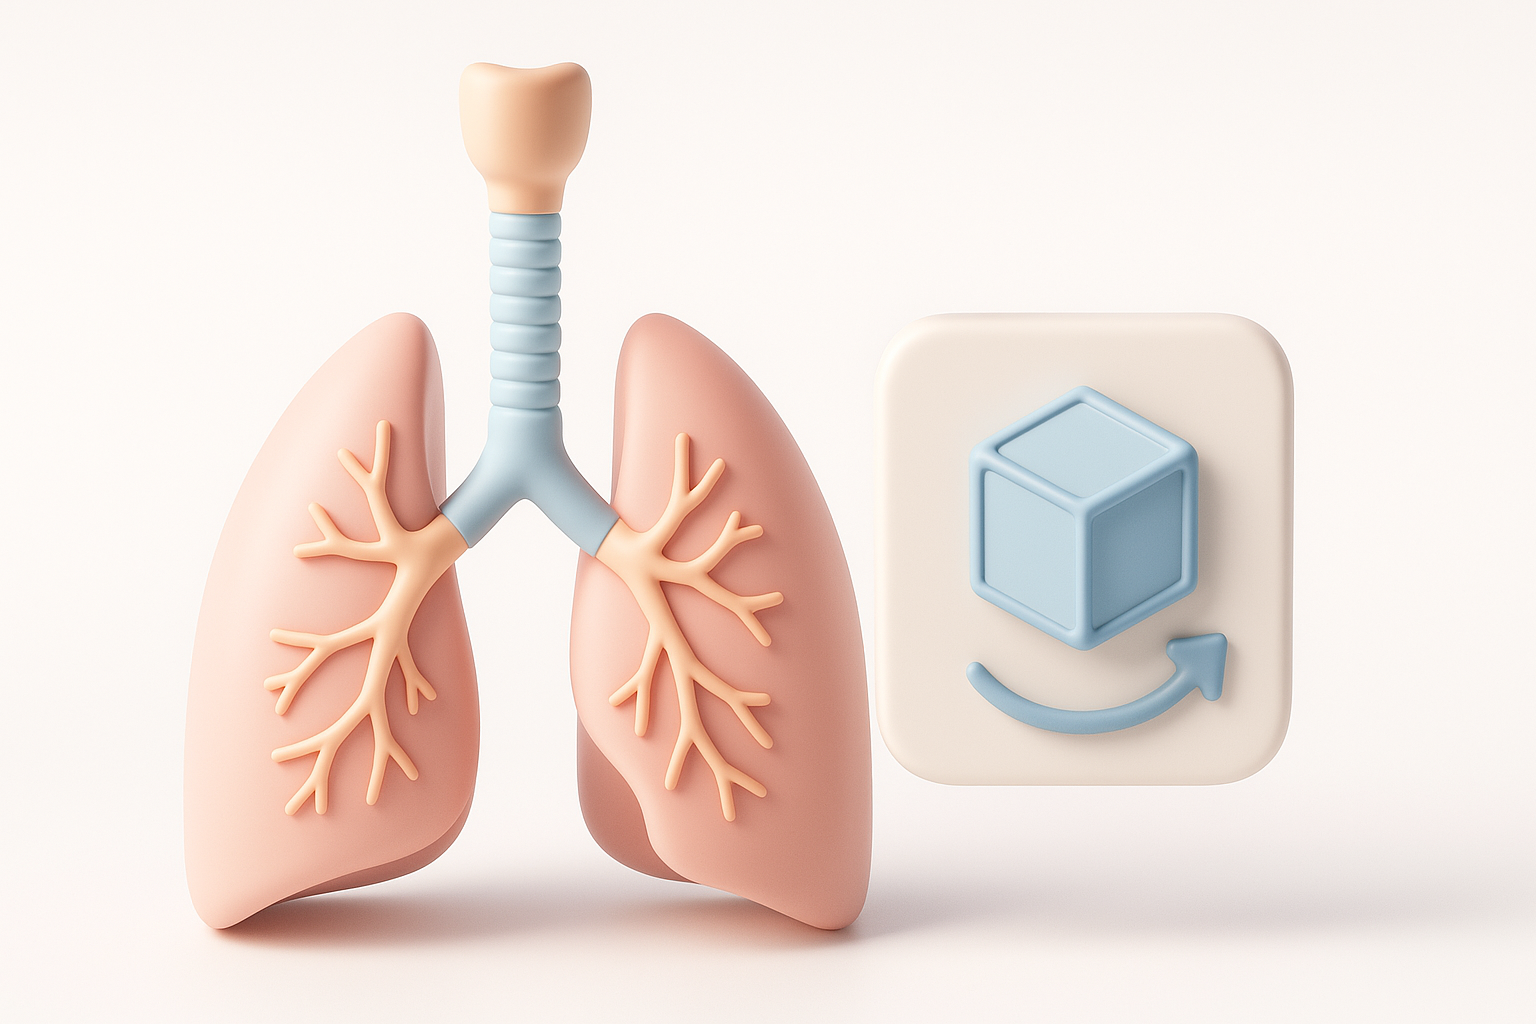
Choosing the right tools and software
The choice of tools shapes the workflow speed and outcome quality. For rapid prototyping and segmentation, I often use AI-powered platforms like Tripo, which streamline initial mesh creation and texturing. For detailed sculpting or manual edits, I switch to traditional 3D software.
What works for me:
- AI-based tools: Fast initial mesh, auto-segmentation, base textures.
- Traditional 3D software: Fine sculpting, topology edits, UV mapping.
- Texture painting tools: For adding realism and educational highlights.
Pitfall: Relying solely on automation can lead to anatomical inaccuracies—always review and refine.
Best Practices for Segmentation, Retopology, and Texturing
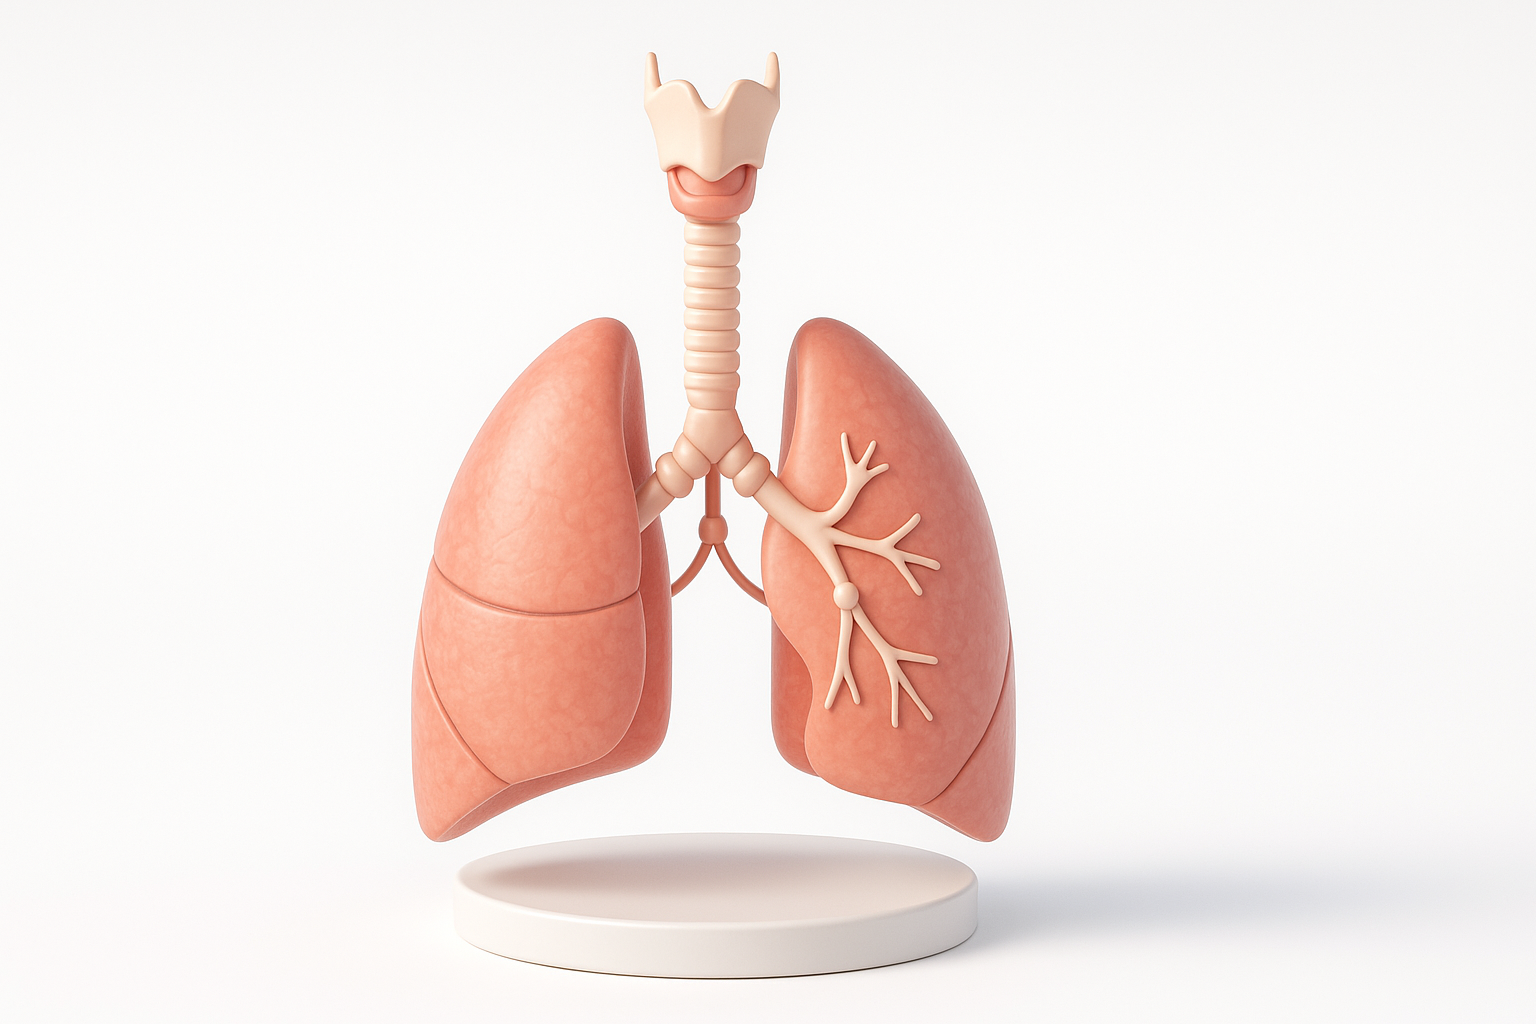
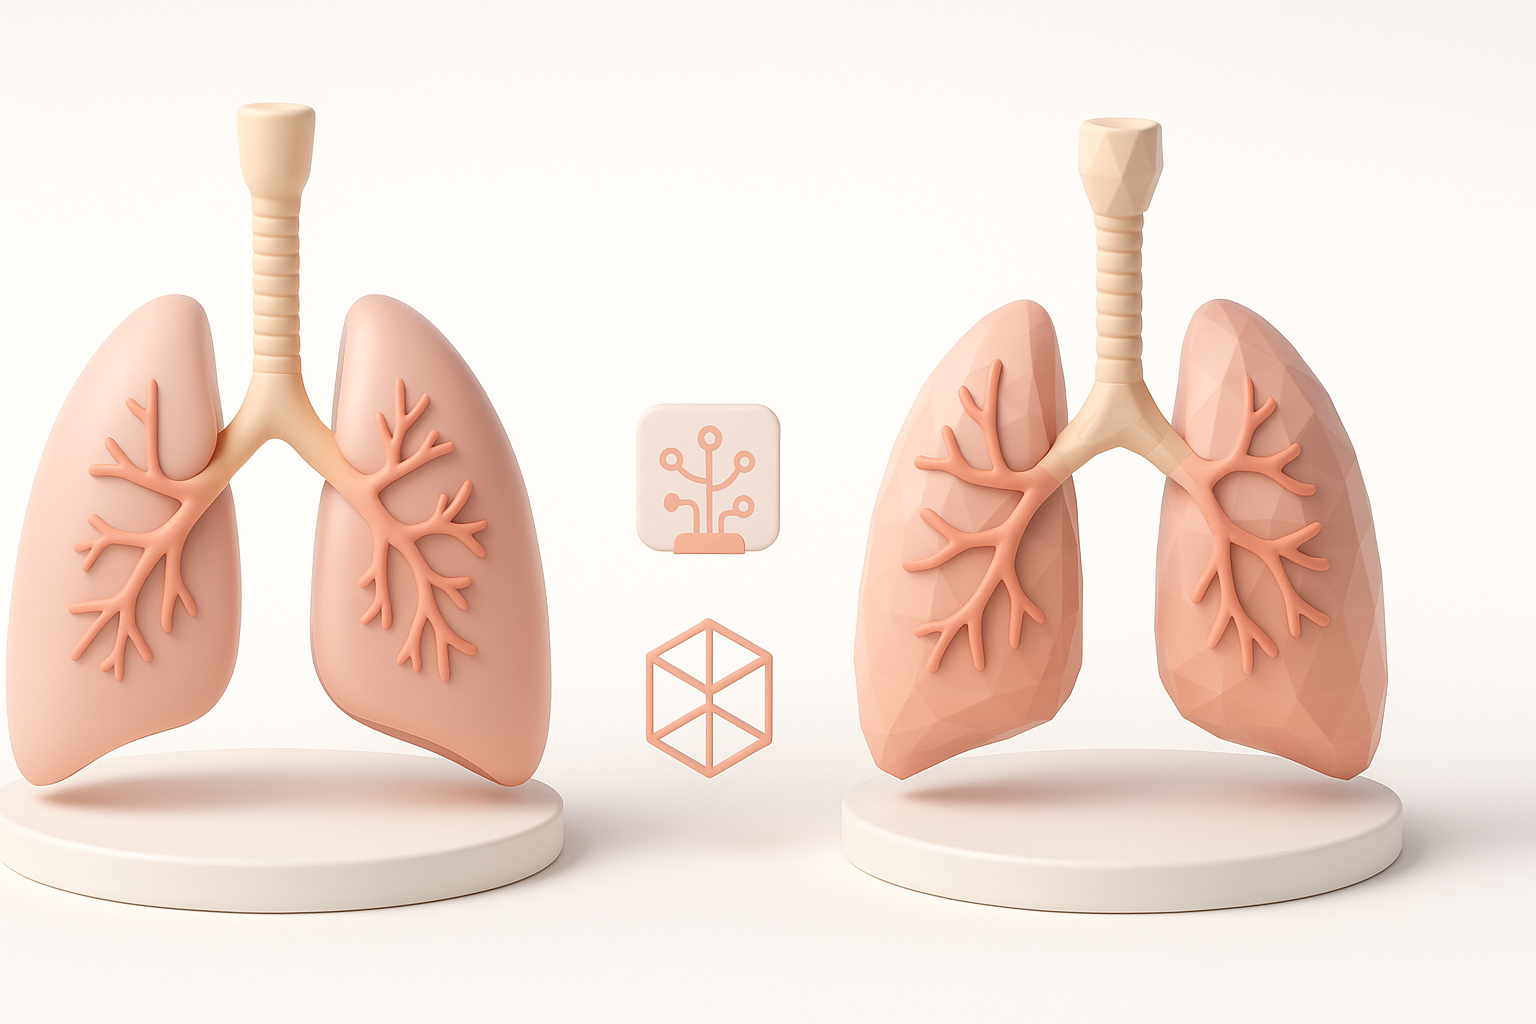
Efficient segmentation techniques
Segmentation divides the model into meaningful anatomical parts. With AI-driven segmentation, I can quickly isolate the trachea, bronchi, and lobes, but I always validate the result against references.
Steps I follow:
- Use AI segmentation for initial separation.
- Manually adjust boundaries for complex regions (e.g., alveoli clusters).
- Name and organize segments for easy editing and animation.
Tip: Over-segmenting can make the model unwieldy—group related structures when possible.
Optimizing topology for animation and real-time use
Clean topology ensures smooth animation and efficient real-time rendering. I use AI-assisted retopology for a quick base, then check edge flow and polygon count.
My checklist:
- Maintain quads for deformable areas (e.g., diaphragm).
- Reduce poly count for performance, especially for XR or web.
- Add edge loops where movement or bending occurs.
Pitfall: Ignoring topology can cause artifacts during animation or slow down real-time applications.
Texturing, Rigging, and Animating the Model
Applying realistic textures and materials
Realistic texturing elevates educational value. I use AI-generated base textures, then hand-paint or tweak for clarity—especially color-coding key regions.
My approach:
- Start with AI-generated base textures for speed.
- Manually adjust color, gloss, and transparency (e.g., semi-transparent lungs).
- Use high-resolution textures for close-up views.
Tip: Avoid overly glossy or saturated materials; aim for natural, readable surfaces.
Adding rigging for educational animations
Rigging allows parts like the diaphragm or bronchi to move realistically. I set up simple rigs for demonstration purposes—enabling animations like breathing or airflow.
Rigging steps:
- Add bones to major moving parts (e.g., diaphragm, trachea).
- Use basic constraints for educational animations.
- Test deformations to ensure anatomical accuracy.
Pitfall: Overcomplicating rigs can make animation cumbersome—keep it simple unless advanced motion is needed.
Comparing AI-Powered and Manual 3D Modeling Approaches
When to use AI-driven tools for speed and accuracy
AI-powered platforms excel at rapid prototyping and segmentation, especially when time is tight or when you need multiple anatomical variations. I leverage these tools for:
- Fast initial mesh generation
- Automatic segmentation and texturing
- Quick retopology for real-time use
Best for: Early stages, tight deadlines, or generating base models for further refinement.
Manual refinement and customization tips
Manual work is essential for accuracy and educational clarity. I always:
- Refine anatomical shapes based on references
- Adjust topology and UVs where AI tools fall short
- Customize textures and labels for the target audience
Tip: Use AI for speed, but never skip manual QA and detailing—especially for medical or educational models.
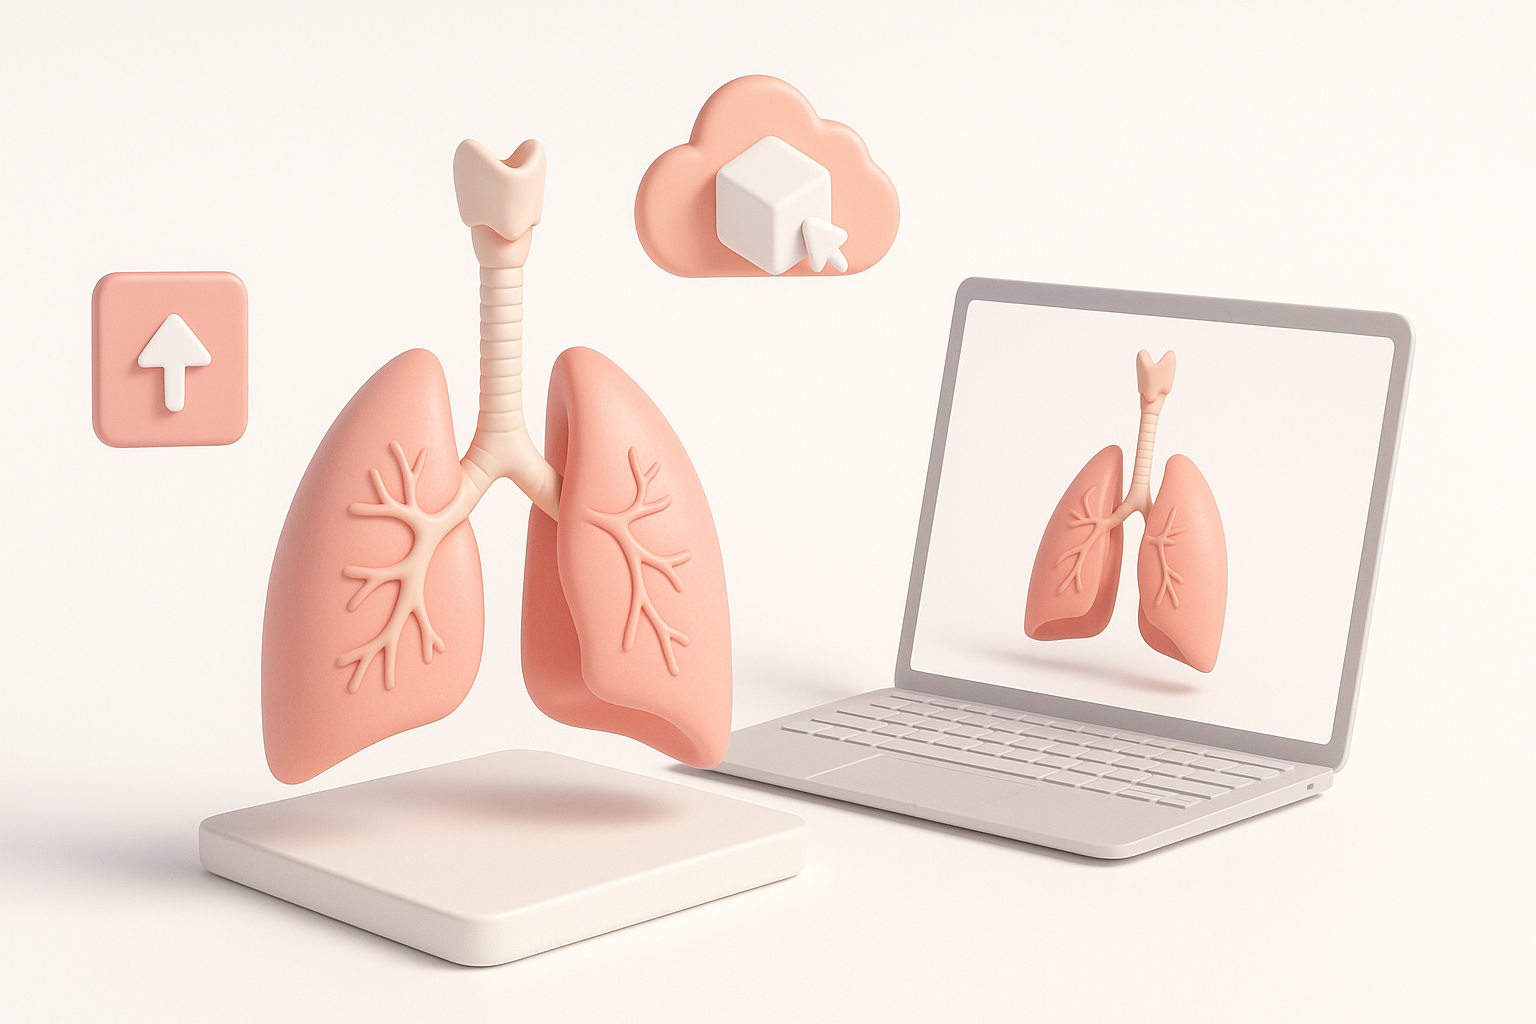
Exporting, Sharing, and Using Your Respiratory System Model
Export formats for various platforms
Choosing the right export format is crucial for compatibility. I typically export in:
- GLB/GLTF: For web, XR, and real-time applications
- FBX: For game engines and animation pipelines
- OBJ: For static renders or further editing
Checklist:
- Check texture embedding and scaling
- Test imports in target platforms
- Optimize file size for deployment
Integrating models into XR, games, and educational apps
Integration is straightforward if you plan ahead. I ensure:
- Consistent scale and orientation
- LOD (Level of Detail) versions for performance
- Simple, well-labeled hierarchies for easy scripting
Pitfall: Neglecting platform requirements can lead to display or performance issues—always test in context.
By following this workflow, using AI tools like Tripo for speed and manual refinement for accuracy, I consistently deliver high-quality, production-ready 3D respiratory system models for a range of educational and healthcare applications.


