Creating a Realistic Racing Harness 3D Model: Workflow & Tips
скачать 3d модель для chicken gun
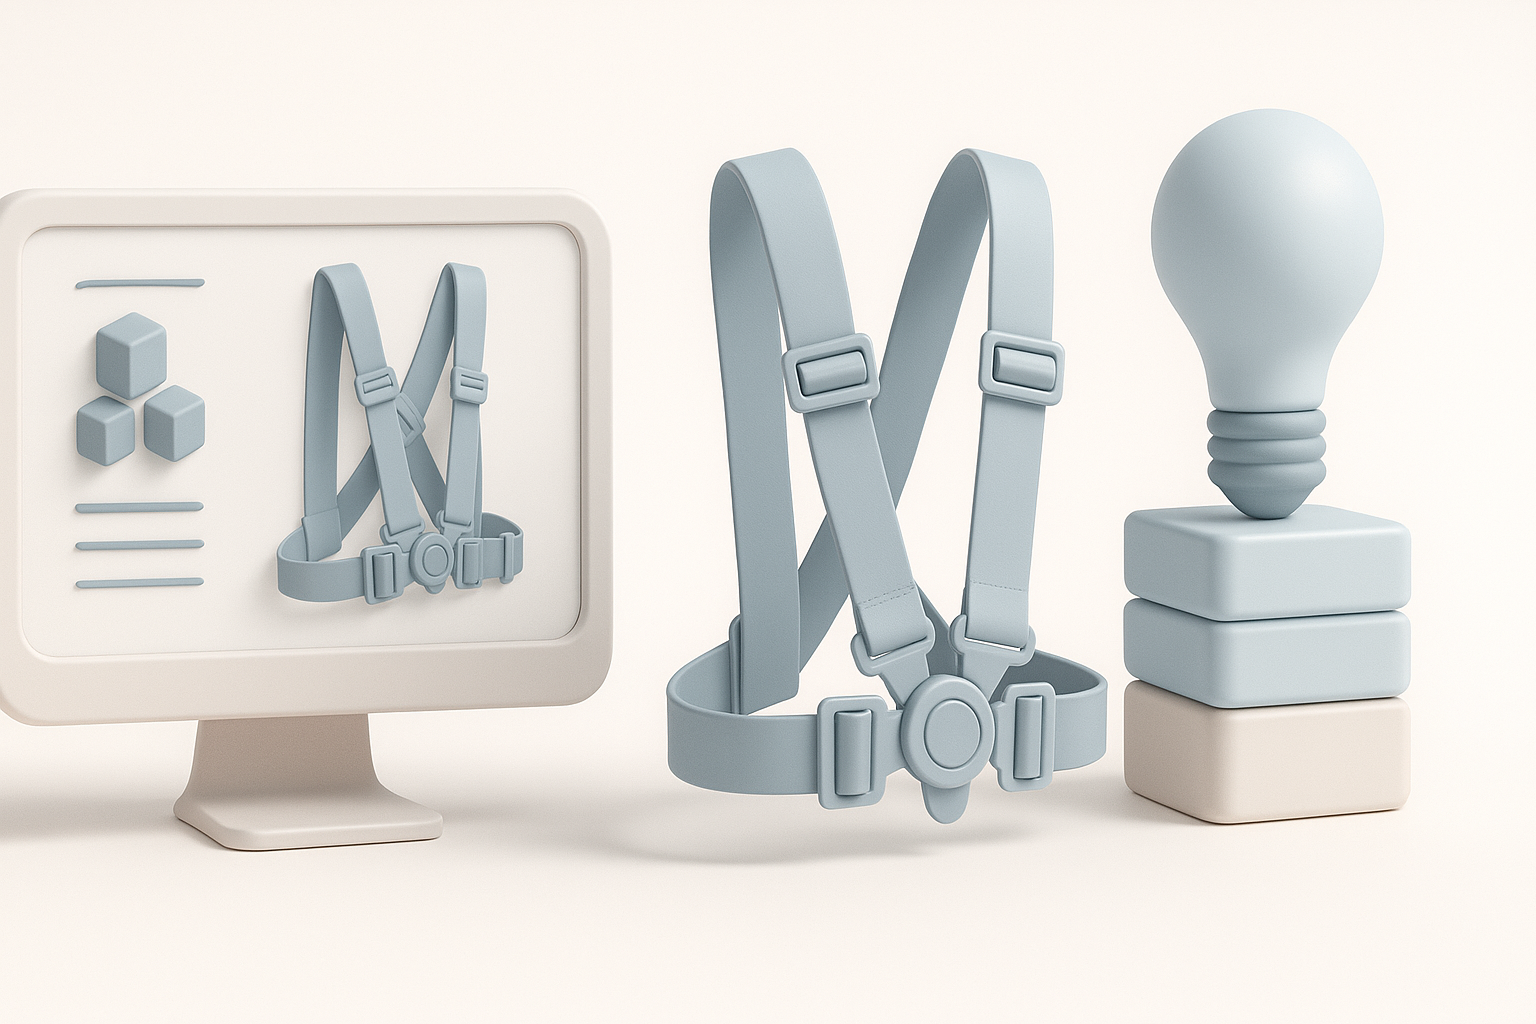
Creating a realistic racing harness 3D model requires balancing accuracy, efficiency, and adaptability for different production pipelines. In my experience, the most successful projects start with thorough reference gathering, followed by a structured modeling workflow, careful texturing, and optimization for rigging and export. AI-powered tools like Tripo AI can significantly accelerate tasks such as segmentation, retopology, and material setup, but manual control remains essential for fine details and realism. This guide is for 3D artists, game developers, and XR creators seeking practical, production-ready results.
Key takeaways:
- Reference quality directly impacts realism and accuracy.
- Block out shapes before adding intricate details for efficiency.
- Clean topology is crucial for animation and simulation.
- Fabric and metal textures require careful attention for authenticity.
- AI tools streamline repetitive tasks—manual tweaks ensure fidelity.
- Export settings must match target platform requirements.
Executive Summary: Key Insights for Racing Harness 3D Modeling
What I’ve Learned from Real-World Projects
From hands-on projects, I’ve learned that the racing harness is deceptively complex—small details like stitching, buckles, and strap tension can make or break realism. Speed and quality often hinge on how well you plan the workflow and leverage available tools. AI-driven solutions, when used judiciously, can cut modeling time dramatically, but I always double-check the results for accuracy and deformation.
Essential Takeaways for Fast, High-Quality Results
- Start with clear reference: Never skip this step.
- Block out before detailing: Avoid wasting time on micro-details early.
- Leverage AI for segmentation/retopology: But always inspect outputs.
- Texture with real-world samples: Use scans or high-res photos for fabrics/metals.
- Rig with deformation tests: Harnesses must move naturally.
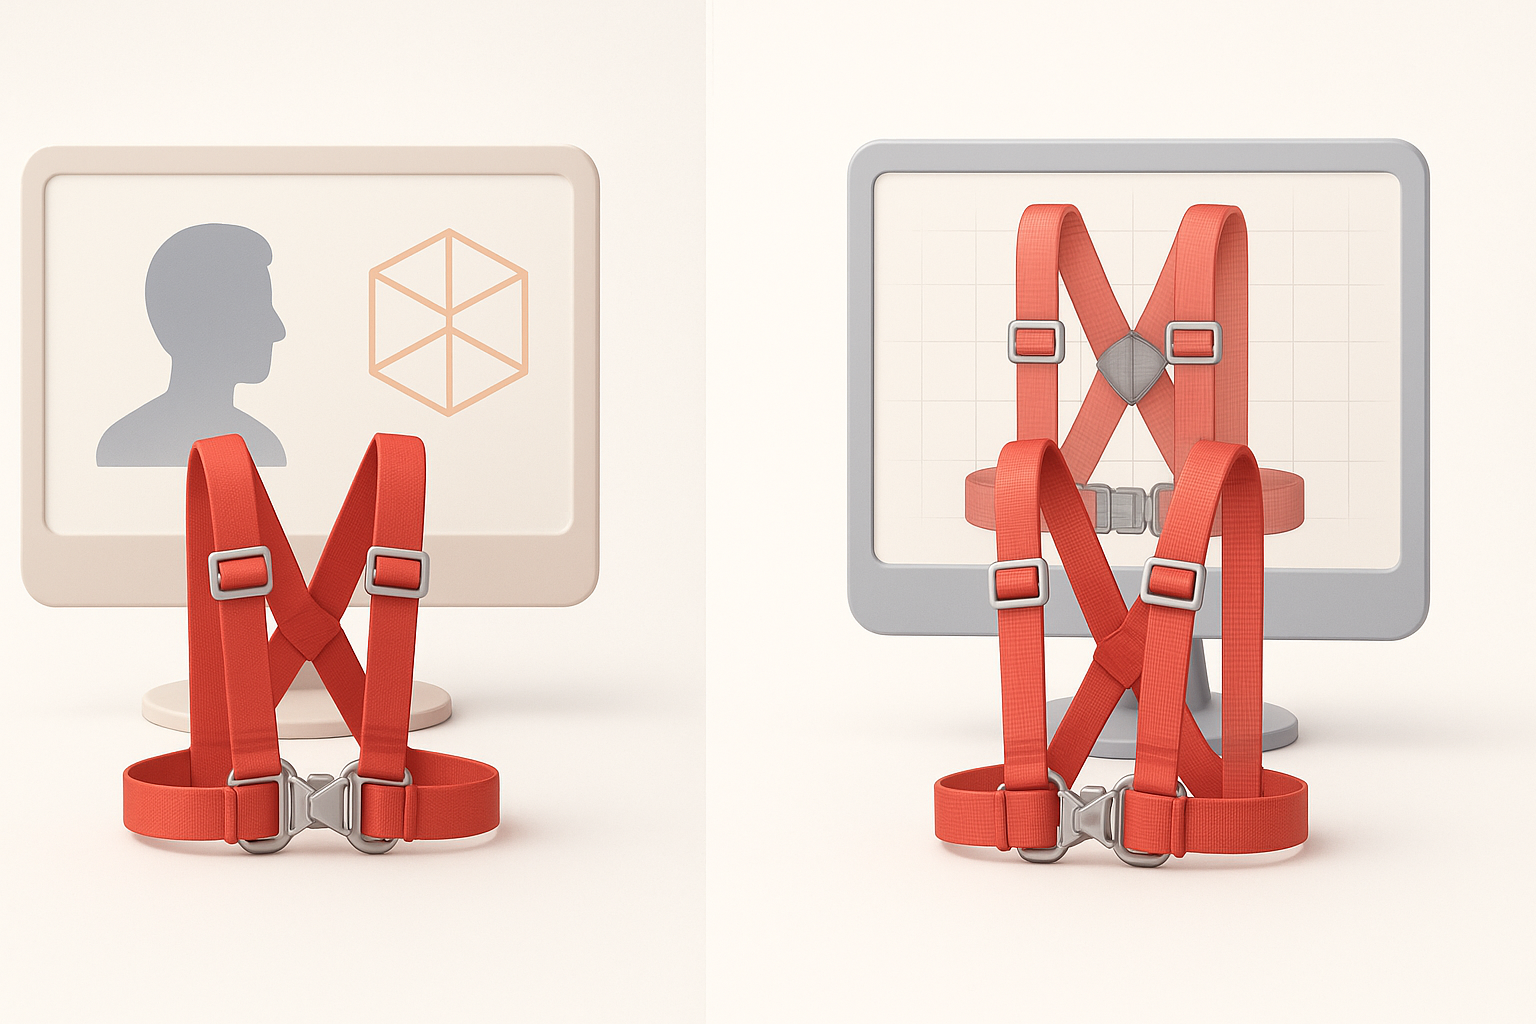
Understanding Racing Harness Design and Reference Gathering
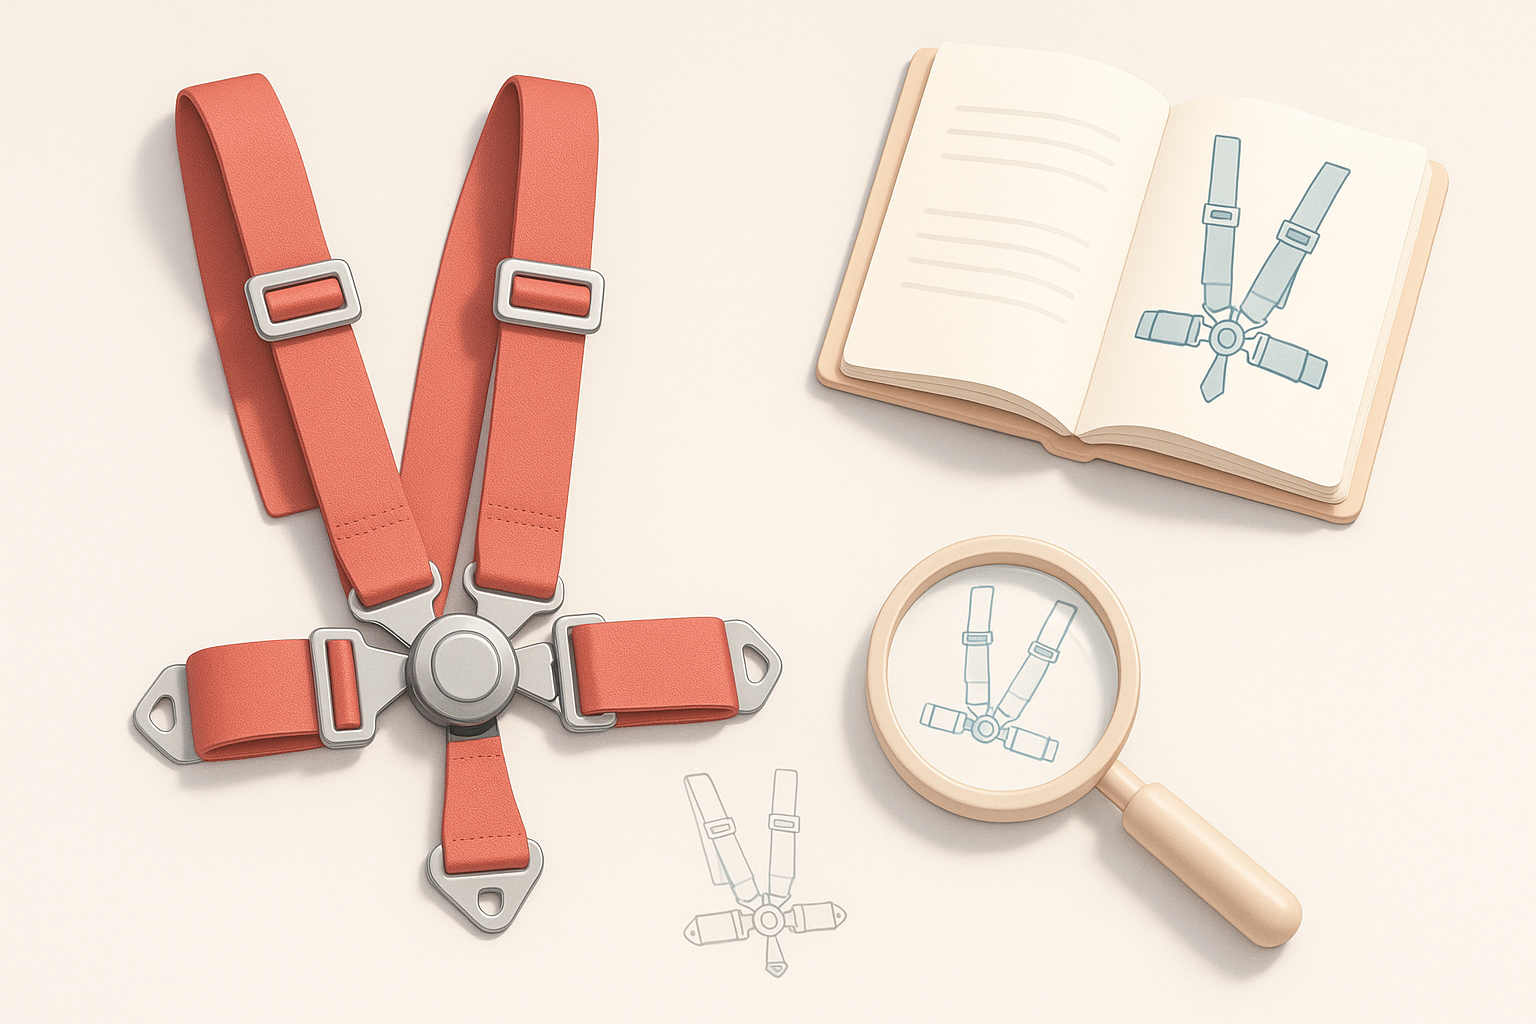
Analyzing Real-World Harnesses for Accuracy
I always start by studying real harnesses—photos from multiple angles, manufacturer diagrams, and even hands-on inspection if possible. Noting strap widths, buckle shapes, and how the harness sits on the body is essential. This analysis helps avoid common mistakes like incorrect proportions or unrealistic strap placement.
Best Practices for Collecting Reference Images
- Source high-res images: Front, back, side, and close-ups of buckles/stitching.
- Look for variety: Different brands, wear states, and lighting conditions.
- Organize references: Sort by component (e.g., straps, buckles, fasteners).
- Check for scale: Include images with rulers or known objects for size reference.
Step-by-Step Workflow: Modeling a Racing Harness
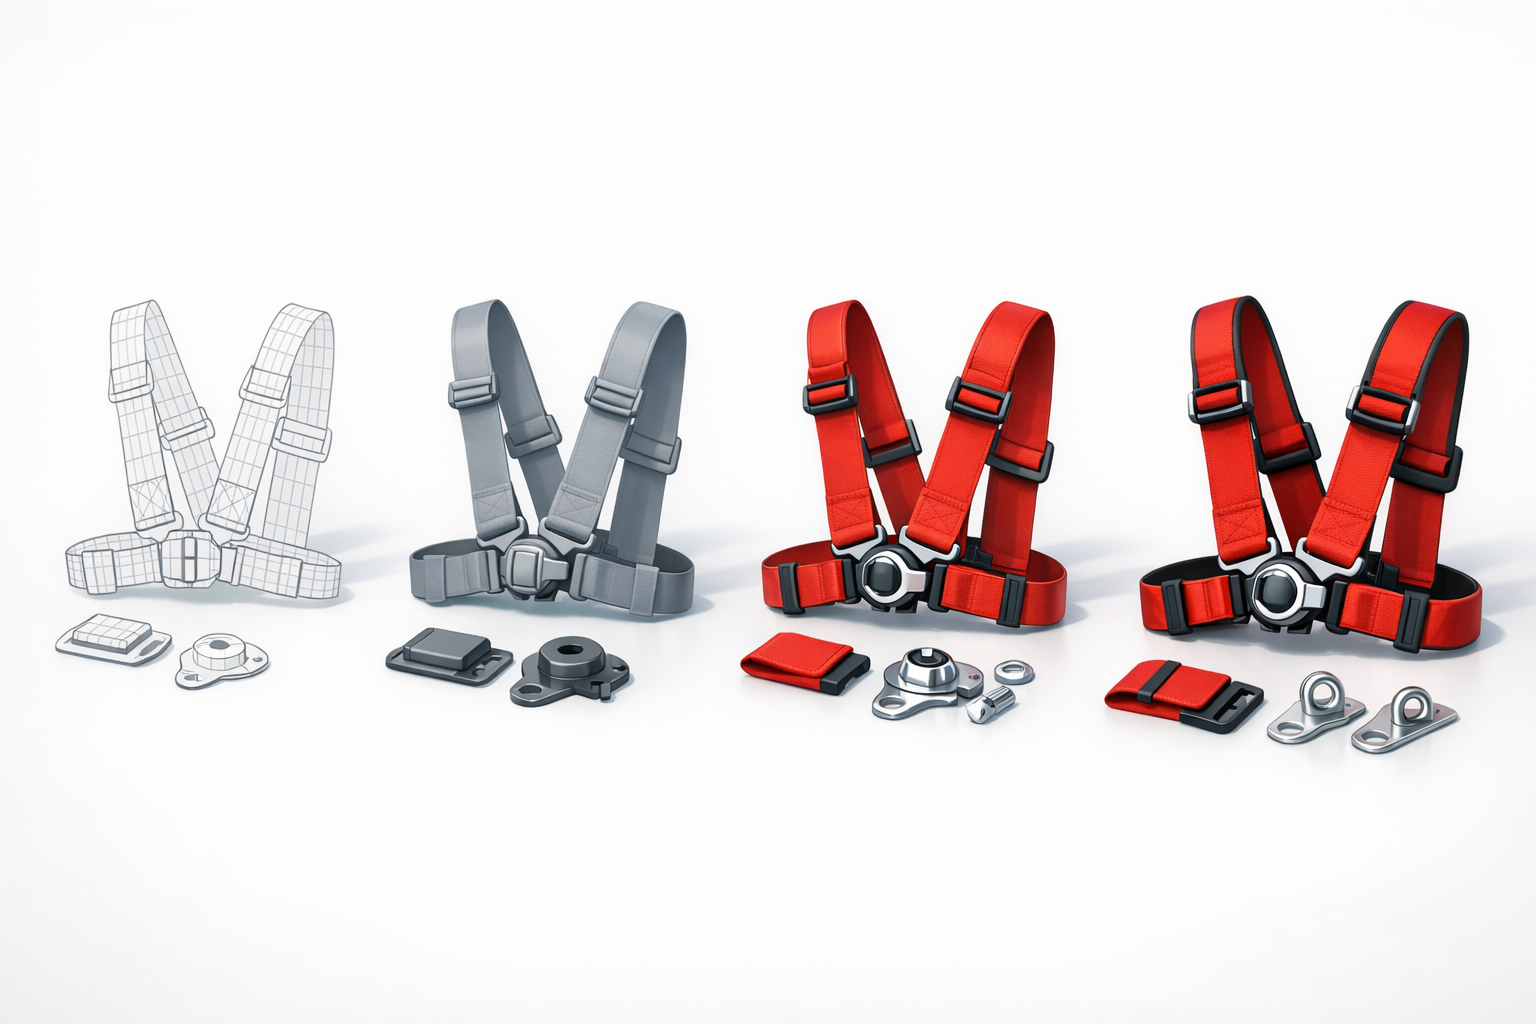
Blocking Out the Harness Shape
In my workflow, I block out the harness using simple primitives (cylinders for straps, cubes for buckles). This helps establish proportions and placement before committing to detail. Tripo AI’s segmentation can quickly isolate harness elements from reference images, saving time during this stage.
Checklist:
- Block out straps with correct width and curvature.
- Place buckles and anchor points early.
- Adjust for anatomical fit if harness is worn.
Adding Details: Buckles, Straps, and Stitching
Once the base is set, I add details—modeling buckles with precise geometry, sculpting strap folds, and creating stitching either as geometry or normal maps. Small details like strap thickness and stitching pattern are critical for realism.
Steps:
- Model buckles separately for reuse.
- Add strap loops and tensioners.
- Sculpt or bake stitching details.
Texturing and Materials for Realism
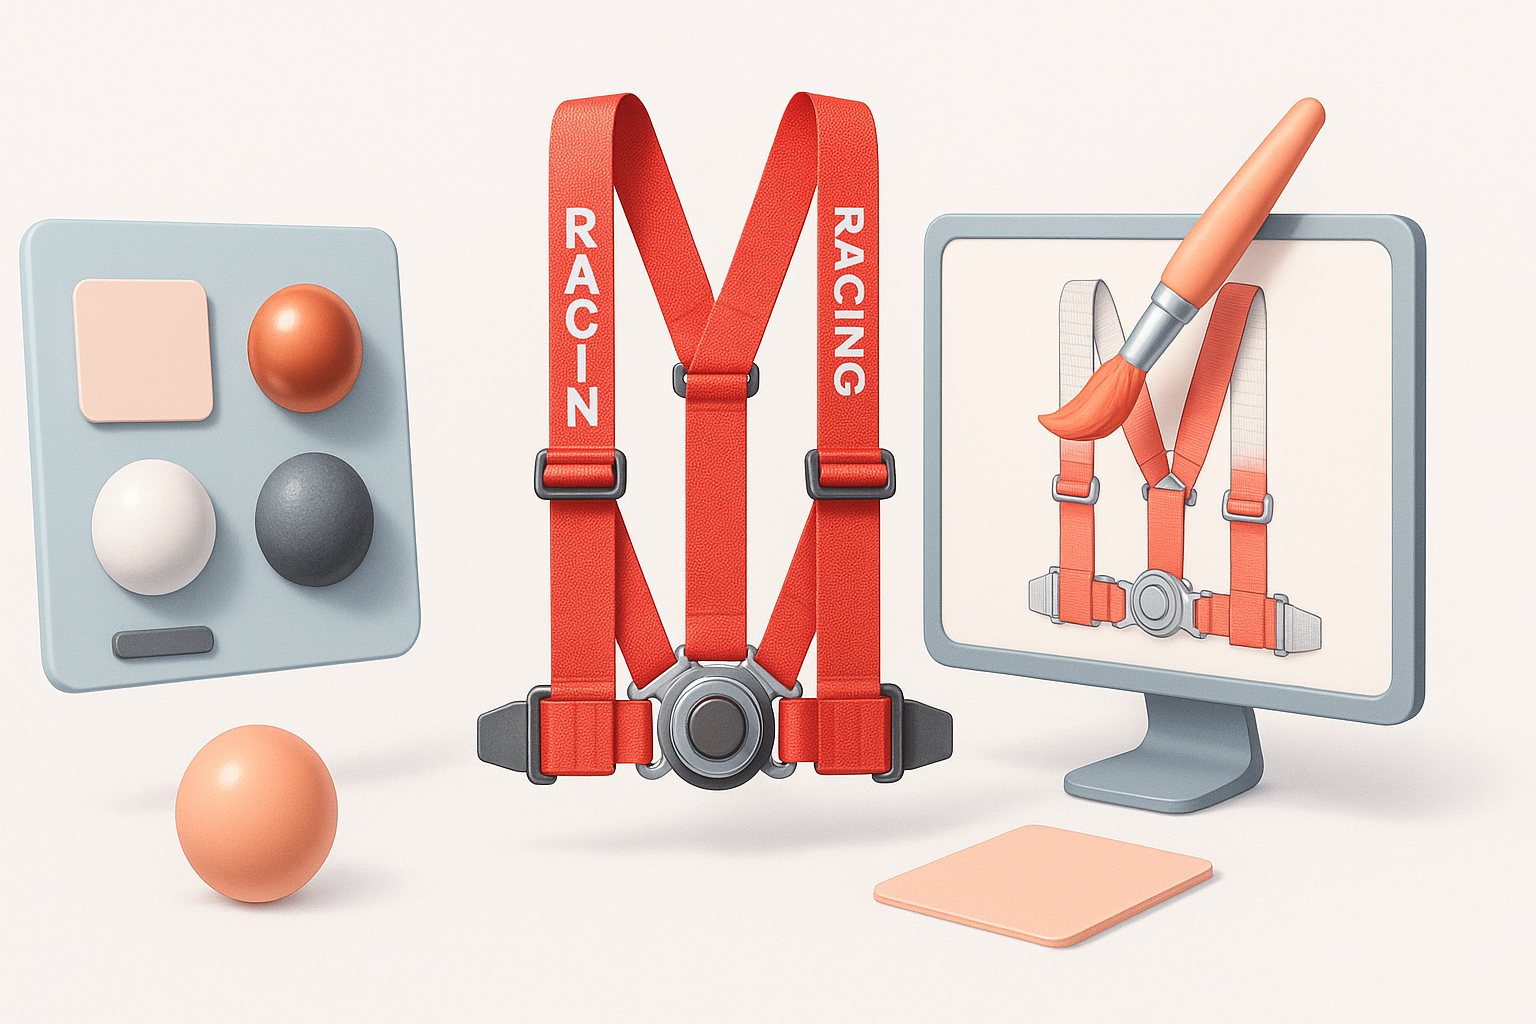
Choosing and Creating Fabric Textures
I use high-res fabric scans or procedural textures for straps. Tripo AI can auto-generate UVs and suggest fabric materials, but I often tweak them for correct weave and color. Dirt and wear maps add authenticity.
Tips:
- Sample real harness fabrics for color and pattern.
- Layer dirt/wear maps for used look.
- Use bump/normal maps for surface texture.
Applying Metal and Plastic Materials
Buckles and fasteners require distinct materials—metal for strength, plastic for adjusters. I create custom shaders or use PBR materials, adjusting roughness and reflectivity to match reference.
Checklist:
- Assign correct material to each component.
- Tune specular and roughness for realism.
- Add subtle scratches or smudges.
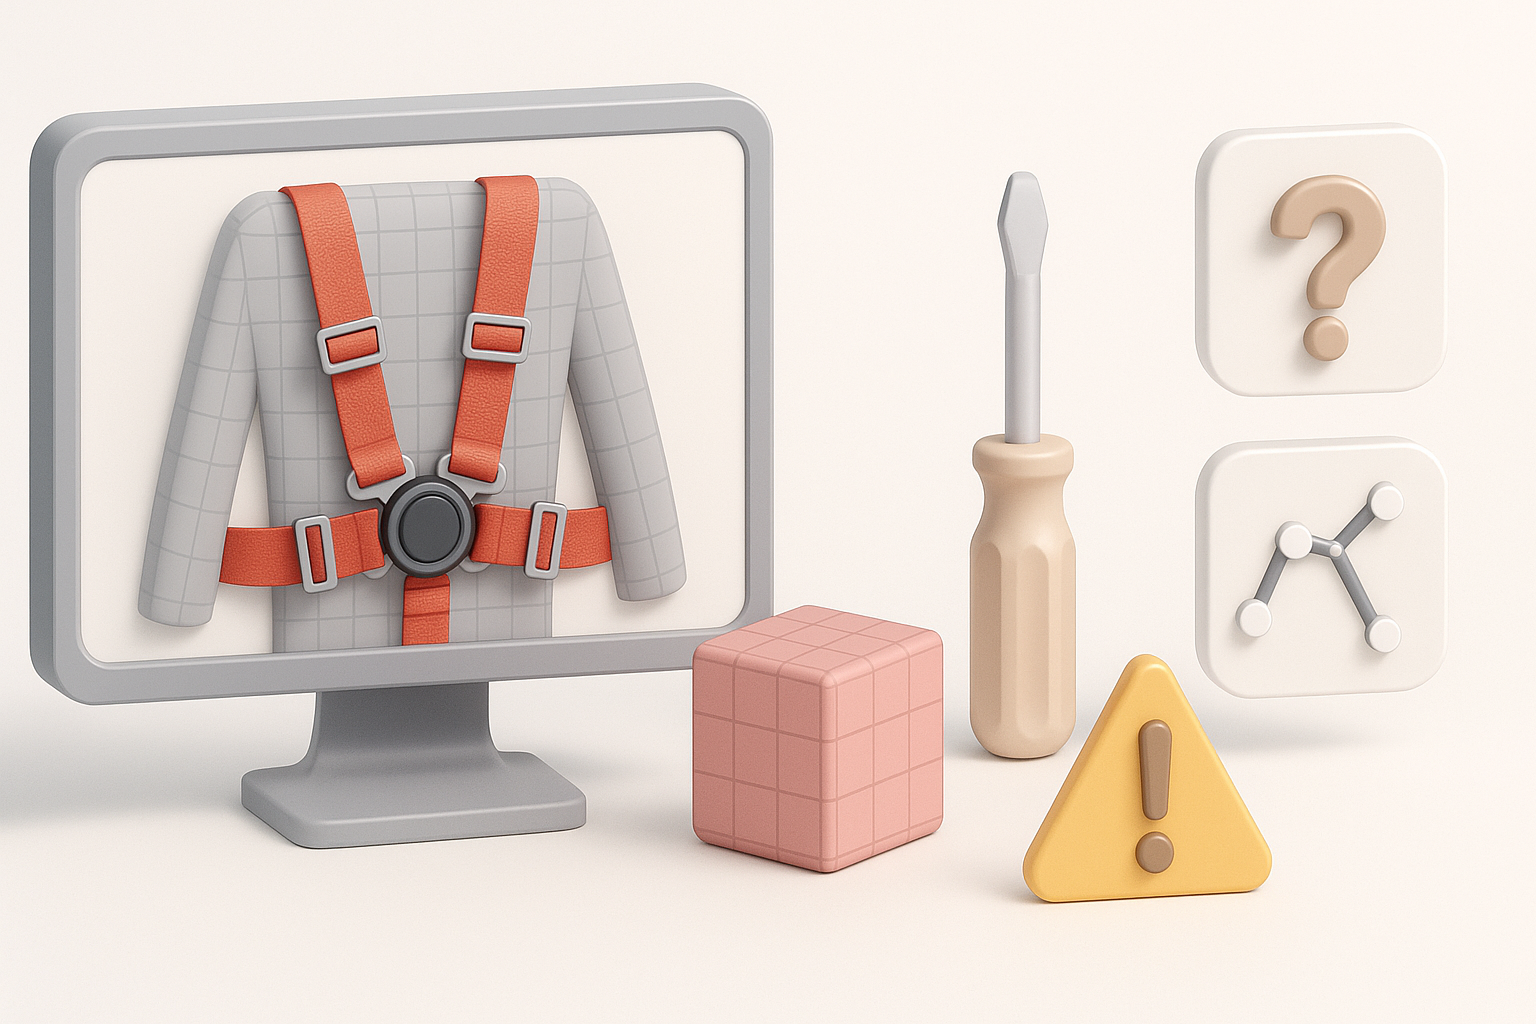
Optimizing Topology and Preparing for Rigging

Retopology Techniques for Clean Meshes
Clean topology is essential for animation. I use quad-based retopology, focusing on edge loops around bends and buckle areas. Tripo AI’s retopology tool speeds this up, but I manually refine dense areas.
Pitfalls:
- Avoid unnecessary geometry in flat straps.
- Keep edge flow consistent for deformation.
Setting Up for Animation and Simulation
Rigging harnesses is tricky—straps must deform naturally as the character moves. I add bones or use cloth simulation, testing deformations in the target engine. Weight painting and constraint setup are critical.
Tips:
- Test harness movement with basic animations.
- Adjust weights for strap flexibility.
- Use simulation for dynamic shots.
Exporting and Integrating the Racing Harness Model

Export Settings for Games, Film, and XR
Export settings vary by platform—games need optimized polycounts and textures, while film/XR can handle more detail. I use FBX or GLTF formats, ensuring correct scale and pivot placement. Tripo AI’s export presets help streamline this.
Checklist:
- Match polycount to platform requirements.
- Bake textures for efficiency.
- Verify scale and pivots.
Testing Integration in Target Platforms
I always test the harness in the target engine—checking for visual fidelity, deformation, and material response. Iterative tweaks are often needed for best results.
Steps:
- Import model and check materials.
- Test animation and simulation.
- Adjust as needed for platform constraints.
Comparing AI-Powered and Manual 3D Modeling Approaches
When to Use AI Tools for Harness Creation
AI tools excel at segmentation, retopology, and basic material setup—especially for repetitive or time-consuming tasks. I use them for initial passes, then refine manually for critical details and realism.
Tips:
- Use AI for blocking/retopology.
- Manually tweak for realism and deformation.
My Experience with Alternative Methods
Manual modeling offers full control, but is slower for repetitive tasks. AI tools, when used wisely, free up time for creative decisions. I combine both approaches for best results.
Troubleshooting and Common Pitfalls
Fixing Artifacts and Geometry Issues
Artifacts often appear in dense buckle areas or poorly retopologized straps. I inspect meshes for overlapping faces, stray vertices, and shading errors—fixing these before rigging.
Checklist:
- Check for non-manifold geometry.
- Clean up overlapping faces.
- Recalculate normals.
Ensuring Realistic Deformation During Animation
Straps must deform naturally—avoid rigid or collapsing geometry. I test animations, adjust weights, and use simulation for complex movements.
Tips:
- Test with exaggerated poses.
- Refine weights and constraints.
- Use simulation for dynamic shots.
Conclusion:
A realistic racing harness 3D model demands careful planning, attention to detail, and smart use of AI-powered tools. By combining structured workflows with manual refinement, I consistently achieve production-ready results tailored to games, film, and XR.


