Mastering Prisma 3D Models: Workflow, Tips, and Comparisons
Creating production-ready prisma 3D models has never been more accessible, thanks to advances in AI-powered platforms and streamlined workflows. In my experience, the right tools and practices can transform the modeling process—speeding up iteration, improving quality, and removing technical barriers. Whether you're working in gaming, XR, film, or design, mastering prisma-style 3D models means understanding both the creative and technical sides. This guide covers my proven workflow, practical optimization tips, and how AI tools like Tripo fit into modern pipelines.
Key takeaways:
- Prisma 3D models are defined by stylized geometry and vibrant textures, ideal for creative industries.
- AI tools can automate segmentation, retopology, and texturing, accelerating production.
- Optimizing geometry and UVs is crucial for performance and visual fidelity.
- Choosing between AI-powered and traditional workflows depends on project scope and team skillset.
- Troubleshooting common issues early saves time and ensures production-readiness.
Understanding Prisma 3D Models
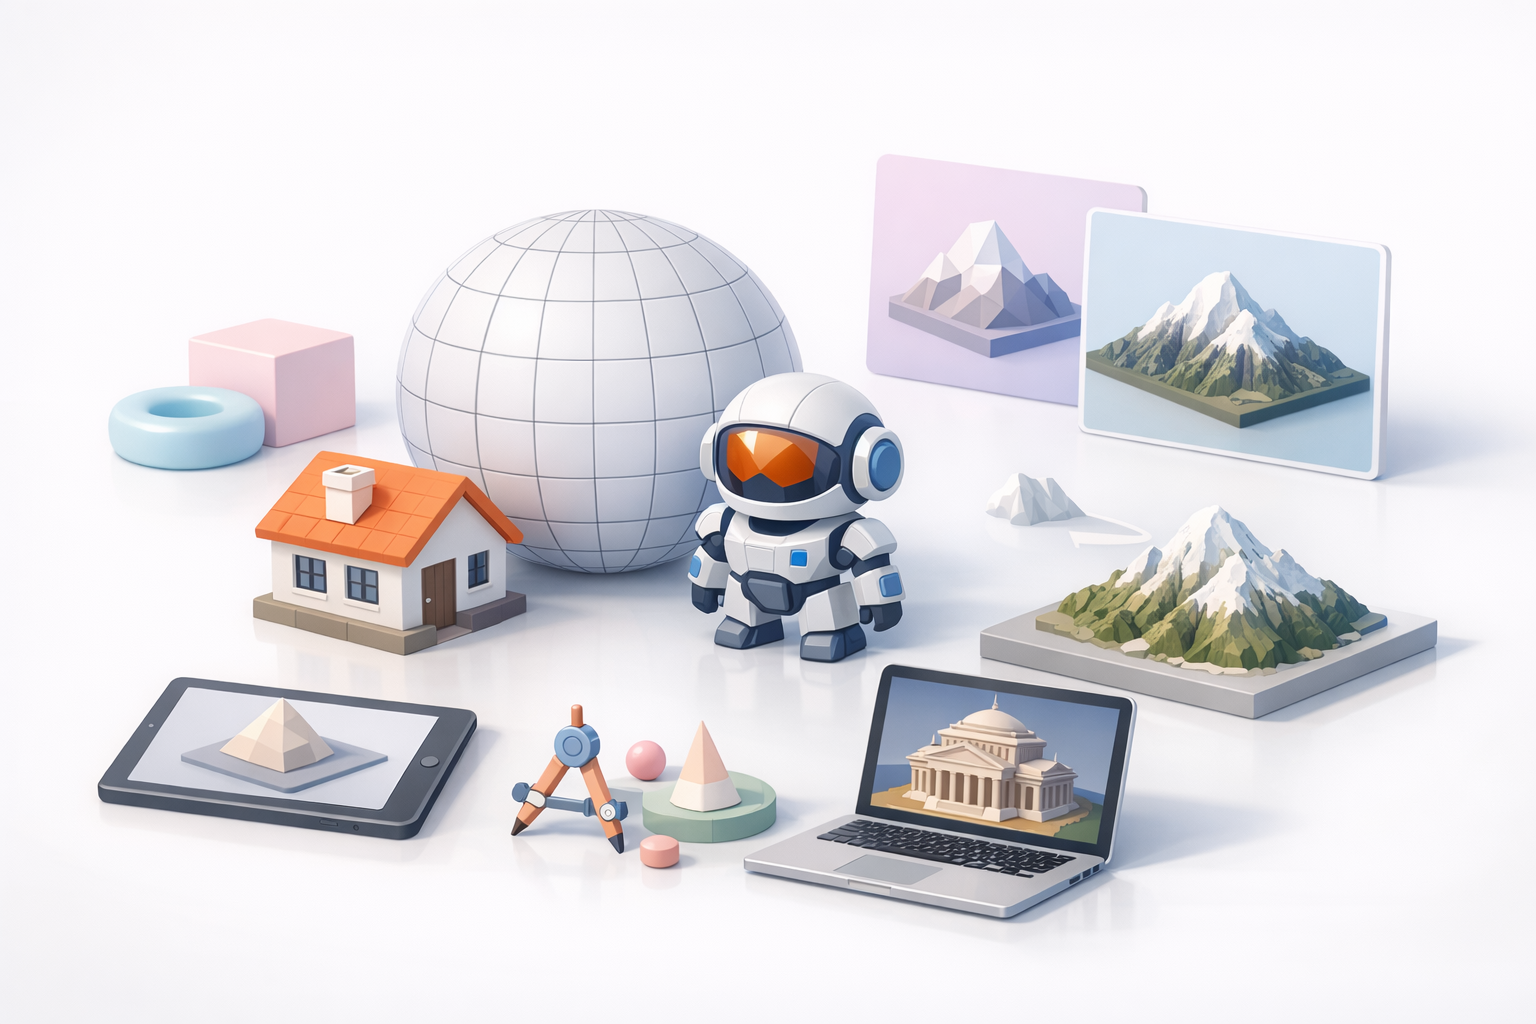
What Makes Prisma 3D Models Unique
Prisma 3D models stand out due to their stylized, faceted geometry and bold, often saturated textures. In my experience, this aesthetic works well for projects demanding visual clarity and artistic flair, such as mobile games or AR experiences. The geometric simplicity also lends itself to efficient rendering and easier asset management.
- Stylized shapes: Often low-poly, with distinct edges and clean surfaces.
- Colorful, expressive textures: Usually hand-painted or AI-generated for consistency.
- Flexible for real-time applications: Optimized for performance without sacrificing style.
Common Use Cases and Applications
I’ve deployed prisma 3D models across a range of projects—especially where visual impact and fast iteration are priorities. Typical applications include:
- Mobile and web games: Lightweight assets, quick to load and render.
- XR/AR experiences: Clear visuals, minimal geometry, easy integration.
- Design prototyping: Rapid concept visualization for pitches and client feedback.
- Film pre-vis: Stylized assets for blocking scenes before final production.
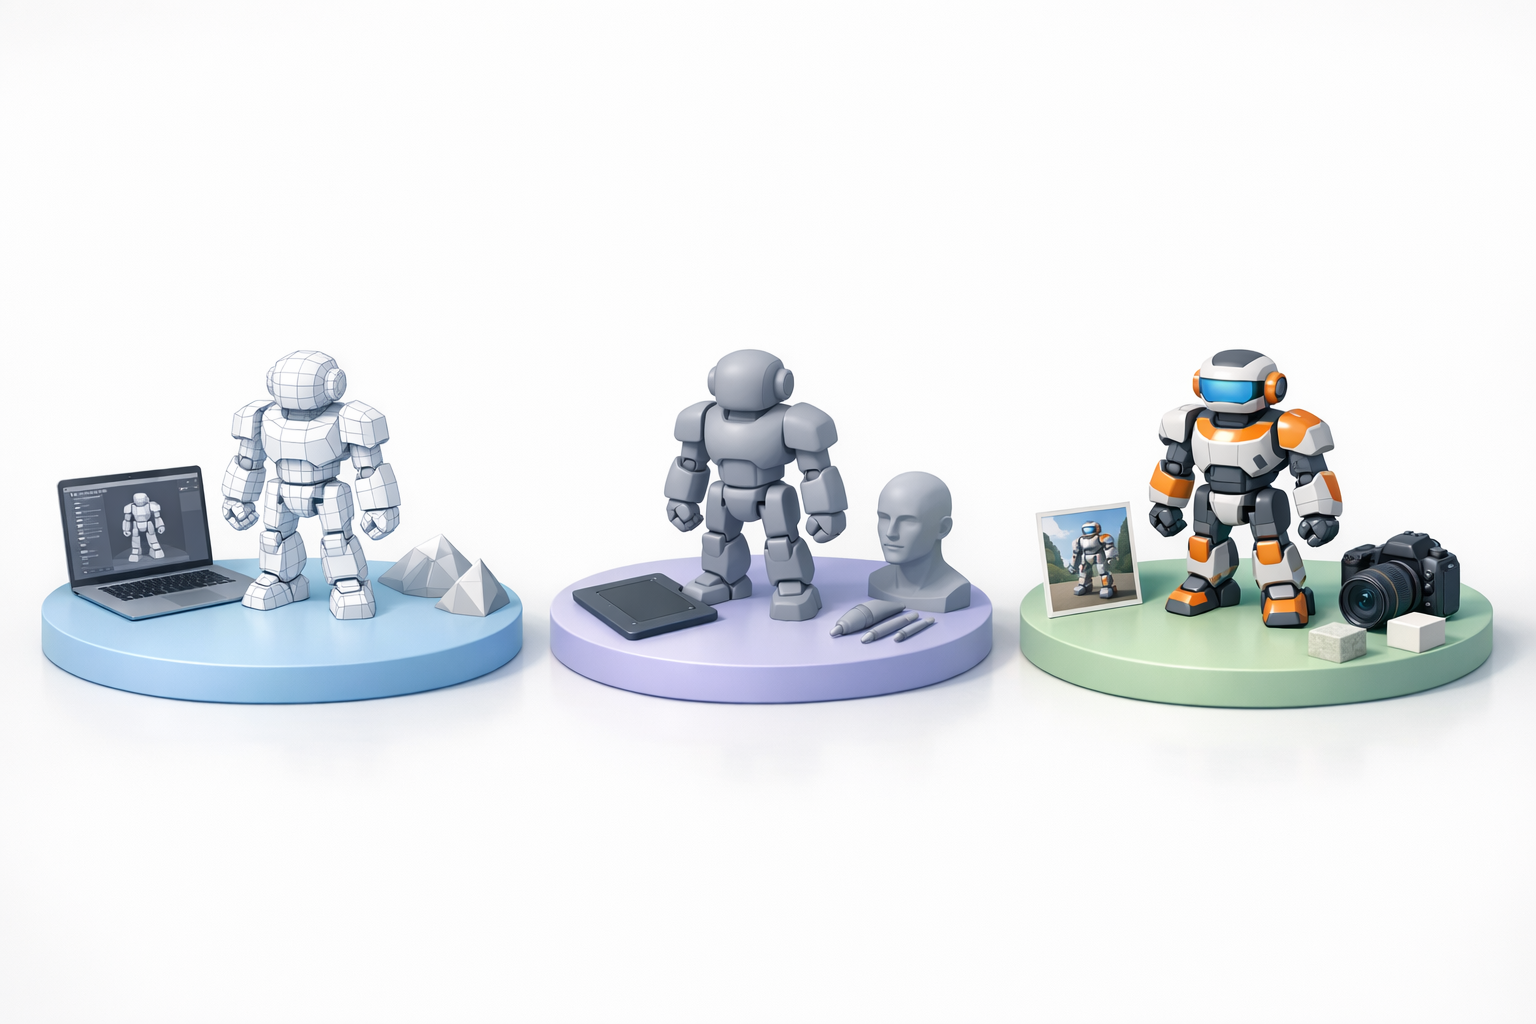
My Workflow for Creating Prisma 3D Models
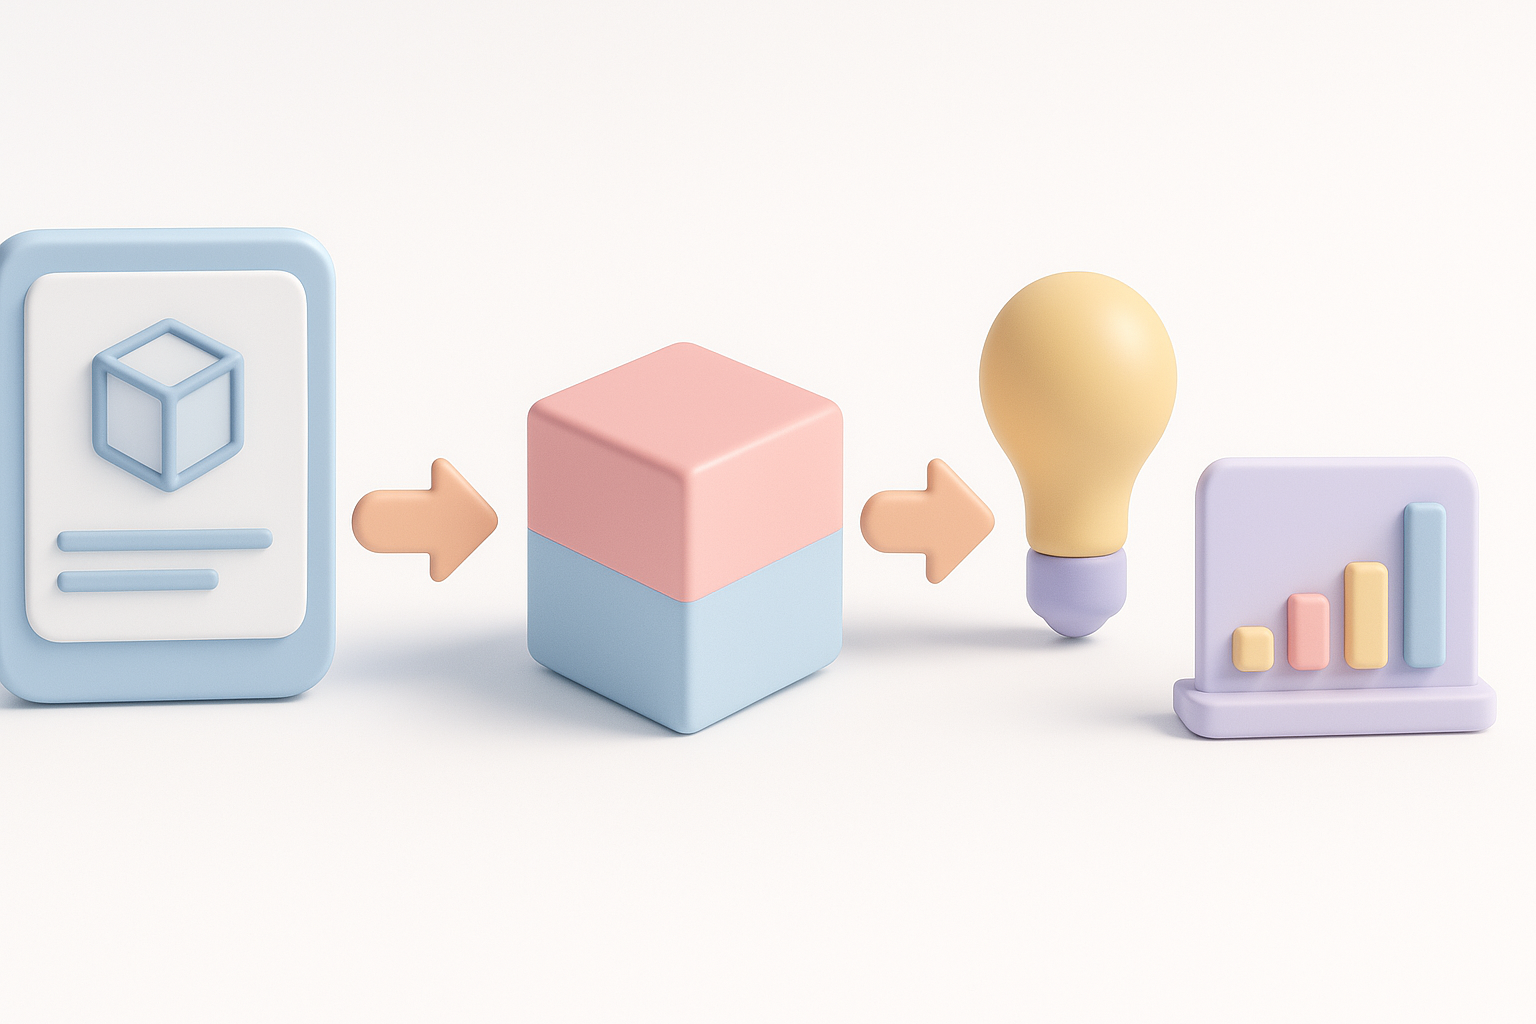
Step-by-Step Process from Concept to Completion
My workflow balances creativity with efficiency, leveraging AI tools when possible:
- Concepting: Sketch or describe the asset. I often use reference images or rough sketches.
- AI-assisted modeling: Platforms like Tripo let me input text or images to generate base geometry and textures.
- Segmentation and retopology: I refine the mesh, ensuring clean topology and proper edge flow.
- Texturing: I either hand-paint textures or use AI-generated maps, tweaking as needed for style.
- Rigging and animation (if needed): Automated tools help, but I check joint placement and weights manually.
- Export and integration: I test the asset in-engine, checking for scale, orientation, and material fidelity.
Checklist:
- Clear concept/reference
- Clean geometry and UVs
- Consistent texture style
- Rigging/animation (if required)
- Engine compatibility
Integrating AI Tools for Efficiency
AI-powered platforms, like Tripo, have become central to my workflow. They handle repetitive tasks—segmentation, retopology, texturing—so I can focus on creative decisions. I’ve found that:
- Input flexibility (text, images, sketches) speeds up ideation.
- Automated retopology delivers production-ready meshes, saving manual cleanup.
- AI texture generation maintains style consistency across assets.
Pitfall: Always review AI outputs for artifacts or topology issues before finalizing.
Best Practices for High-Quality Prisma 3D Models
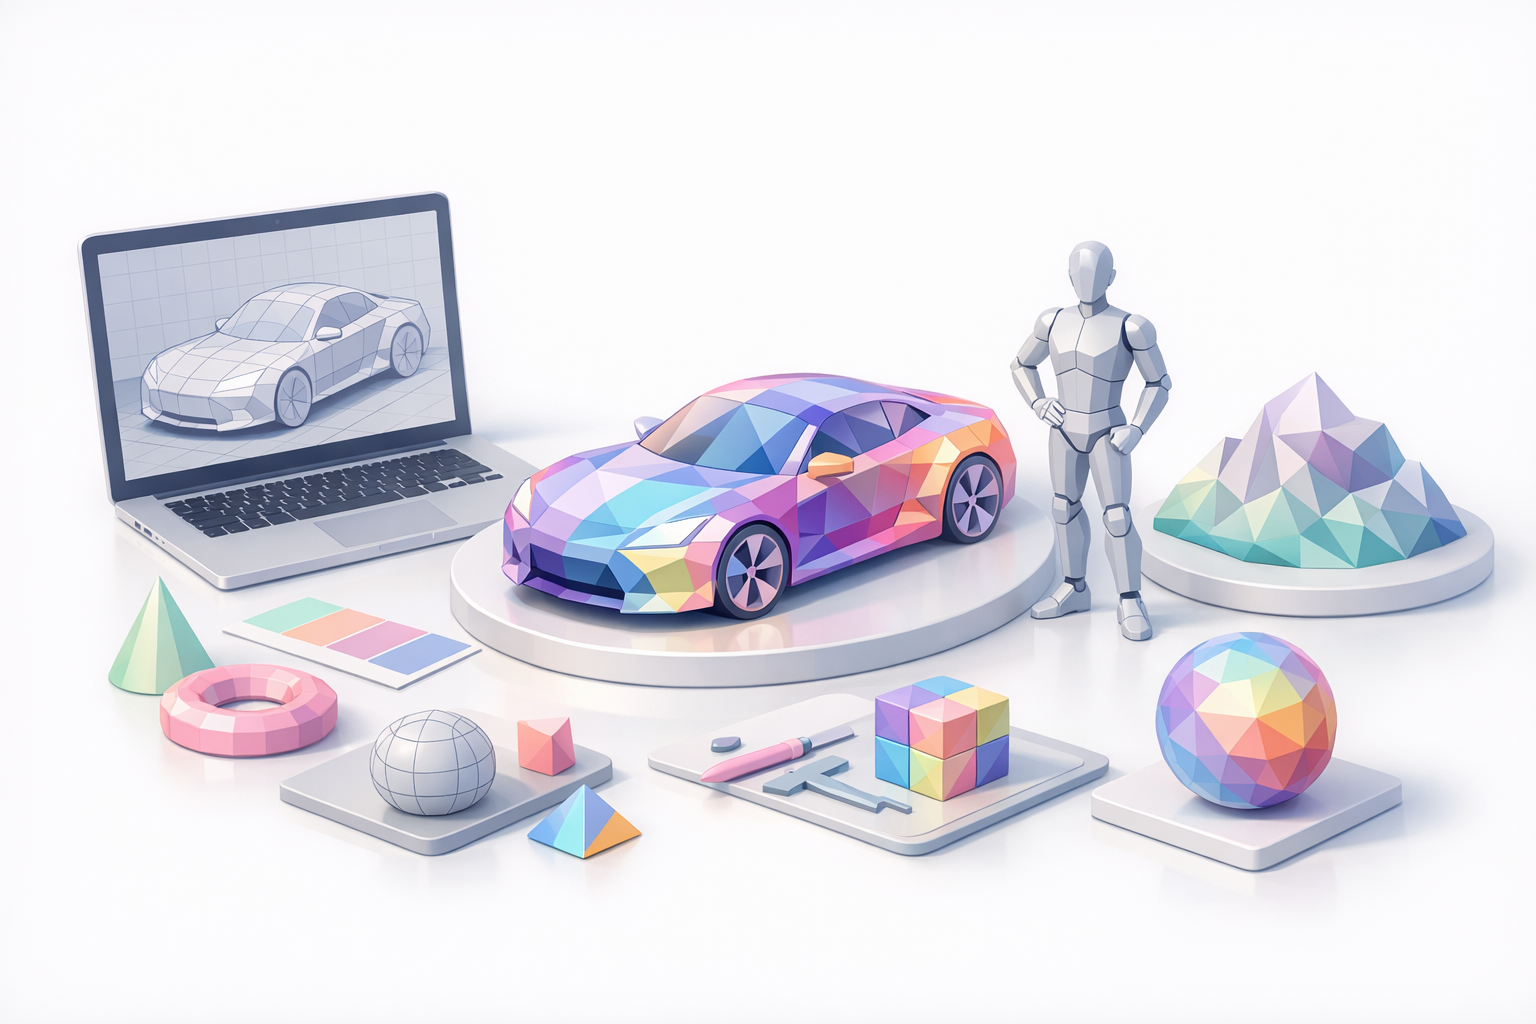
Optimizing Geometry and Textures
Quality starts with geometry. I minimize unnecessary polygons and ensure UVs are laid out efficiently. For textures, I keep maps small but detailed, using color and contrast to compensate for lower resolution.
- Use quads where possible for easier editing.
- Avoid overlapping UVs unless intentional (e.g., mirrored parts).
- Keep texture palettes consistent across assets.
Ensuring Production-Readiness
Before deployment, I run several checks:
- Performance: Test in-engine for frame rate and memory usage.
- Visuals: Inspect for texture seams, shading artifacts, and proper material setup.
- Export: Confirm formats and scale match project requirements.
Mini-checklist:
- No non-manifold geometry
- Clean UVs and textures
- Proper rigging (if animated)
- Correct file formats and naming
Comparing Prisma 3D Model Creation Methods
AI-Powered Platforms vs. Traditional Approaches
AI platforms like Tripo offer speed and accessibility. In my experience:
- AI tools: Great for rapid prototyping, bulk asset creation, and non-technical users.
- Traditional modeling: Offers full artistic control, but is slower and requires more expertise.
Comparison:
- AI: Fast, scalable, less manual cleanup, but may need post-processing.
- Traditional: Precise, customizable, but time-consuming.
Choosing the Right Tool for Your Project
I choose based on project scope:
- Tight deadlines or large asset counts: AI-powered platforms.
- Unique, high-detail hero assets: Traditional modeling.
- Mixed pipelines: Start with AI for base assets, refine manually as needed.
Tip: Test both workflows early to find the best fit for your team and project.
Troubleshooting and Lessons Learned

Common Challenges and Solutions
I’ve faced issues like:
- Messy topology: Run automated retopology, then manually clean up.
- Texture artifacts: Re-export maps or tweak UVs.
- Rigging errors: Double-check bone placement and weights.
Solution steps:
- Always inspect outputs before integration.
- Use engine preview tools for early detection.
- Keep backup versions for rollback.
What I’ve Learned from Real-World Projects
From dozens of projects, my main lessons:
- AI tools are invaluable for speed, but manual review is essential.
- Consistency in style and scale prevents headaches during integration.
- Early testing in target engines avoids late-stage surprises.
Bottom line: Combining AI efficiency with hands-on quality control delivers the best prisma 3D models—ready for production and creative impact.


