Creating a High-Quality Prelude MK5 3D Model: My Workflow
скачать 3d модель для chicken gun
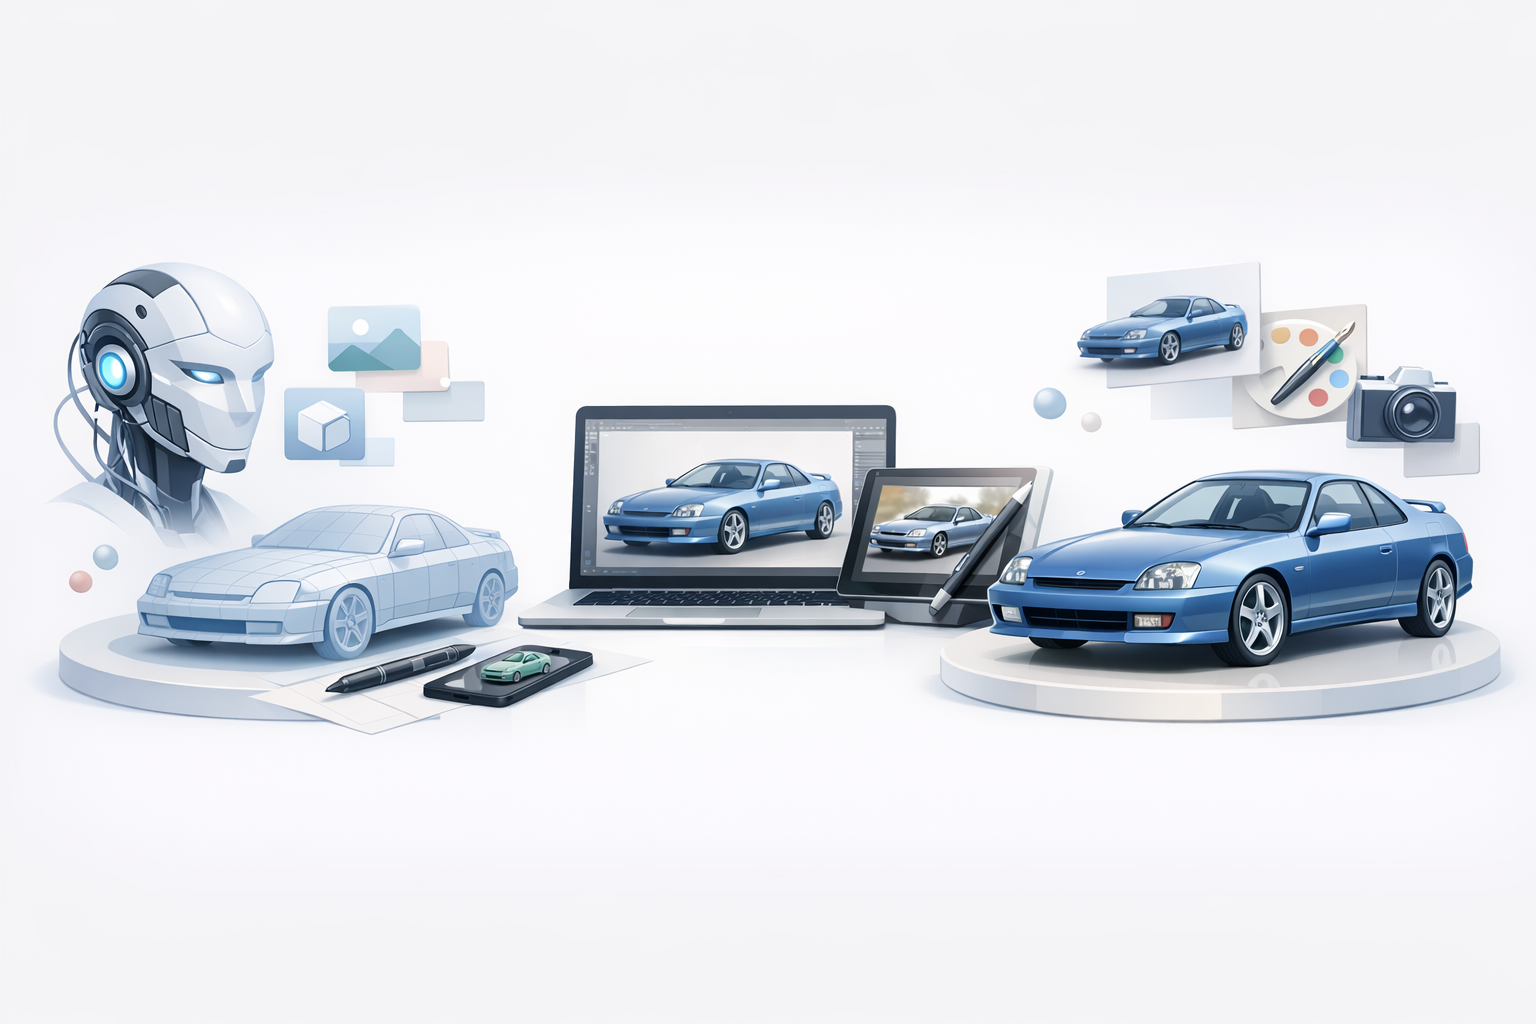
Building a production-ready 3D model of the Prelude MK5 requires more than just technical skill—it’s about combining efficient workflows, reliable tools, and a keen eye for detail. In my experience, leveraging AI-powered platforms like Tripo has drastically reduced repetitive tasks, letting me focus on creative decisions and fine-tuning. This guide is for artists, game developers, and designers who want actionable steps for vehicle modeling, from reference gathering to final export, with practical insights on integrating AI for efficiency.
Key takeaways
- Strong reference material and organization are the foundation of accurate vehicle modeling.
- AI-powered 3D tools can accelerate blocking, segmentation, and retopology, freeing up time for creative refinement.
- Clean geometry, thoughtful texturing, and optimized exports are essential for professional results.
- Seamless integration between platforms is possible with smart workflow planning.
- Avoiding common pitfalls and sticking to best practices leads to higher-quality models and less rework.
Understanding the Prelude MK5: Reference Gathering
What to Look for in Reference Images
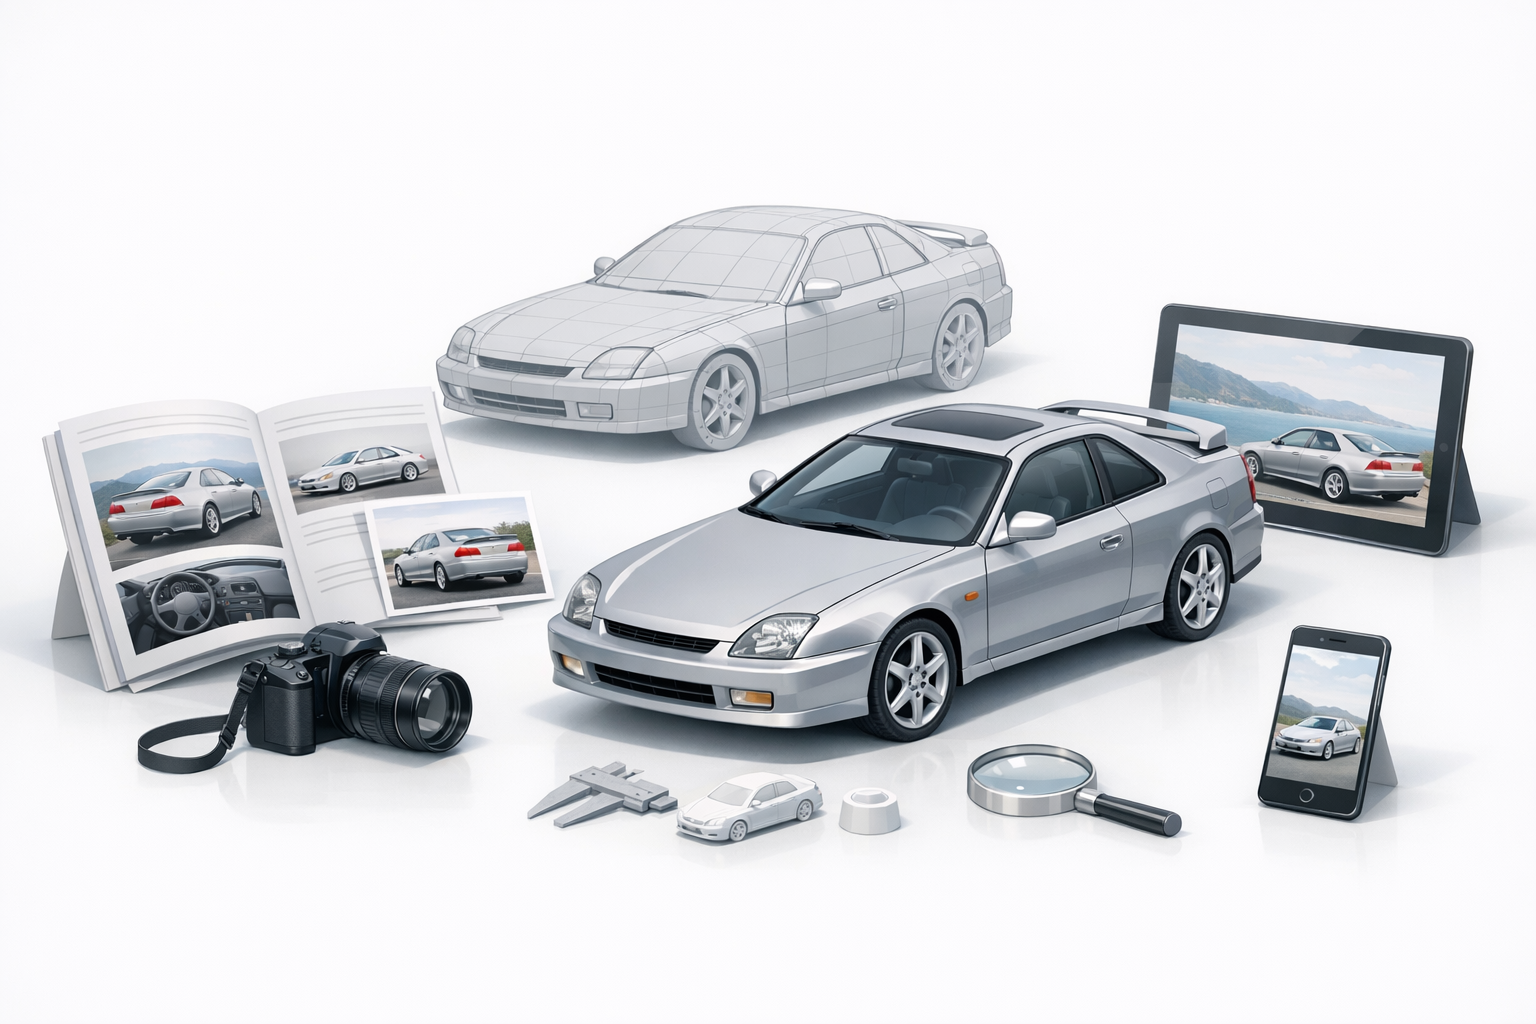
In my workflow, I always start by sourcing high-resolution images from multiple angles—front, rear, side, top, and interior. For the Prelude MK5, I prioritize factory blueprints, press photos, and enthusiast galleries. Key details to capture include body panel seams, lighting clusters, wheel design, and unique trim elements.
Checklist for reference images:
- Orthographic views (side, front, top, rear)
- Close-ups of badges, lights, and wheels
- Interior dashboard and seat layouts
- Paint finishes and color variants
How I Organize and Analyze Reference Material
I use a folder structure sorted by angle and detail type, naming files descriptively for quick access. Reference boards or image viewers (like PureRef) help me keep essential shots visible while modeling. I annotate images with notes on proportions, symmetry, and areas prone to distortion—this minimizes guesswork later.
Tips:
- Group images by exterior, interior, and details
- Annotate tricky areas (e.g., door handles, mirrors)
- Use overlays to check proportions during modeling
Choosing the Right Tools for 3D Modeling
Why I Prefer Certain Platforms for Vehicle Modeling
For vehicles, I choose tools that offer precise control over curves and surfaces, as well as robust import/export options. Tripo’s AI-driven features are especially helpful for segmenting parts and automating repetitive tasks like retopology. I also value platforms with strong support for reference image alignment and real-time feedback.
What I look for:
- Accurate viewport navigation and snapping
- Non-destructive modifiers for flexibility
- Easy integration with texturing and rendering tools
Comparing AI-Powered and Traditional Workflows
Traditional workflows can be time-consuming, especially for blocking and mesh cleanup. With AI-powered tools, I can generate base meshes from sketches or reference images in seconds, then focus on refining geometry and adding details. I still rely on manual techniques for critical features, but AI accelerates the bulk of the process.
AI workflow advantages:
- Faster blocking and segmentation
- Automated UV unwrapping and basic texturing
- Retopology that’s production-ready
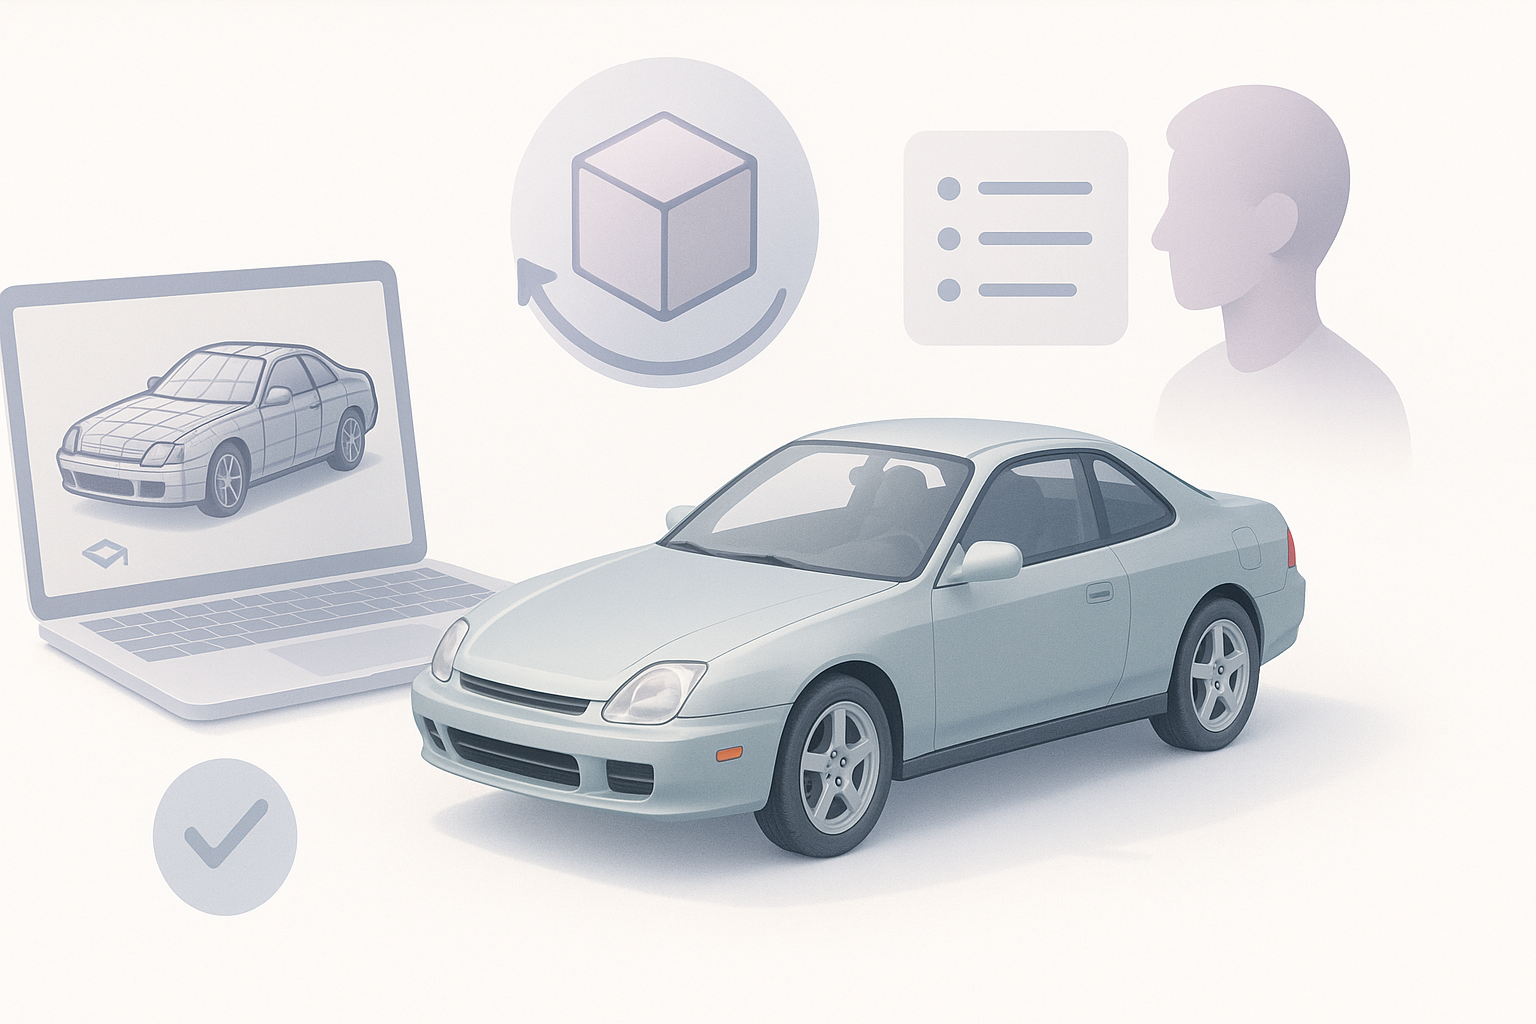
Step-by-Step: My Process for Modeling the Prelude MK5
Blocking Out the Main Shapes
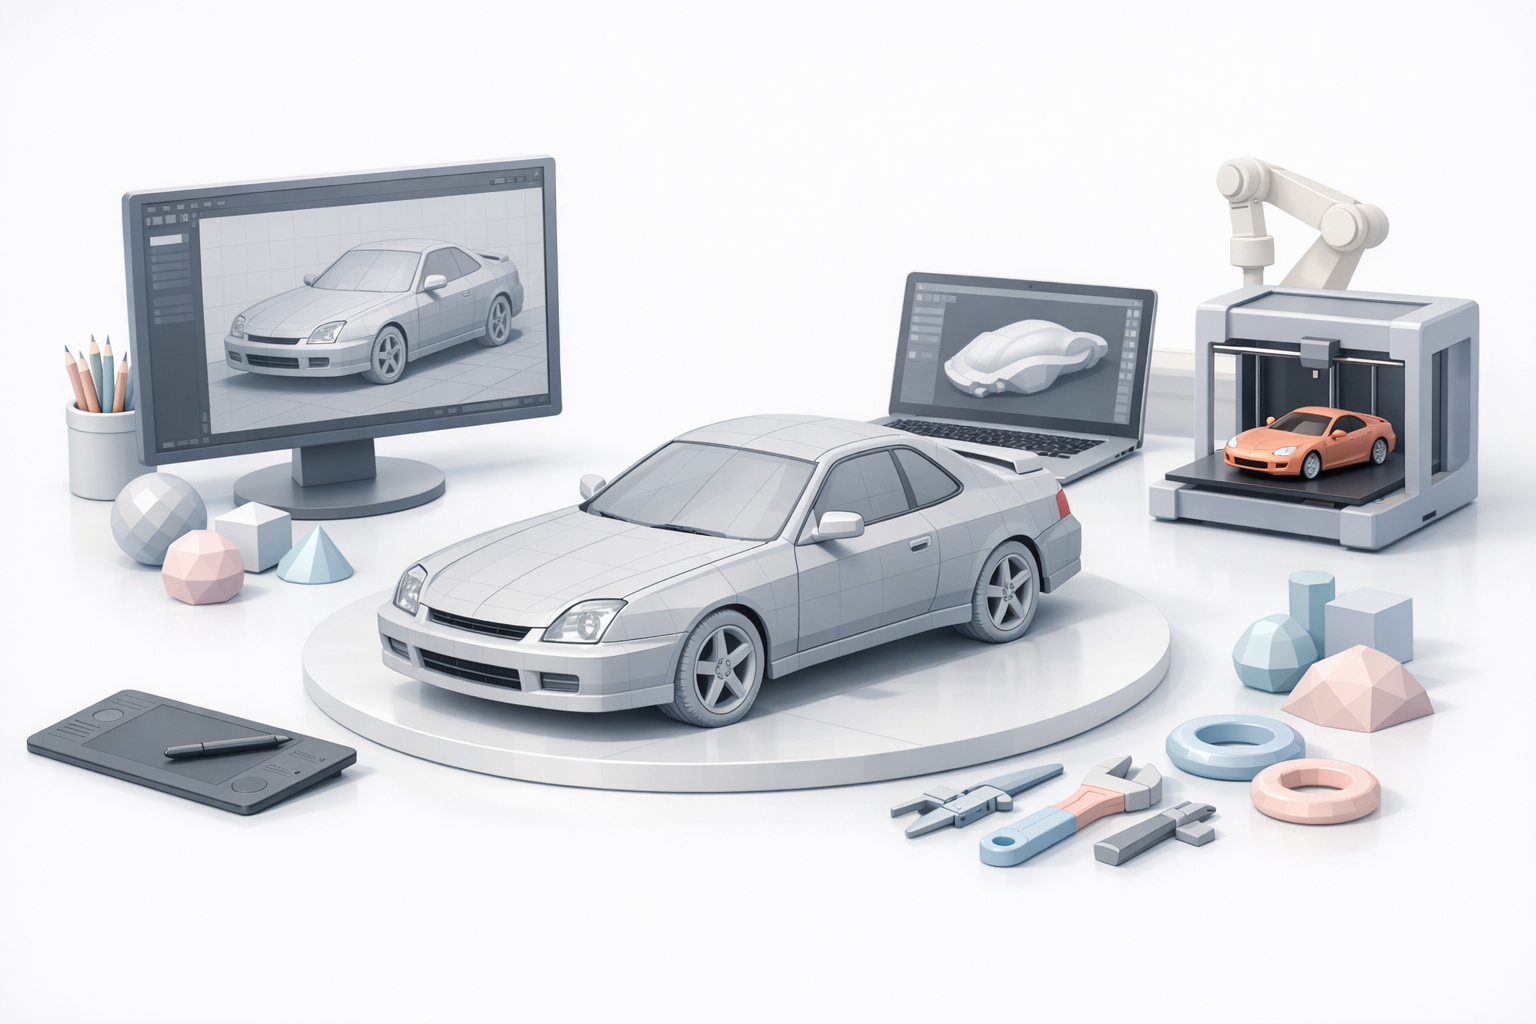
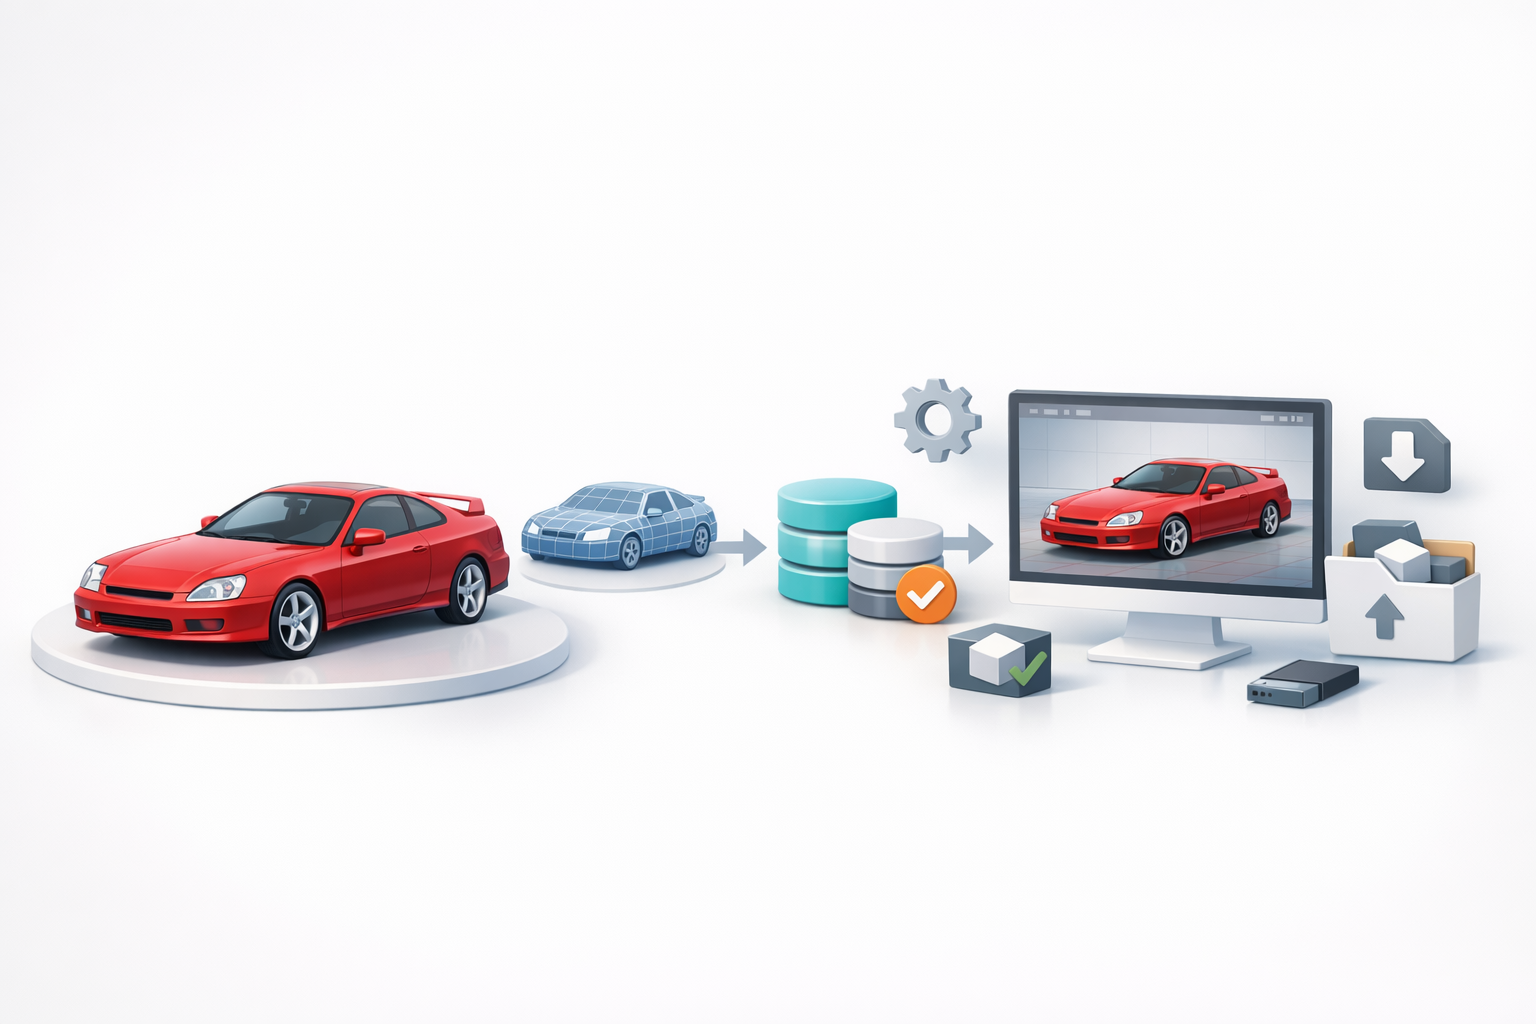
I start by importing reference images into my 3D viewport, aligning them to match real-world proportions. Using simple primitives (planes, cubes), I block out the car’s main volumes: body, windows, and wheels. If using Tripo, I can generate a rough base mesh from a sketch or image, then adjust proportions as needed.
Steps:
- Align reference images in the viewport.
- Block out body, roof, and wheel wells.
- Adjust overall proportions before adding detail.
Adding Details and Refining Geometry
Once the base shape is accurate, I incrementally add edge loops and extrusions for panel lines, headlights, and other features. I avoid overcomplicating the mesh early—clean topology is easier to edit. For tricky details, I use subdivision modeling and keep a low-poly version for later optimization.
Tips:
- Use symmetry modifiers to save time
- Focus on silhouette accuracy before small details
- Save incremental versions to avoid losing work
Texturing and Materials: Bringing the Model to Life
Best Practices for Automotive Texturing
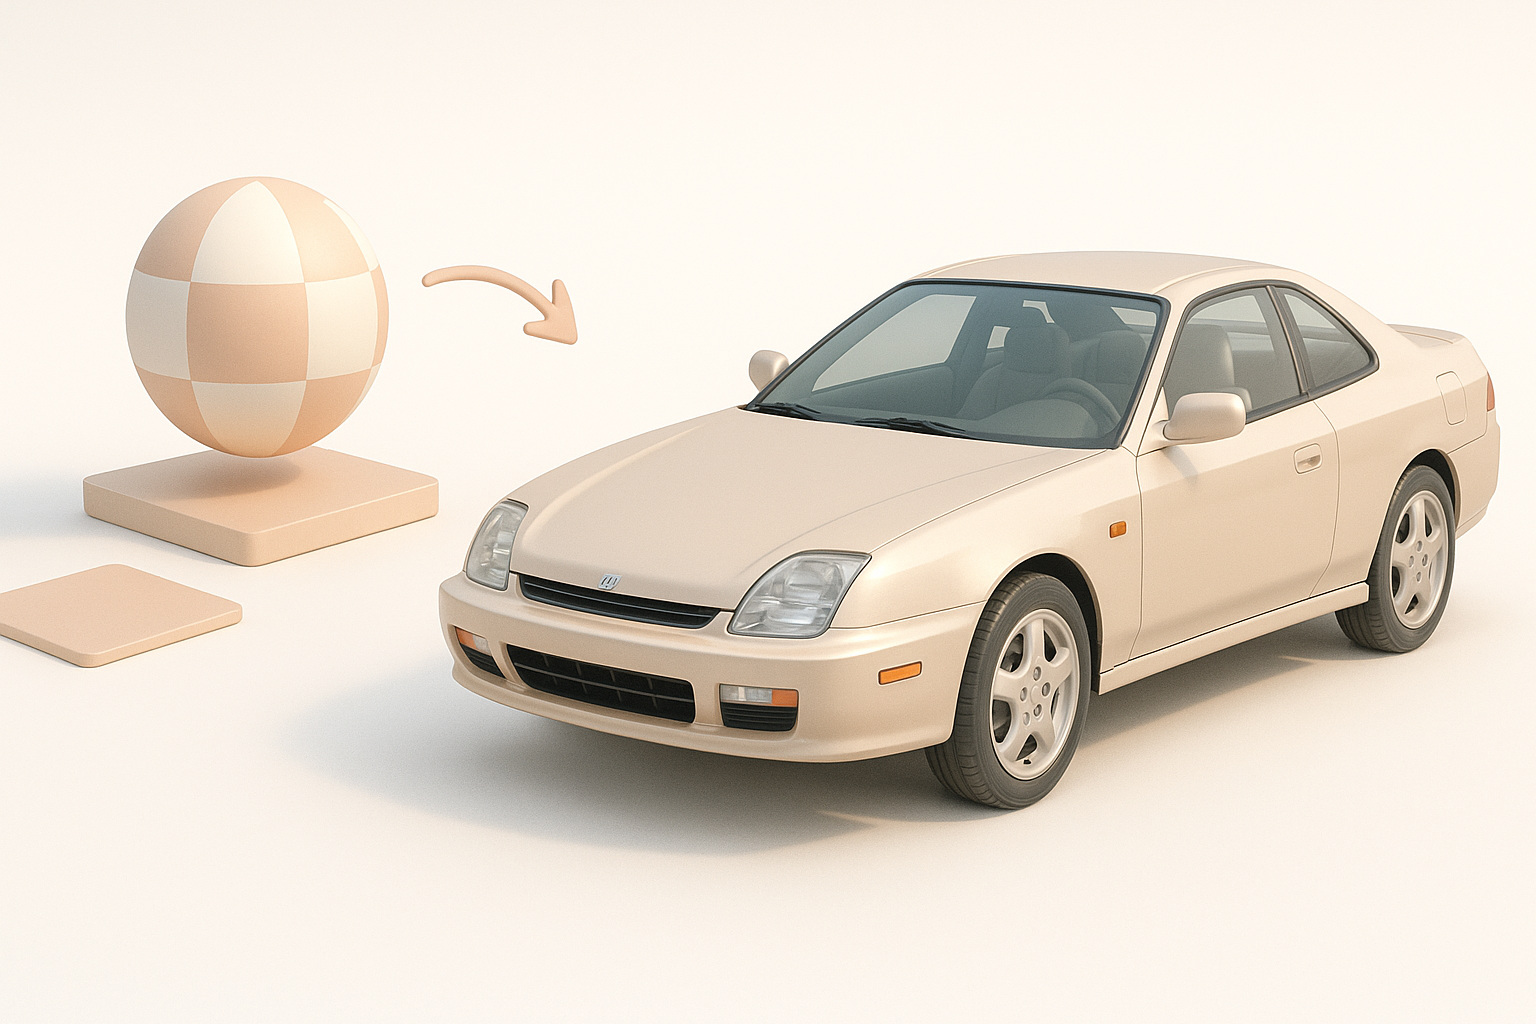
Automotive texturing demands realism—clearcoat, metallic flakes, and subtle wear are critical. I bake normal and ambient occlusion maps for depth, then layer paint, glass, and rubber materials. Tripo’s AI texturing can generate base materials, which I refine in a dedicated texturing tool.
Checklist:
- UV unwrap with minimal stretching
- Separate material IDs for paint, trim, lights
- Use high-res textures for badges and decals
How I Achieve Realistic Paint and Surface Effects
I use physically-based rendering (PBR) workflows, layering clearcoat and metallic maps for paint. For added realism, I introduce subtle imperfections—fingerprints on glass, slight dirt on lower panels, and varied specularity. HDRI lighting helps preview the finish under real-world conditions.
Practical steps:
- Apply multi-layered paint shaders
- Add micro-scratches and smudges for authenticity
- Test under different lighting setups
Optimizing and Exporting the 3D Model
Retopology and Mesh Cleanup Tips
Before exporting, I run automated retopology (Tripo’s tool is effective here) to ensure clean, animation-friendly geometry. I manually check for non-manifold edges, flipped normals, and unnecessary polygons. Keeping the polycount reasonable is crucial, especially for games or XR.
Quick cleanup checklist:
- Remove stray vertices and n-gons
- Ensure proper edge flow around doors and wheel wells
- Optimize mesh density for intended use
Export Settings for Different Use Cases
Export settings depend on the target platform. For real-time engines, I use FBX or GLTF with baked maps and reduced polycount. For offline rendering, OBJ with high-res textures is preferred. I always test imports in the target software to catch issues early.
Tips:
- Match scale and orientation to project requirements
- Include all necessary texture maps
- Double-check material assignments on export
Integrating AI Tools for Efficiency
How AI Accelerates My Workflow
AI tools dramatically cut down on manual labor—generating base meshes, segmenting parts, and even basic UV mapping. With Tripo, I can turn a concept sketch into a workable 3D draft in minutes, then iterate quickly. This lets me spend more time on creative problem-solving and less on repetitive setup.
Key benefits:
- Rapid prototyping from sketches or images
- Automatic retopology and segmentation
- Quick material and texture suggestions
Tips for Seamless Integration with Other Platforms
To avoid compatibility issues, I stick to standard file formats (FBX, OBJ, GLTF) and maintain a clean layer structure. I export intermediate models for use in other texturing or rendering tools, ensuring that UVs and materials are preserved. Good version control helps track changes when switching between tools.
Best practices:
- Regularly sync files between platforms
- Test exports before committing to final renders
- Document settings for reproducibility
Lessons Learned and Expert Tips
Common Pitfalls and How I Avoid Them
I’ve learned to watch out for proportion errors early—fixing them later is costly. Overcomplicating the mesh before nailing the silhouette is another trap. Relying too much on automation can lead to generic results, so I always manually refine key features.
Pitfalls to avoid:
- Skipping reference alignment
- Neglecting topology for speed
- Ignoring scale and real-world dimensions
My Recommendations for Aspiring 3D Artists
Start with solid references and keep your workflow organized. Embrace AI tools, but don’t skip manual refinement—they’re best used as accelerators, not replacements. Always test your models in the final environment, and don’t be afraid to iterate.
Final tips:
- Build a strong reference library
- Use AI to handle repetitive tasks, but own the creative decisions
- Keep learning new techniques and stay adaptable
By following this workflow, I consistently achieve high-quality, production-ready vehicle models while saving time and reducing frustration. Whether you’re a seasoned artist or just starting out, integrating smart tools and solid practices will elevate your results.


