Creating and Using Posable 3D Models: Expert Workflow Guide
Posable 3D models are the backbone of modern digital content, powering everything from game characters to XR experiences. In my years working with both traditional and AI-driven 3D tools, I’ve learned that the key to efficient, production-ready posable models is a streamlined workflow—one that balances automation with hands-on control. This guide covers my end-to-end process, practical tips, and real-world lessons for anyone aiming to produce high-quality, animation-ready models. Whether you’re a solo creator or part of a studio, you’ll find actionable advice for rigging, posing, and integrating 3D assets across platforms.
Key takeaways
- Start with a clear use case—it shapes your modeling, rigging, and texturing decisions.
- Leverage AI-powered tools like Tripo for rapid prototyping and production, but know when manual refinement is needed.
- Efficient rigging and clean topology are essential for natural poses and smooth animation.
- Always check compatibility before export to avoid headaches in your target application.
- Iterate and test poses early to catch deformation issues before they become costly.
- Document your workflow—it saves time and minimizes errors on future projects.
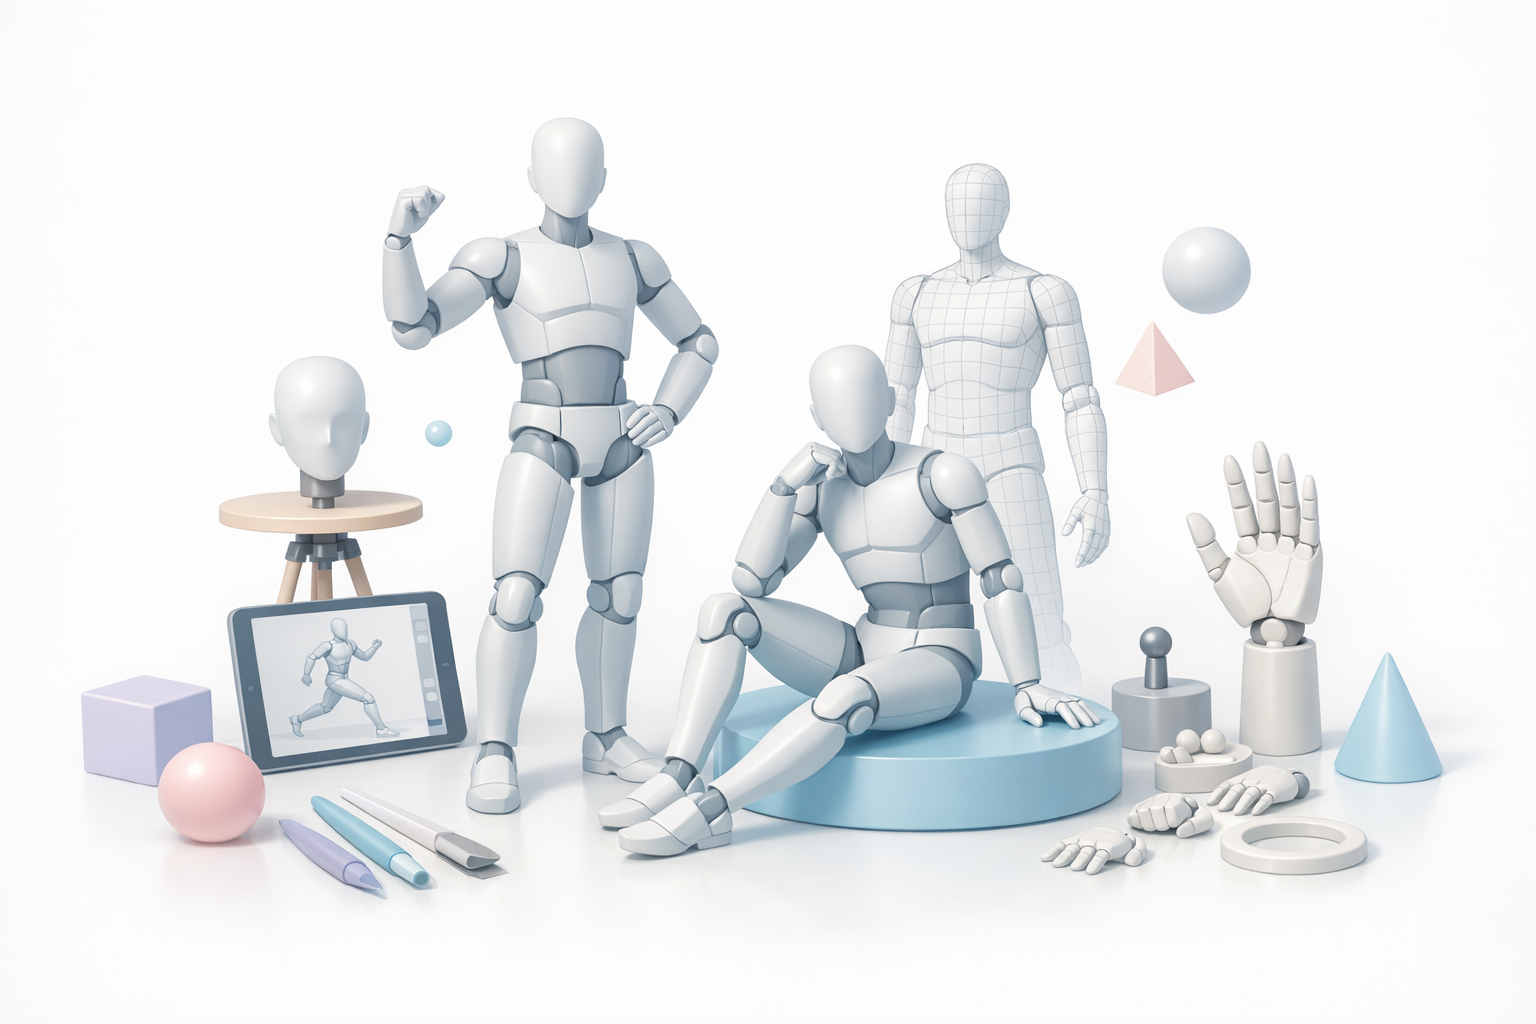
What Is a Posable 3D Model?
Definition and Key Features
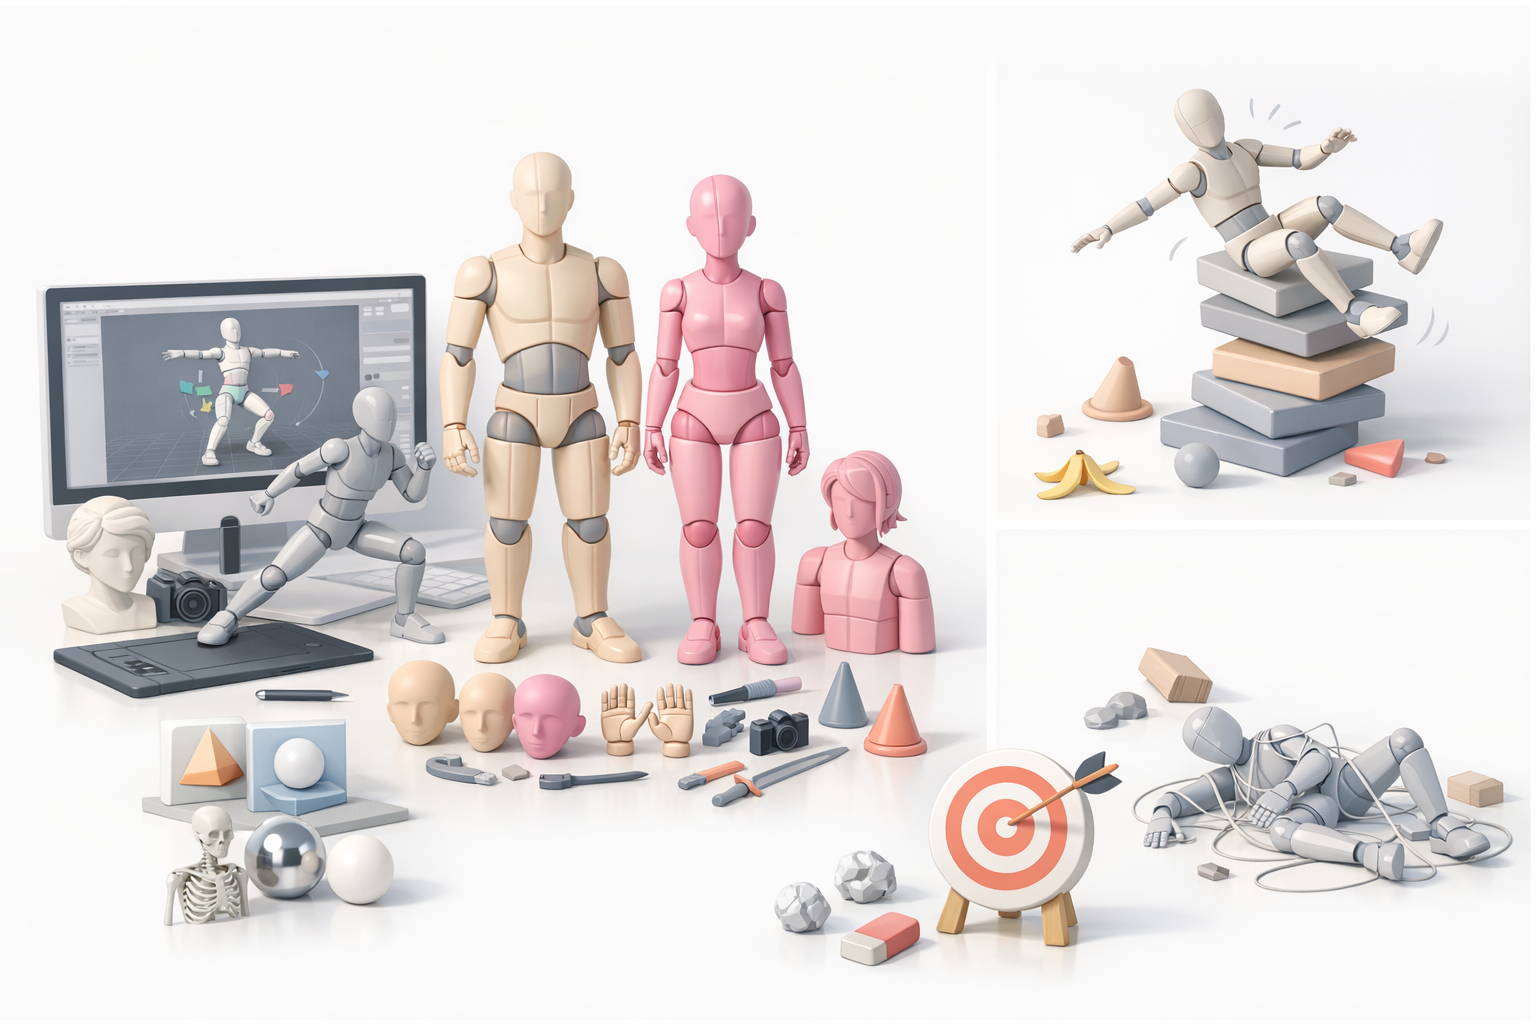
A posable 3D model is a digital asset with an underlying skeleton (rig), allowing for dynamic posing and animation. In my experience, the essential features include a well-structured mesh, a functional rig (usually bones and controls), and proper skinning so the mesh deforms naturally. High-quality posable models are also optimized for animation, with clean topology and manageable polygon counts.
Common Use Cases Across Industries
I’ve used posable 3D models in game development, film previsualization, product visualization, and XR experiences. In games, they’re vital for character animation and interactive storytelling. In XR and design, posable models enable rapid prototyping and real-time feedback. Advertising and education also benefit from these assets for dynamic presentations and simulations.
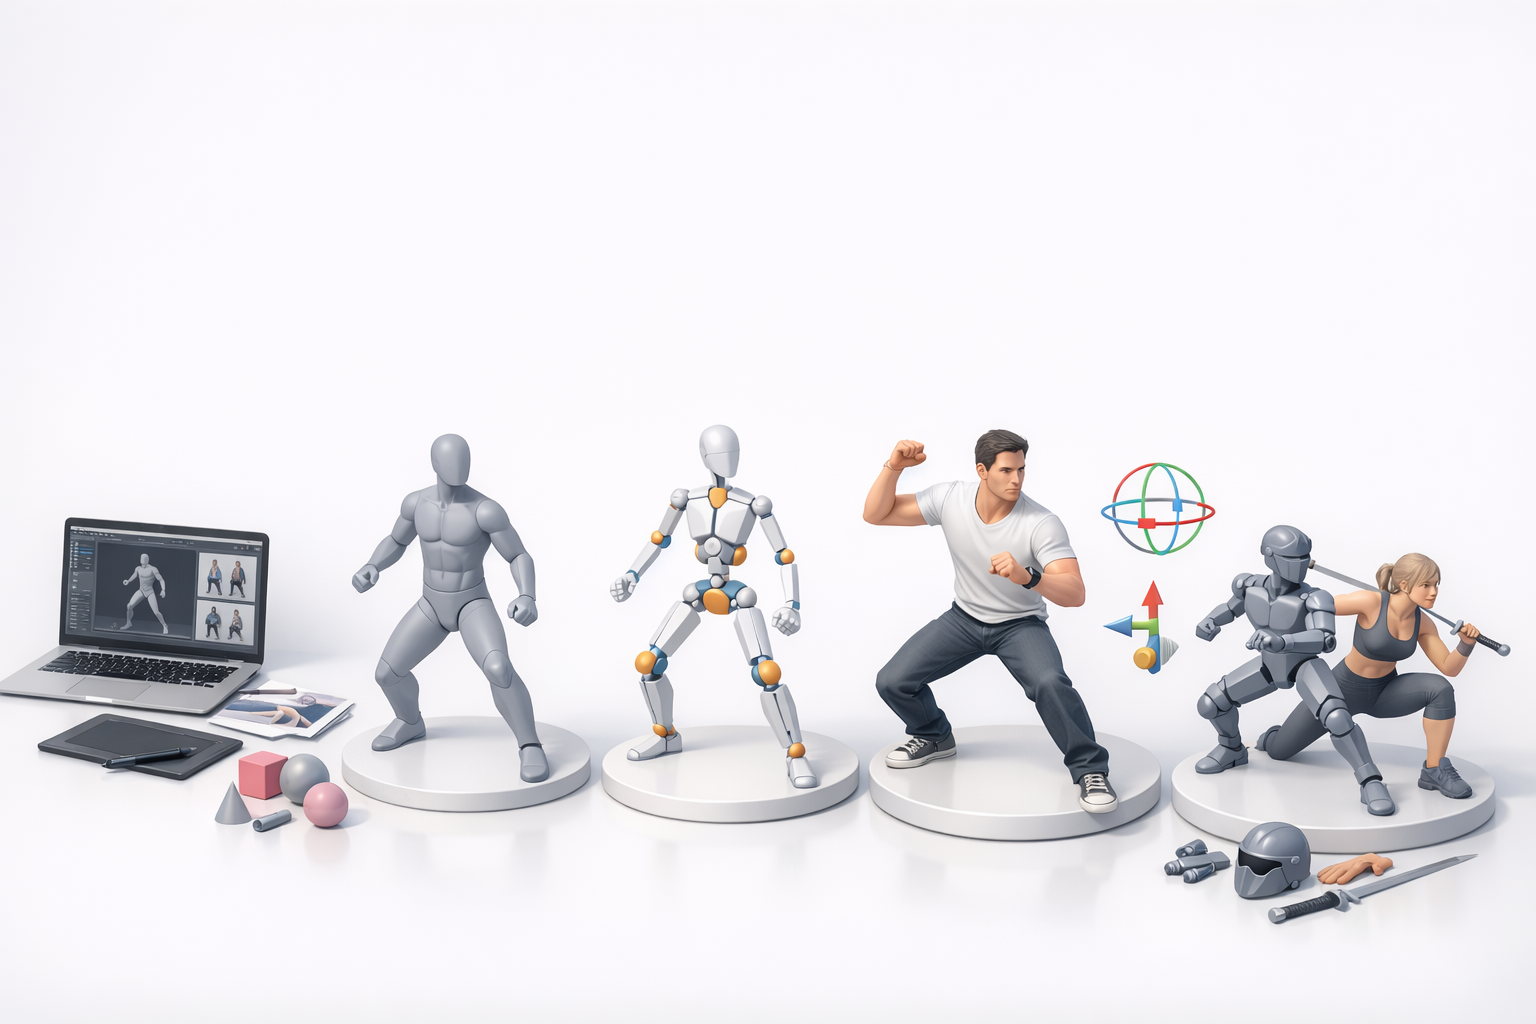
My Workflow: How I Create Posable 3D Models
Choosing the Right Tools and Platforms
I select tools based on project needs—speed, complexity, and integration requirements. For quick iterations or when working with concept art, I often start in Tripo, which lets me generate base models from sketches or descriptions. For detailed control, I supplement with traditional DCC software for sculpting and manual rigging.
Mini-checklist:
- Define your target platform (game engine, XR, etc.)
- Choose AI-powered tools for speed; manual tools for precision
- Confirm export compatibility early
Step-by-Step Process: From Concept to Pose
My typical workflow looks like this:
- Conceptualize: Gather references or create sketches.
- Generate Base Model: Use Tripo or similar for rapid base mesh creation.
- Refine Mesh: Sculpt details and ensure clean topology.
- Rig: Add a skeleton and set up controls for posing.
- Skin: Bind the mesh to the rig, adjusting weights for natural deformation.
- Test Poses: Move the rig through common poses to catch issues.
- Iterate: Refine mesh, rig, and weights as needed.
Pitfall: Skipping pose tests early can lead to major deformation problems later.
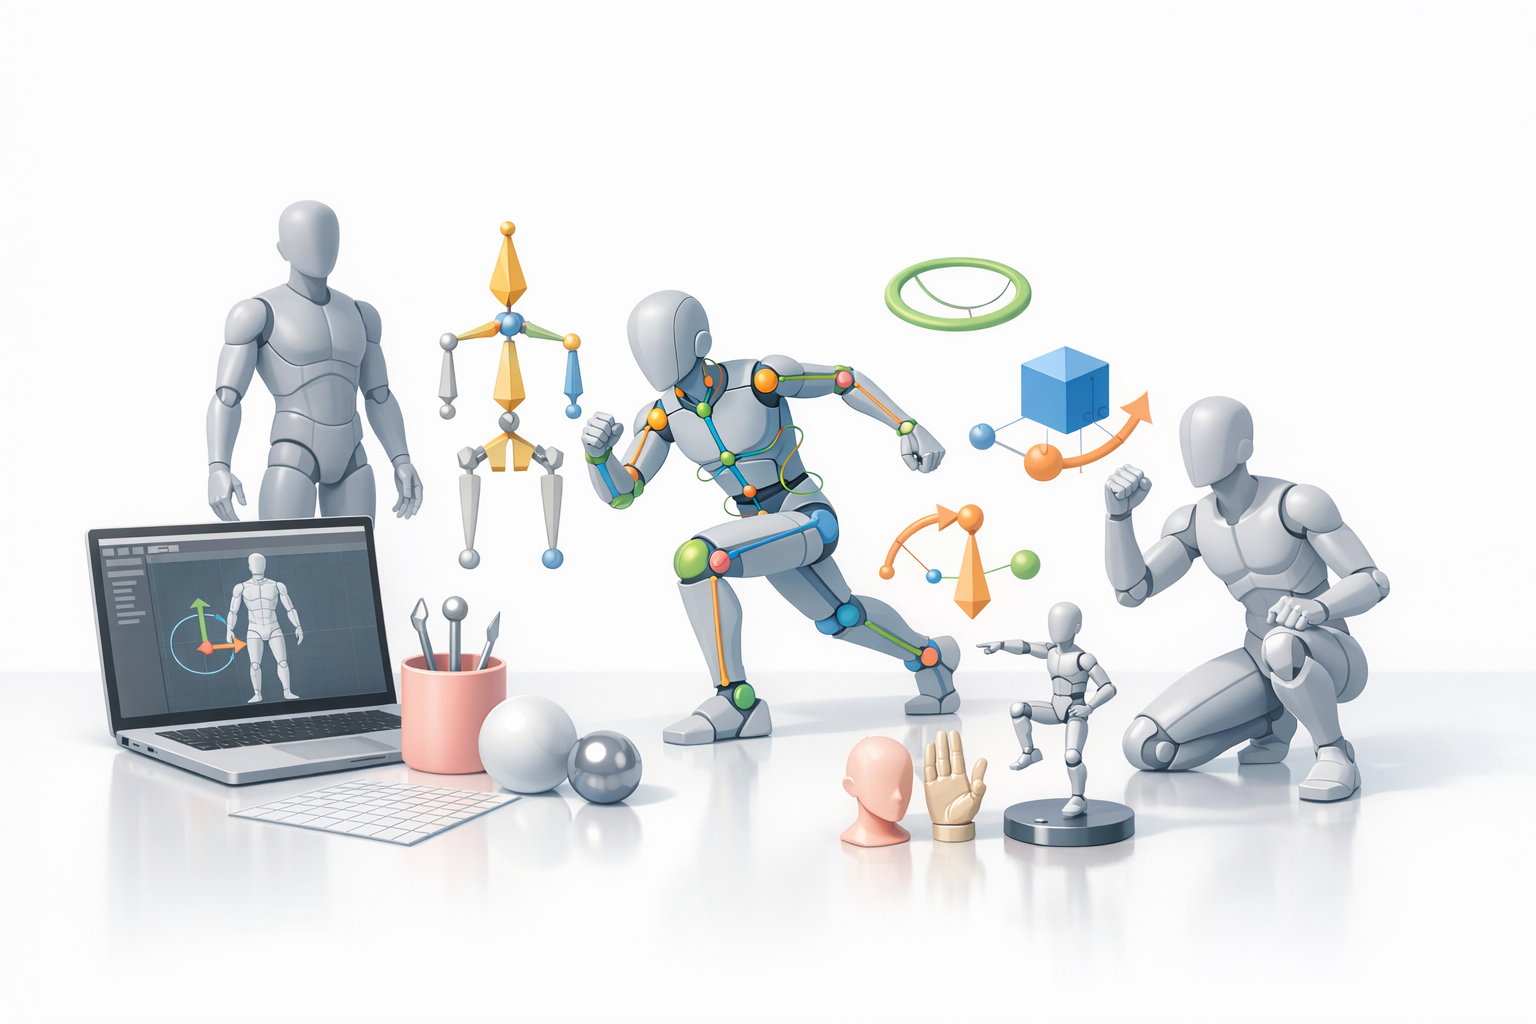
Best Practices for Rigging and Posing
Efficient Rigging Techniques
I prioritize modular rigs and use auto-rigging where possible to save time. For humanoids, I rely on industry-standard bone structures for compatibility. When using Tripo, the built-in rigging tools often provide a solid starting point, but I always check and tweak joint placements and weights manually.
Quick tips:
- Use symmetry tools for faster rigging
- Keep rigs simple unless advanced deformation is needed
- Label bones and controls clearly
Tips for Natural and Expressive Poses
Natural poses start with understanding anatomy and motion. I use reference images and even act out poses myself. Small adjustments—like rotating the wrists or tilting the head—make a huge difference. I also check silhouettes and balance to avoid awkward stances.
Checklist:
- Reference real-world photos or videos
- Focus on line of action and weight distribution
- Test extreme poses to catch rigging issues
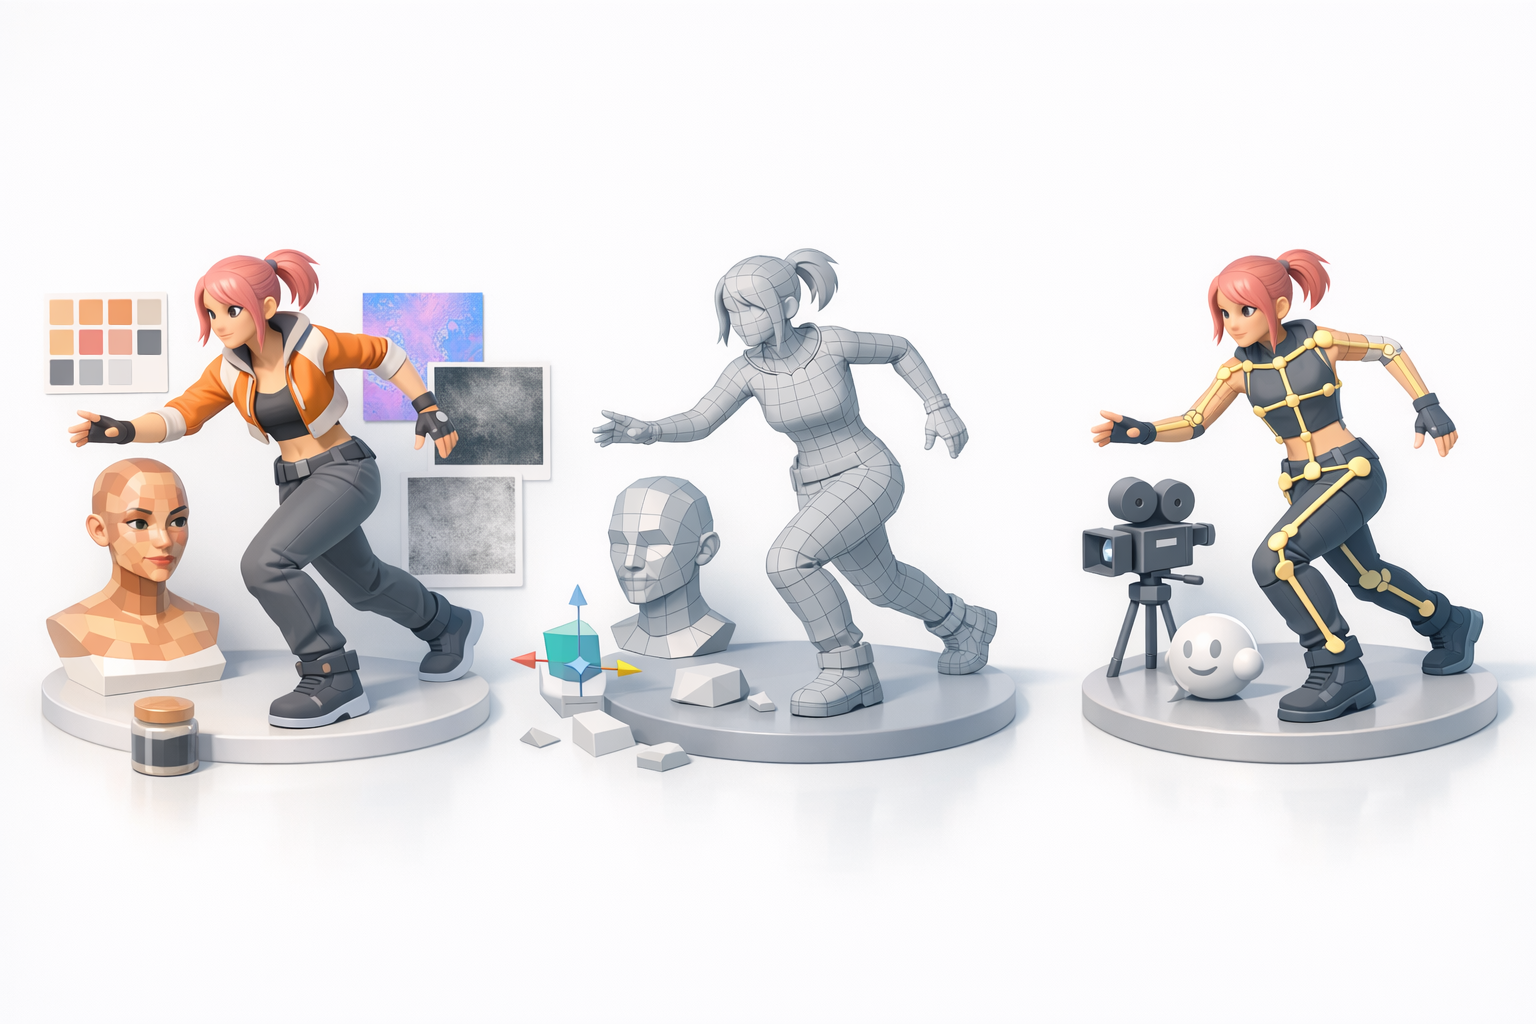
Texturing, Retopology, and Animation Integration

Optimizing Models for Animation
Before animation, I ensure the mesh has even topology and edge loops around joints. This prevents pinching and stretching during movement. With Tripo, I use the automatic retopology tools, then manually clean up any problem areas.
Steps:
- Check edge flow around knees, elbows, and shoulders
- Reduce polygon count where possible for real-time use
- Test deformations with simple animations
Seamless Texturing and Retopology Workflows
I prefer to texture after retopology for more predictable UVs. Tripo’s integrated texturing speeds up this step, but I often tweak maps in my preferred painting tool for extra detail. Consistent naming and organization help when exporting to other software.
Tips:
- Use baked normal and AO maps for added realism
- Keep texture resolutions appropriate for your target platform
- Always preview textures on the rigged model
Comparing AI-Powered and Traditional Methods
Speed, Quality, and Flexibility
AI-powered tools like Tripo dramatically reduce modeling and rigging time—what used to take days can now be done in hours. However, manual methods still win for custom rigs, unique stylization, or when precise control is required. I often blend both: AI for base creation, manual for polish.
Pros of AI tools:
- Fast base model and rig generation
- Good for prototyping and iteration
Cons:
- Sometimes less control over fine details
- May need manual cleanup for production assets
When to Use AI Tools vs. Manual Techniques
I use AI tools for rapid prototyping, background characters, or when deadlines are tight. For hero assets or complex rigs, I rely on manual techniques. The sweet spot is using AI to handle repetitive tasks, freeing me to focus on creative problem-solving.
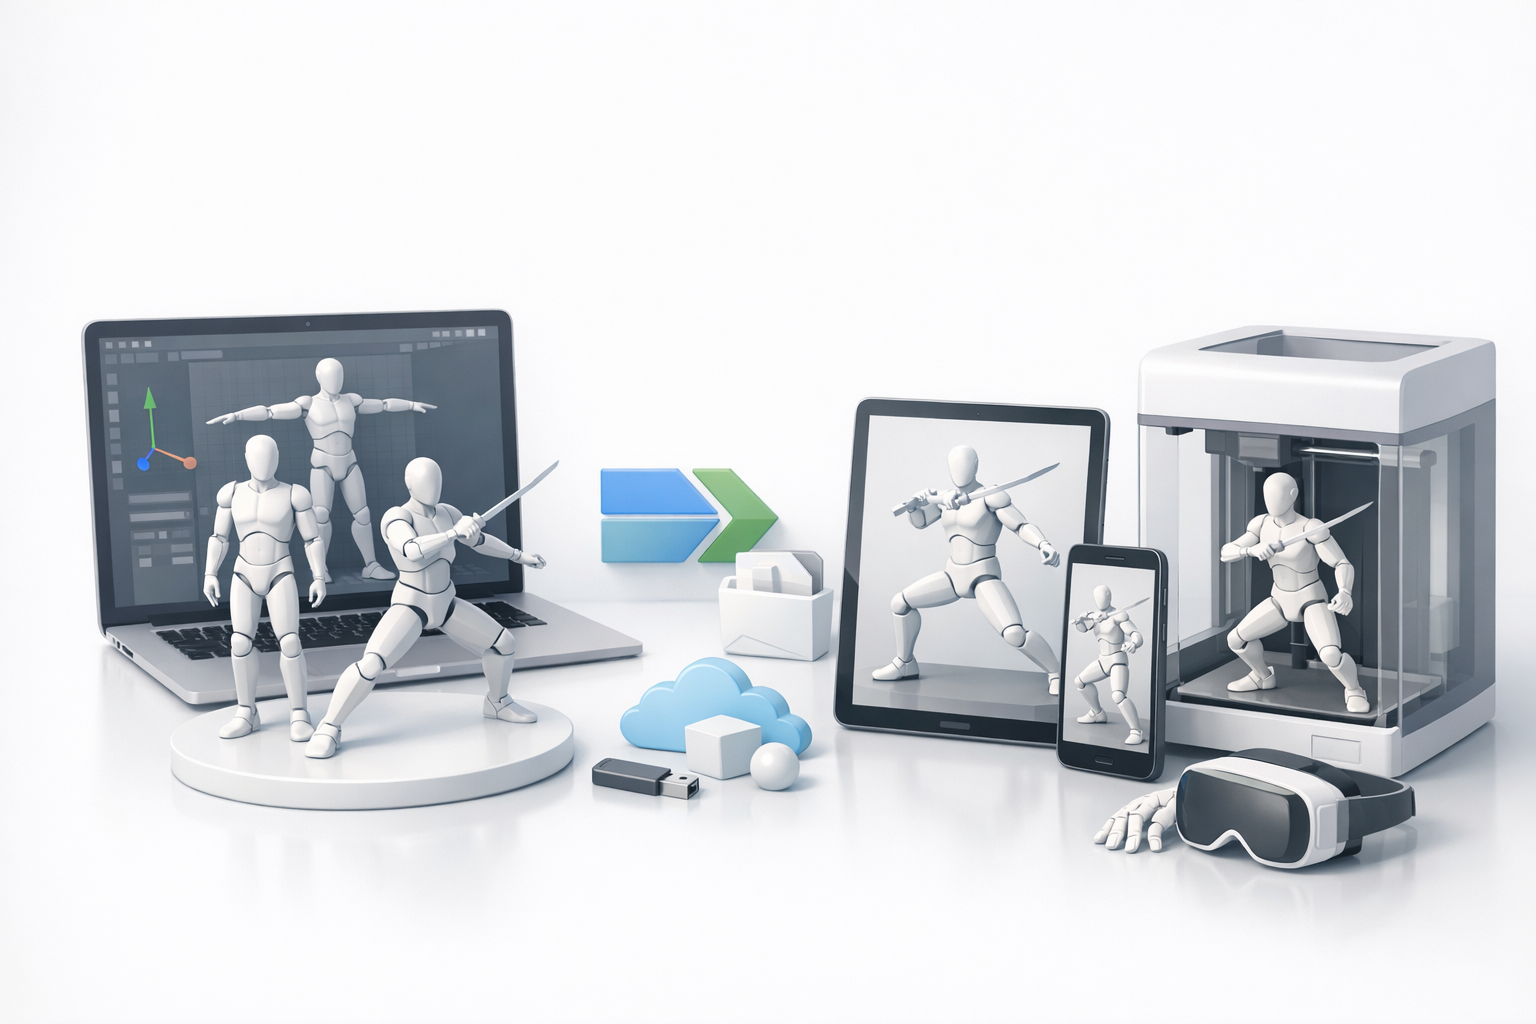
Exporting and Using Posable 3D Models
Supported Formats and Compatibility
I always check which formats my target platforms (game engines, XR frameworks) support—FBX and GLTF are the most common for rigged models. Tripo exports to these formats, but I verify animation and texture links before final integration.
Checklist:
- Confirm export format (FBX, GLTF, OBJ, etc.)
- Test imports in the target application
- Check for missing textures or animation glitches
Integrating Models Into Games, XR, and More
Once exported, I import the model into the game engine or XR platform. I test poses, animations, and materials in context, making adjustments as needed. Naming conventions and clean hierarchy are critical for smooth integration, especially in team environments.
What I’ve Learned: Tips and Common Pitfalls
Lessons from Real-World Projects
- Test early, test often: Early pose and animation tests catch most rigging issues.
- Iterate, don’t hesitate: Quick iterations with AI tools let me try more ideas.
- Documentation matters: Keeping notes on rig structure and naming saves time in handoffs.
Avoiding Common Mistakes in Posable Model Creation
- Don’t skip topology checks: Bad edge flow leads to ugly deformations.
- Avoid over-complicated rigs: Simpler rigs are easier to pose and animate.
- Double-check exports: Animation or texture errors often creep in during export—always verify in the target environment.
By balancing AI-powered speed with manual control, and following a disciplined workflow, I consistently produce posable 3D models that are ready for real-world use—whether in games, XR, or beyond.


