Pokemon 3D Modeling: Expert Workflow & Best Practices
When I tackle Pokemon 3D modeling projects, my focus is always on speed, accuracy, and production-ready results. Over the years, I’ve streamlined my workflow to balance creativity with efficiency—leveraging both traditional 3D techniques and AI-powered tools like Tripo AI. Whether you’re a game developer, hobbyist, or designer, this guide outlines my step-by-step approach, practical best practices, and common pitfalls to avoid when bringing Pokemon characters to life in 3D.
Key takeaways:
- Solid reference gathering and planning are crucial for stylized Pokemon models.
- Blocking, topology, and detail refinement must align with your end-use (games, AR, animation).
- AI tools like Tripo can dramatically speed up modeling and texturing.
- Rigging and animation require careful attention to proportions and deformation.
- Always optimize models for your intended platform and workflow.
- Sharing and collaboration benefit from clear naming, versioning, and lightweight file formats.
Executive Summary & Key Takeaways

What I’ve learned from Pokemon 3D modeling projects
I’ve found that successful Pokemon 3D models rely on strong planning, clean topology, and stylized texturing. Rushing into details too early or skipping reference work leads to rework and inconsistent results. AI-assisted workflows, especially with Tripo, now allow me to iterate faster and focus more on creative tweaks rather than repetitive tasks.
Essential tools and workflows for rapid results
My go-to toolkit includes a reliable 3D modeling suite, texture painting software, and AI-powered tools for segmentation and retopology. I always start with a clear workflow: reference → blockout → detail → texture → rig/animate → export. This structure keeps projects on track and minimizes backtracking.
Getting Started: Planning Your Pokemon 3D Model

Reference gathering and concept sketching
Every project begins with references. I gather official artwork, screenshots, and fan interpretations to capture the character’s personality and proportions. For unique poses or variants, I sketch quick concepts—sometimes digitally, sometimes on paper.
Checklist:
- Collect front, side, and 3/4 views if possible.
- Note key features (eyes, markings, proportions).
- Sketch out pose and silhouette for clarity.
Choosing the right modeling approach
For most Pokemon, I decide between sculpting (for organic shapes) or box modeling (for simpler, geometric forms). The choice depends on the character’s complexity and my target platform.
Tips:
- Use sculpting for rounded, detailed Pokemon (e.g., Bulbasaur, Pikachu).
- Use box modeling for blockier or mechanical forms (e.g., Magnemite).
- Consider starting in Tripo AI for rapid base mesh generation, especially for stylized or repetitive characters.
Step-by-Step Workflow: From Concept to 3D Model
Blocking out shapes and proportions
I always block out the main forms first, focusing on silhouette and scale. This is where mistakes are cheapest to fix.
Steps:
- Start with basic primitives (spheres, cubes).
- Match the blockout to reference images.
- Check proportions from multiple angles.
Refining details and topology
Once the blockout feels right, I move on to refining shapes, adding details, and cleaning up topology. Good edge flow is critical for later rigging and animation.
Pitfalls to avoid:
- Don’t add small details before the main shapes are correct.
- Avoid uneven topology—keep quads as much as possible.
- Use Tripo’s retopology tools if the mesh gets messy after sculpting.
Texturing, Rigging, and Animation for Pokemon Models
Applying stylized textures and materials
Pokemon models benefit from simple, bold textures. I stick to hand-painted or procedural materials to match the franchise’s look.
My process:
- UV unwrap with minimal seams.
- Paint base colors and markings first.
- Add subtle shading for depth, but avoid photorealism.
Rigging and basic animation tips
Rigging Pokemon requires attention to their unique anatomy. I use simple skeletons for most, but add extra controls for expressive faces or tails.
Best practices:
- Test deformations early with basic poses.
- Keep joint counts low for game-ready models.
- Use Tripo’s automated rigging for quick setups, then tweak weights manually as needed.
Best Practices & Common Pitfalls in Pokemon 3D Modeling

What I do to ensure production-ready results
I always test my models in the target engine or renderer before finalizing. Clean naming, organized layers, and proper scale save time for everyone involved.
Mini-checklist:
- Freeze transforms and clean up history.
- Check mesh normals and UVs.
- Validate the model in a real-time viewer.
Mistakes I’ve seen and how to avoid them
Common pitfalls include over-complicating topology, inconsistent scales, and forgetting to optimize textures. These lead to performance issues and extra rework.
Avoid:
- Dense meshes where low-poly would suffice.
- Non-manifold geometry or unwelded verts.
- Textures larger than necessary for the platform.
AI-Powered Tools & Alternative Methods

How I use Tripo AI for efficient Pokemon modeling
Tripo AI has become a core part of my workflow for generating base meshes, segmenting parts, and even automating UVs and textures. I feed it sketches or reference images, refine the output, and then proceed with manual tweaks.
Workflow:
- Input concept art or text description.
- Review and adjust the generated mesh.
- Use built-in retopology and texturing tools.
- Export for further detailing or rigging.
Comparing manual and AI-assisted workflows
Manual modeling offers full control but is time-consuming, especially for repetitive or similar characters. AI-assisted workflows, while needing some cleanup, drastically cut down on initial modeling and texturing time.
What I’ve found:
- AI tools excel at rapid iteration and base mesh creation.
- Manual touch is still needed for polish and unique details.
- Blending both methods yields the best results for most Pokemon projects.
Exporting, Sharing, and Using Your Pokemon 3D Models
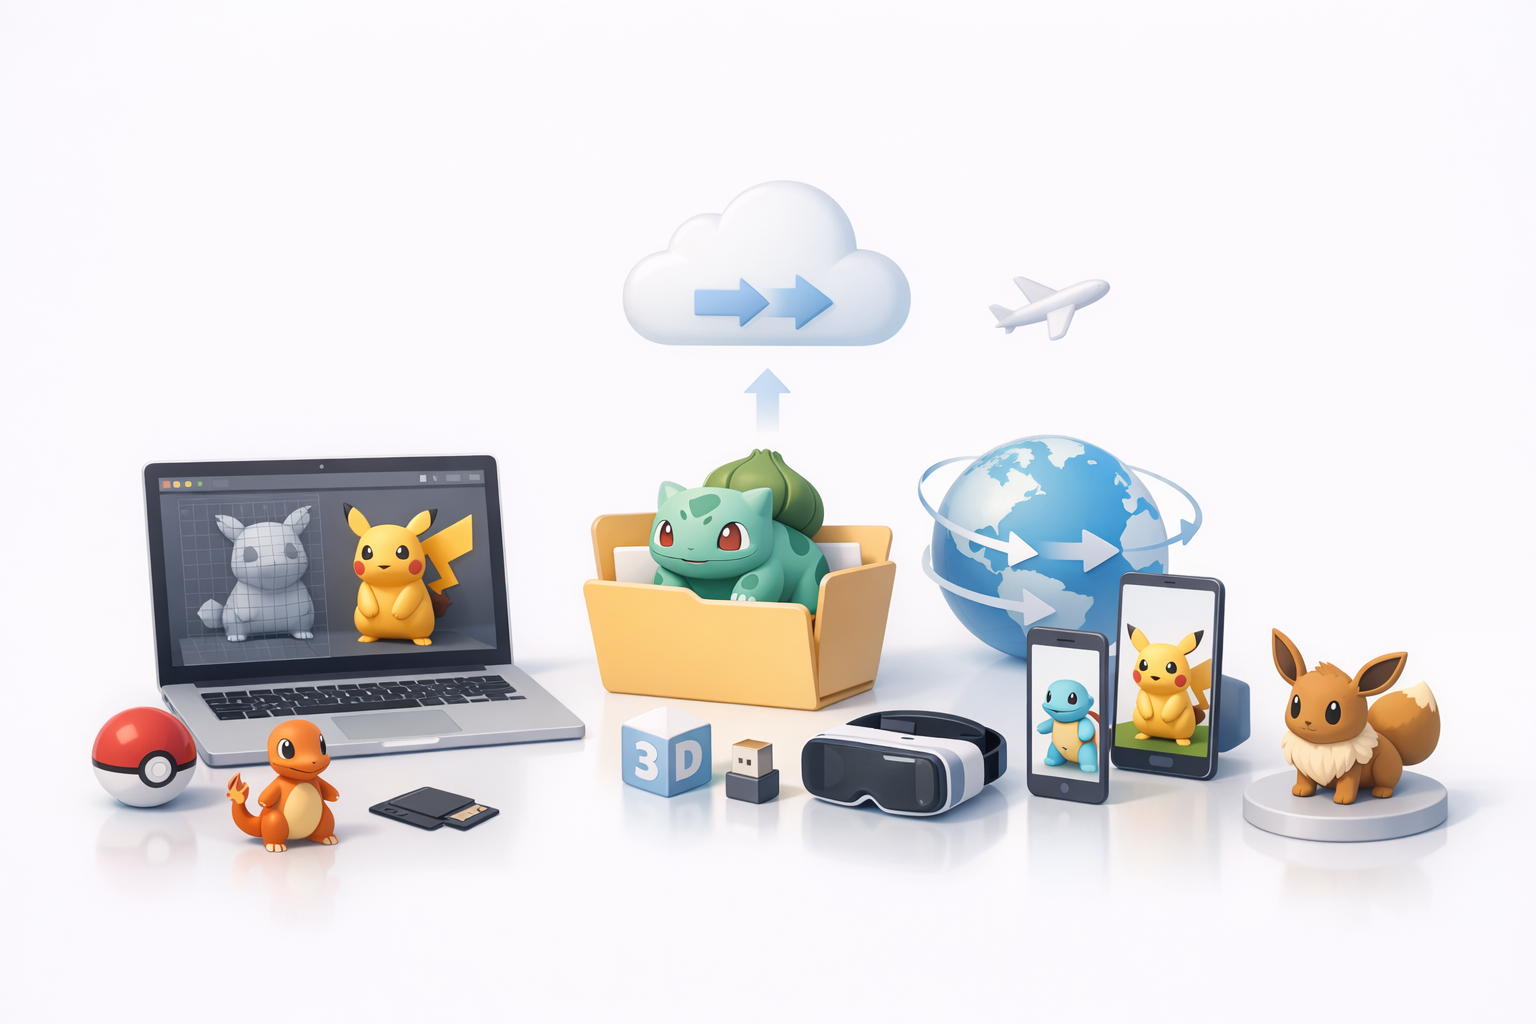
Optimizing models for games, AR, and animation
I always tailor my exports for the final use-case. For games and AR, I keep poly counts low and textures compressed. For animation, I ensure clean rigs and blendshapes.
Tips:
- Export in FBX or GLTF for broad compatibility.
- Use texture atlases to reduce draw calls.
- Double-check scale and orientation.
Tips for sharing and collaborating
Clear organization and lightweight files make collaboration smoother. I use shared drives or asset platforms, and always include a README with usage notes.
Checklist:
- Name files and folders logically (e.g., “Pikachu_v1_rigged”).
- Include all textures and reference images.
- Document any custom rigs or scripts used.
By following these workflows and best practices, I consistently deliver high-quality, stylized Pokemon 3D models—whether for games, animation, or AR. Leveraging AI tools like Tripo alongside traditional methods gives me the flexibility and speed to focus on creativity, not just technical execution.


