Creating a 3D Plant Cell Model with Labels: Expert Workflow
Building a labeled 3D plant cell model is a powerful way to enhance science education and research communication. In my experience, using AI-powered tools like Tripo AI can dramatically speed up the process, while still allowing for precise control over model accuracy and labeling. This article walks through my full workflow—from reference gathering and segmentation to labeling, texturing, and integration—highlighting best practices and practical tips for anyone looking to create clear, educational 3D cell models. Whether you're an educator, designer, or researcher, you'll find actionable strategies here to streamline your 3D modeling process.
Key takeaways
- Labeled 3D plant cell models are highly effective for teaching and scientific visualization.
- AI-powered tools can generate accurate base models and automate tedious segmentation.
- Proper labeling and readable placement are essential for educational clarity.
- Clean geometry and realistic textures boost both visual appeal and usability.
- Export models in widely supported formats for seamless integration into presentations or XR.
- Traditional workflows offer more manual control, but are slower and less accessible.
Overview: Why 3D Plant Cell Models Matter

Key educational and scientific benefits
From classrooms to research labs, 3D plant cell models provide a tangible way to explore cell anatomy. I’ve seen firsthand how interactive models help students grasp complex structures like the nucleus, chloroplasts, and vacuole. These models also support researchers in visualizing data or communicating findings to broader audiences.
How labeled models enhance understanding
Adding clear labels transforms a basic model into a powerful learning tool. In my work, labeled 3D cells clarify relationships between organelles and make abstract concepts concrete. This is especially effective in interactive or XR environments, where users can explore the cell from all angles.
My Step-by-Step Workflow for Building a Plant Cell Model
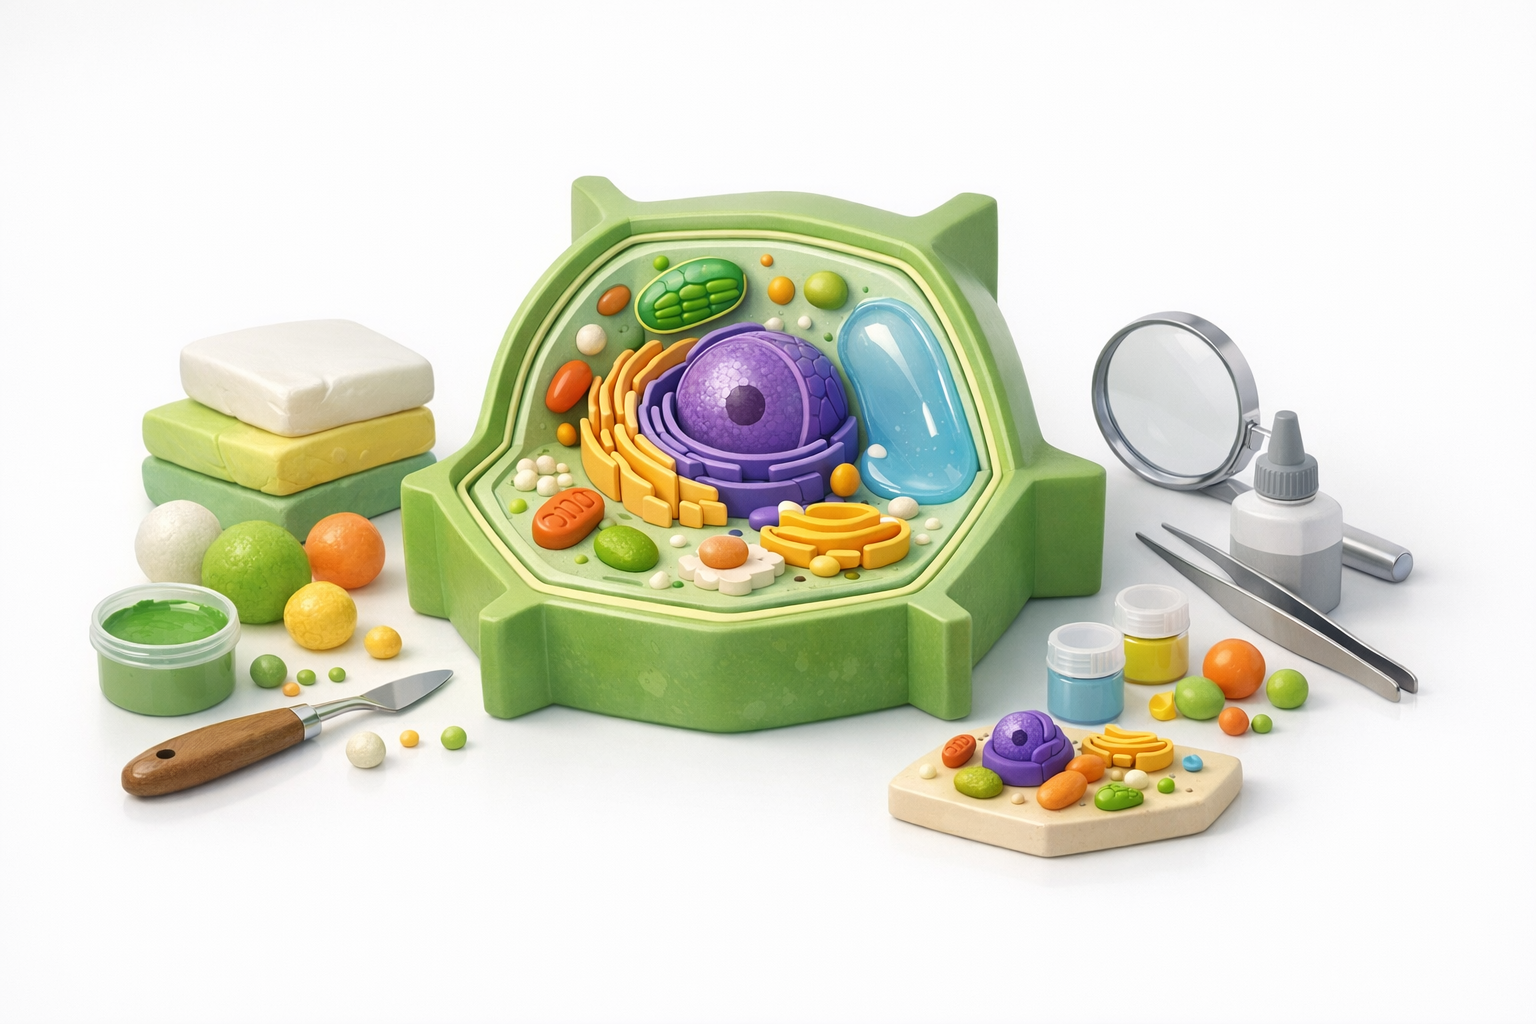
Gathering references and planning the structure
I always start with a solid set of references—textbook diagrams, microscopy images, and scientific illustrations. This helps me map out the key organelles and their spatial relationships. My checklist:
- Collect at least three reference images for accuracy.
- Identify essential organelles to include (nucleus, mitochondria, etc.).
- Sketch a rough layout or use a digital diagram as a guide.
Using AI-powered tools for rapid model generation
With references in hand, I turn to AI-powered 3D creation tools like Tripo AI. These platforms can generate a detailed plant cell mesh from a text prompt or image, saving hours of manual modeling. My typical steps:
- Input a clear text description or upload a reference image.
- Review the auto-generated base model for completeness.
- Make quick edits to adjust proportions or add missing organelles.
Tip: Always double-check the model for scientific accuracy before moving on.
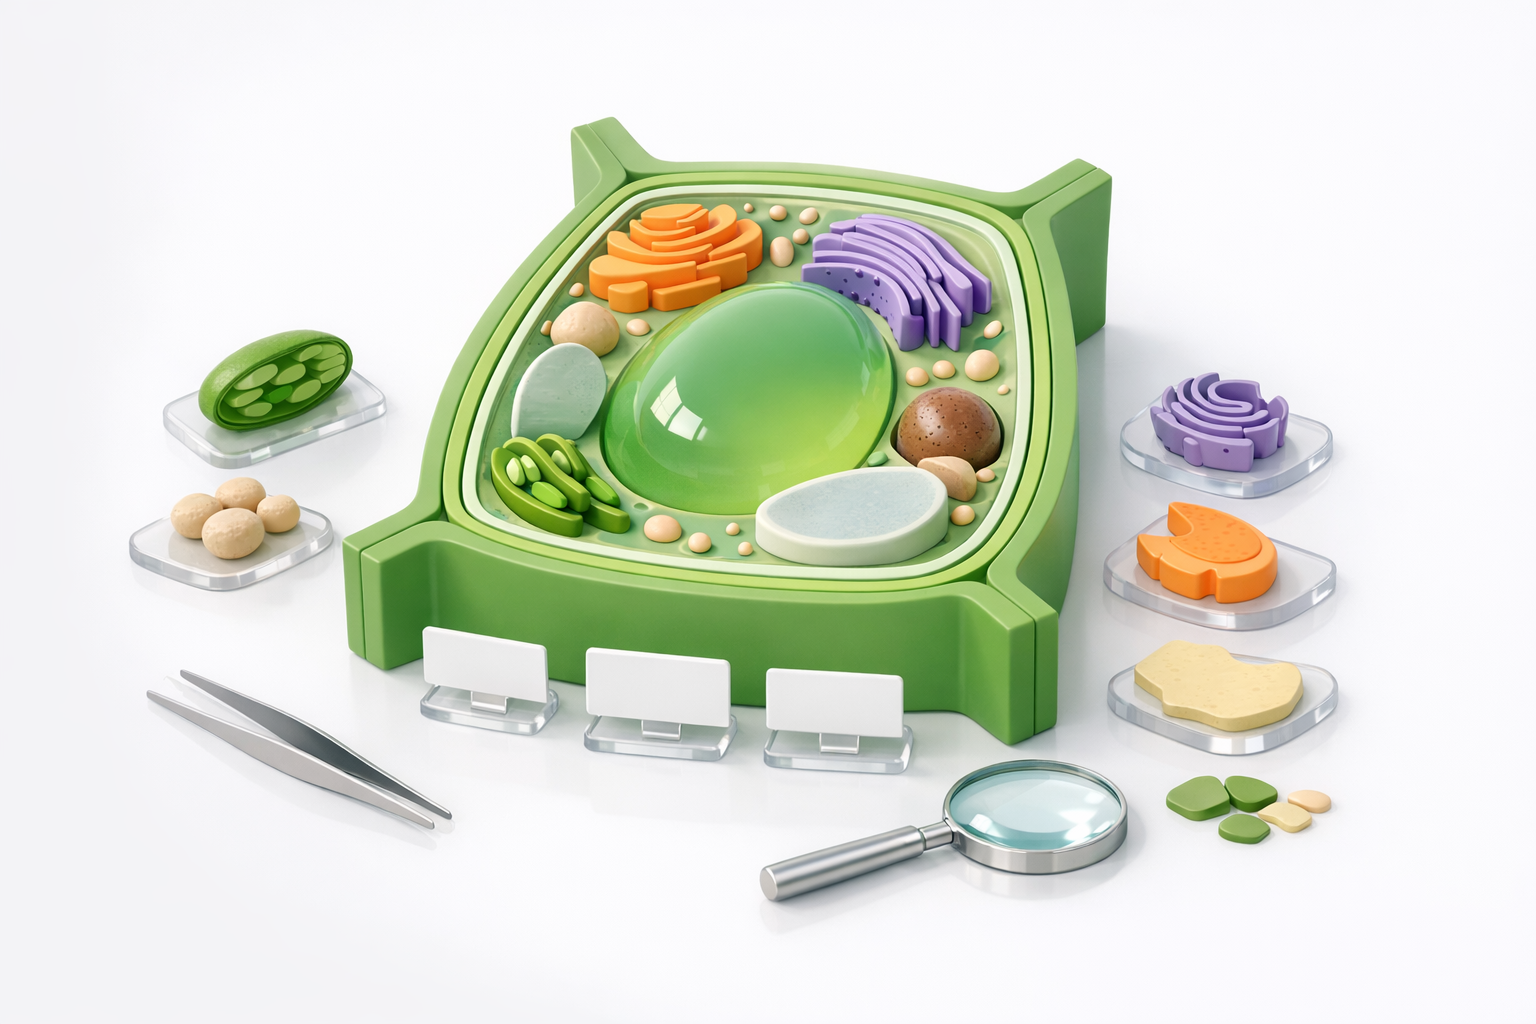
Labeling and Segmentation: Best Practices
Intelligent segmentation for organelle accuracy
Accurate segmentation ensures each organelle is a distinct, editable part. I rely on the tool’s intelligent segmentation features, but I always:
- Manually review and correct any mis-segmented areas.
- Name each segment clearly (e.g., “Chloroplast,” “Cell Wall”).
- Group related structures for easier labeling later.
Pitfall: Overlapping or merged segments can make labeling confusing—always check segmentation before proceeding.
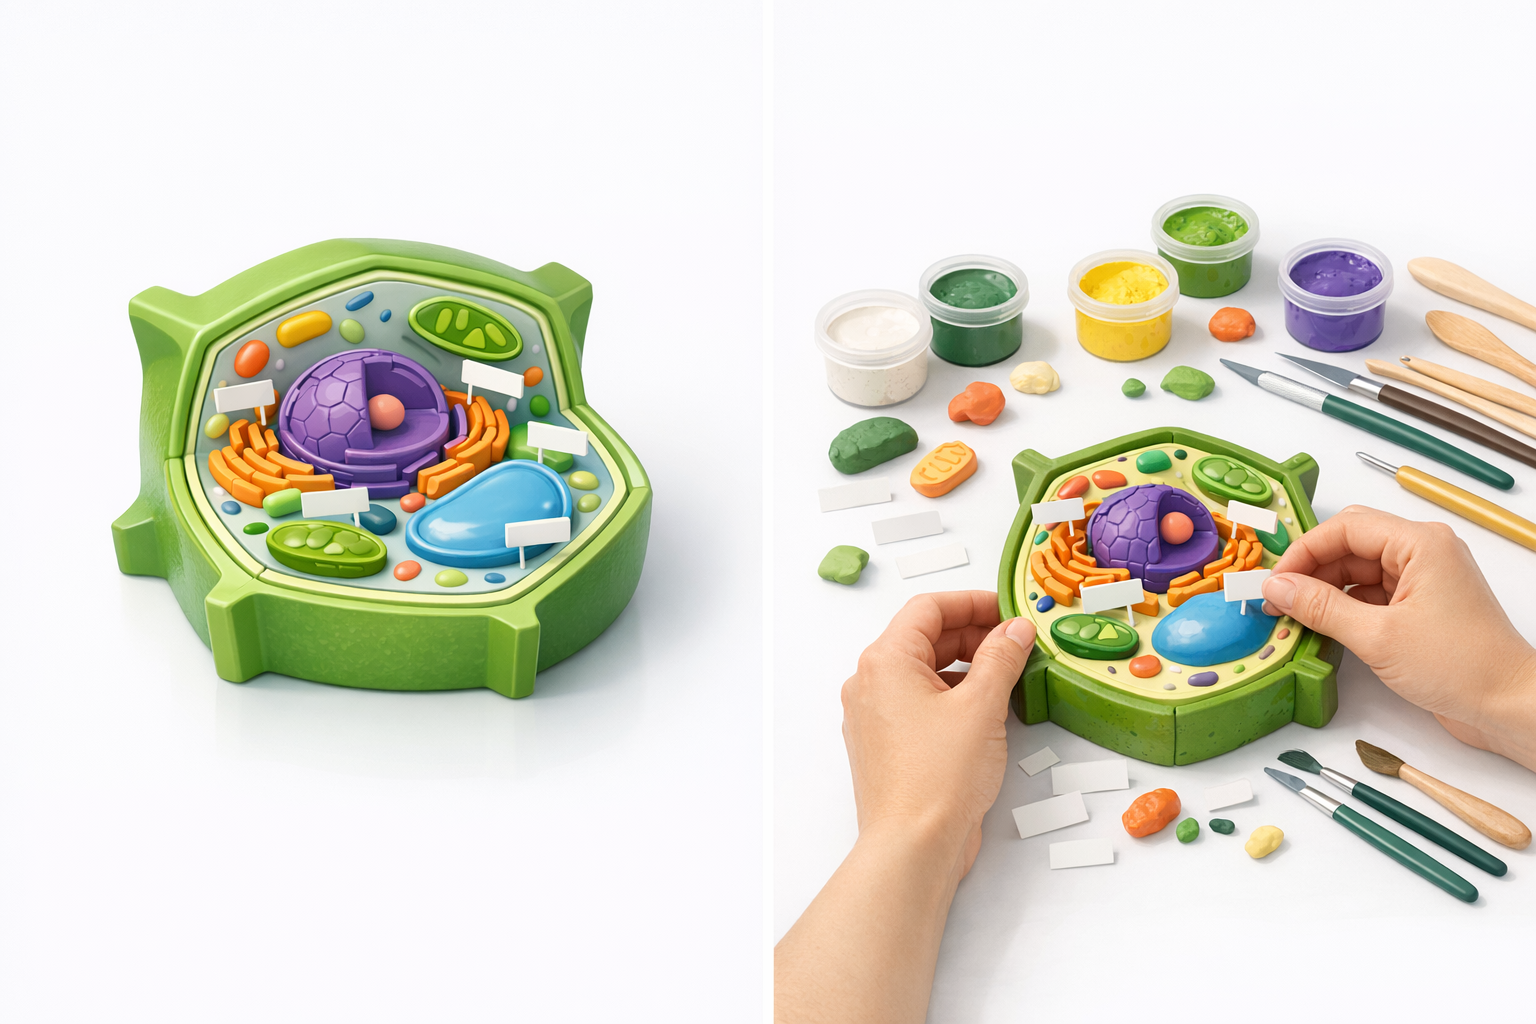
Adding clear, readable labels in 3D space
Labels must be visible and non-intrusive. I use the following approach:
- Place labels just above or beside each organelle, avoiding overlap.
- Use a consistent font and size for readability.
- Consider adding leader lines for clarity in dense regions.
Checklist:
- Test label visibility from multiple angles.
- Use contrasting colors for labels and background.
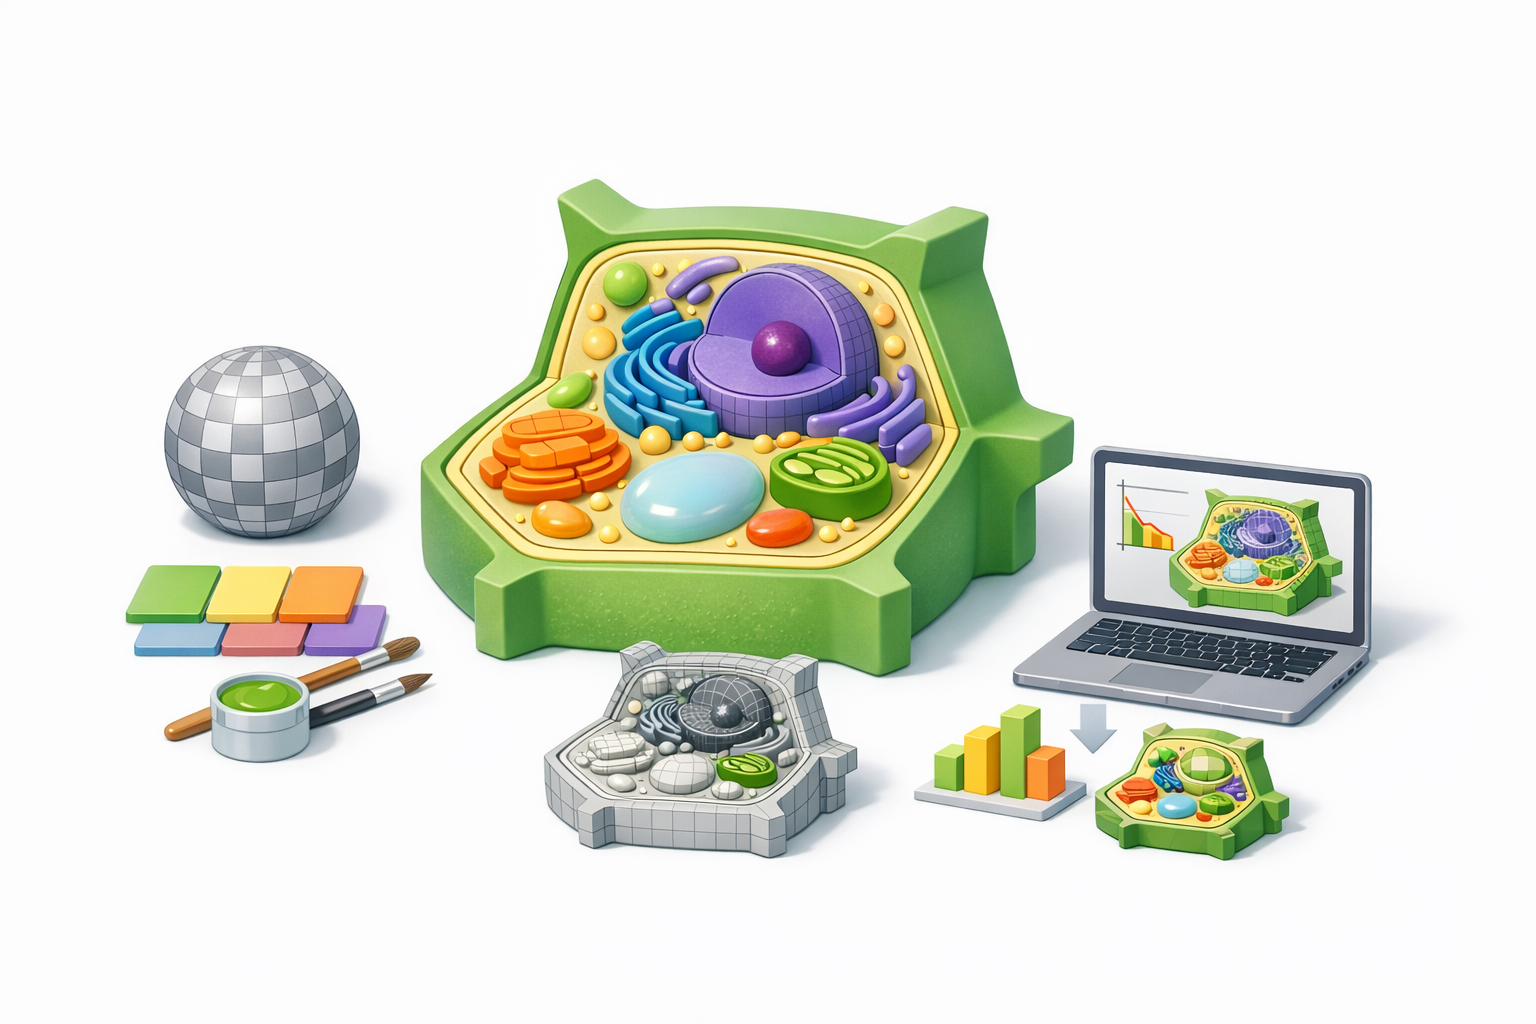
Texturing, Retopology, and Optimization Tips

Applying realistic textures to cell components
Textures bring the model to life. I typically:
- Assign unique materials to each organelle (e.g., green for chloroplasts).
- Use subtle gradients or bump maps for realism.
- Reference real microscopy images for color accuracy.
Tip: Avoid overly glossy or cartoonish textures for educational models.
Ensuring clean geometry for educational use
Clean topology is crucial for performance and clarity. My process:
- Use built-in retopology tools to simplify the mesh while retaining detail.
- Remove unnecessary polygons and check for non-manifold edges.
- Test the model in a lightweight viewer to ensure smooth interaction.
Pitfall: Dense meshes can slow down presentations or XR experiences—optimize early.
Exporting, Sharing, and Integrating Your Model
Export formats and compatibility advice
I recommend exporting in widely supported formats like GLB, FBX, or OBJ. My export checklist:
- Verify that labels and textures are embedded or included.
- Test the exported file in your target application (e.g., PowerPoint, Unity, WebXR).
- Keep a backup of the project file for future edits.
Integrating models into presentations or XR environments
For classroom or XR use, I:
- Import the model into interactive viewers or presentation software.
- Check for label readability and model performance.
- Adjust lighting and camera angles to highlight key features.
Tip: For web or VR, optimize textures and geometry to ensure smooth real-time rendering.
Comparing AI-Powered and Traditional 3D Workflows
Speed and quality differences
AI-powered workflows, in my hands-on experience, are dramatically faster—often producing a usable base model in minutes. Manual methods offer more granular control, but require advanced skills and much more time. For most educational and communication needs, AI-generated models meet quality standards with minor tweaks.
When to use alternative methods
I opt for traditional modeling when:
- The project demands ultra-high detail or custom animation.
- Scientific accuracy requires manual sculpting.
- The model will be used in high-end visual effects or specialized simulations.
For most classroom, XR, or general visualization projects, AI-powered tools strike the best balance of speed, accuracy, and usability.
In summary: With the right workflow and tools, creating a labeled 3D plant cell model is now accessible, fast, and effective for education and science communication. Leveraging AI-powered solutions like Tripo AI, I can focus on clarity, accuracy, and visual impact—without getting bogged down in technical hurdles.
