Creating Pikmin 4 3D Models: Expert Workflow & Best Practices
Creating high-quality Pikmin 4 3D models demands a blend of strong foundational skills and smart tool choices. In this guide, I’ll share my hands-on workflow for modeling, texturing, rigging, and preparing Pikmin characters for real-time engines, with an emphasis on integrating AI-powered tools for speed and consistency. Whether you’re a game artist, hobbyist, or developer, you’ll find actionable steps and best practices to streamline your asset creation process—without sacrificing style or accuracy.
Key takeaways:
- Gather and analyze references before modeling for accuracy and style.
- Block out base meshes, then refine details for clean topology and proportions.
- Use UV mapping and stylized texturing to match Pikmin 4’s look.
- Prepare models with efficient rigging and animation-ready geometry.
- Leverage AI tools (like Tripo) to accelerate and enhance your workflow.
- Optimize assets for game engines through retopology and export settings.
Executive Summary and Key Takeaways
What to Expect from This Guide
This guide walks through my end-to-end process for creating Pikmin 4-inspired 3D models, from reference gathering to game engine export. I’ll cover both traditional and AI-augmented workflows, offering practical insights and actionable steps for each phase.
Summary of Essential Steps
- Collect and analyze references to define proportions and style.
- Block out the main forms, then incrementally add detail.
- UV unwrap and paint textures to achieve a stylized finish.
- Rig and prep models for animation, ensuring clean deformation.
- Use AI tools for segmentation, retopology, and rapid iteration.
- Optimize models for real-time performance and seamless engine integration.
Understanding Pikmin 4 3D Model Requirements

Reference Gathering and Analysis
Before I start modeling, I collect a wide range of references: official artwork, in-game screenshots, and fan models. I pay close attention to proportions, color palettes, and signature features unique to Pikmin 4. This helps me avoid guesswork and ensures fidelity to the source material.
Checklist:
- Gather multiple angles of each character.
- Note changes between Pikmin 4 and earlier designs.
- Identify key shapes, colors, and silhouette features.
Key Features and Style Considerations
Pikmin 4 models are stylized yet readable, with exaggerated proportions and simple, expressive textures. I focus on capturing the playful, approachable look—soft forms, big eyes, and clean lines. Over-detailing is a common pitfall; I aim for clarity and charm over realism.
Tips:
- Emphasize silhouette and facial expression.
- Limit surface noise—keep textures bold and simple.
- Prioritize features that read well from a distance.
My Workflow for Modeling Pikmin 4 Characters
Blocking Out the Base Mesh
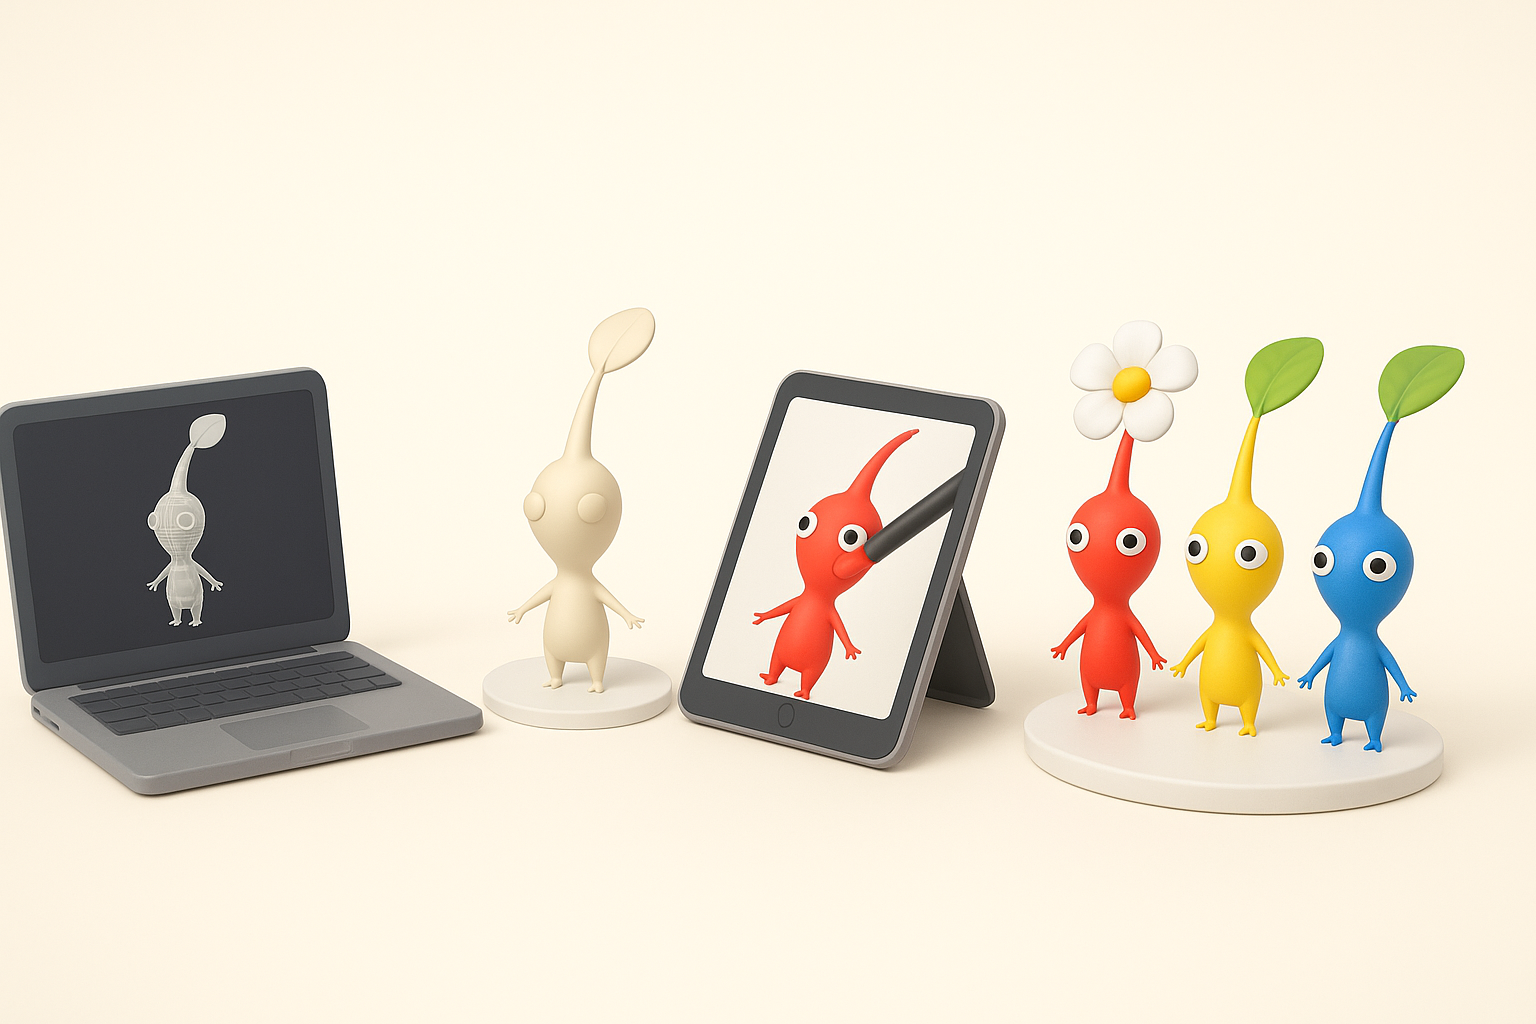
I start with basic shapes—spheres, cylinders, and cubes—to quickly establish the character’s overall form. In this phase, speed and proportion matter more than detail. Using Tripo AI, I can generate a rough base mesh from a sketch or text prompt, which I then refine manually.
Steps:
- Block out head, body, limbs with primitives.
- Adjust scale and position for correct proportions.
- Use AI-assisted tools to accelerate base mesh creation if needed.
Refining Details and Proportions
With the base mesh established, I incrementally add secondary forms: facial features, fingers, and accessories. I constantly compare my model to references, making proportional tweaks as I go. Clean topology is essential for later rigging and animation.
Pitfalls:
- Overcomplicating geometry early on.
- Neglecting edge flow around joints and facial features.
Texturing and Materials: Bringing Pikmin to Life
UV Mapping and Texture Painting
After finalizing the model, I unwrap UVs with minimal seams, prioritizing areas that will be visible. I paint textures in a stylized fashion—using painterly strokes, flat colors, and subtle gradients. AI-powered tools can help automate UV unwrapping and suggest texture maps, but I always fine-tune by hand.
Tips:
- Keep UV islands logical and easy to paint.
- Use 2K textures for main characters; 1K for background assets.
- Test textures under engine lighting early.
Material Setup for Stylized Looks
For Pikmin 4, materials are simple: diffuse color dominates, with minimal roughness and subtle specular highlights. I set up shaders that enhance the hand-painted feel, sometimes using a toon ramp or light color tinting.
Checklist:
- Use basic PBR materials with stylized tweaks.
- Avoid heavy normal or metallic maps.
- Preview materials in the target engine for accuracy.
Rigging and Animation Preparation
Setting Up a Clean Rig
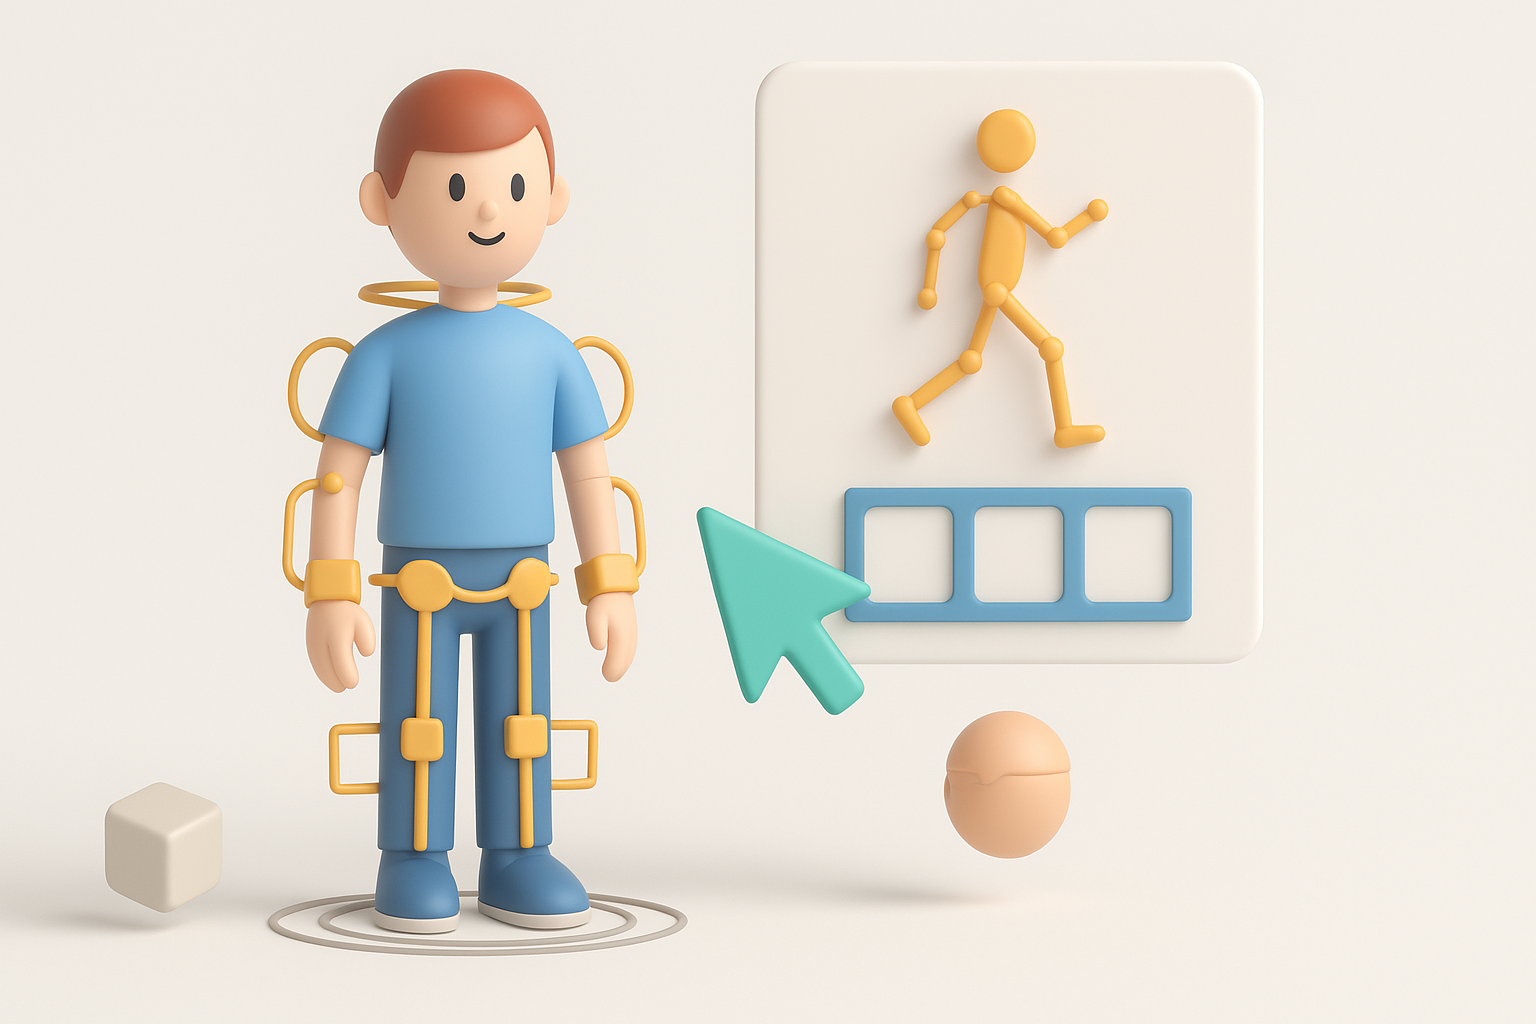
I create a straightforward skeleton, matching the character’s anatomy. Simplicity is key—fewer bones mean easier animation and less risk of deformation errors. I weight paint carefully, especially around joints and expressive features.
Steps:
- Place bones for head, body, limbs, and key accessories.
- Ensure joint placement matches natural bending points.
- Test with simple poses to spot weight issues early.
Animation-Ready Model Tips
I always check for non-manifold geometry, flipped normals, and overlapping verts. Edge loops around joints are essential for smooth bending. If using AI tools, I inspect auto-generated rigs and weights, making manual corrections as needed.
Pitfalls:
- Forgetting to zero transforms before export.
- Ignoring deformation tests until late in the process.
Using AI-Powered Tools for Efficient 3D Creation
How I Integrate AI into My Workflow
AI-powered platforms like Tripo have become a staple in my pipeline for rapid prototyping. I often generate base meshes or segment complex models, then finish details manually. For texturing and retopology, AI suggestions can save hours, especially on tight deadlines.
Typical uses:
- Generate base mesh from text/image/sketch.
- Auto-segment model parts for easier detailing.
- Suggest UV layouts and texture bases.
Best Practices for Combining AI and Manual Techniques
AI accelerates repetitive or technical steps, but I always review outputs for style and accuracy. I treat AI as a smart assistant—great for drafts, but final polish is always manual. This hybrid approach keeps quality high and production fast.
Tips:
- Use AI for blocking and technical tasks, manual for creative.
- Always review and clean up AI-generated geometry.
- Lean on AI for batch tasks (retopology, UVs) to save time.
Exporting, Optimization, and Game Engine Integration
Retopology and Polycount Management
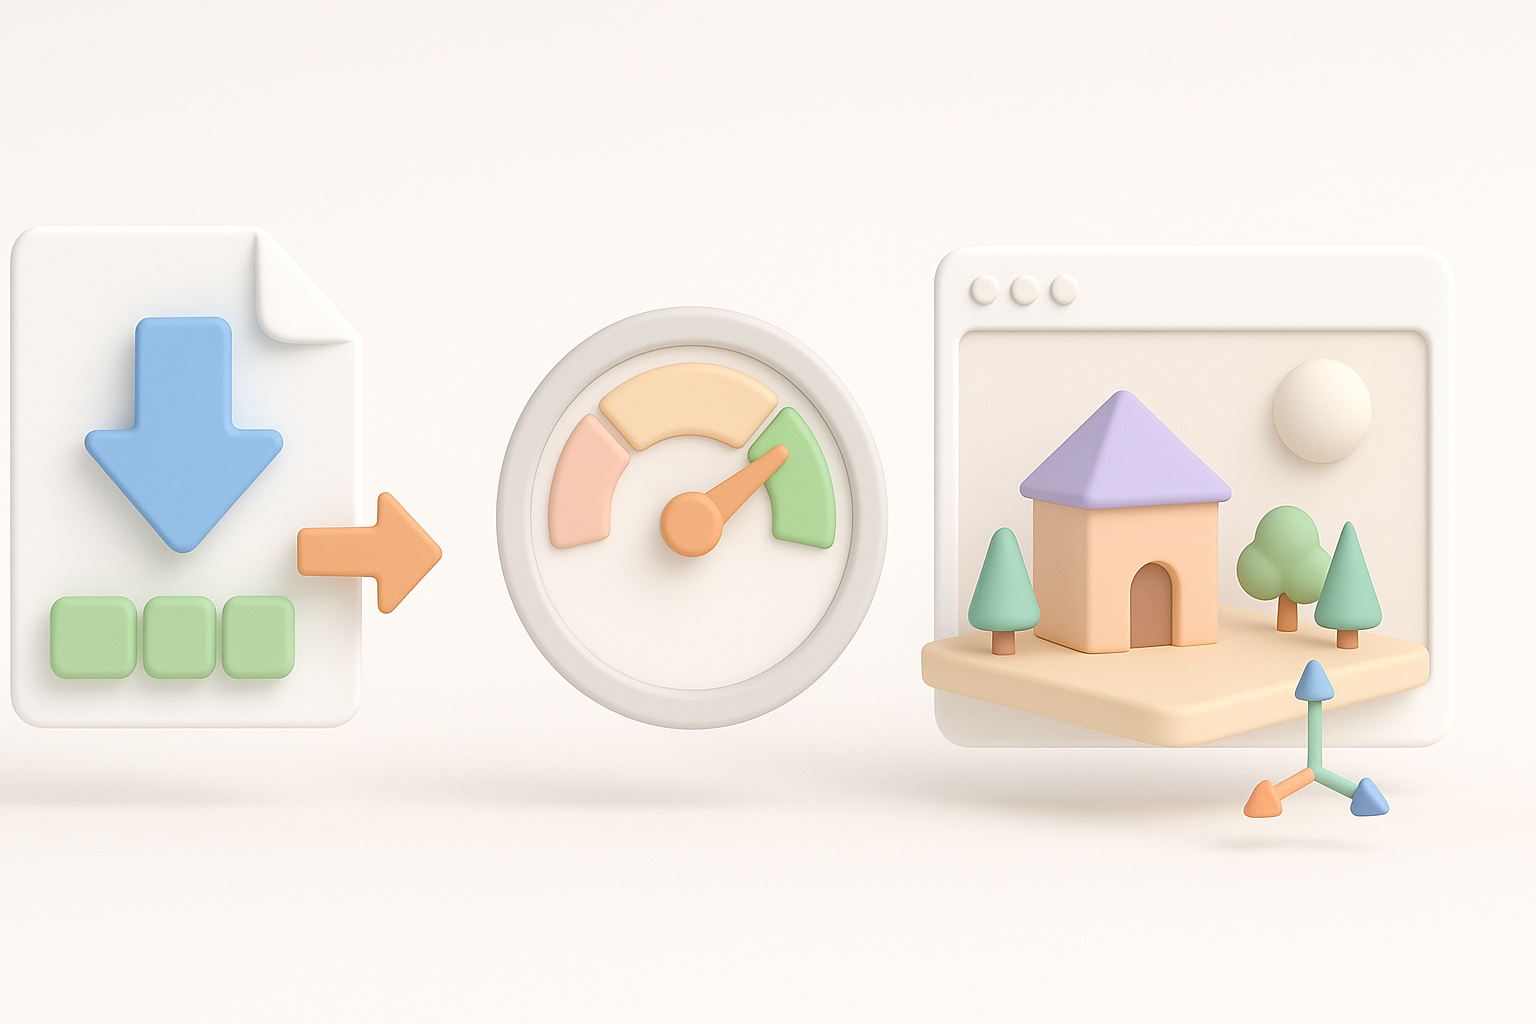
Game-ready assets need clean, efficient topology. I retopologize high-res sculpts to manageable polycounts, aiming for 5–10k tris for main characters. AI tools can automate this, but I always inspect edge flow and density.
Checklist:
- Retopologize for animation-friendly edge loops.
- Remove stray verts and faces.
- Test polycount in-engine for performance targets.
Export Settings for Game Engines
Exporting is straightforward if the model is clean. I use FBX or glTF formats, ensuring scale and orientation match the engine’s requirements. Texture maps are packed efficiently, and I double-check rig and animation compatibility.
Steps:
- Freeze transforms and apply scale.
- Export with embedded textures if possible.
- Test import in the engine before final delivery.
Comparing Traditional and AI-Enhanced 3D Modeling Approaches
Pros and Cons from My Experience
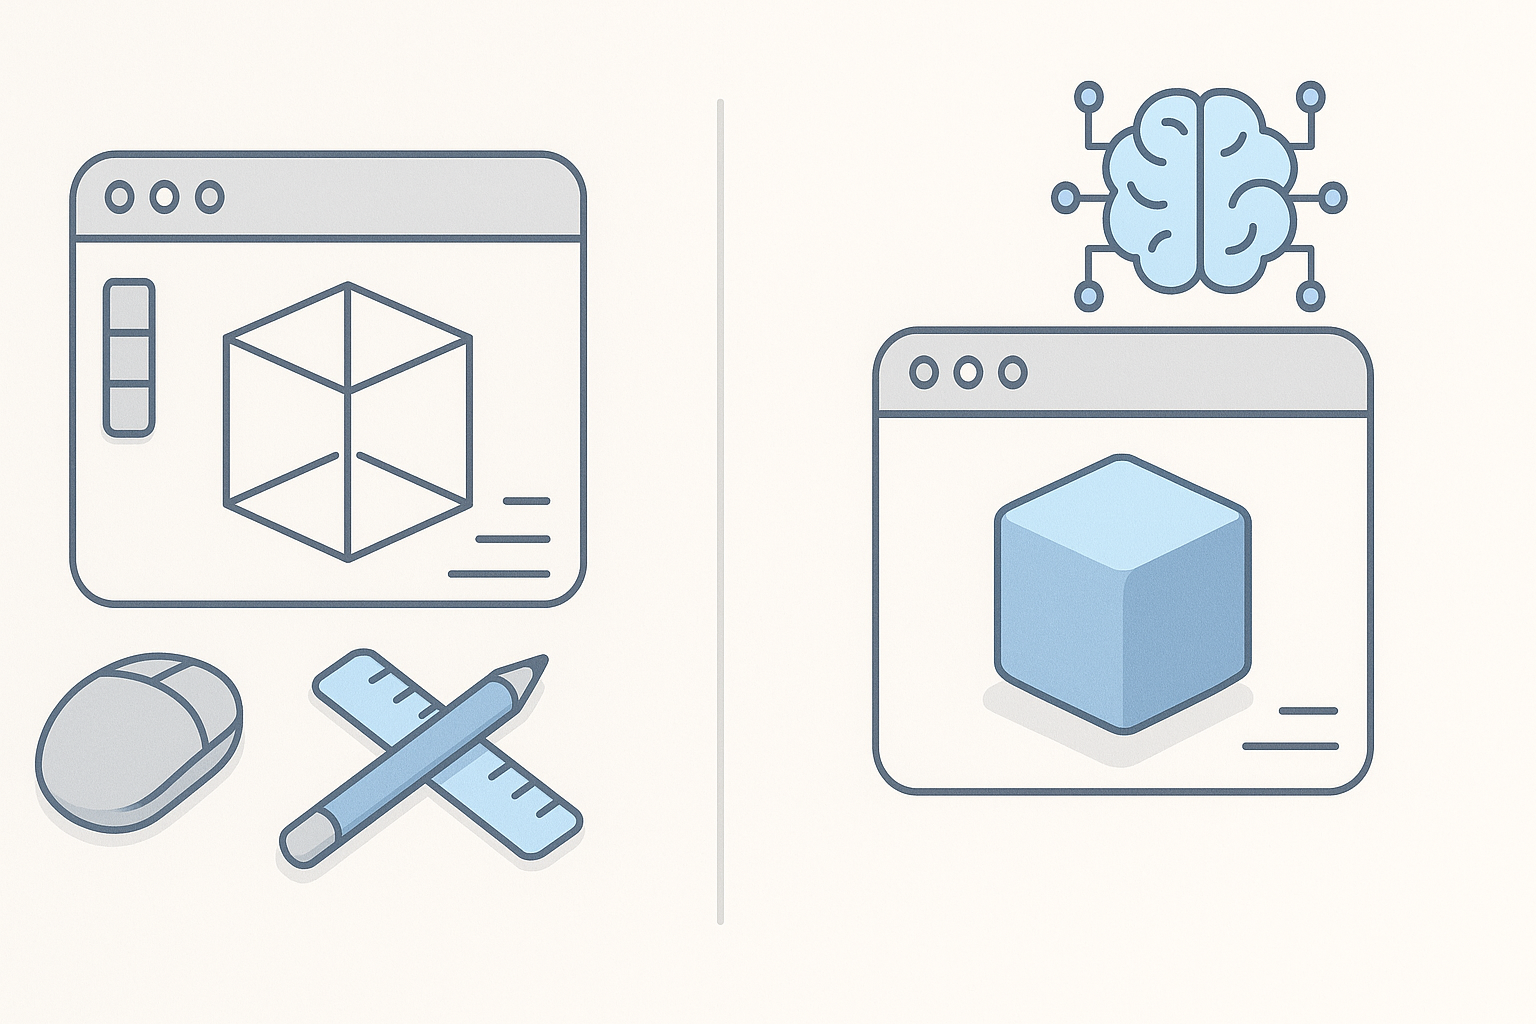
Traditional:
- Full creative control, but time-intensive.
- Steep learning curve for technical steps (retopology, UVs).
AI-Enhanced:
- Rapid iteration and prototyping.
- Technical barriers reduced, but requires manual review.
- Occasional style mismatches or geometry artifacts.
Choosing the Right Method for Your Project
For stylized, character-driven assets like Pikmin 4, I recommend a hybrid approach: leverage AI for speed, but rely on manual polish for style and accuracy. For tight deadlines or large batches, AI tools shine. For hero assets or unique designs, traditional methods may still be best.
Decision factors:
- Project timeline and asset volume.
- Required fidelity and style consistency.
- Team skillset and available tools.
If you’re aiming to create Pikmin 4-style 3D models efficiently, combining foundational skills with AI-powered tools provides the best balance of speed and quality. This workflow has helped me deliver production-ready assets faster—without sacrificing the playful, iconic look that defines Pikmin.


