Creating and Optimizing People 3D Models: Expert Workflow
As someone who’s worked extensively with 3D character creation for games, film, and XR, I’ve learned that a streamlined workflow is essential for delivering high-quality people 3D models on tight timelines. In this article, I’ll walk through my end-to-end process: from generating models using AI-powered tools like Tripo, to optimizing geometry, texturing, rigging, and integration. Whether you’re a solo artist or part of a larger team, you’ll find actionable insights and tips to get lifelike, production-ready human models into your projects fast.
Key takeaways
- Choose the right input method (text, image, or sketch) for your needs and reference quality.
- Use AI-powered segmentation and retopology to save hours and improve mesh quality.
- Prioritize clean topology and realistic textures for animation-ready results.
- Rigging and animation workflows are smoother with well-structured models.
- Export using industry-standard formats and double-check integration settings to avoid pipeline snags.
Understanding People 3D Models: Use Cases and Requirements
Where People 3D Models Are Used
People 3D models are ubiquitous across industries. I regularly see them in:
- Games: NPCs, avatars, and crowd characters.
- Film/TV: Digital doubles, background extras, and stunt replacements.
- XR (AR/VR): Immersive experiences, training sims, and virtual events.
- Design/Visualization: Fashion, architecture, and product demos.
Each use case has different fidelity, polycount, and interactivity requirements. For example, real-time XR needs lightweight rigs, while VFX demands high detail.
Key Qualities of Effective Human Models
From experience, effective people 3D models share these traits:
- Anatomical accuracy: Proportions and features must look natural.
- Clean topology: Edge flow supports deformation and animation.
- Efficient UVs: Good for texturing and material application.
- Realistic textures: Skin, hair, and clothing need believable detail.
- Rigging compatibility: The mesh must support joint placement and weight painting.
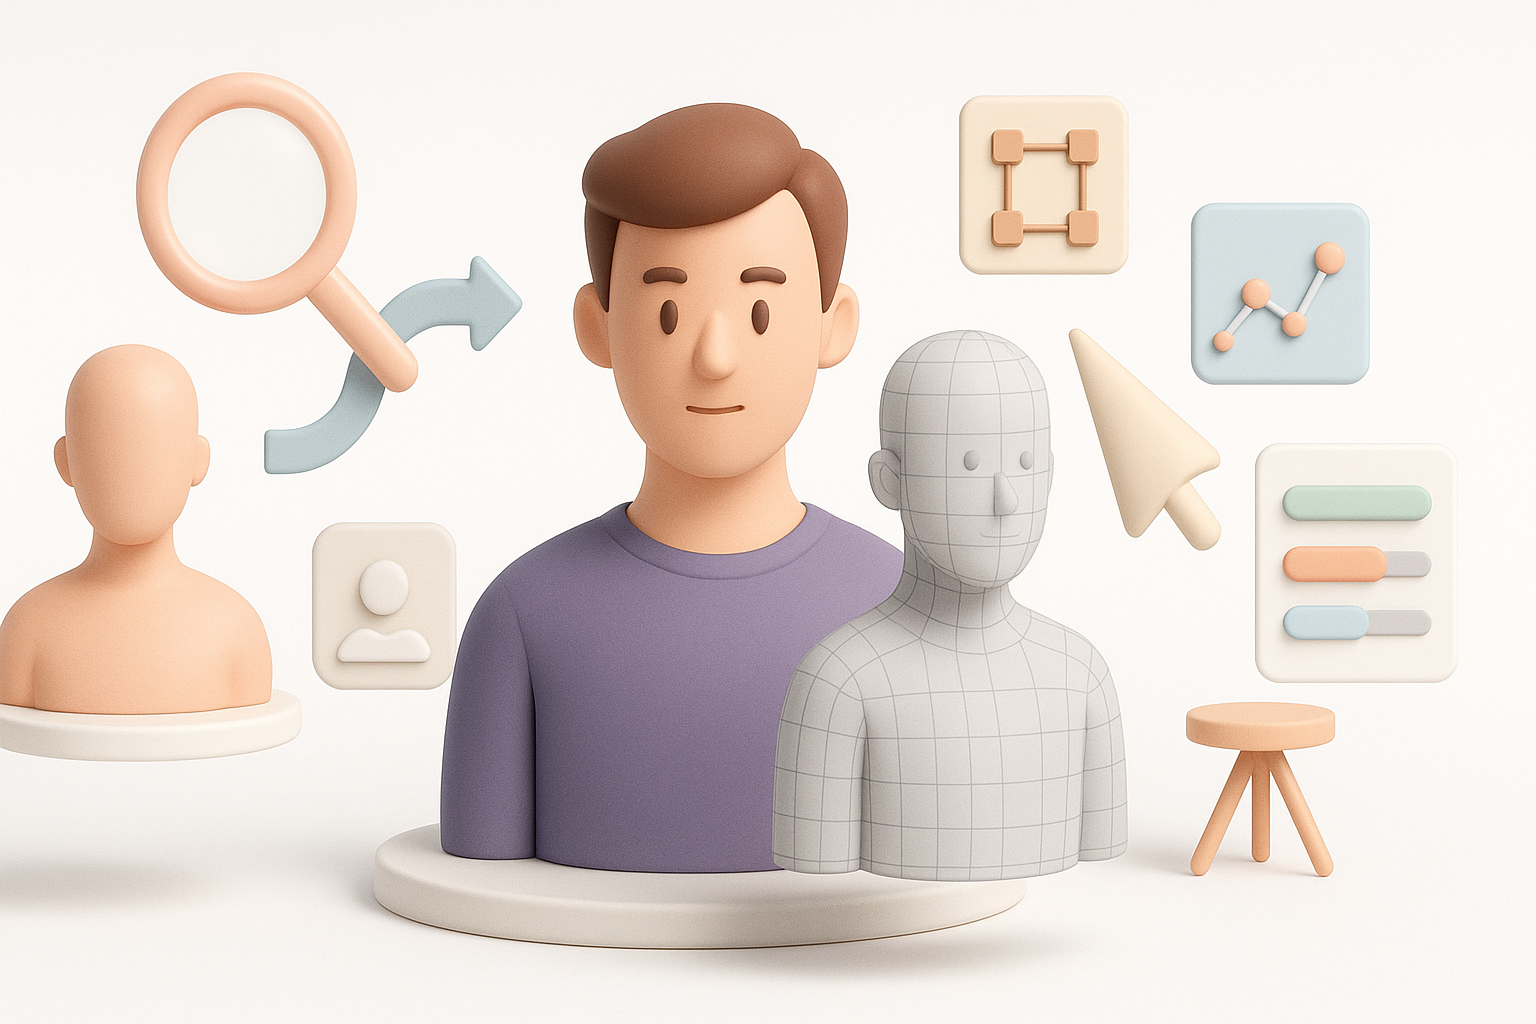
My Workflow: Generating People 3D Models from Text, Images, or Sketches

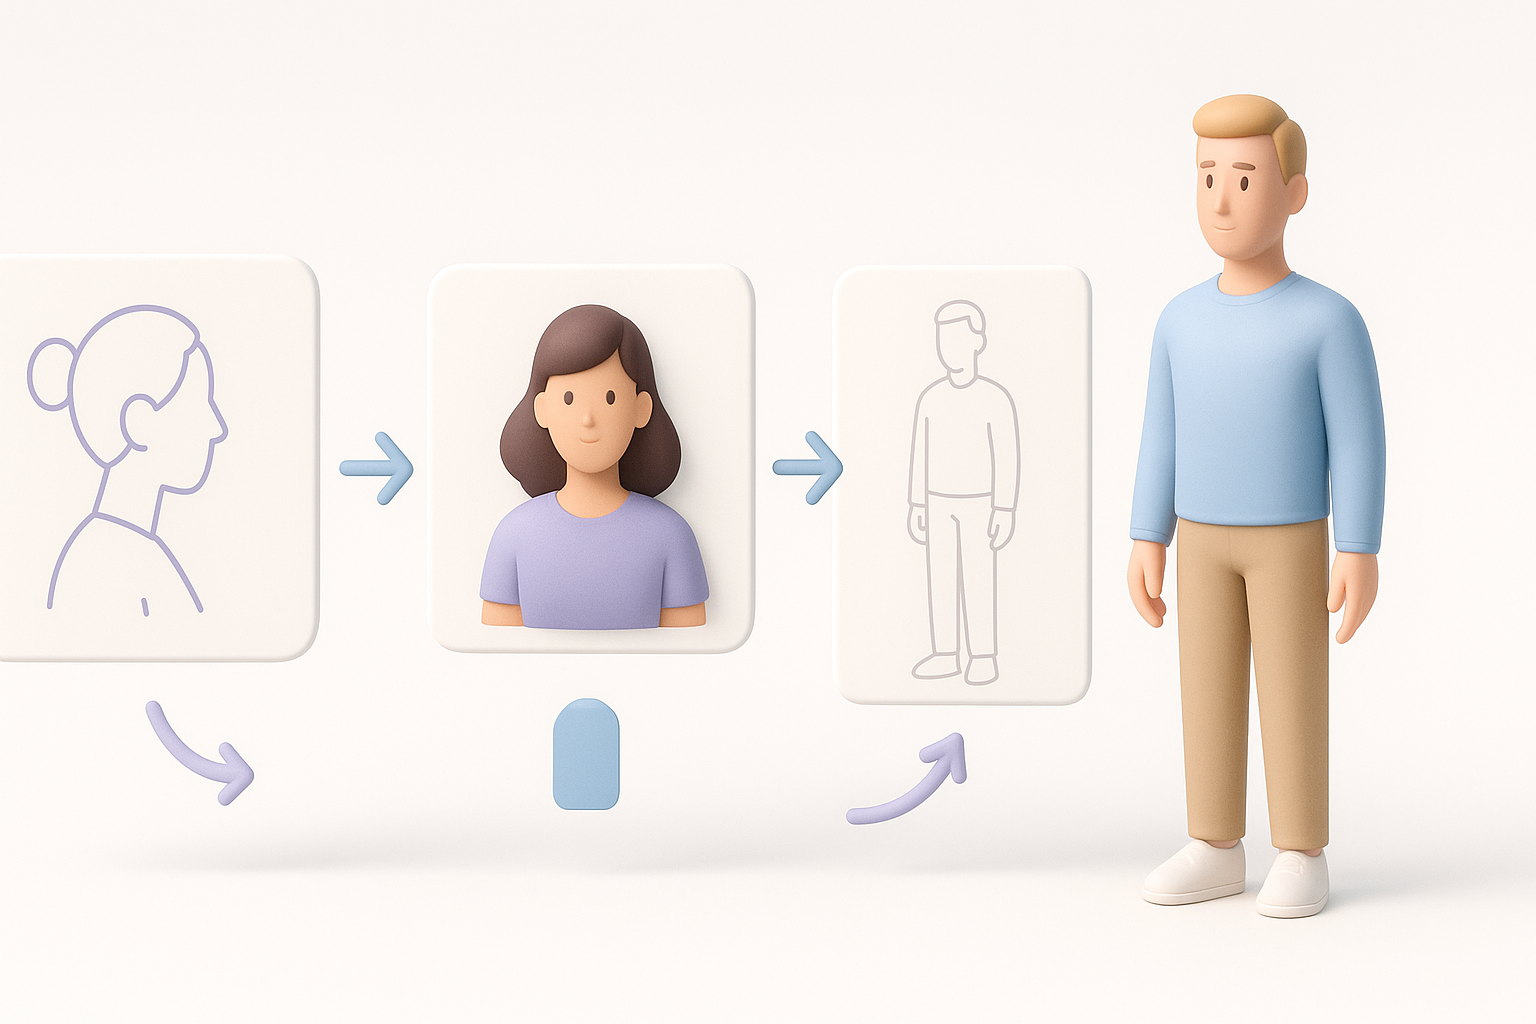
Choosing the Right Input Method
I pick my input method based on the project’s needs:
- Text prompts: Fastest for prototyping or when references are vague.
- Images: Best for likeness or matching a specific person.
- Sketches: Useful for stylized or concept-driven characters.
With Tripo, I can quickly generate a base mesh from any of these sources, which speeds up iteration. For likeness, I always provide a high-res, front-facing photo for the best result.
Tips for Accurate and Lifelike Results
Getting realism starts at input:
- Use clear, well-lit reference images.
- Specify age, gender, ethnicity, and clothing in text prompts.
- For sketches, keep proportions and key features clear.
- Review the AI output critically—minor tweaks are often needed.
Checklist:
- Reference quality is high
- Prompt details are specific
- Output matches intended style
Best Practices for Segmentation, Retopology, and Texturing
Streamlining Segmentation and Retopology
I rely on built-in segmentation and retopology tools to clean up the mesh:
- Segmentation: Automatically separates body, clothing, and hair for easier material assignment.
- Retopology: Converts dense or messy geometry into clean, animation-friendly quads.
This saves hours compared to manual retopology. I always check joint areas (shoulders, elbows, knees) for edge flow and fix any pinching or stretching.
Achieving Realistic Textures and Materials
For realism:
- Use high-res texture maps (albedo, normal, roughness).
- Bake ambient occlusion for depth.
- Adjust skin tones and clothing materials to match references.
- Leverage AI-generated textures, but tweak in Photoshop or Substance Painter if needed.
Pitfall: Overly generic or blurry textures kill realism. Spend extra time here.
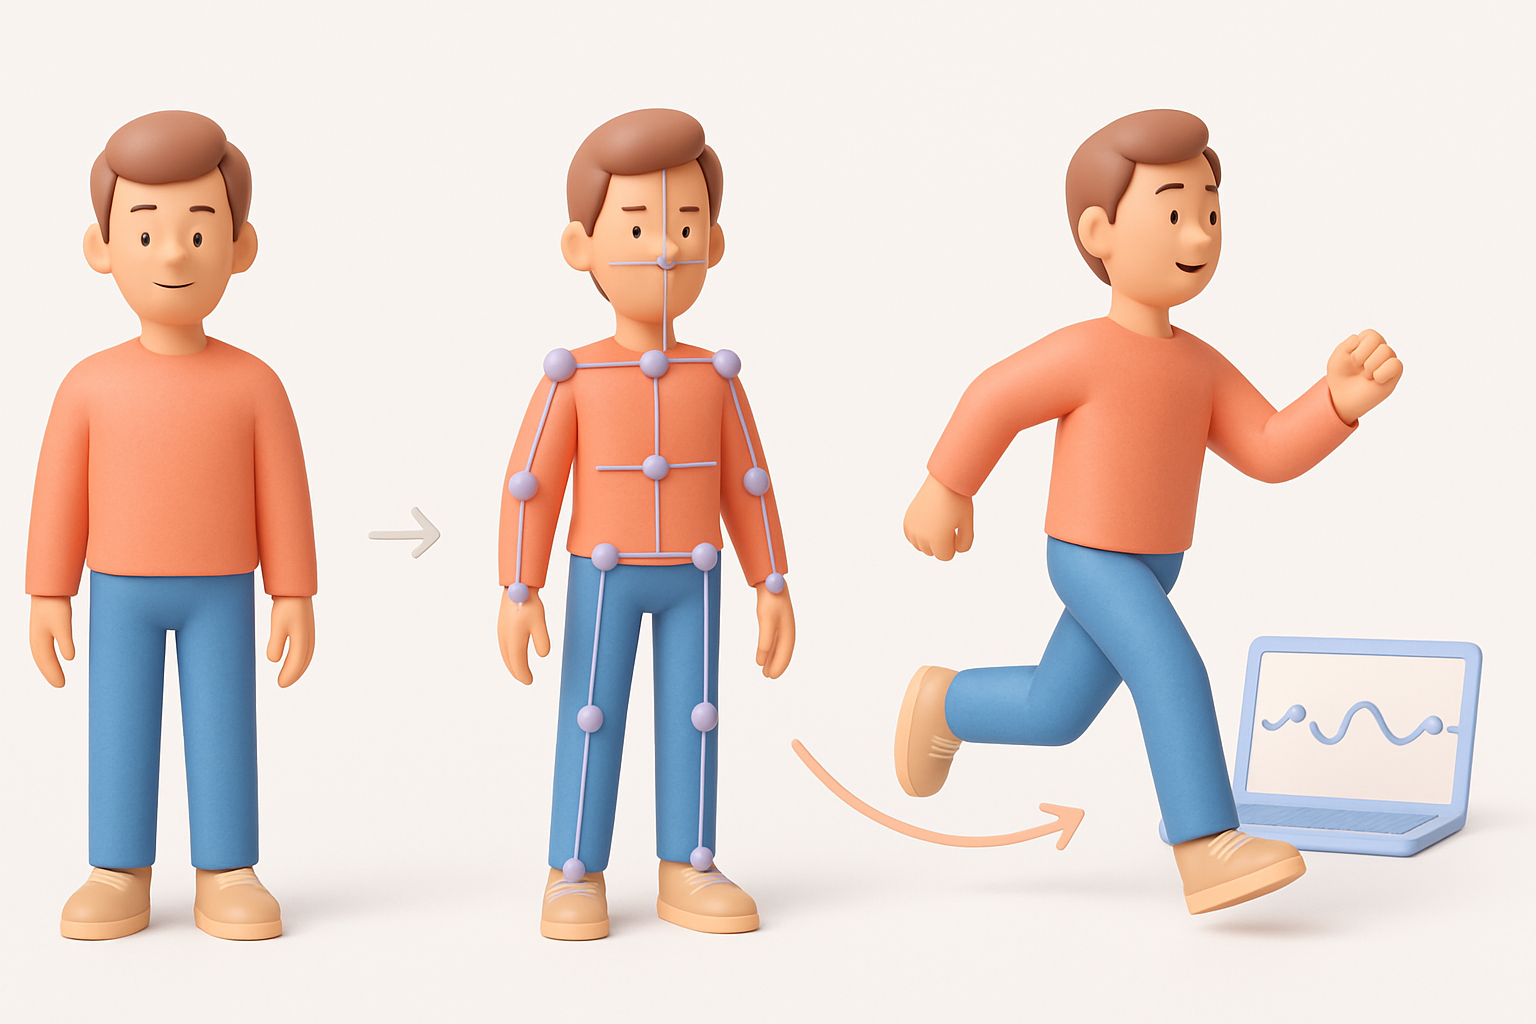
Rigging and Animating Human 3D Models
My Approach to Efficient Rigging
With clean topology, rigging is straightforward. I:
- Use auto-rigging tools for base skeletons, then manually adjust joints.
- Weight-paint critical deformation areas (shoulders, hips, face).
- Test with basic animation cycles (walk, idle) to spot issues early.
Tip: Save rig presets for repeated use across similar models.
Animation Tips for Natural Movement
Natural movement depends on:
- Proper joint placement and realistic weight distribution.
- Using motion capture or reference videos for key poses.
- Layering subtle secondary motions (breathing, blinking).
I always preview animations in the target engine (Unity, Unreal) to catch export/retargeting issues.
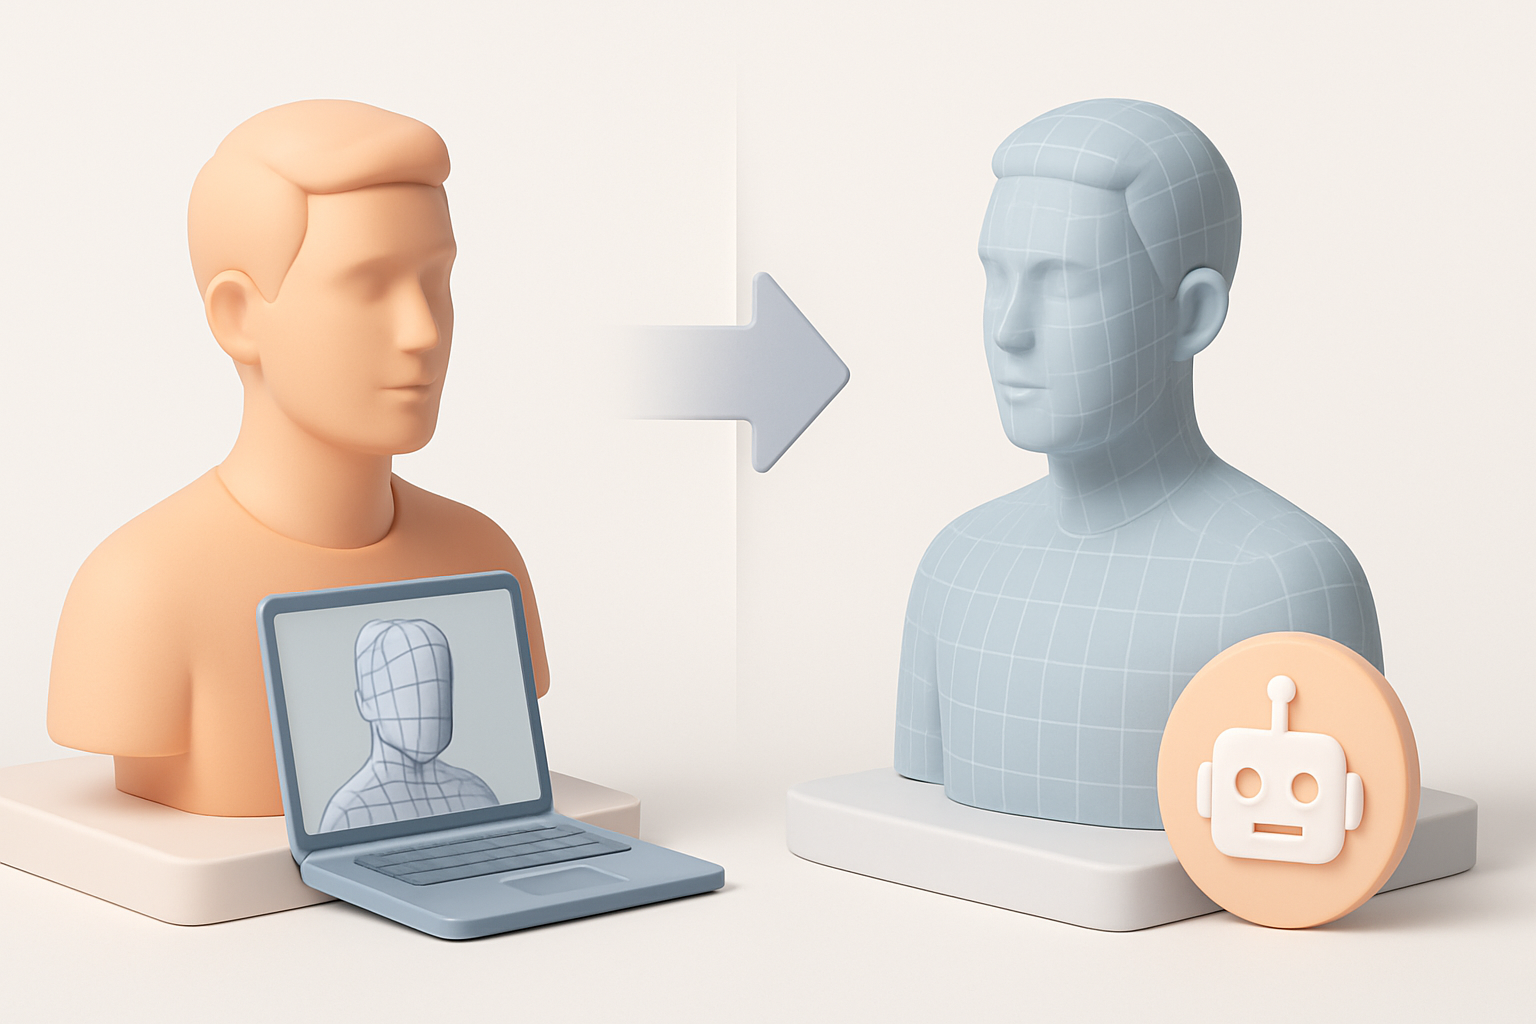
Comparing AI-Powered and Traditional 3D Modeling Methods
Speed and Quality Differences
AI-powered tools like Tripo dramatically reduce initial modeling time—minutes instead of days. Mesh quality is usually sufficient for most real-time and visualization needs, though hyper-realistic VFX still benefits from manual sculpting.
Summary:
- AI tools: Fast, good for iteration, best for mid-to-high fidelity.
- Traditional methods: Maximum control, best for hero assets or custom stylization.
When to Use Each Approach
I use AI generation for:
- Prototyping
- Background or crowd characters
- Tight deadlines
I switch to manual modeling for:
- Main characters with unique features
- Ultra-high detail or stylized projects
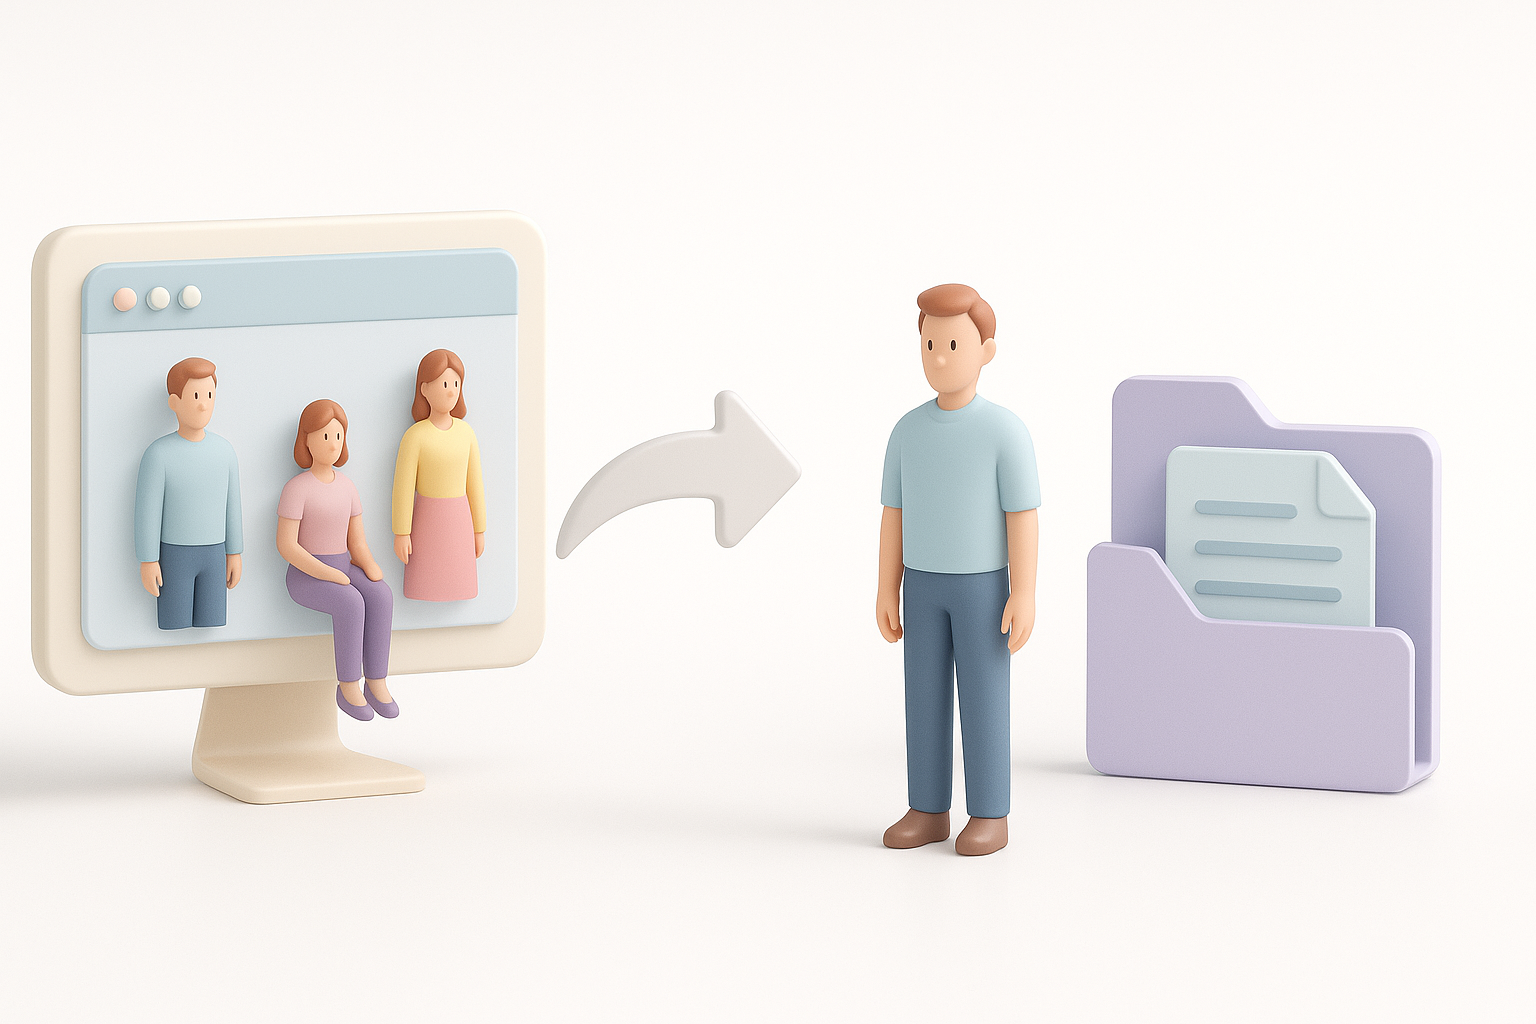
Exporting and Integrating People 3D Models into Projects
Export Settings and Formats I Recommend
I typically export in:
- FBX: Widely supported, preserves rigging and animation.
- GLB/GLTF: Great for web and XR, efficient file size.
- OBJ: For static meshes or when animation isn’t needed.
Settings to double-check:
- Scale and unit consistency
- Texture embedding
- Animation clips included (if needed)
Common Integration Pitfalls and Solutions
Common issues I’ve encountered:
- Skinning errors: Test deformations after import.
- Material mismatches: Re-link textures and adjust shaders in the target engine.
- Scale problems: Always match units between DCC and engine.
Quick fix checklist:
- Test import in the target engine
- Verify all textures and animations work
- Adjust rig/skin if needed
By following this workflow, I consistently deliver people 3D models that are both visually convincing and technically robust—ready for any production pipeline.


