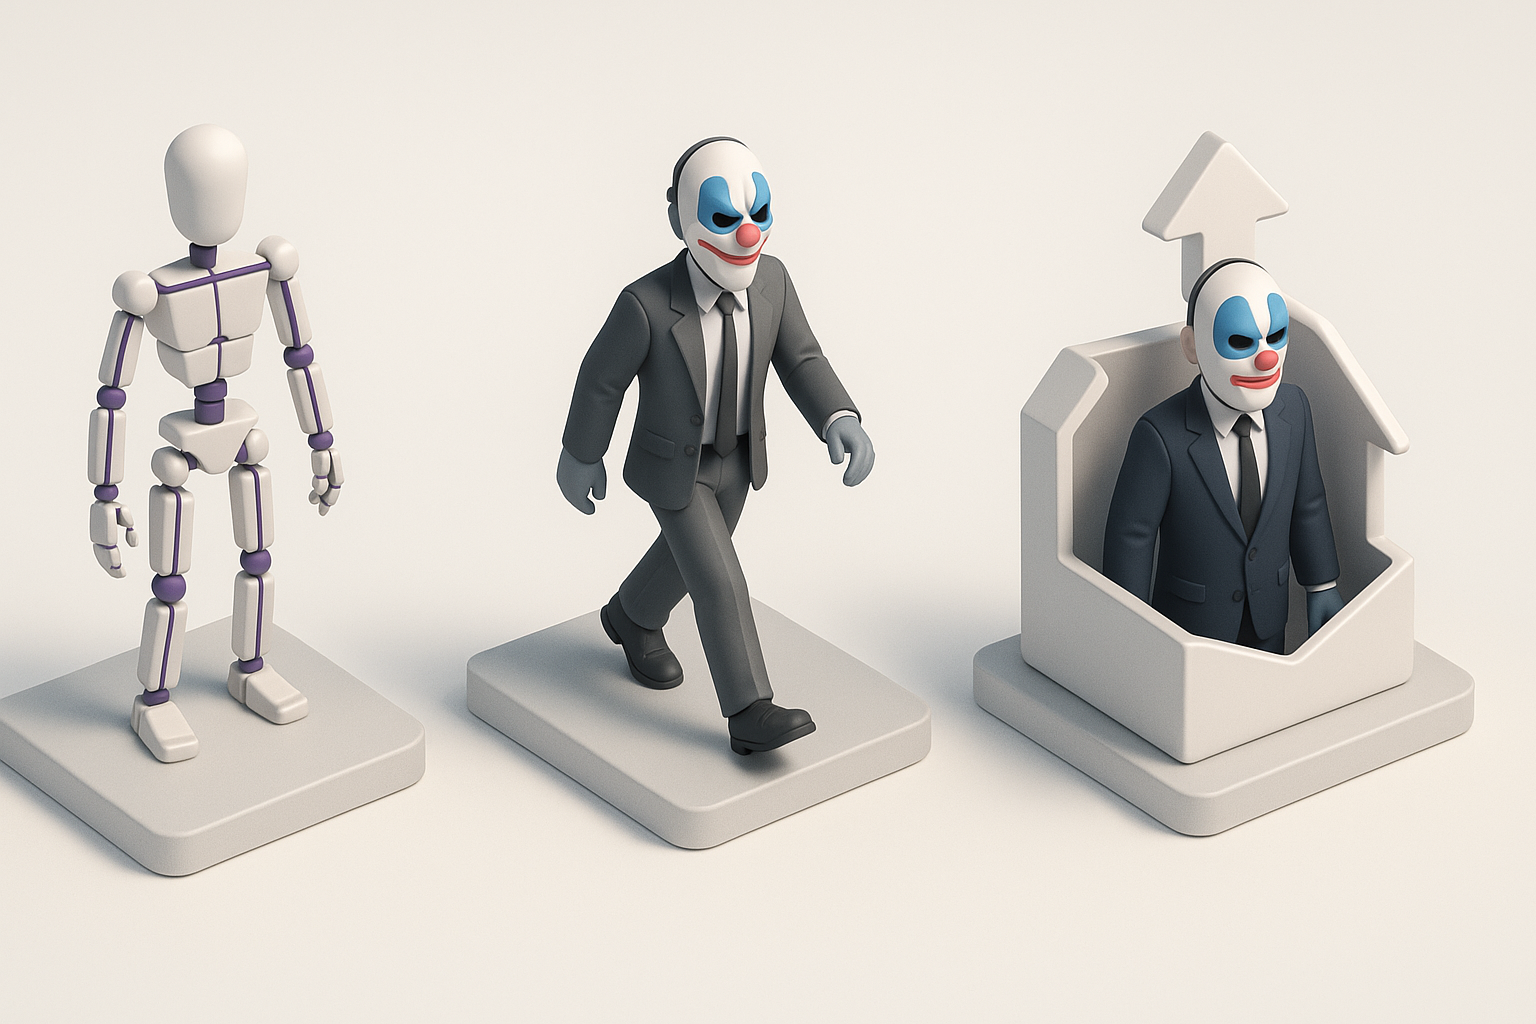
Creating Payday 3 3D Models: Workflow, Tools, and Tips
скачать 3d модель для chicken gun
Creating game-ready 3D models for Payday 3 demands a blend of technical precision and creative adaptability. In my experience, the most successful assets come from a streamlined workflow that leverages both traditional and AI-powered tools. This guide is for 3D artists, technical artists, and game developers aiming to produce high-quality, optimized models for Payday 3 or similar titles. I’ll break down my step-by-step process, highlight essential tools, and share practical tips to avoid common pitfalls.
Key takeaways:
- Understand and adhere to Payday 3’s technical constraints from the outset.
- Gather strong references and plan before modeling.
- Use AI-powered tools like Tripo AI to accelerate segmentation, retopology, and texturing.
- Prioritize clean topology and efficient UVs for real-time performance.
- Test assets in-engine early and often to catch issues before export.
- Optimize every step for the game’s target platform and engine.
Executive Summary: Key Takeaways for Payday 3 3D Model Creation
What I’ve Learned from Game-Ready Model Production
Having worked on multiple game projects, I’ve learned that production-ready models require much more than visual appeal—they must meet strict technical standards. Consistent communication with the game team and early testing in-engine are essential to avoid rework.
Essential Tools and Techniques at a Glance
My go-to workflow combines classic DCC software (like Blender or Maya), AI-powered platforms such as Tripo AI, and dedicated texturing tools. I always keep a checklist for topology, UVs, and texture budgets to ensure nothing slips through the cracks.
Understanding Payday 3 3D Model Requirements
Game Asset Specifications and Constraints
Every project has unique requirements. For Payday 3, I focus on:
- Polycount limits (often 5k–20k for key assets)
- Texture resolutions (usually 2K or 4K, sometimes less for props)
- PBR workflow compatibility
- Rigging and animation constraints if the asset is dynamic
I always request a technical spec sheet from the team or review existing assets to match style and performance targets.
Reference Gathering and Planning
Solid references save time and prevent guesswork. My process:
- Gather high-res screenshots, concept art, and real-world analogs.
- Break down the model into primary forms and secondary details.
- Sketch or block out rough shapes to clarify proportions before opening my DCC tool.
Tip: Keep a shared reference board for team alignment.
My Step-by-Step Workflow for Payday 3 3D Models
Concepting and Blocking Out the Model
I start with a rough blockout, focusing on silhouette and proportions. For Payday 3, realism and believability are key, so I compare my blockout directly with reference images.
Steps:
- Block out primary shapes in Blender or Maya.
- Adjust scale and proportions to match Payday 3’s world.
- Use Tripo AI for quick segmentation if the model is complex.
Pitfall: Don’t over-detail at this stage—keep it simple and review with the team.
Detailing, Retopology, and UV Mapping
Once the blockout is approved, I add secondary forms and details. I use sculpting tools for organic elements, then retopologize for clean, game-ready geometry.
Checklist:
- Retopologize manually or with Tripo AI’s automated tools.
- Lay out efficient UVs—avoid stretching and maximize texel density.
- Bake normal and AO maps from high to low poly.
Tip: Test UV seams with a checker texture before moving on.
Texturing and Optimizing for Real-Time Performance
Best Practices for Texturing Payday 3 Assets
I use PBR texturing tools (like Substance Painter) for realistic materials. For faster iteration, I sometimes leverage Tripo AI’s auto-texturing features as a base, then refine manually.
My process:
- Start with smart materials and masks.
- Hand-paint wear and tear for authenticity.
- Export textures in engine-ready formats (TGA/PNG).
Optimization Tips for Smooth In-Game Use
Optimization is non-negotiable. I always:
- Limit texture sets and channels.
- Use packed maps (e.g., ORM in a single file).
- Check polycount and LODs.
Pitfall: Don’t forget to test assets in the target engine (Unreal or Unity) for lighting and performance.
Rigging, Animation, and Exporting Payday 3 Models
Rigging and Animation Considerations
For assets needing animation (weapons, characters), I keep rigs simple and efficient. I use auto-rigging features in Tripo AI when speed is crucial, then refine weights manually.
Checklist:
- Align joints to engine requirements.
- Test deformations with basic animations.
- Export skeletons and animations in FBX format.
Export Settings and Integration Workflow
Exporting can break a pipeline if not handled carefully. My workflow:
- Freeze transforms and apply scale.
- Name meshes and materials clearly.
- Use engine-specific export presets.
Tip: Always test imported assets in a staging scene before final submission.
Choosing the Right Tools: My Experience with AI-Powered Platforms
How AI Tools Streamline 3D Model Creation
AI-powered platforms like Tripo AI have transformed my workflow. I use them for:
- Fast segmentation and auto-blockouts from sketches.
- Automated retopology and UV unwrapping.
- Rapid base texturing, especially for iterative concepts.
This saves hours on repetitive tasks, letting me focus on creative polish.
Integrating AI Workflows with Traditional Methods
I treat AI tools as accelerators, not replacements. My approach:
- Use AI for initial passes.
- Refine manually for artistic control and to meet studio standards.
- Regularly compare AI outputs with traditional results for quality assurance.
Tip: Always review AI-generated assets for edge cases or artifacts.
Troubleshooting and Common Challenges
Fixing Topology and Texture Issues
Common issues I encounter:
- Non-manifold geometry after retopology (fix with mesh cleanup tools).
- UV overlaps or stretching (check with checker maps and correct islands).
- Texture seams (use 3D painting tools to blend).
Ensuring Compatibility with Game Engines
Engine compatibility is critical. I always:
- Match material setups to the engine’s PBR workflow.
- Test animations and rigs in-engine.
- Validate asset scale and orientation.
Pitfall: Don’t rely solely on DCC previews—always check in the target engine.
Final Thoughts: What I Recommend for Payday 3 3D Model Success

Lessons Learned from Real Projects
- Early planning and strong references prevent costly revisions.
- Clean topology and optimized textures are just as important as visual fidelity.
- AI-powered tools can save time, but manual review is non-negotiable.
Resources and Next Steps for Artists
- Dive into engine documentation for asset requirements.
- Explore AI-powered platforms like Tripo AI for workflow acceleration.
- Join game art communities to share feedback and learn new techniques.
Bottom line: Combining solid fundamentals with the latest AI-driven tools delivers the best results for Payday 3 and beyond.


