How I Create a Palossand 3D Model: Workflow & Best Practices
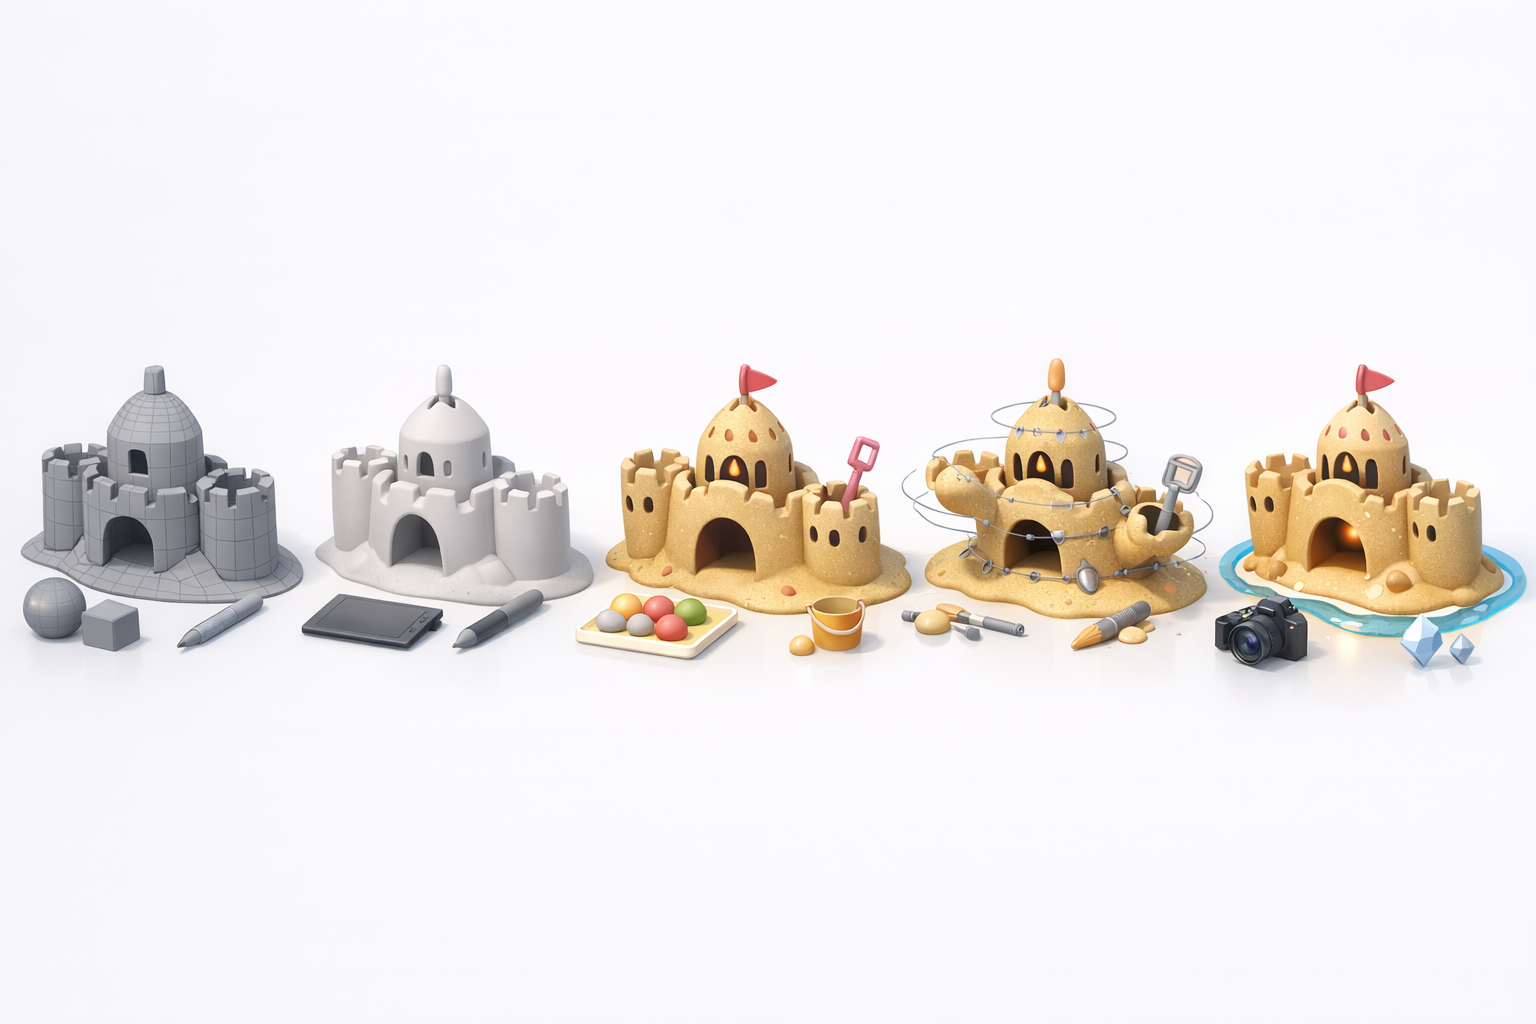
Creating a production-ready 3D model of Palossand, from Pokémon, is a streamlined process when you combine smart planning, AI-powered tools, and hands-on refinement. In my experience, the key is to balance creative control with automation—using platforms like Tripo AI to accelerate the base model, then applying traditional techniques for detail and polish. This guide is for artists, game developers, and anyone interested in efficient, high-quality 3D asset creation. Below, I break down my end-to-end workflow, highlight best practices, and share solutions to common challenges.
Key takeaways:
- Start with clear references and a defined scope to avoid rework.
- Use AI tools for fast base mesh generation, then refine manually.
- Prioritize clean topology and UVs for easier texturing and animation.
- Focus on stylized sand textures and unique Palossand features.
- Optimize exports for your target engine or platform.
- Troubleshoot early and polish for a production-ready finish.
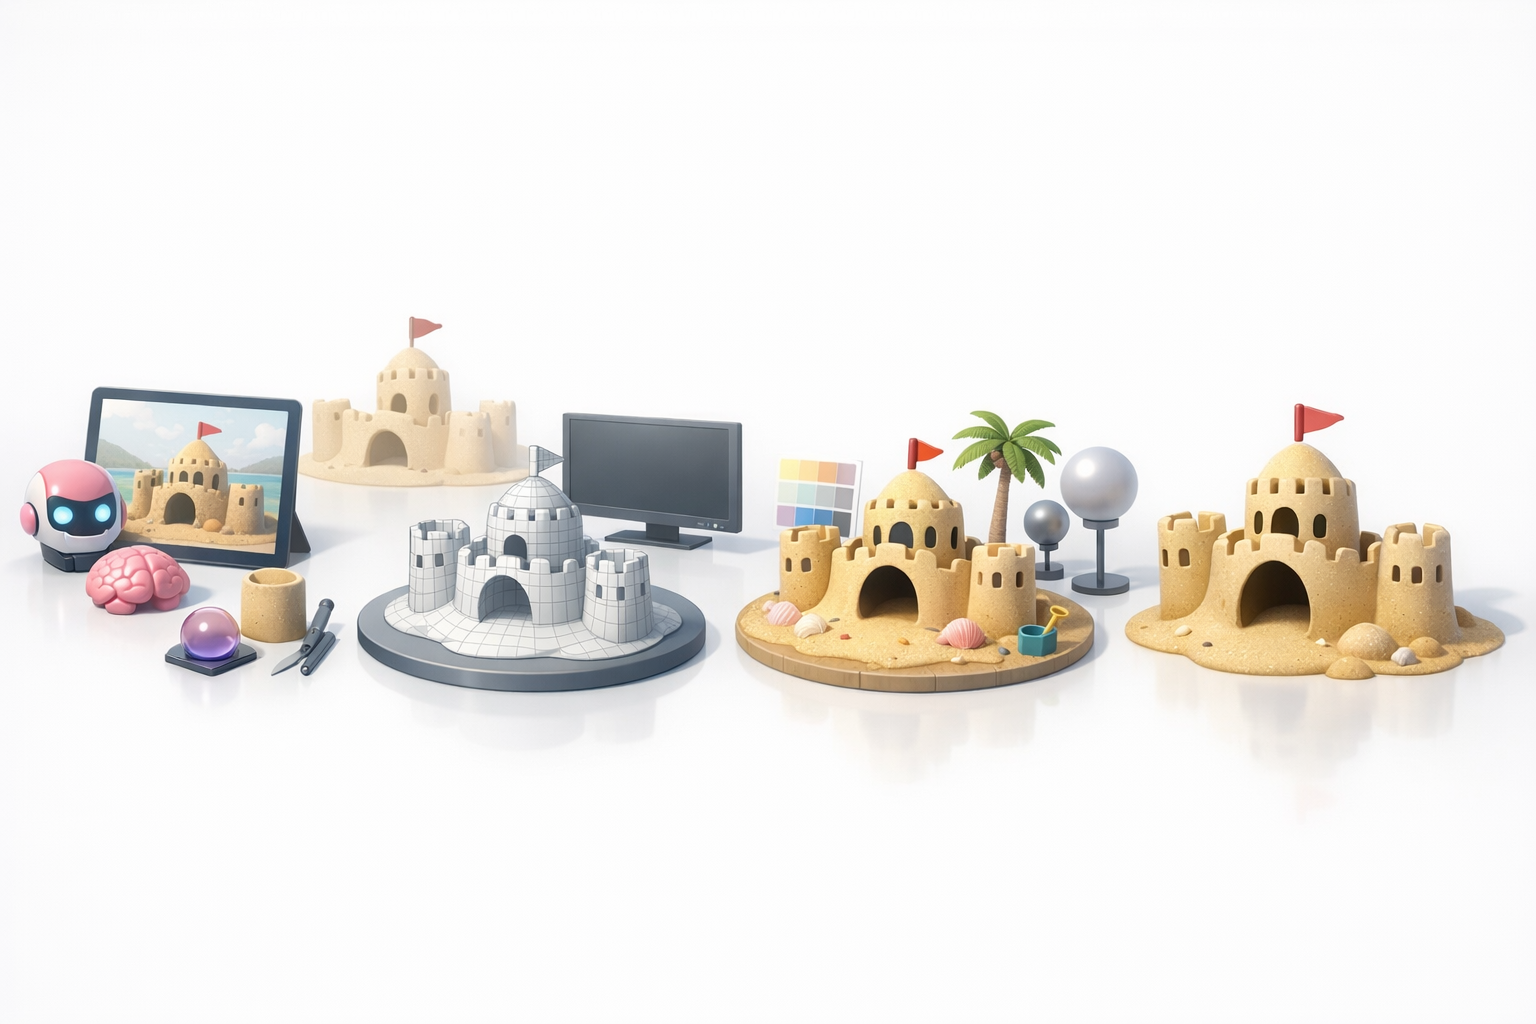
Executive Summary: Key Steps for Palossand 3D Modeling
What to Expect from This Guide
In this article, I walk through my complete process for creating a Palossand 3D model—from gathering references to final export. I’ll cover how I leverage AI-powered platforms for speed, where manual intervention is essential, and tricks for getting stylized results that stand out.
Essential Tools and Techniques Overview
My toolkit typically includes Tripo AI for model generation, a 3D DCC (like Blender or Maya) for refinement, and texturing tools for materials. I focus on workflows that minimize busywork and maximize creative time, using intelligent retopology, UV unwrapping, and efficient rigging setups.
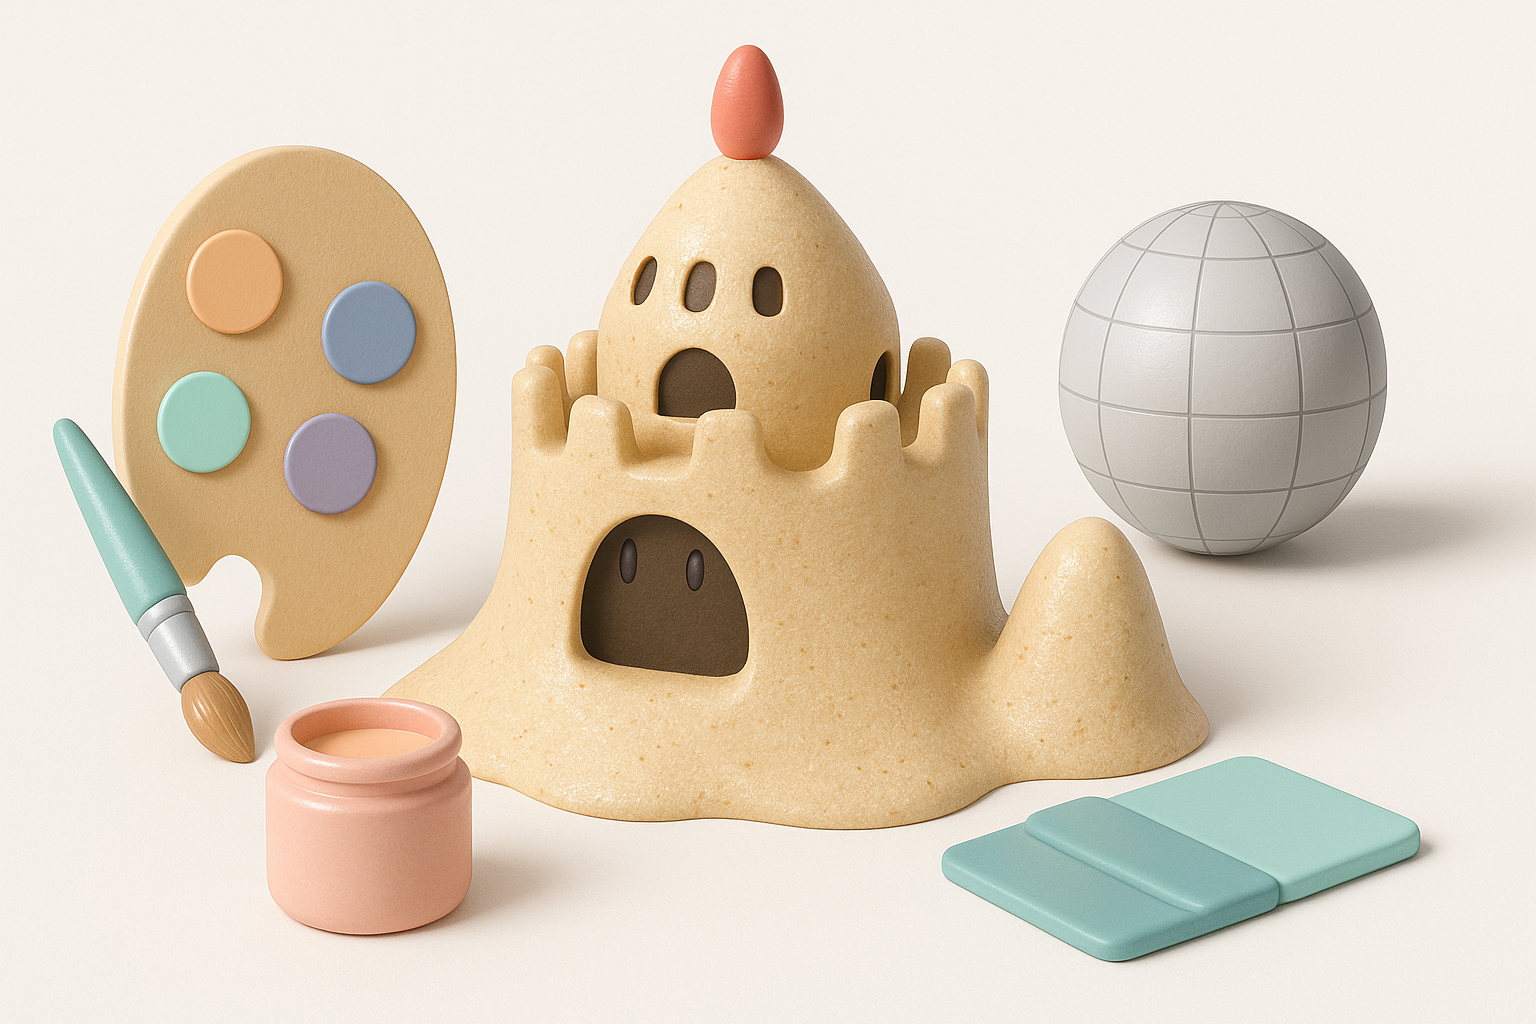
Planning and Reference Gathering for Palossand
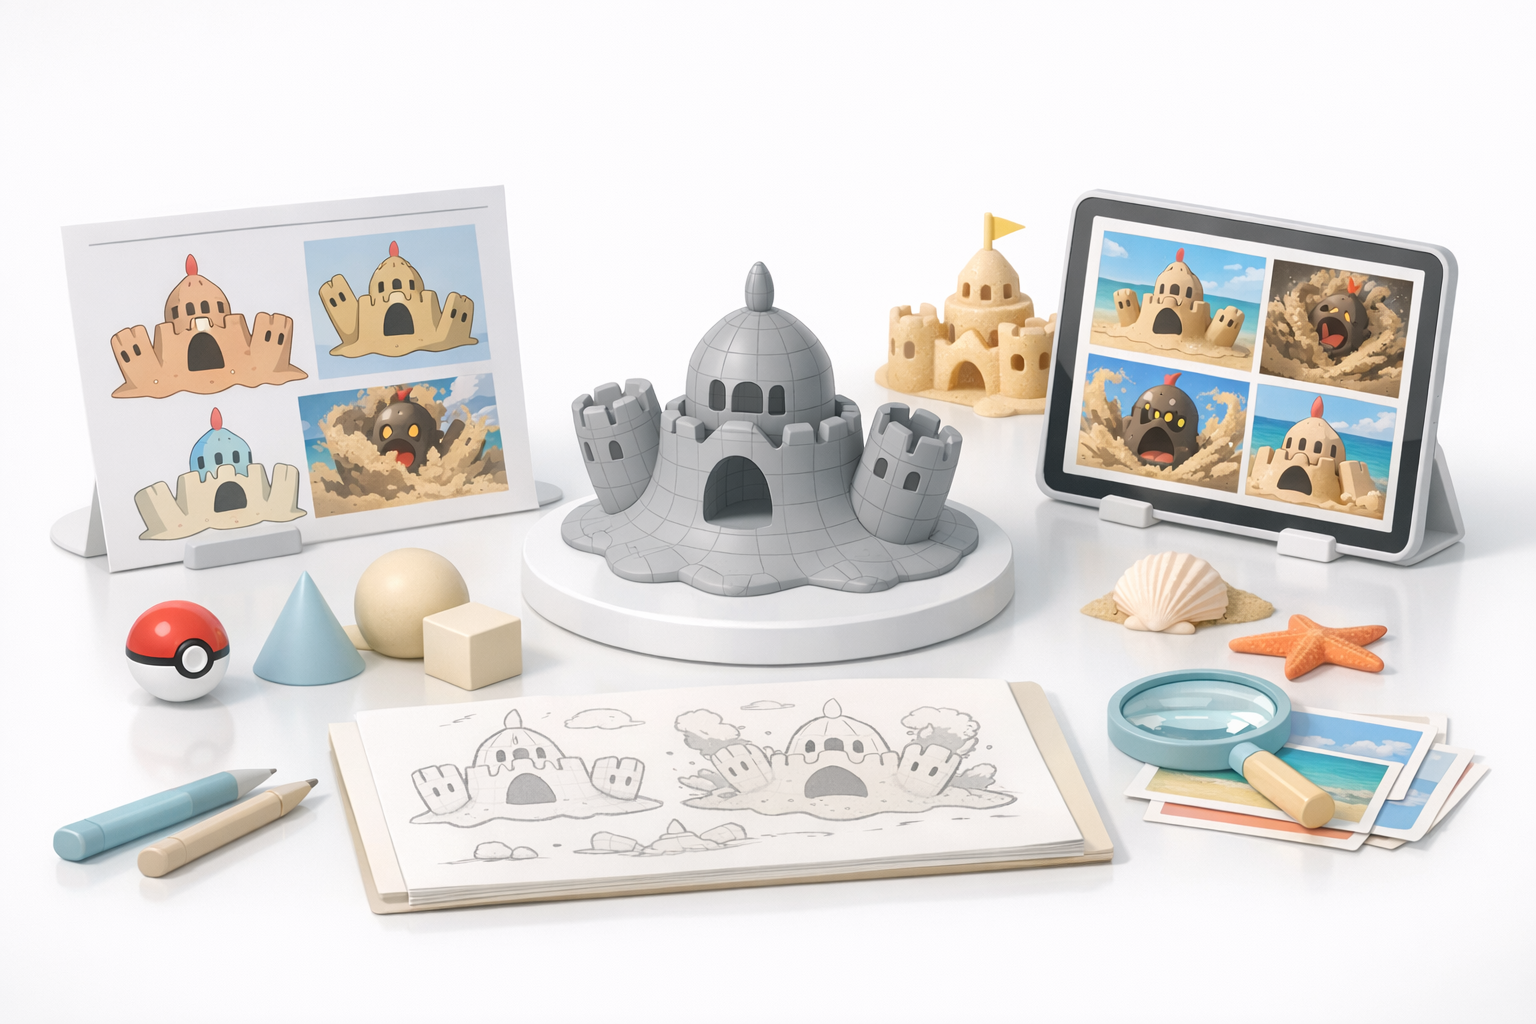
Collecting Visual References and Concept Art
Before touching any 3D tool, I collect high-quality images of Palossand from official Pokémon sources, fan art, and in-game screenshots. Having multiple angles is crucial for accuracy. I also sketch quick orthographic views if needed.
Checklist:
- Front, side, and back views
- Close-ups of unique features (face, shovel, towers)
- Consistent style references
Defining Model Scope and Level of Detail
I decide early if the model is for real-time use (games/XR) or pre-rendered scenes. This determines polygon count, texture resolution, and rigging complexity. For games, I aim for a mid-poly mesh with normal maps for detail.
Pitfall:
Over-modeling details that are better handled in textures wastes time and resources.
Generating the Base Palossand 3D Model
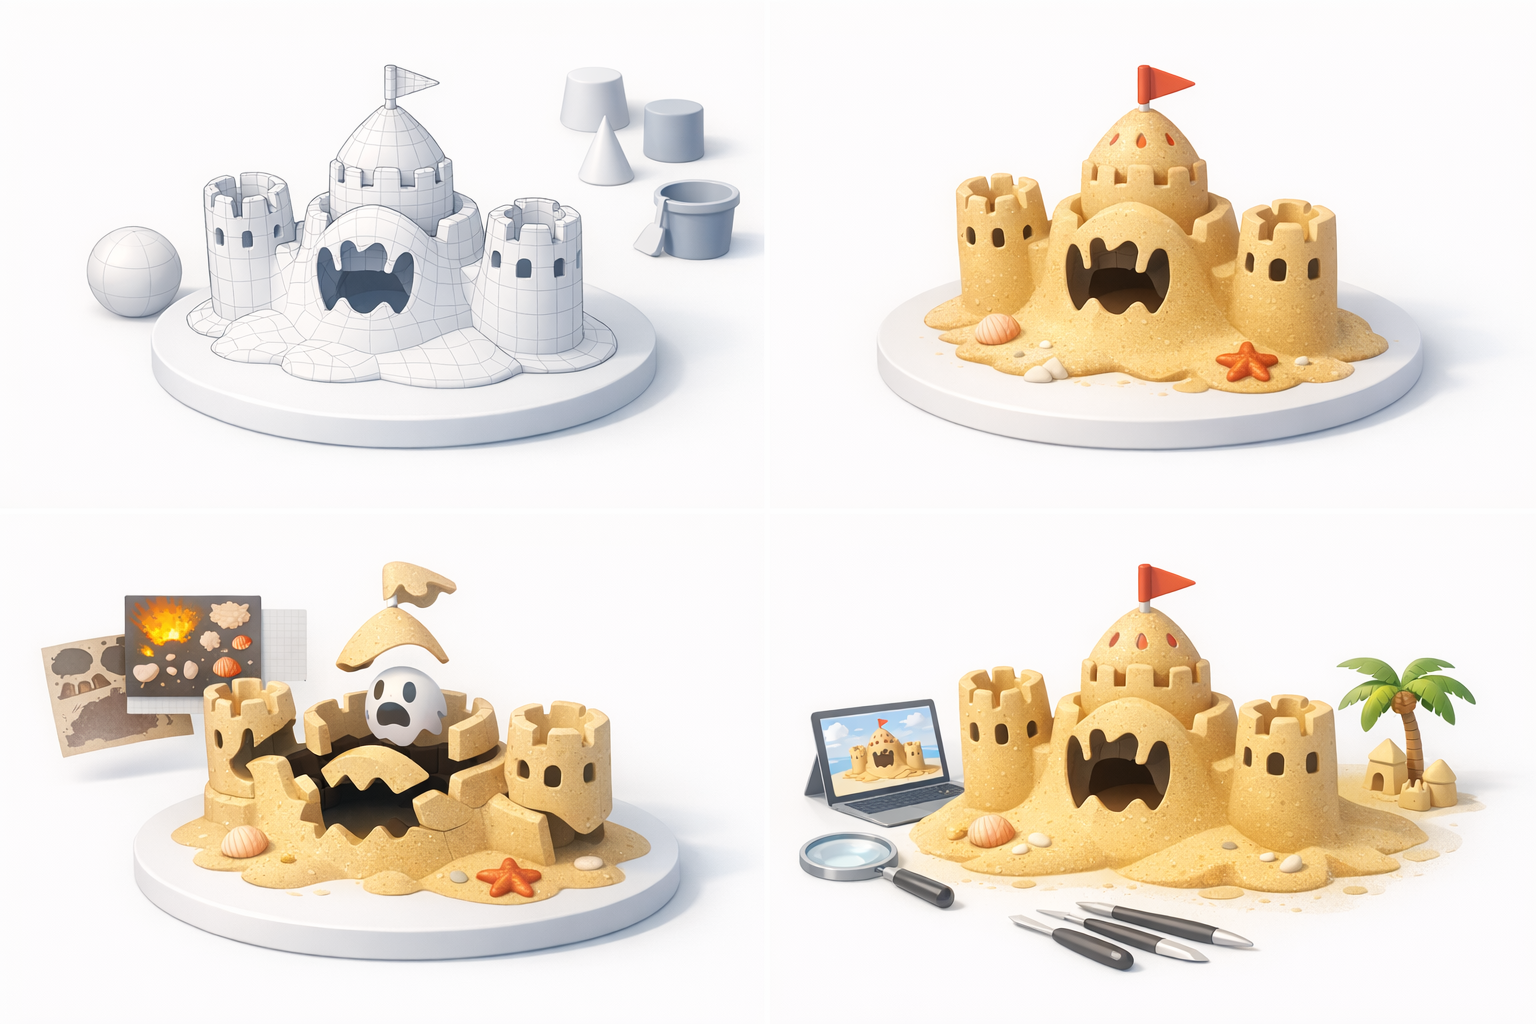
Using AI-Powered Platforms for Initial Creation
I use Tripo AI to generate a base mesh from my references or a quick sketch. This shaves hours off the blockout phase and gives me a solid starting point with basic segmentation.
Tips:
- Input clear, descriptive prompts for best results.
- Use the platform’s preview to check proportions before exporting.
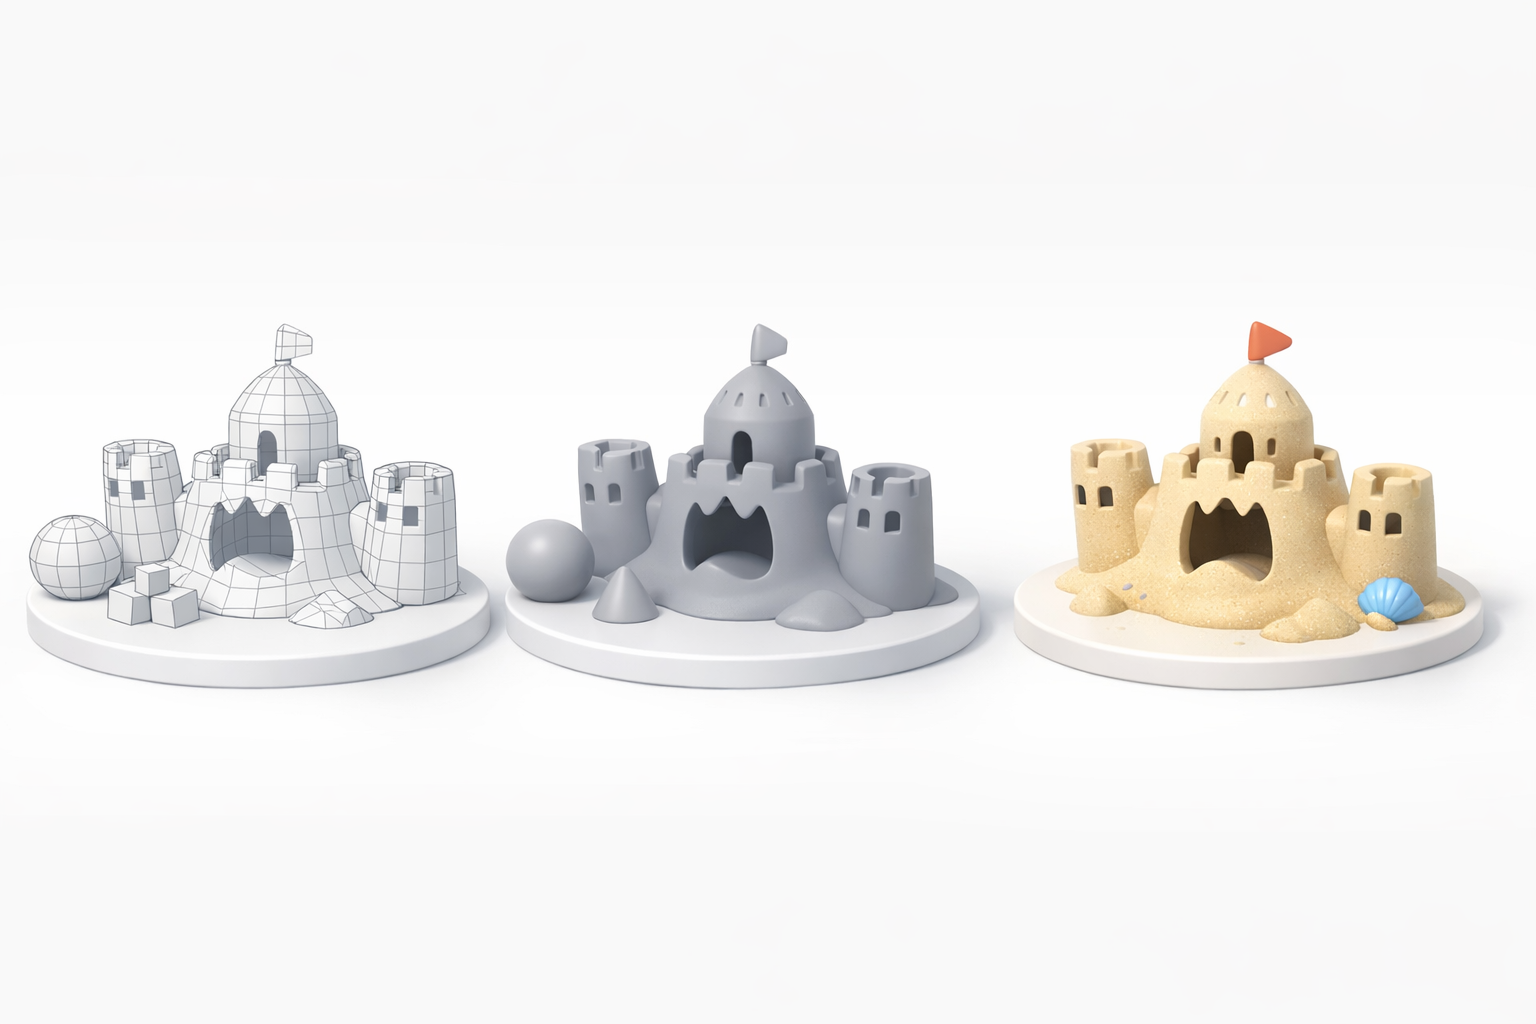
Manual Blockout Techniques and Tips
If I need more control, I block out the main forms in my 3D DCC using simple shapes. This is especially useful for stylized or exaggerated features.
Steps:
- Start with spheres and cubes for the sand mound and towers.
- Use symmetry and modifiers to keep edits non-destructive.
- Block in the face and shovel separately for flexibility.
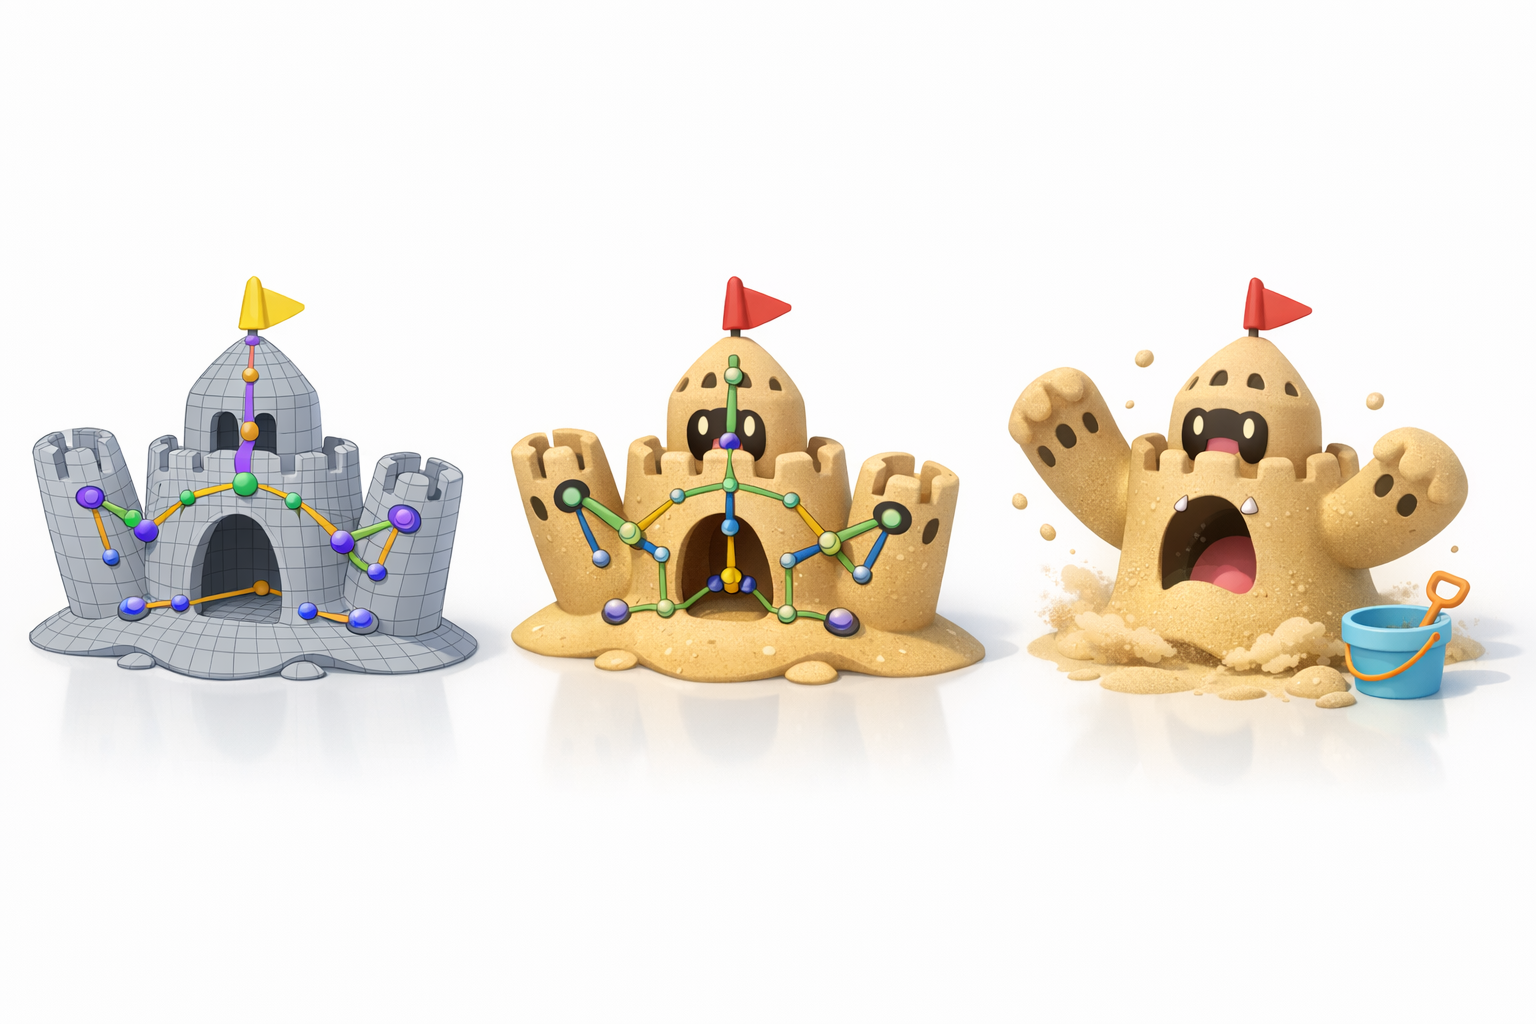
Refining Geometry: Retopology and Detailing
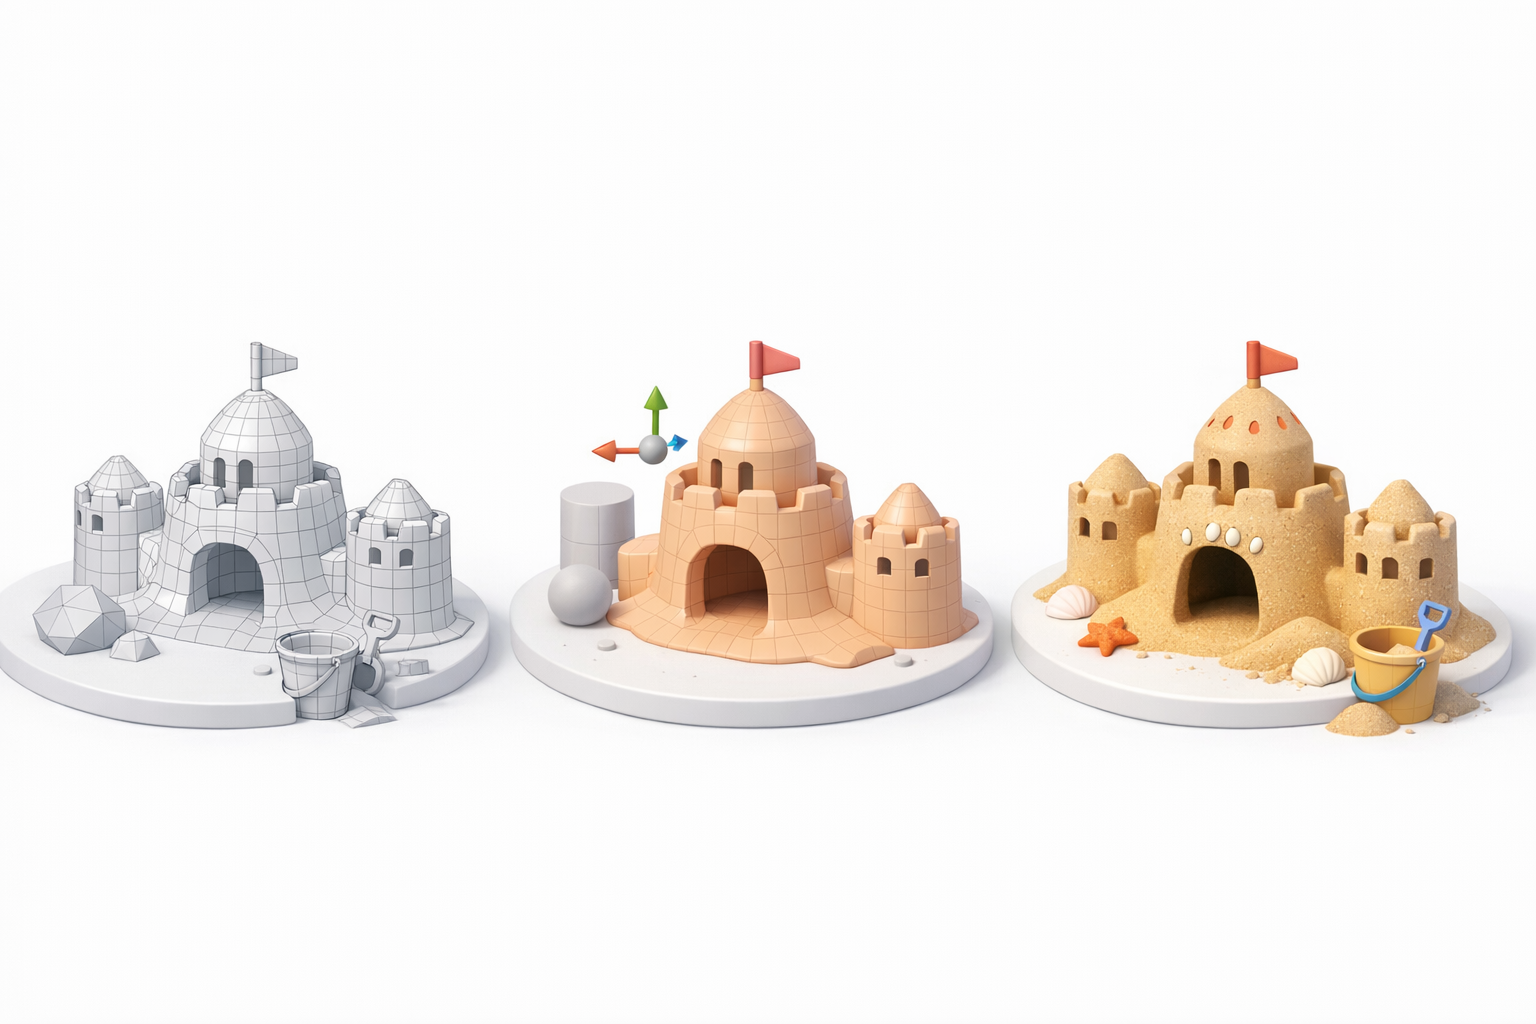
Intelligent Retopology for Clean Meshes
After generating the base, I run an automatic retopology pass (Tripo AI or my DCC’s tools) to ensure a clean, animation-friendly mesh. I manually adjust edge loops around deforming areas like the mouth and arms.
Pitfall:
Ignoring topology early leads to rigging headaches later.
Adding Sand Textures and Unique Features
I sculpt or model the sand’s uneven surface, shell-like towers, and face details. Subtle asymmetry adds realism. I use procedural noise as a base, then hand-sculpt key areas.
Checklist:
- Small bumps and craters on the body
- Distinct facial features (eyes, mouth)
- Embedded “shovel” and shell details
Texturing, Shading, and Material Workflow
Best Practices for Stylized Sand Textures
I create stylized sand by blending hand-painted maps with procedural noise. I keep the palette consistent with official art but add subtle color variation for realism.
Tips:
- Use curvature maps to accentuate edges.
- Layer in small pebbles or shells for interest.
UV Unwrapping and Material Assignment
I unwrap UVs with minimal seams, prioritizing the face and prominent features. I assign material slots for sand, shells, and the shovel, keeping IDs organized for later tweaks.
Checklist:
- Overlap UVs only for symmetrical, non-unique areas.
- Test textures early to catch stretching or seams.
Rigging and Animation Preparation
Setting Up Basic Rigs for Palossand
For animation, I add a simple skeleton: one for the main body and chains for the arms and shovel. I keep joint counts low for game engines.
Steps:
- Place bones at logical pivot points (arms, mouth).
- Test basic deformations before weight painting.
Animating Key Movements and Expressions
I animate simple actions like mouth opening, arm waving, and subtle body shifts. For stylized characters like Palossand, exaggeration sells the effect.
Tips:
- Use blend shapes for facial expressions if needed.
- Preview animations in the target engine for timing checks.
Exporting and Integrating the Model
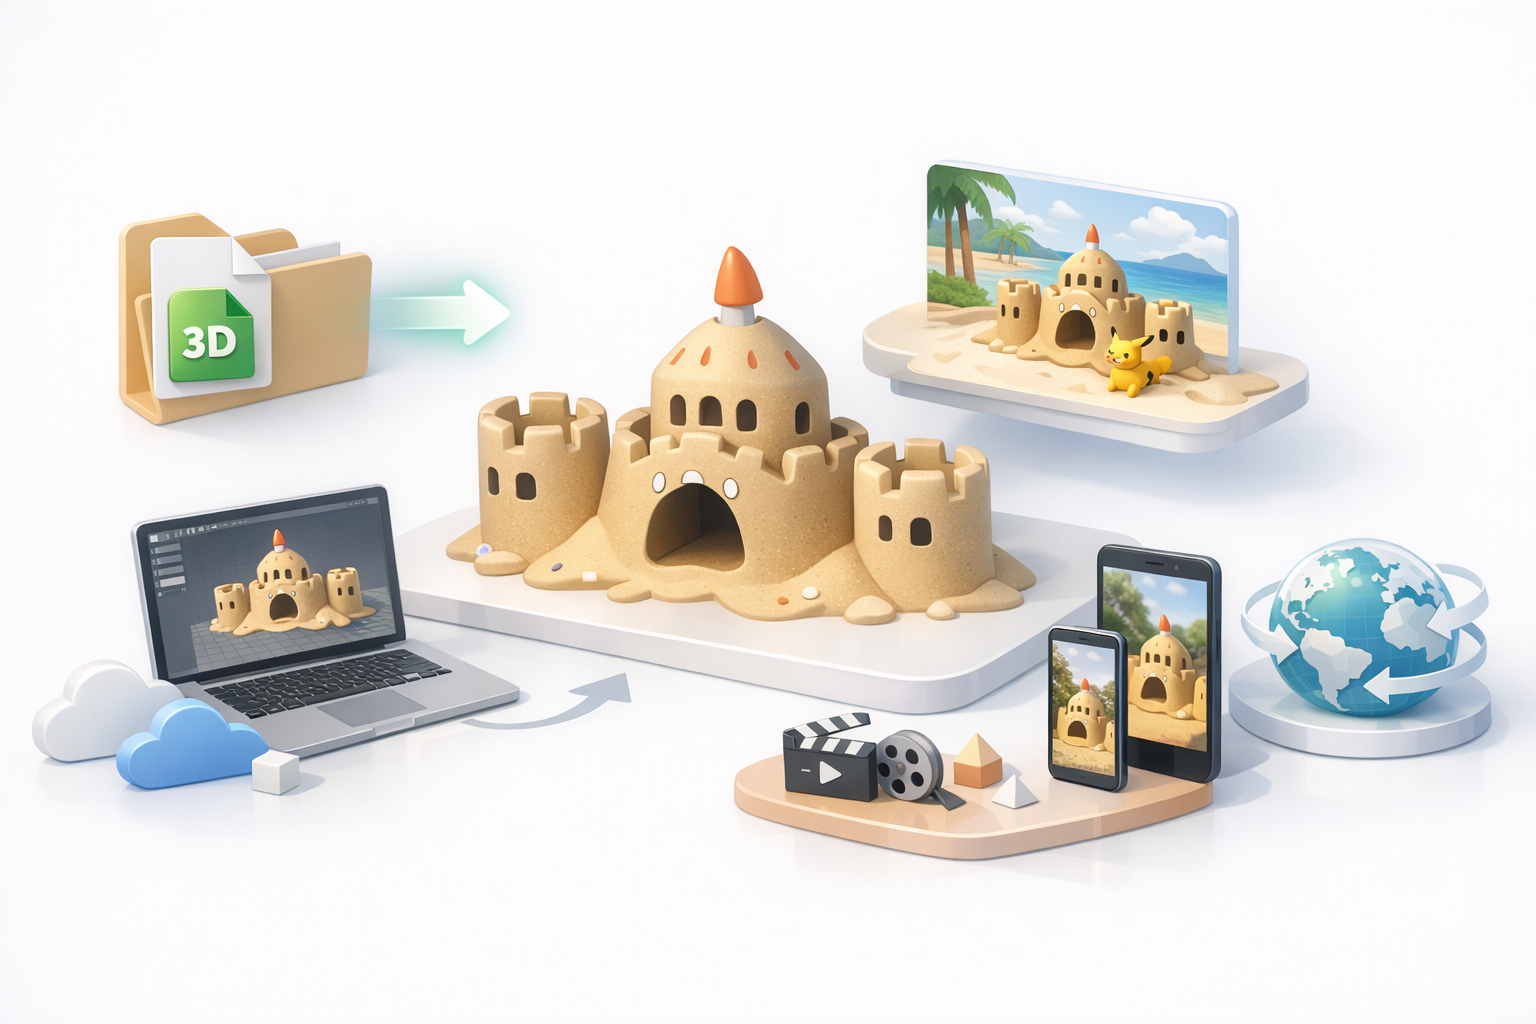
Optimizing for Game Engines and XR
I reduce polygons where possible and bake high-res details into normal maps. I check the model in-engine for shading and scale.
Checklist:
- Keep texture sizes power-of-two (e.g., 1024x1024).
- Test LODs if performance is a concern.
Export Settings and File Formats
I typically export in FBX or GLTF, with embedded or separate textures as required. I double-check axis orientation and scale to avoid import issues.
Pitfall:
Forgetting to freeze transforms or apply scale leads to mismatches in the engine.
Comparing AI Tools and Alternative Workflows
When to Use AI vs. Manual Methods
If speed is a priority, I start with an AI tool for the base. For highly stylized or specific models, manual blockout is better. I often blend both: AI for the grunt work, manual for the art.
My Experience with Different Platforms
Tripo AI has streamlined my workflow for organic models like Palossand, especially with its built-in segmentation and retopology. Other tools offer similar features, but I value platforms with intuitive interfaces and reliable exports.
Troubleshooting and Expert Tips
Common Issues and How I Solve Them
- Weird topology: I re-run retopology or manually clean up edge flow.
- Texture seams: I adjust UVs or paint out seams in my texturing tool.
- Rigging glitches: I double-check bone placement and weights.
Polishing for Production-Ready Results
I always review the model in context (e.g., in a game scene) and gather feedback. Small tweaks—like adjusting specularity or fixing silhouette issues—make a big difference. I keep a checklist for final QA before delivering the asset.
By following this workflow, I consistently produce Palossand models that are both visually appealing and technically robust—ready for integration into any game or XR experience.


