Creating One Piece Odyssey 3D Models: Expert Workflow & Tips
As a 3D artist working with stylized assets, I've developed efficient workflows for creating game-ready models inspired by One Piece Odyssey. My approach blends traditional techniques with AI-powered tools to streamline everything from base mesh creation to animation. If you're aiming to produce high-quality, stylized 3D models for games or XR projects, this guide covers the practical steps, the art style nuances, and how to leverage AI for faster results without sacrificing quality.
Key takeaways:
- Analyze the art style and requirements before starting any modeling work.
- Use reference images and planning to avoid costly revisions.
- Block out forms quickly, then focus on detail and optimization.
- Stylized texturing and animation require a tailored approach.
- AI tools like Tripo can speed up repetitive tasks and enhance productivity.
- Always test and iterate models for game engine compatibility.
Understanding One Piece Odyssey 3D Model Requirements
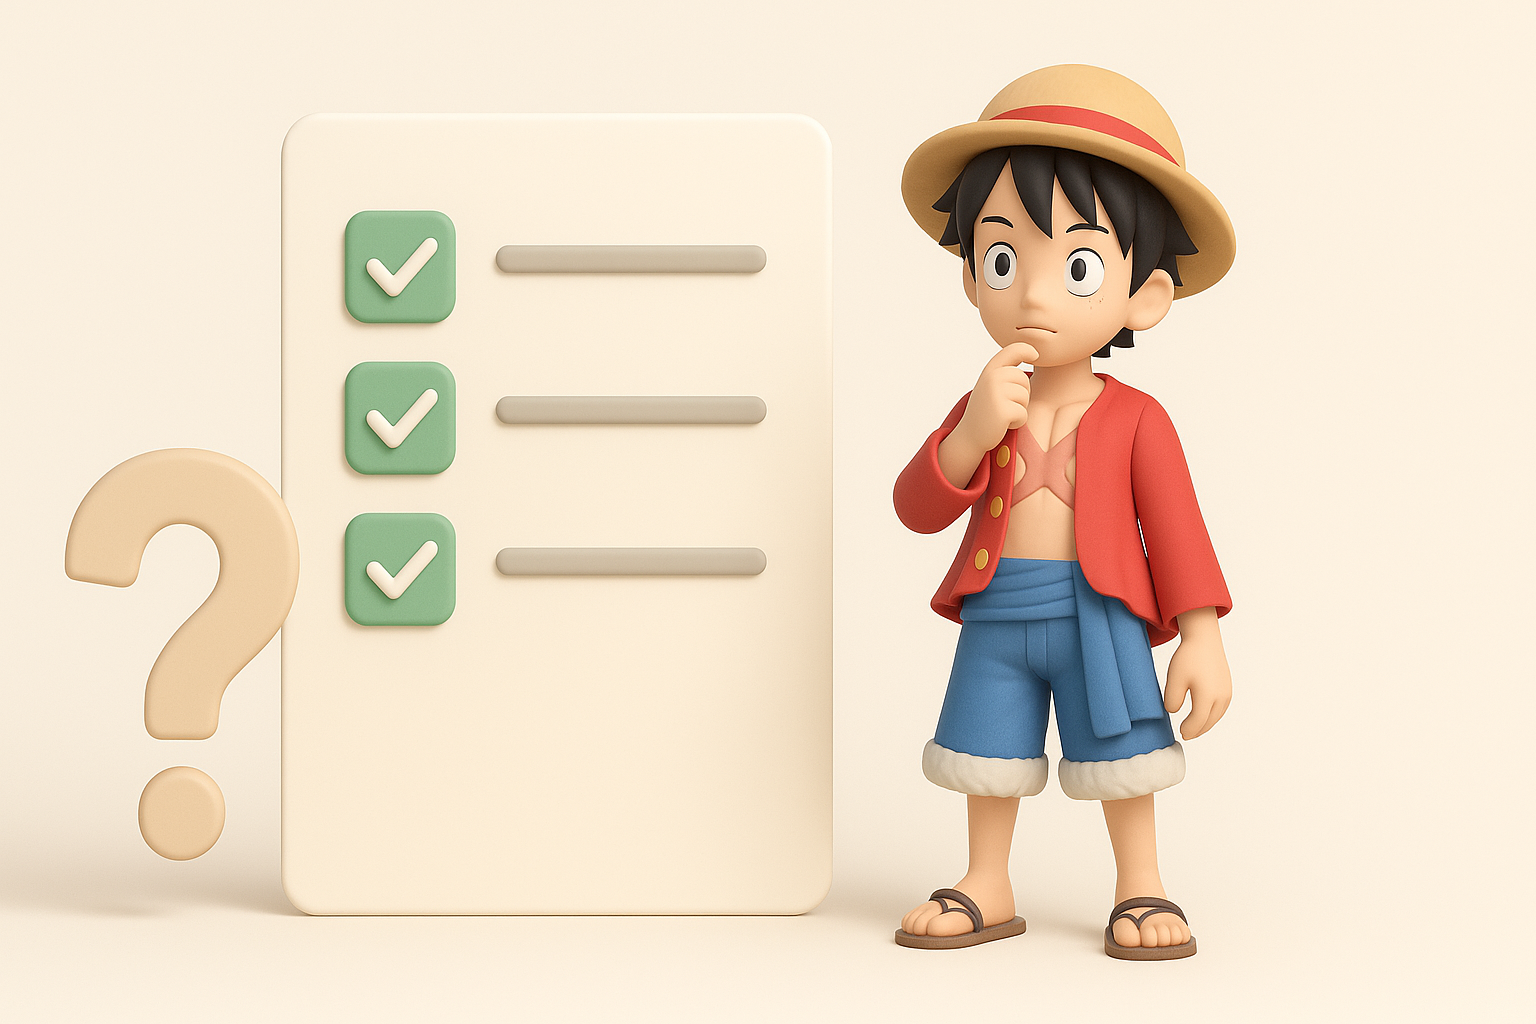
Key Features and Art Style Analysis
One Piece Odyssey features a distinct, stylized look—characters have exaggerated proportions, clean lines, and vibrant, hand-painted textures. In my workflow, I start by breaking down these signature elements:
- Proportions: Limbs and facial features are often exaggerated. I pay close attention to silhouette and pose.
- Surface Details: Minimal micro-detail; focus is on readable shapes and bold colors.
- Materials: Surfaces avoid photorealism—textures are painterly, and shading is simple.
Tip: Create a style guide with screenshots and notes on proportions, color palettes, and key visual motifs.
Reference Gathering and Planning
Before opening my 3D app, I collect references from official art, in-game screenshots, and fan models. I organize these into boards for anatomy, costumes, and accessories.
Checklist:
- Gather multiple angles for each character/object.
- Note animation poses and expressions.
- Break down complex props into subcomponents.
Pitfall: Skipping reference gathering often leads to rework later, especially with stylized projects.
Step-by-Step 3D Model Creation Process
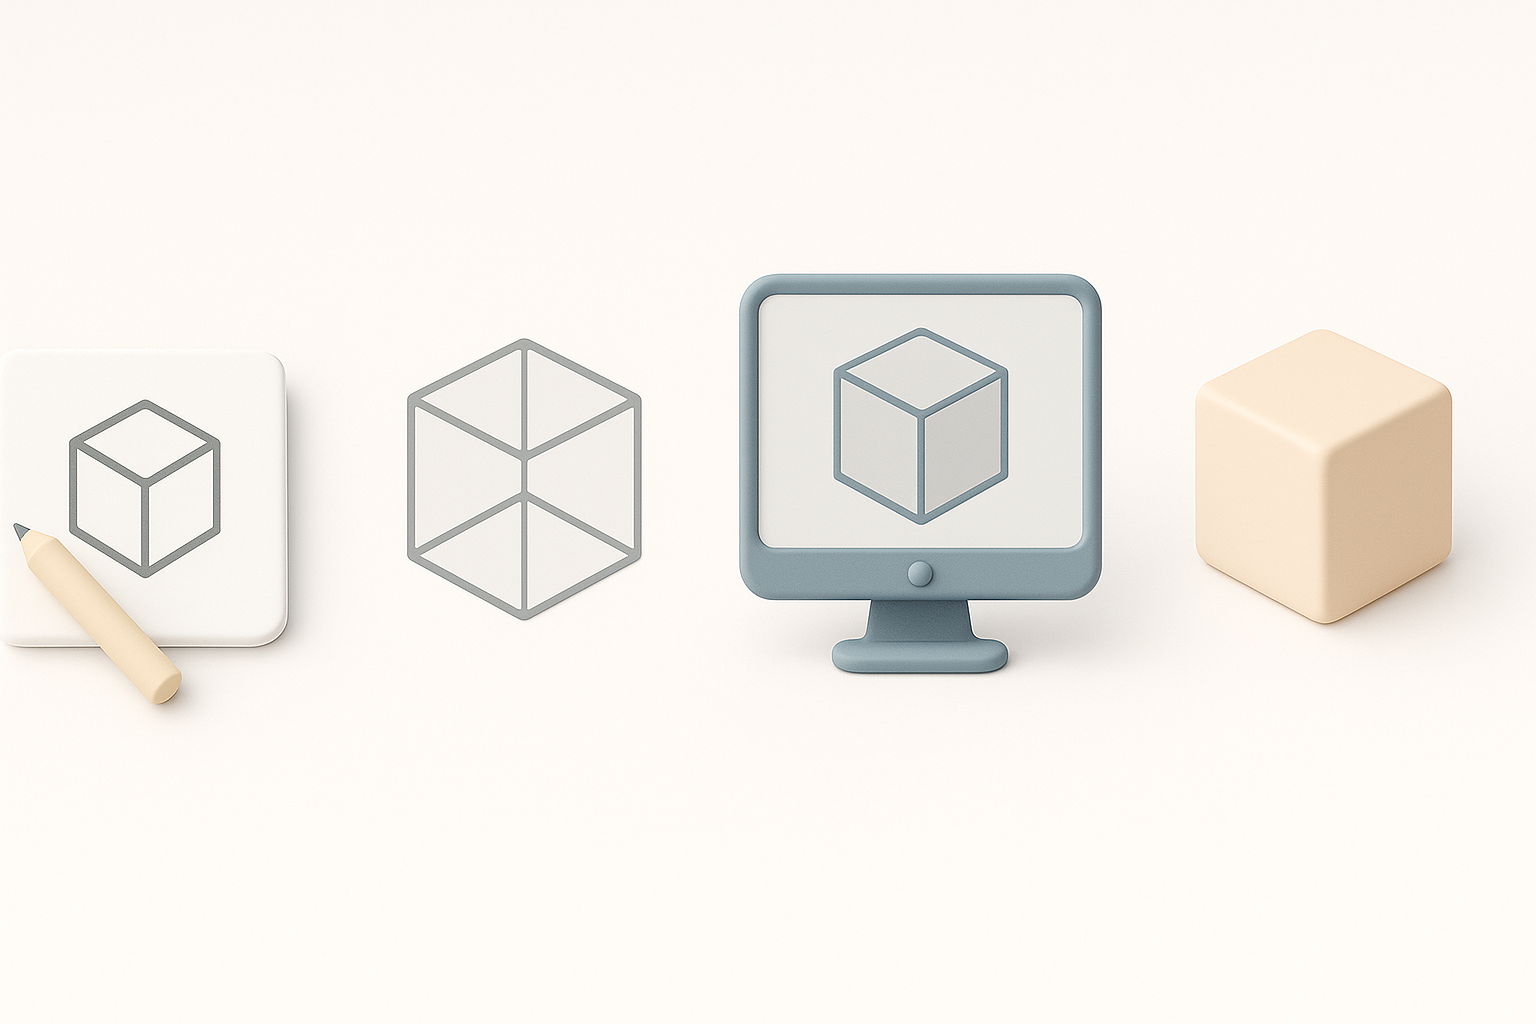
Blocking Out the Base Mesh
I always start with a rough blockout to establish proportions and overall form. For speed, I use basic primitives and keep topology simple.
Steps:
- Block out the main body parts (head, torso, limbs).
- Adjust for exaggerated features using proportional guidelines.
- Merge and refine shapes, maintaining low poly counts for easier iteration.
Tip: Using Tripo AI, I can generate a rough base mesh from a sketch or description, which I then refine manually.
Detailing, Retopology, and Optimization
Once the blockout feels right, I add secondary forms and details—belts, hair, accessories—while constantly checking the silhouette.
- Retopology: I use built-in tools (or Tripo’s retopology features) to create clean, animation-ready topology.
- Optimization: Remove unseen faces, keep polygon budgets in mind, and use symmetry where possible.
Pitfall: Over-detailing early can waste time—focus on the big shapes first.
Texturing, Rigging, and Animation Essentials
Best Practices for Stylized Texturing
I use hand-painted textures to match the One Piece Odyssey style. My approach:
- Bake out ambient occlusion and curvature maps for painting guides.
- Paint in broad color blocks, then add highlights and shadows manually.
- Keep normal maps subtle or skip them if the style demands.
Mini-checklist:
- Check UV seams and overlaps before painting.
- Test how textures look under game lighting.
Rigging and Animation for Game Integration
Rigging stylized models means prioritizing expressive deformations over realism.
- Add extra bones for facial expressions or exaggerated poses.
- Test weight painting with extreme animations.
- Export to the target engine and check for issues like mesh tearing.
Tip: Tripo’s auto-rigging can serve as a fast starting point, but I always fine-tune weights and controllers manually.
AI-Powered Tools and Workflow Enhancements

Leveraging Tripo AI for Faster Model Generation
In my workflow, Tripo AI accelerates the creation of base meshes, retopology, and even initial UV unwrapping. I provide text prompts or sketches, review the output, and quickly move to the refinement stage.
Steps:
- Input a detailed prompt or image.
- Review and adjust the generated mesh.
- Use AI-generated segmentation for faster part separation.
Tip: Always inspect AI output closely—minor cleanup is usually needed for production assets.
Integrating AI with Traditional 3D Pipelines
AI tools don’t replace manual work but enhance it. I integrate AI-generated assets into my pipeline as starting points, then rely on traditional sculpting, painting, and rigging to hit the final quality bar.
- Use AI for repetitive or technical steps.
- Manual intervention remains key for stylization and polish.
Pitfall: Over-reliance on AI can lead to generic results—use it as a helper, not a crutch.
Exporting, Testing, and Finalizing for Production

Export Settings and Compatibility
Exporting models for games requires attention to formats and settings:
- Use FBX or OBJ for most engines.
- Check scale and orientation (Y-up vs. Z-up).
- Include only necessary maps (albedo, normal, etc.).
Checklist:
- Test imports in the target engine.
- Verify animation playback and material assignments.
Quality Assurance and Iteration
I always run models through a QA checklist:
- Check for non-manifold geometry and flipped normals.
- Review polycounts and texture sizes.
- Playtest in-engine for animation and lighting issues.
Tip: Iteration is normal—expect to revisit earlier steps based on feedback.
Comparing Manual and AI-Assisted 3D Model Creation
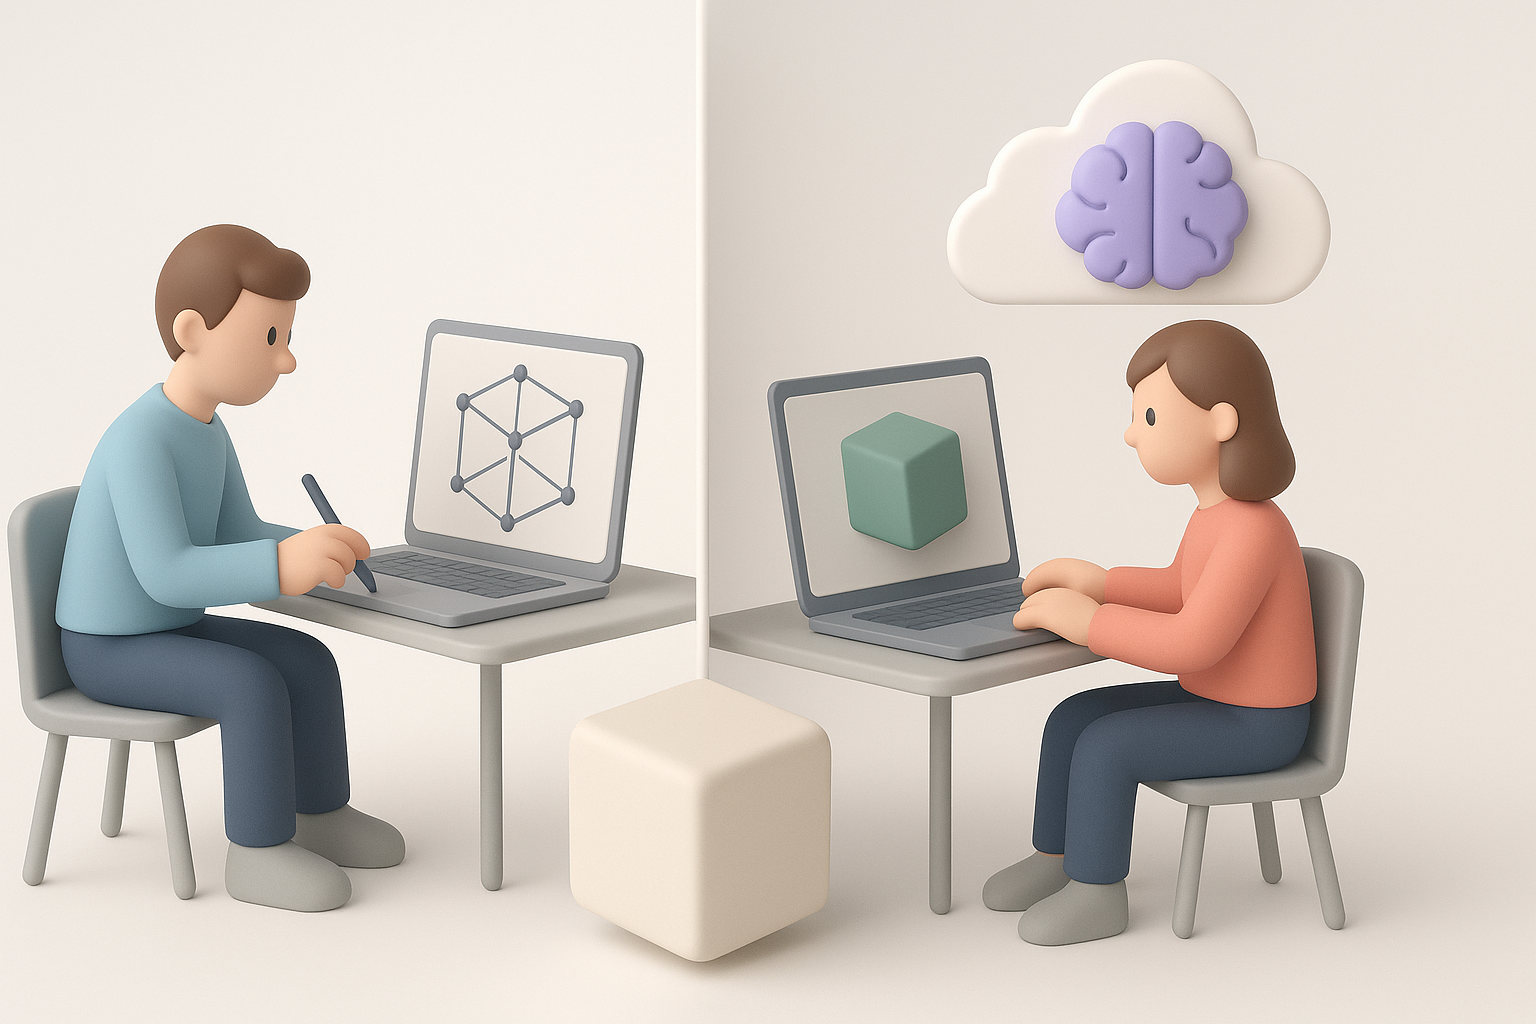
Pros and Cons of Each Approach
Manual Modeling:
- Pros: Full creative control, best for unique stylization.
- Cons: Time-consuming, especially for repetitive tasks.
AI-Assisted Workflow:
- Pros: Speeds up base mesh, retopology, and segmentation.
- Cons: May require cleanup and lacks nuance in stylization.
What I’ve found: Combining both yields the best results—AI for speed, manual for quality.
When to Choose AI Solutions
I reach for AI tools like Tripo when:
- Deadlines are tight and I need quick blockouts.
- There’s a need to generate multiple variants fast.
- Technical steps (like retopology) would otherwise eat into creative time.
For hero assets or highly stylized work, I rely more on manual methods, using AI as a booster rather than a replacement.
In summary: Efficient One Piece Odyssey-style 3D modeling blends solid art fundamentals with smart use of AI tools. Start with strong references, block out forms quickly, leverage AI where it helps, and always iterate for polish and compatibility. This approach keeps quality high and production times lean—ideal for modern stylized game pipelines.


