How to Create an Omori 3D Model: Expert Workflow & Tips
Creating a 3D model in the style of Omori requires a thoughtful blend of stylized artistry and technical precision. In my experience, success hinges on understanding the unique 2D look, careful planning, and efficient use of modern tools—including AI-powered platforms like Tripo. Whether you’re a game artist, animator, or hobbyist, this guide distills the essential steps, from reference gathering to final export, with practical tips and pitfalls to avoid. If you want to capture Omori’s charm in 3D, here’s how I approach it from start to finish.
Key takeaways
- Omori’s art style relies on simplified forms, expressive features, and a limited color palette—translating this into 3D requires restraint and stylized techniques.
- Strong references and clear scope definition are critical before modeling.
- Efficient workflows—manual or AI-assisted—save time and reduce errors.
- Stylized texturing and shading are key to achieving the Omori look.
- Optimization at every stage ensures models are game/XR-ready.
- Iterative feedback and troubleshooting are essential for refinement.
Understanding the Omori Art Style for 3D Modeling
Key visual elements to capture
From my hands-on work, Omori’s style is defined by:
- Flat, high-contrast shading
- Simple, rounded shapes
- Large, expressive eyes and sparse facial features
- Minimal textural detail
When modeling, I focus on exaggerating these traits rather than chasing realism. It’s easy to overcomplicate—what works in Omori is clarity and emotional expressiveness.
Translating 2D aesthetics into 3D
The challenge is preserving the 2D “feel” in a 3D space. I use:
- Soft, uniform lighting to avoid harsh shadows
- Slightly exaggerated proportions (e.g., big heads, small bodies)
- Custom shaders or hand-painted textures to mimic flatness
Tip: Test your model in silhouette and grayscale early. If it reads well, you’re on the right track.
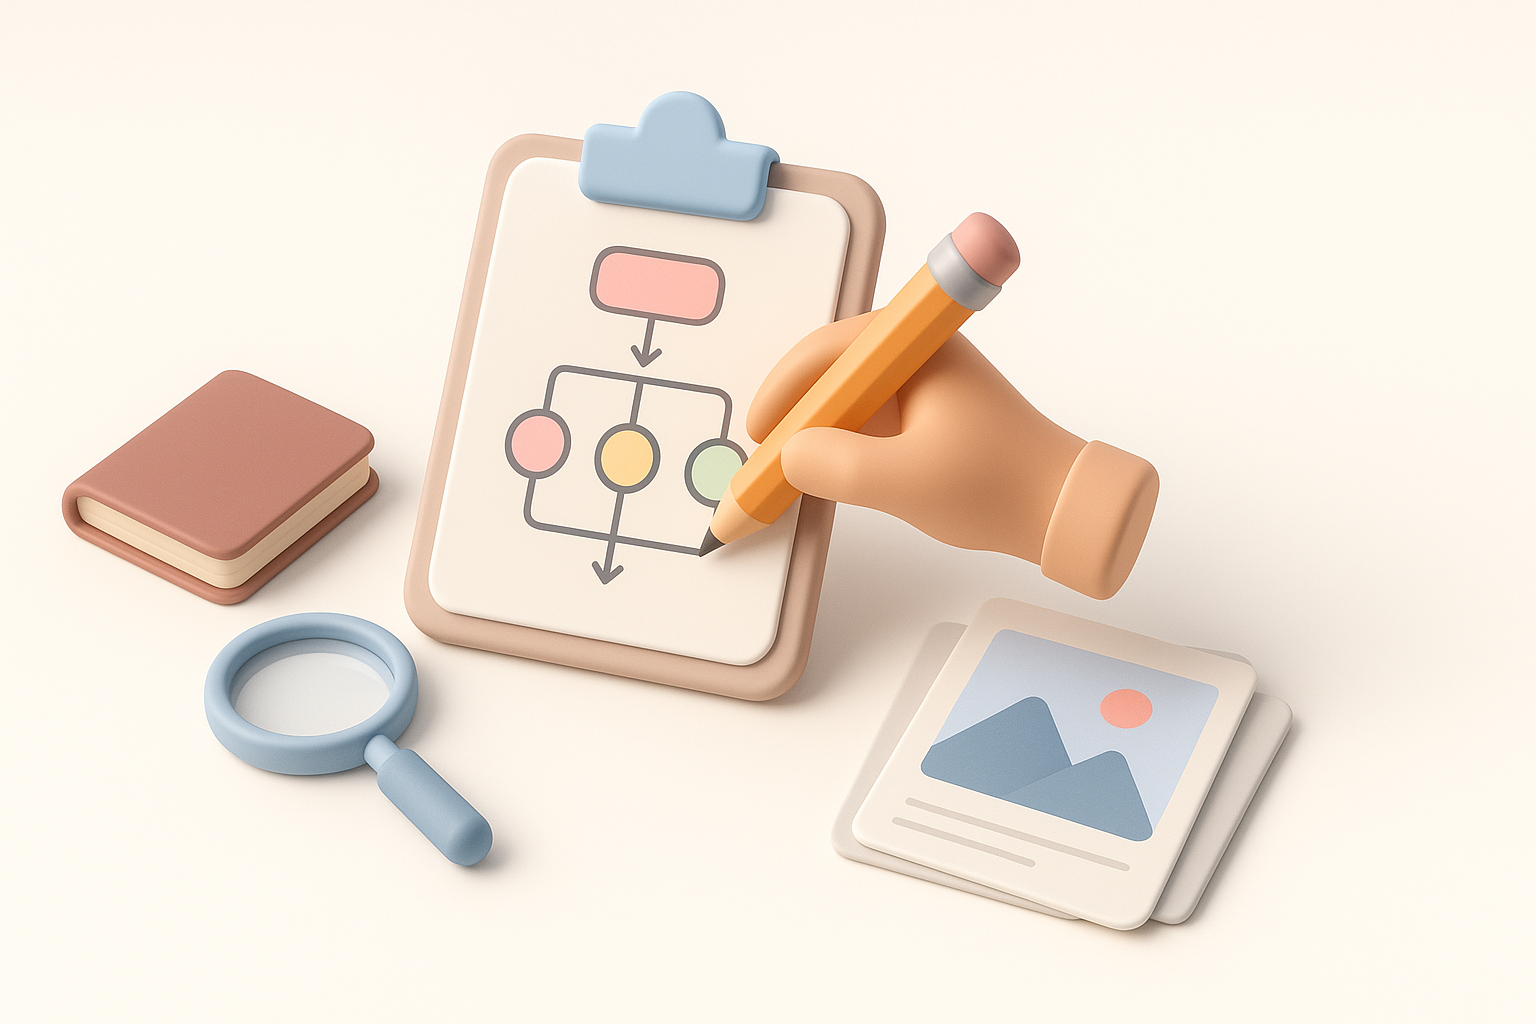
Planning and Reference Gathering
Collecting references and concept art
I always start with a reference board—official Omori art, fan interpretations, and screenshots. I include:
- Front, side, and 3/4 views if possible
- Key poses and expressions
- Color swatches
This keeps the project focused and helps me avoid stylistic drift mid-way.
Defining model scope and level of detail
Before opening any 3D software, I clarify:
- Intended use: Is it for real-time, animation, or static renders?
- Polycount targets and texture resolution
- Which features are essential (e.g., facial rigging, clothing layers)
Checklist:
- Gather at least 5 reference images
- Define model purpose and constraints
- List must-have features
Step-by-Step Omori 3D Model Creation Workflow
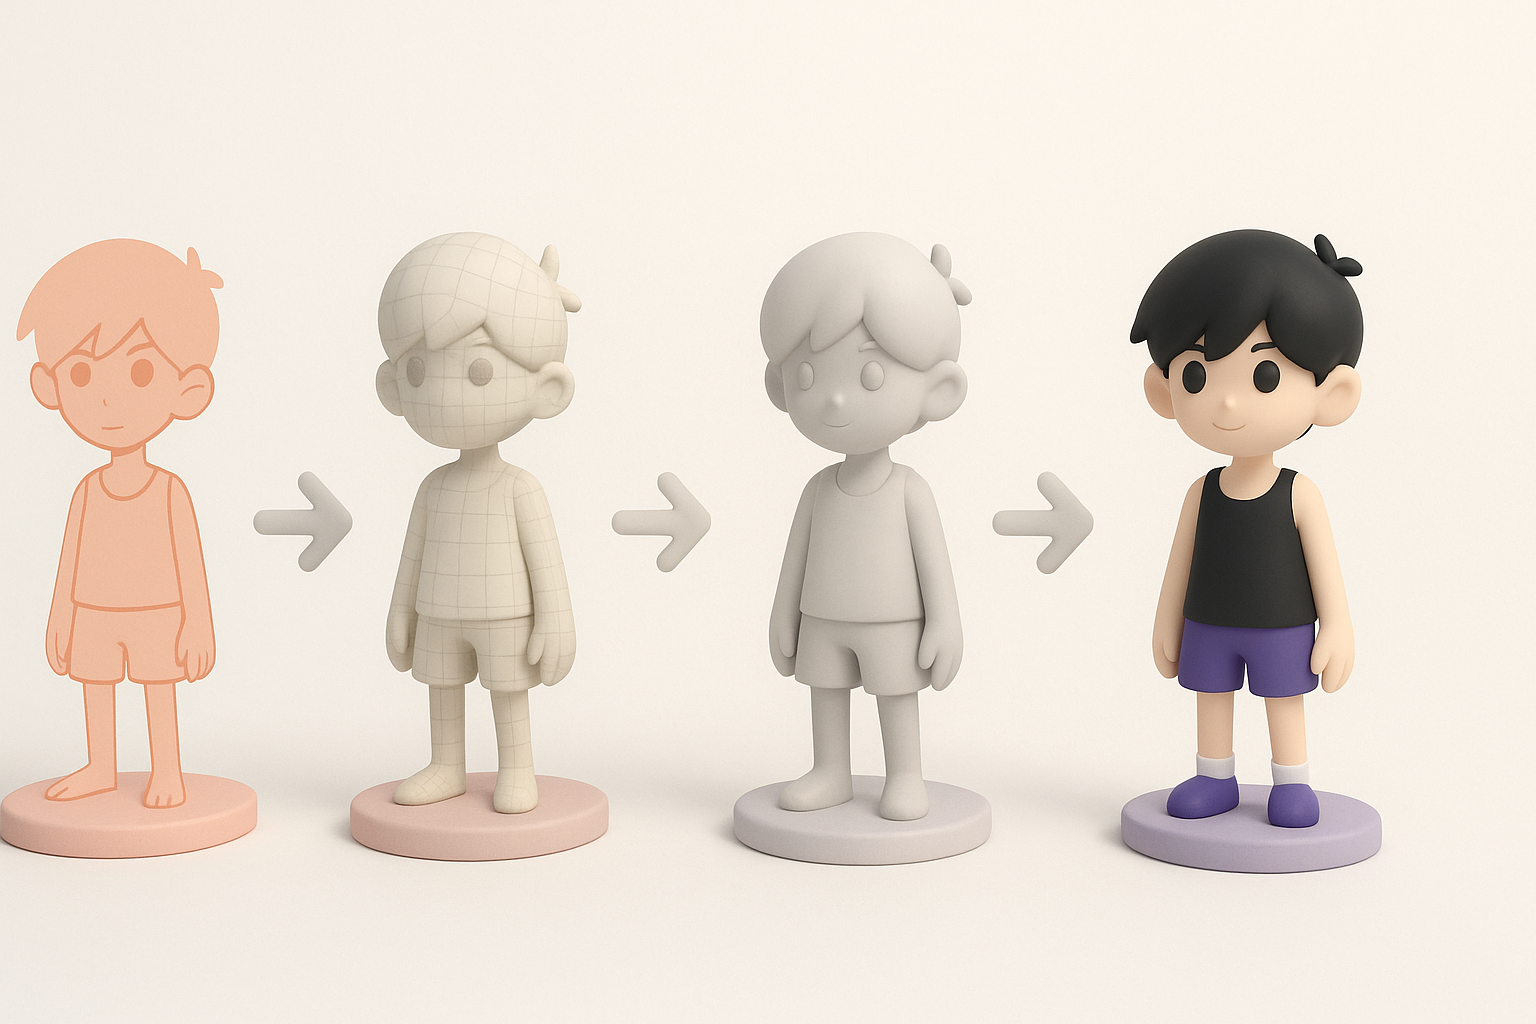
Blocking out the base mesh
I start with simple primitives—spheres for the head, cylinders for limbs. The goal is to establish proportions fast.
Steps:
- Block out major forms in low poly
- Check silhouette against references
- Adjust proportions before adding detail
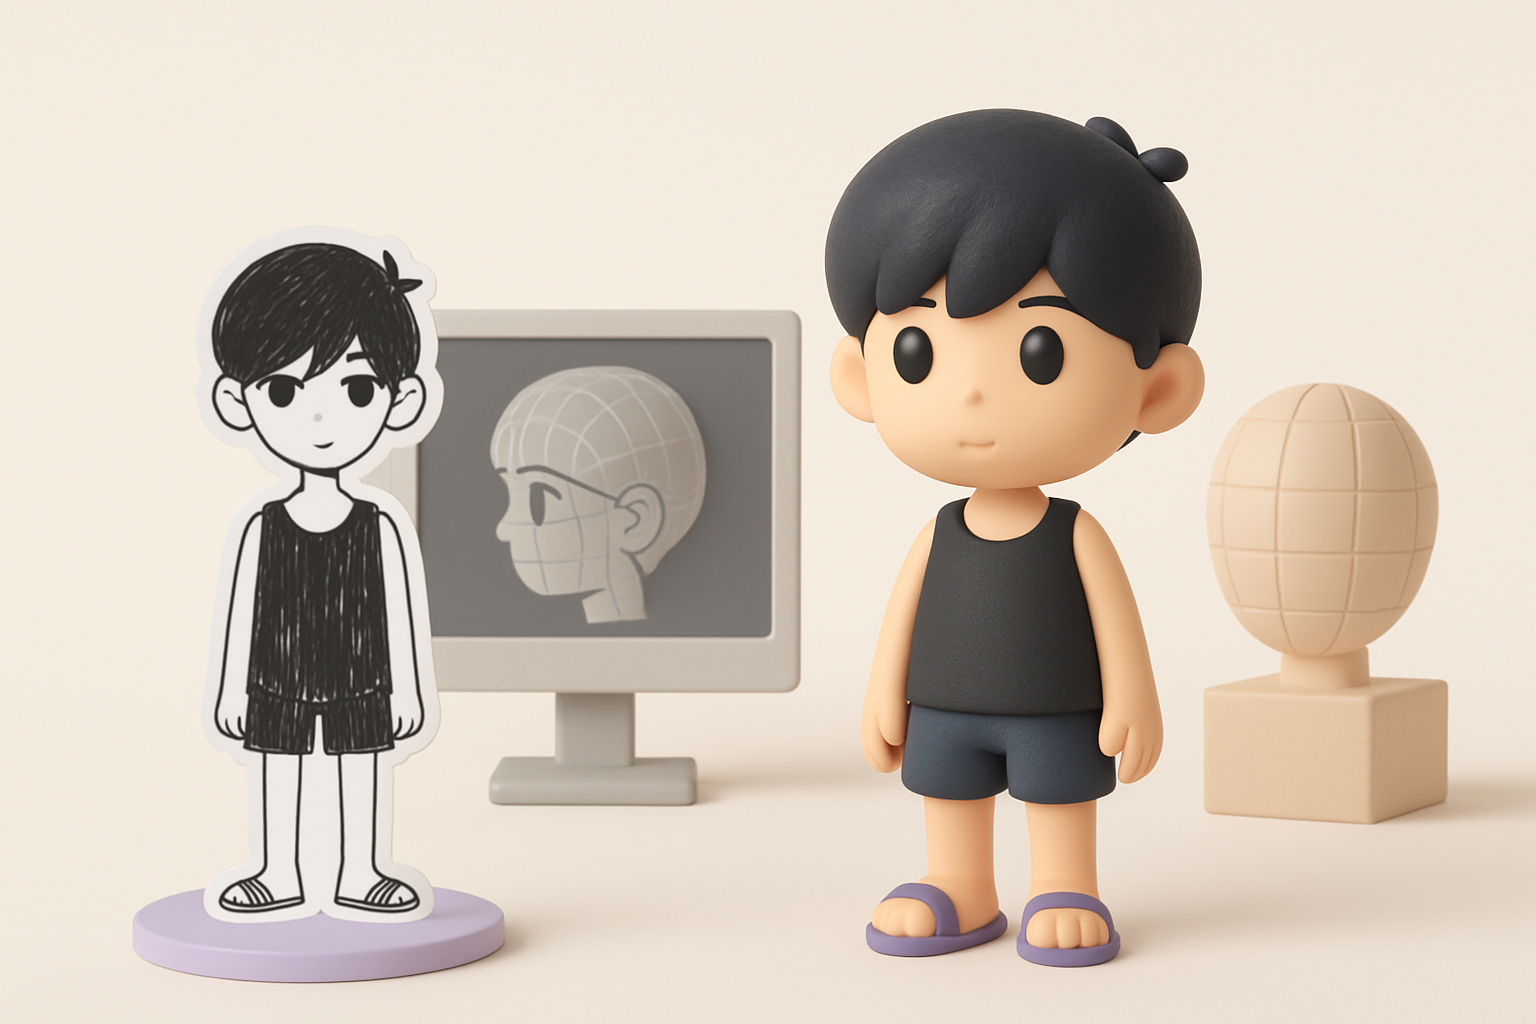
Using Tripo AI, I can input a sketch or description and get a base mesh that’s already close to the Omori style, saving me time on the initial blockout.
Refining shapes and proportions
Once the base is right, I move to secondary forms:
- Define the face shape, eye sockets, and mouth placement
- Sculpt or model clothing folds as needed
- Keep geometry clean—avoid unnecessary edge loops
Pitfall: Don’t rush into details too soon; it’s much harder to fix proportions later.
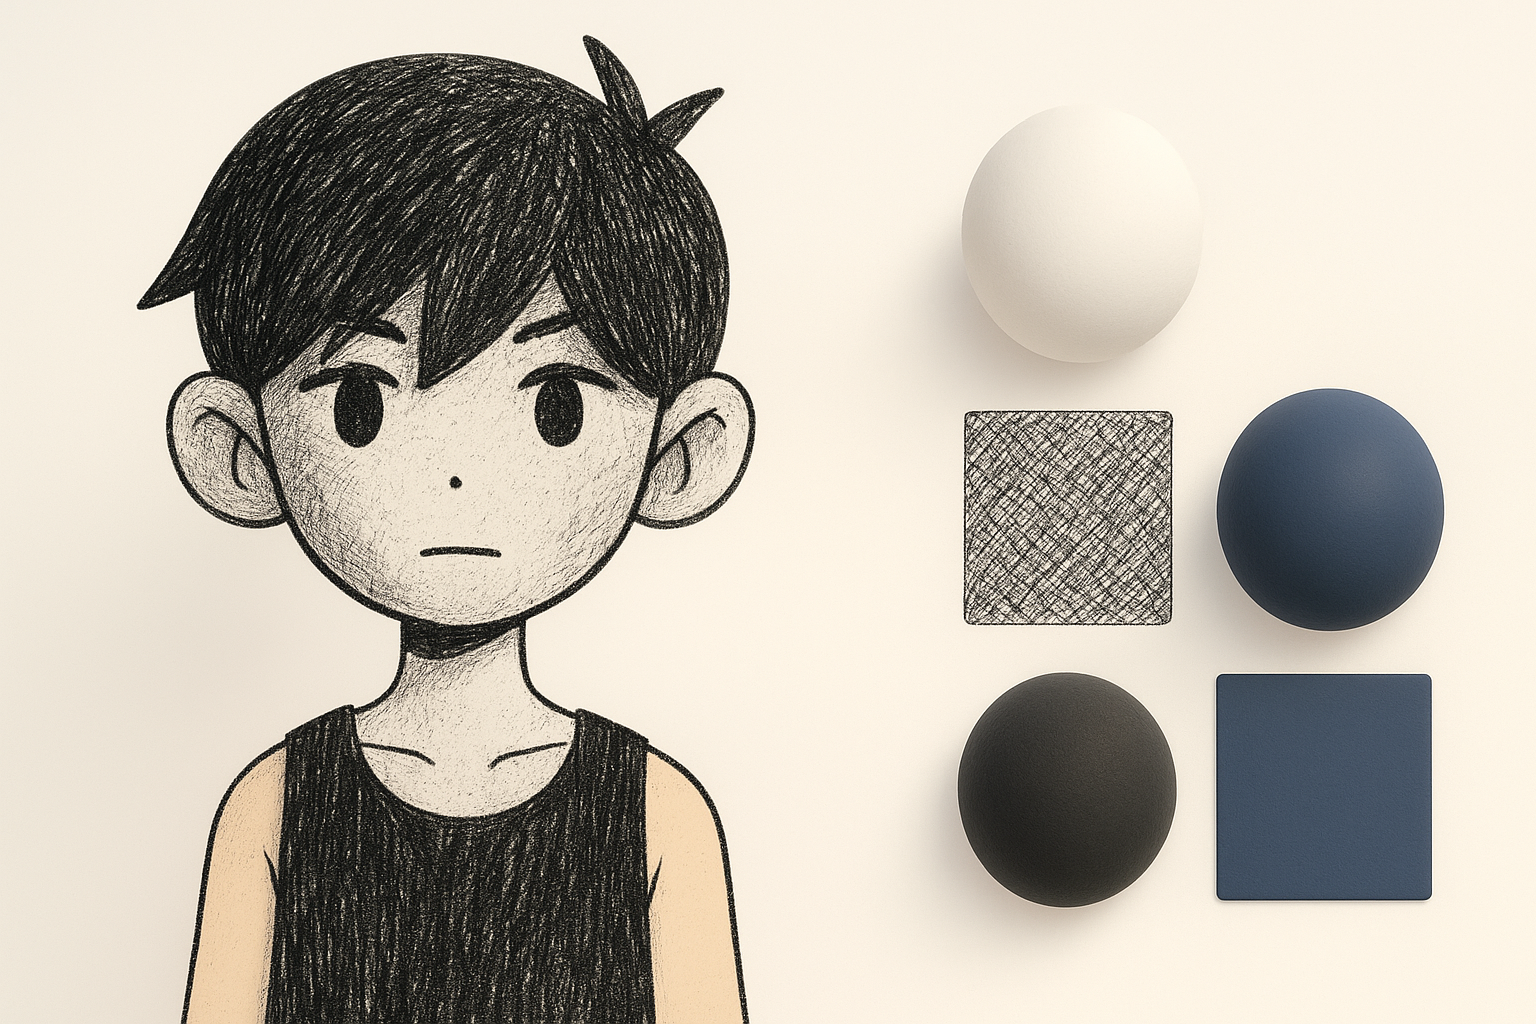
Texturing and Materials: Achieving the Omori Look

Hand-painted vs. procedural texturing
For Omori models, I prefer hand-painted textures:
- Gives direct control over stylization
- Allows for subtle gradients and highlights
Procedural methods can work, but often look too “clean” or complex for this style.
Tips for stylized shading and details
- Use flat color fills with minimal gradients
- Add subtle linework for features (sometimes as texture, sometimes as mesh)
- Avoid photorealistic materials—simple diffuse is best
Mini-checklist:
- Texture maps are low-res and painterly
- No unnecessary gloss or metallic effects
- Shading matches 2D reference
Rigging and Animation Considerations

Setting up a basic rig for Omori characters
I use a simple skeleton:
- Spine, head, arms, and legs—few bones needed
- Blend shapes or facial bones for expressions
For Tripo-generated models, I often use the built-in rigging tools, which handle basic bone placement automatically.
Animating with personality and style
Omori’s animation style is snappy and expressive. I focus on:
- Exaggerated poses and timing
- Minimal but clear movement
- Keyframed expressions rather than complex facial rigs
Tip: Test with idle, walk, and a few emotional poses to see if the rig supports the intended style.
Best Practices: Optimization and Exporting
Retopology and polygon count management
Stylized models don’t need dense meshes. I:
- Retopologize for clean edge flow—especially around joints and the face
- Target low-to-mid poly counts (1k–5k for characters)
- Use normal maps sparingly
Export settings for games or XR
- Export in standard formats (.fbx, .glb)
- Check scale and orientation
- Bake textures into simple maps (diffuse, optional normal)
Pitfall: Forgetting to check model scale or pivot points can cause in-game issues.
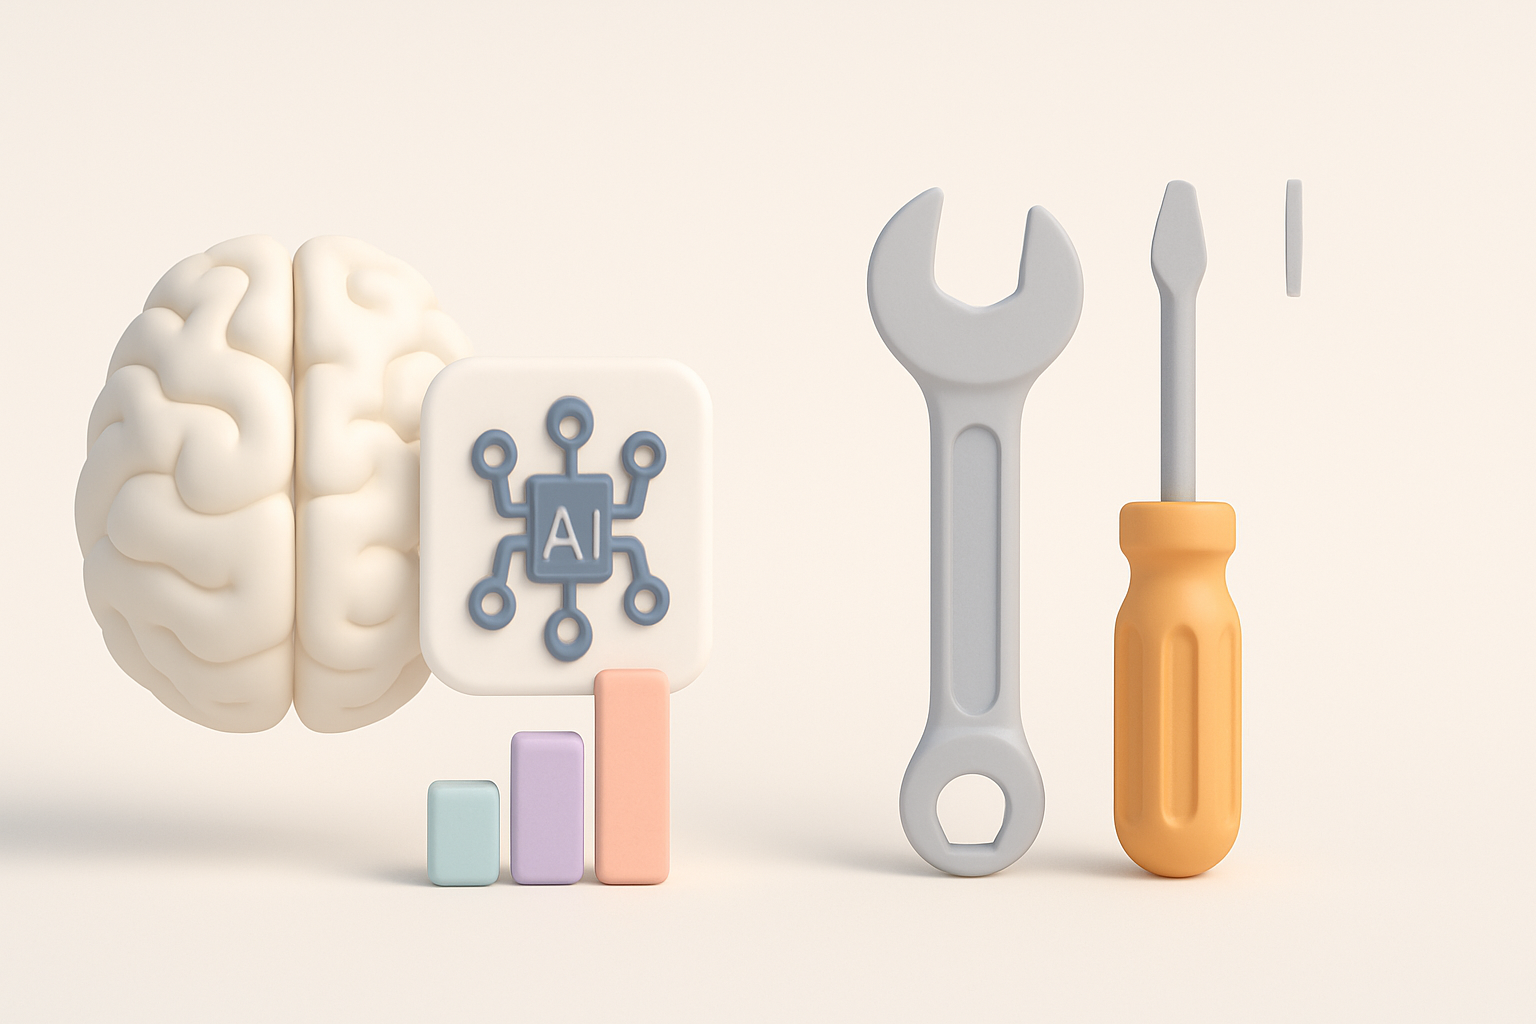
AI-Powered Tools and Alternative Methods

How I use Tripo AI for Omori-style models
I leverage Tripo AI to:
- Generate quick base meshes from sketches or text prompts
- Auto-segment and retopologize for clean topology
- Texture using reference-based or style-matched approaches
This accelerates my workflow, especially in early stages or for prototyping.
Comparing manual and AI-assisted workflows
Manual modeling gives ultimate control but is time-intensive. AI-assisted methods:
- Speed up blockout and repetitive tasks
- Can introduce minor style mismatches—always check outputs
- Are best used for base work, with manual refinement for final polish
Advice: Don’t rely solely on AI—use it as a creative partner, not a replacement for artistic judgment.
What I’ve Learned: Tips for Success and Common Pitfalls
Lessons from real-world projects
- Reference quality is everything—bad refs lead to bad models
- Frequent feedback (self or peer) catches issues early
- Iteration is normal—expect to tweak proportions, textures, and rigging multiple times
Troubleshooting and iteration advice
- If the model feels “off,” check proportions and silhouette first
- Use grayscale and flat-lit renders to spot issues
- Don’t be afraid to restart a step if the foundation isn’t solid
Common pitfalls to avoid:
- Overcomplicating geometry or textures
- Ignoring the original art’s simplicity
- Neglecting optimization for target platforms
By following this workflow, staying true to the Omori style, and leveraging modern tools wisely, I’ve consistently produced stylized 3D models that resonate with fans and work well in games or animation. The key is balancing efficiency with artistic intent—never let the tool dictate the style.


