Nintendo Switch Sports 3D Model: Workflow, Tips, and Best Practices
скачать 3d модели для chicken gun
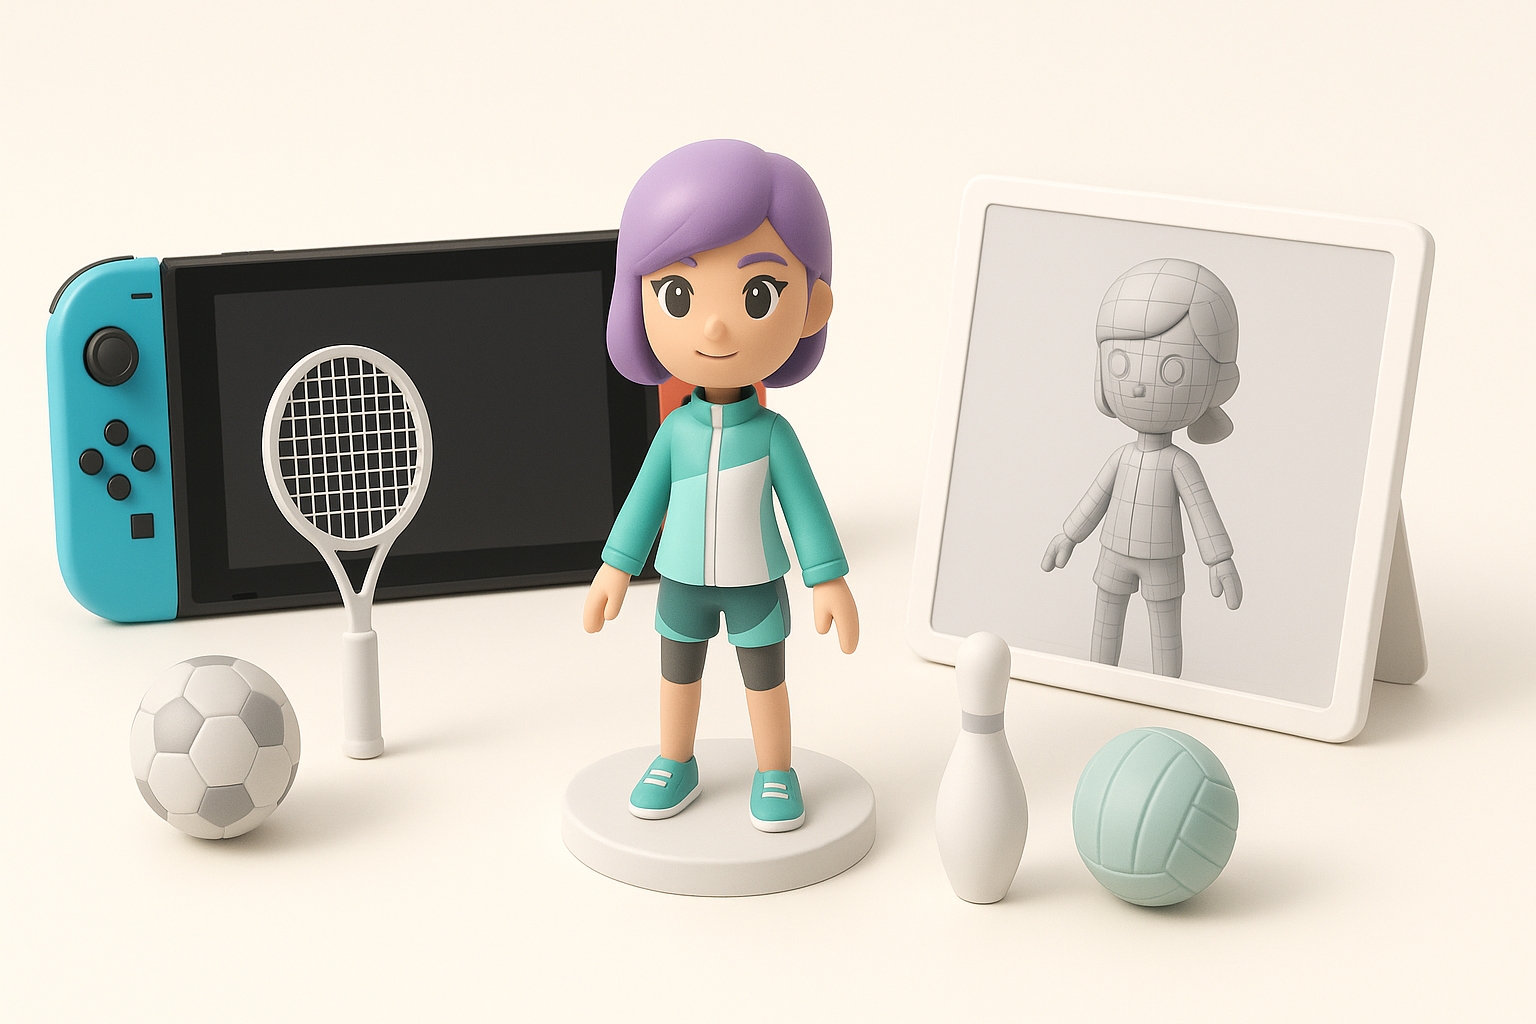
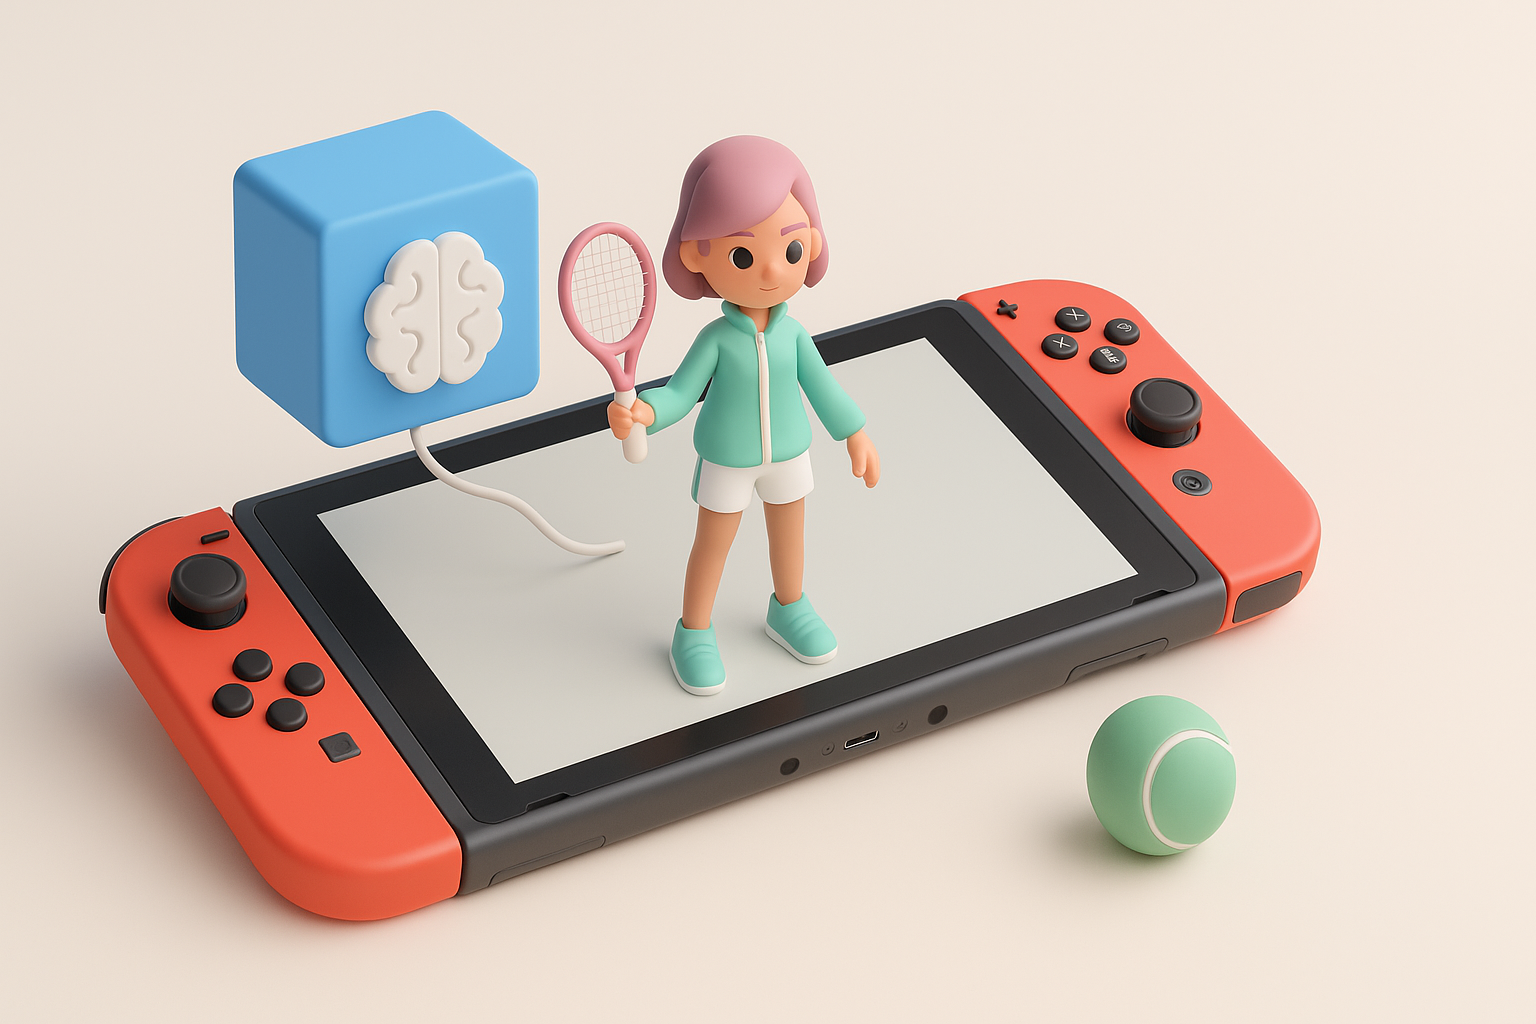
Creating production-ready 3D models for Nintendo Switch Sports-style assets requires a balance of stylized artistry, technical efficiency, and practical workflow management. In my experience, the most successful projects start with solid references, clear planning, and a streamlined modeling pipeline—often enhanced by the strategic use of AI-powered tools. This article is for 3D artists, game developers, and anyone interested in efficient, game-ready asset creation, especially for stylized sports games. I'll walk through my complete process, highlight common pitfalls, and share actionable tips from hands-on work.
Key takeaways:
- Begin with thorough reference gathering and clear concept planning.
- Block out base shapes before refining details for stylized accuracy.
- Prioritize clean UVs and efficient retopology for real-time performance.
- Leverage AI tools for segmentation, texturing, and rigging to save time.
- Always check model optimization and presentation before sharing or exporting.
Overview: Creating Nintendo Switch Sports 3D Models
Key considerations before starting
Before modeling, I always clarify the asset’s purpose: Is it for gameplay, cutscenes, or marketing? This impacts polycount, texture resolution, and rigging needs. Nintendo Switch Sports assets are stylized, with simple shapes and bold colors—accuracy and clean topology matter more than hyper-detail.
Checklist:
- Define target platform specs (Switch hardware has limits)
- Gather style guides and in-game references
- Set up a consistent naming and folder structure
Executive summary and main takeaways
My main advice: Don’t rush the planning phase. Smart prep saves hours downstream. Focus on clean, readable shapes and efficient geometry. Use AI tools where they give you the most return—typically segmentation, base mesh generation, or repetitive texturing tasks.
Reference Gathering and Concept Planning
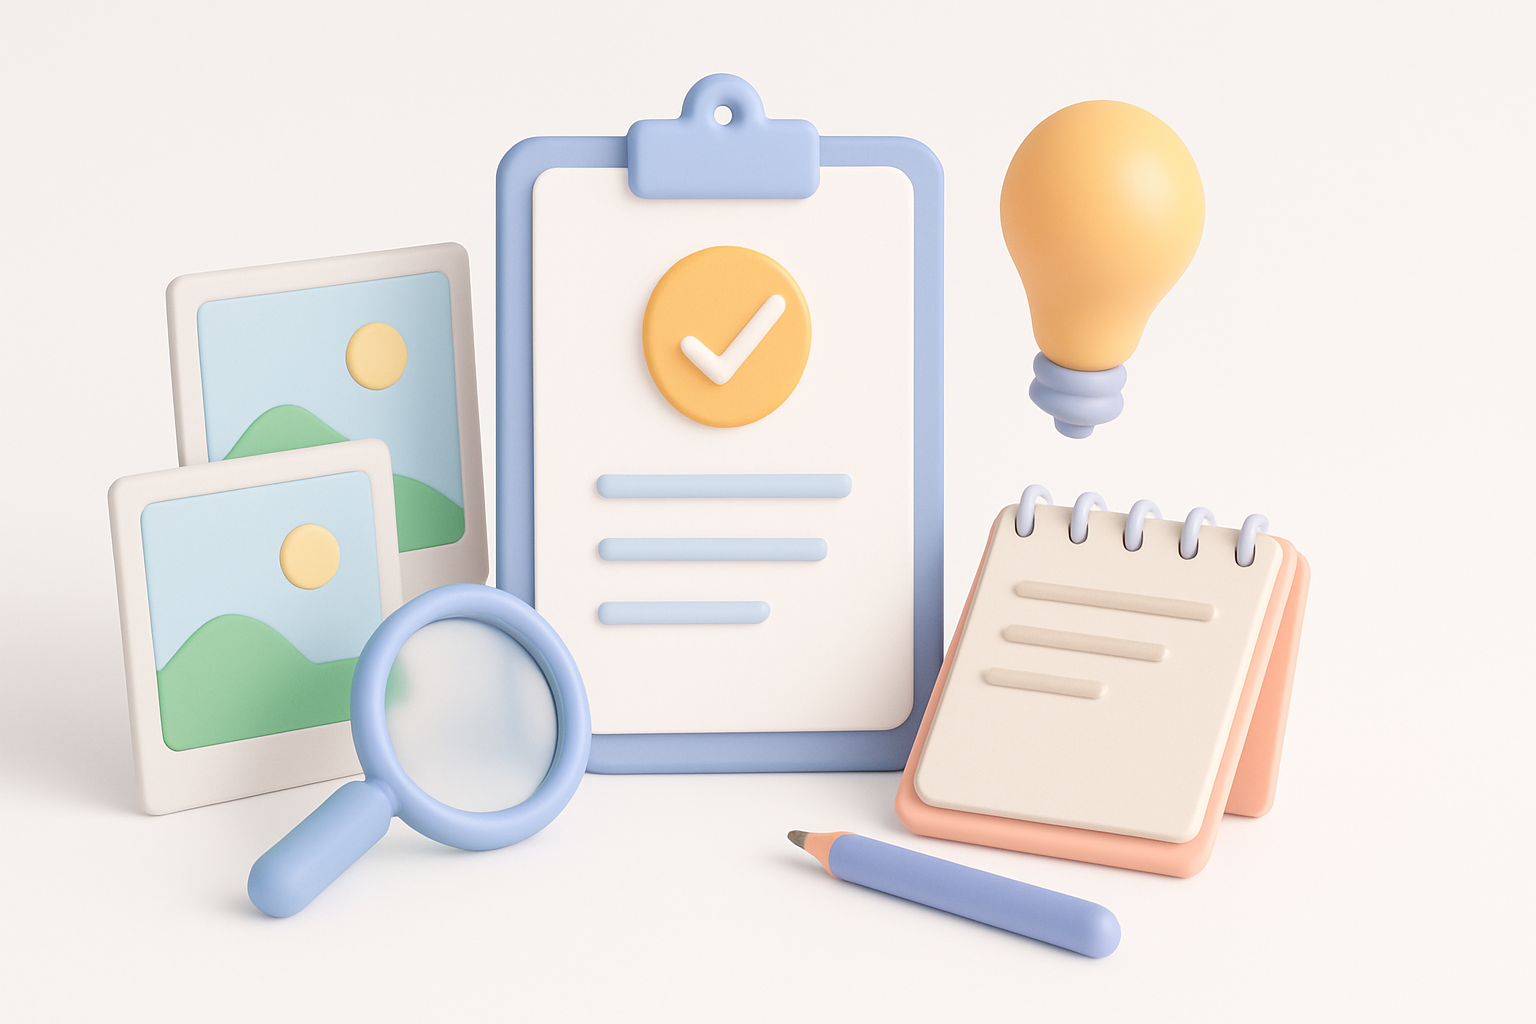
Finding accurate references for Nintendo Switch Sports assets
I start by collecting official artwork, gameplay screenshots, and model rips (if available). For Nintendo Switch Sports, in-game footage and community resources are invaluable. I also sketch over screenshots to clarify proportions and silhouettes.
Tips:
- Use orthographic views when possible
- Annotate references with notes on materials and joints
- Organize a reference board (PureRef or similar tools help)
Planning the modeling approach
Once references are set, I break down the asset into primary forms—torso, limbs, accessories. I decide which parts need separate meshes (for animation or customization) and which details will be in the texture rather than geometry.
Steps:
- Identify modular components (e.g., swappable outfits)
- Plan for rigging and animation early
- Block out a modeling schedule with milestones
3D Modeling Workflow: My Step-by-Step Process
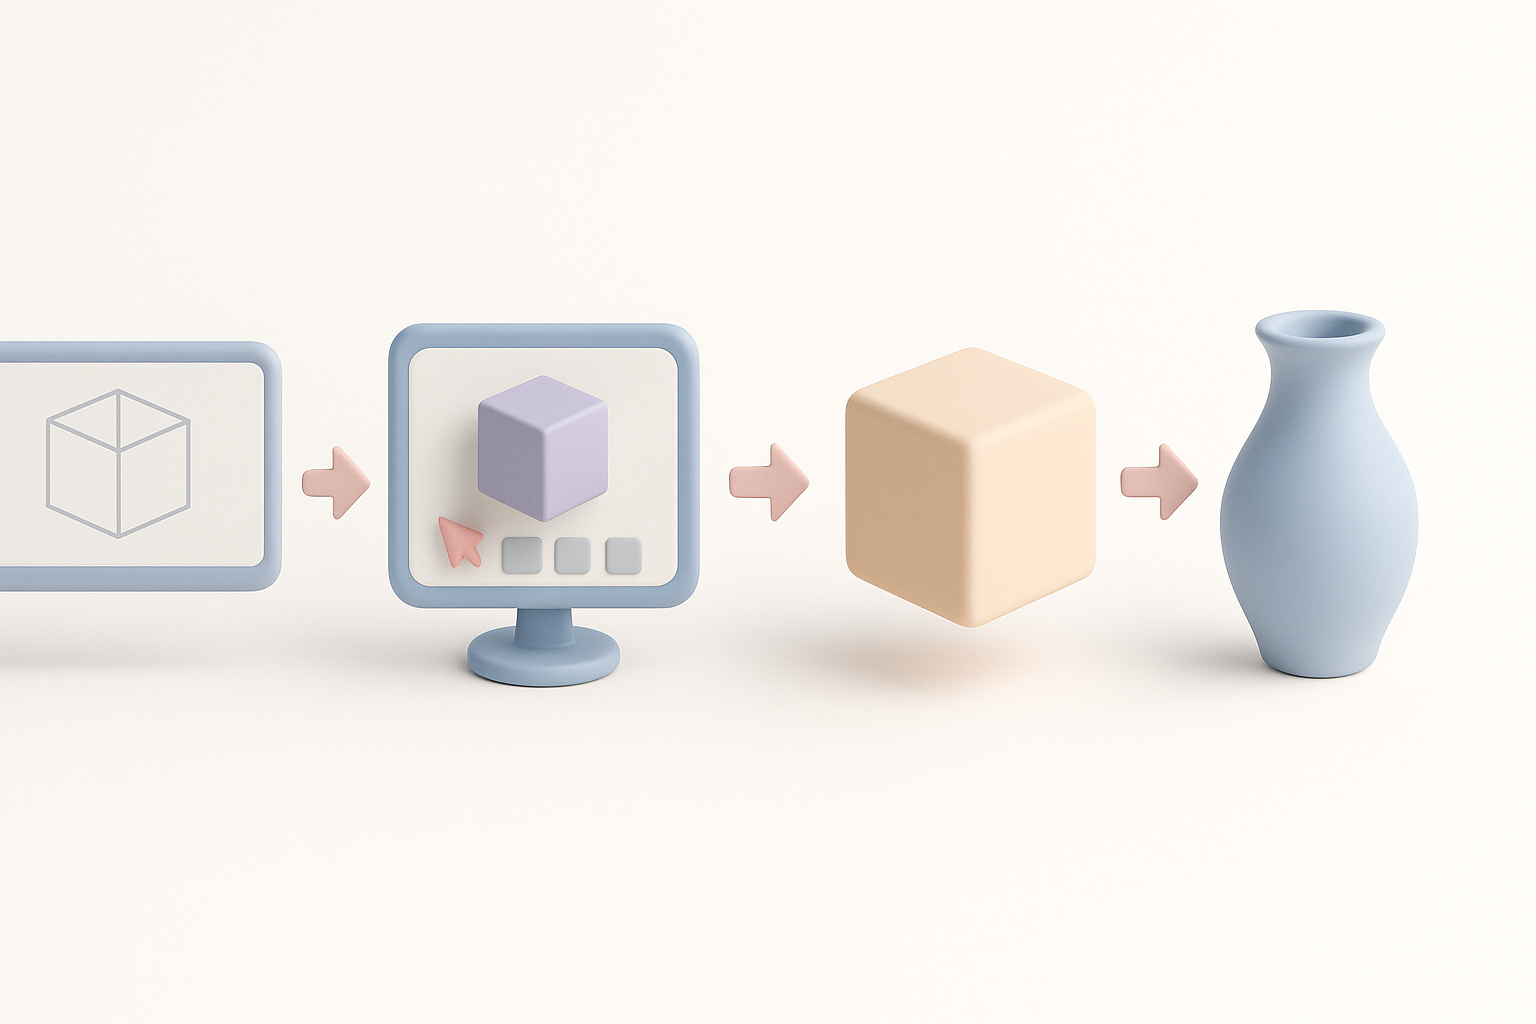
Blocking out the base shapes
I always start with low-poly primitives—cubes, spheres, cylinders. For stylized assets like Nintendo Switch Sports characters, I exaggerate proportions slightly and focus on silhouette.
My blocking workflow:
- Place primitives to match reference overlays
- Adjust scale and position for correct proportions
- Keep geometry simple—details come later
Refining details and proportions
With the base mesh in place, I gradually add edge loops and tweak vertices for more definition. For sports gear or clothing, I use separate meshes for flexibility. I avoid high-density meshes; instead, I rely on smart edge flow and normal maps for subtle details.
Pitfalls to avoid:
- Over-modeling small details (add these in texture)
- Ignoring joint deformation areas (keep topology clean around elbows/knees)
Texturing and Material Creation
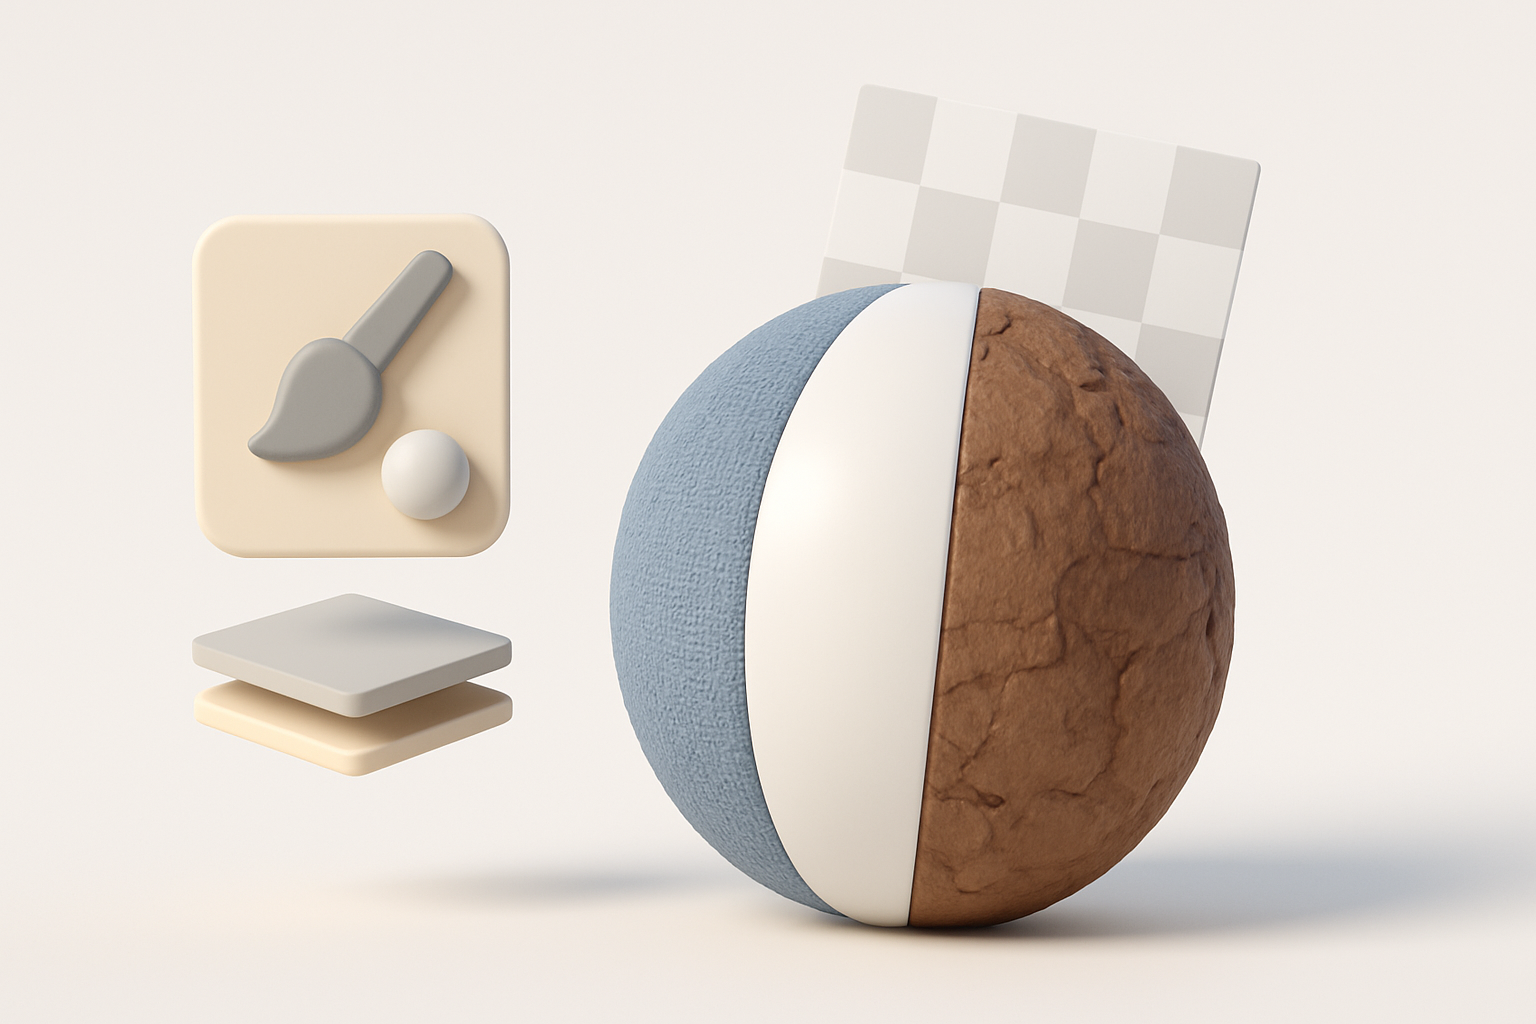
Best practices for stylized textures
Nintendo Switch Sports assets use bold, flat colors with minimal gradients or noise. I hand-paint most textures, using AI tools to speed up base color fills or pattern generation when it fits the style.
Texturing tips:
- Use a limited palette for consistency
- Layer subtle highlights and shadows for depth
- Avoid photorealistic details—keep it clean
UV mapping and material setup
Clean UVs are essential for stylized assets. I keep seams in hidden areas and maximize UV space. For materials, I stick to simple shader setups (diffuse, sometimes a slight specular).
UV workflow:
- Unwrap with minimal distortion
- Pack UV islands efficiently
- Test textures early to catch stretching or seams
Retopology, Optimization, and Export
Efficient retopology for game-ready models
Once the sculpt or high-poly is done (if needed), I retopologize manually or use AI-assisted tools for faster results. For Switch hardware, I target low-to-mid polycounts, with clean edge loops for animation.
Retopology steps:
- Focus density where the mesh deforms
- Keep face count as low as possible without losing silhouette
- Check for ngons and fix them
Export settings and file formats
I export in FBX or OBJ, depending on the engine or pipeline. I double-check scale, orientation, and naming conventions. For textures, PNG or TGA formats work best.
Export checklist:
- Apply transforms and freeze scale
- Export with embedded materials if possible
- Test import into the target engine before finalizing
Using AI Tools for Nintendo Switch Sports 3D Models
How I integrate AI-powered platforms into my workflow
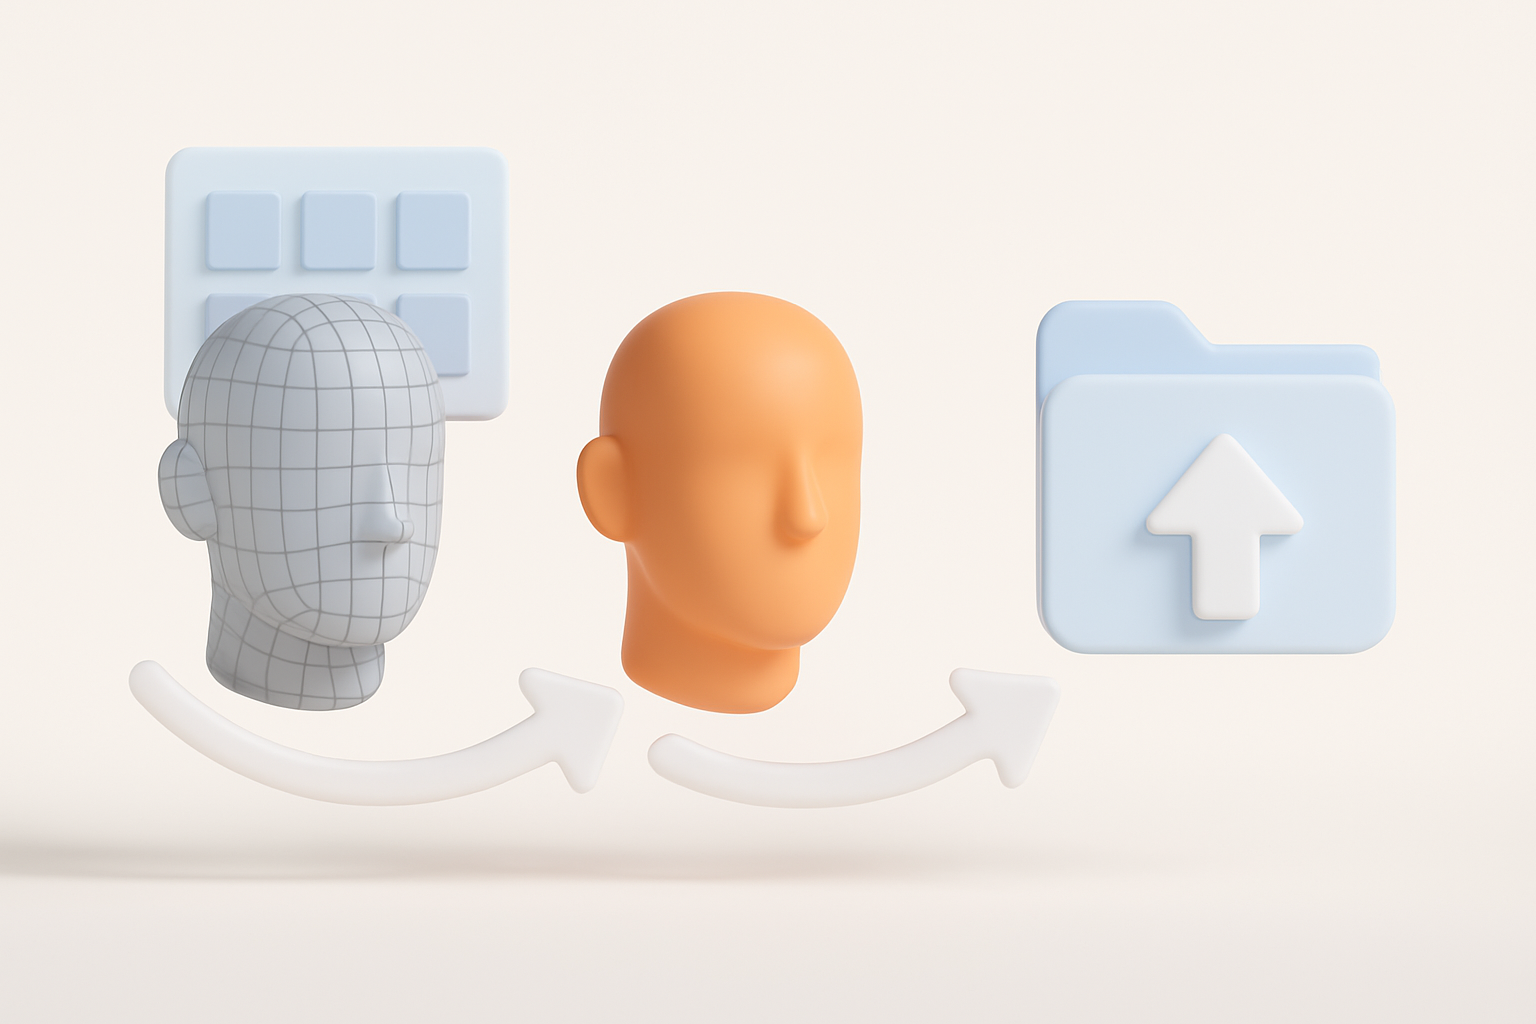
AI tools have become a core part of my workflow, especially for generating base meshes, automatic segmentation, and quick retopology. For stylized assets, I use AI to handle repetitive tasks, freeing me up for creative decisions.
Integration tips:
- Use AI for initial segmentation and base mesh creation
- Let AI auto-unwrap UVs, then manually tweak as needed
- Generate texture flats or base colors, then refine by hand
Tips for leveraging AI for segmentation, texturing, and rigging
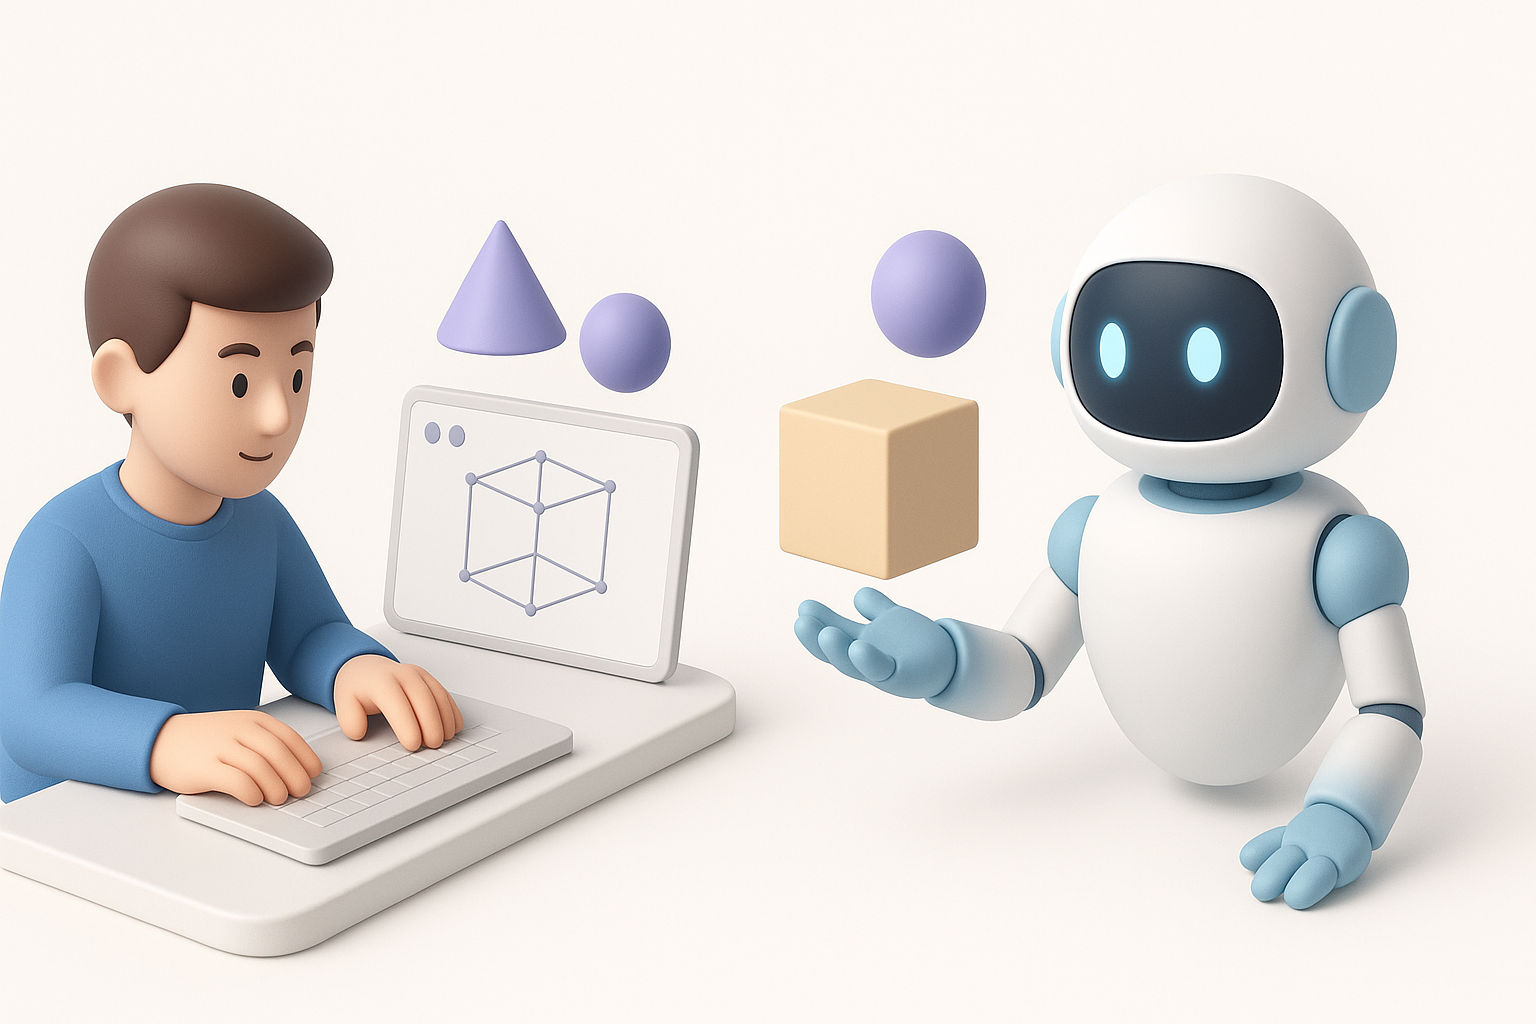
Tripo and similar platforms excel at breaking down complex references into usable mesh parts, generating clean UVs, and creating basic rigs for quick animation testing. I always review and adjust AI output for style consistency and technical accuracy.
Best practices:
- Review AI-generated geometry for artifacts
- Customize textures to match the project’s style guide
- Use AI rigging as a starting point, but refine weights manually
Comparison: Manual vs. AI-Assisted 3D Modeling
Pros and cons from my experience
Manual modeling gives me full control and is ideal for unique, high-importance assets. AI-assisted workflows excel at speed and batch processing, especially for background or repeatable props.
Pros of AI-assisted:
- Faster iteration and prototyping
- Reduces repetitive work
- Good for non-hero assets
Cons:
- May require extra cleanup
- Sometimes less stylistically precise
When to choose each approach
I use manual methods for hero characters and key animations, and AI-assisted tools for environment props or when deadlines are tight. The trick is knowing when AI output is “good enough” and where hand-tuning adds value.
Common Challenges and How I Overcome Them
Troubleshooting mesh and texture issues
Common issues include flipped normals, UV stretching, or shading artifacts. I rely on viewport shading modes and test renders to catch these early.
My troubleshooting steps:
- Check normal orientation and recalculate if needed
- Use checkerboard textures to spot UV issues
- Inspect mesh in wireframe for hidden geometry
Optimizing for real-time performance
Switch hardware demands efficiency. I keep polycount and texture size in check, use LODs where appropriate, and profile assets in-engine.
Optimization checklist:
- Remove hidden faces and unused vertices
- Bake details into normal maps
- Test frame rates with assets loaded
Final Checks and Presentation
Rendering and showcasing your model
For portfolio or client review, I set up simple three-point lighting in a neutral environment. I use turntables and close-up renders to highlight key features.
Presentation tips:
- Use neutral backgrounds to avoid distraction
- Include wireframe and texture breakdowns
- Show the model in context (e.g., in-engine screenshot)
Sharing and portfolio tips
I export clean renders, annotated breakdowns, and process GIFs. For online sharing, I optimize file size and use platforms that support 3D viewers.
Portfolio best practices:
- Document your process—show before/after AI steps
- Credit any AI tools or references used
- Keep project files organized for future updates
By following this workflow, I consistently deliver Nintendo Switch Sports-style 3D models that are both visually appealing and technically sound. The key is balancing creative control with efficient, modern tools—always with an eye on the final platform and audience.


