Creating Effective 3D Models for Natural Disaster Survival
When it comes to preparing for natural disasters, production-ready 3D models are invaluable for training, planning, and real-time simulation. Over years of working on survival-focused projects, I’ve learned that clarity, accuracy, and usability are essential—especially when lives may depend on it. This article breaks down my complete workflow, from research to deployment, including tips for using AI-powered tools like Tripo to speed up the process. Whether you’re building assets for games, simulations, or XR, my goal is to help you create 3D models that are both realistic and practical for disaster scenarios.
Key takeaways:
- Realistic, accurate 3D models are critical for disaster preparedness and simulation.
- Reference quality and data sources directly affect model usefulness.
- AI platforms like Tripo can dramatically speed up asset creation and iteration.
- Usability, clarity, and optimization are just as important as visual fidelity.
- Proper texturing, rigging, and animation bring survival scenarios to life.
- Version control and collaboration are essential for larger teams and projects.
Understanding the Role of 3D Models in Disaster Survival
Why 3D models matter for planning and training
From my experience, 3D models bridge the gap between theory and practice. They allow emergency planners and responders to visualize complex environments, run realistic drills, and test strategies without real-world risk. For training, immersive 3D scenarios help teams build muscle memory and decision-making skills under stress.
Practical uses:
- Simulating flood, fire, or earthquake scenarios in real-time.
- Testing evacuation routes and shelter layouts.
- Training first responders in realistic virtual environments.
Real-world scenarios where 3D models save lives
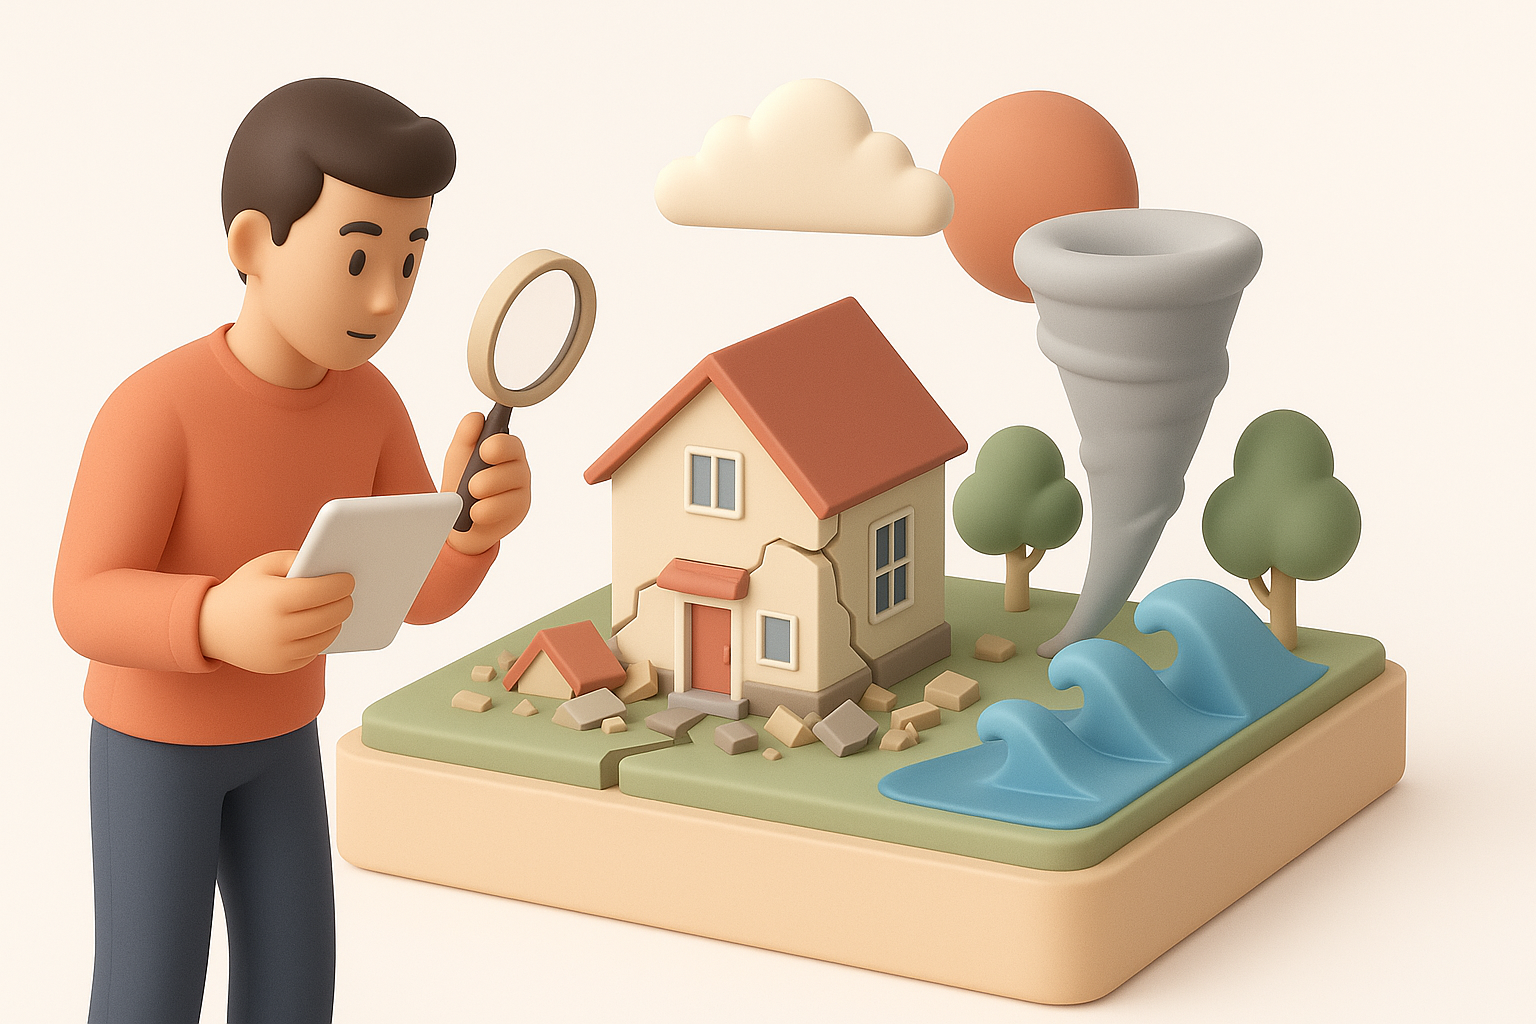
I’ve seen 3D models used to simulate hurricane impacts on coastal towns, helping authorities pre-position resources and plan evacuations. In earthquake-prone regions, detailed building models are essential for collapse simulations and search-and-rescue training. These assets are also used in public education, making complex risks understandable for non-experts.
Examples:
- Virtual drills for schools and hospitals.
- City-scale models for disaster response coordination.
- XR walkthroughs for emergency preparedness outreach.
My Workflow: Designing Survival-Focused 3D Assets
Choosing the right references and data sources
Quality references are non-negotiable. I start with satellite imagery, topographic maps, and official hazard data. For man-made structures, I rely on architectural plans or on-site photos. In disaster modeling, accuracy matters more than artistic interpretation.
Checklist:
- Gather real-world photos and videos of disaster aftermaths.
- Use GIS data for terrain and building footprints.
- Reference official emergency plans for layouts and signage.
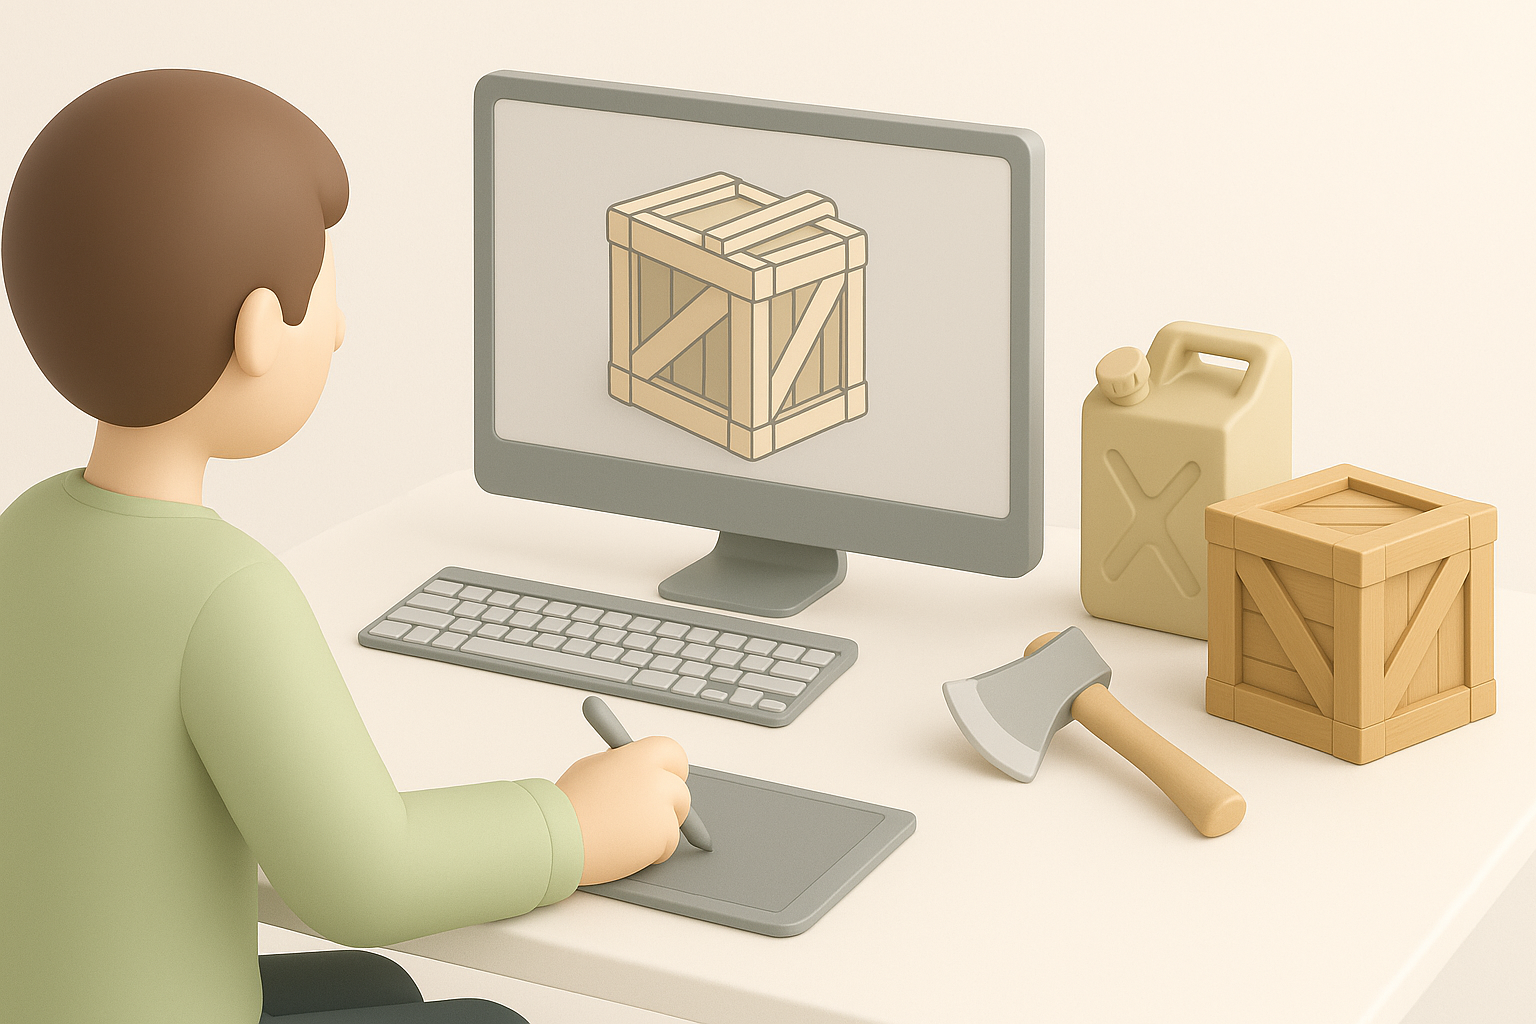
Step-by-step process from concept to completion
Here’s my typical workflow:
- Concept: Define the other tools and required assets (e.g., flooded streets, damaged bridges).
- Reference Collection: Assemble visual and data references.
- Blockout: Rough out shapes and layouts in 3D.
- Detailing: Add structural details, debris, and context elements.
- Optimization: Retopologize for performance, especially for simulations and XR.
- Texturing & Rigging: Apply realistic materials and prepare for animation.
- Review & Iterate: Test in the target environment, gather feedback, and refine.
When time is tight, I use Tripo to generate base meshes from sketches or reference images, then refine them as needed.
Best Practices for Realistic and Usable Survival Models
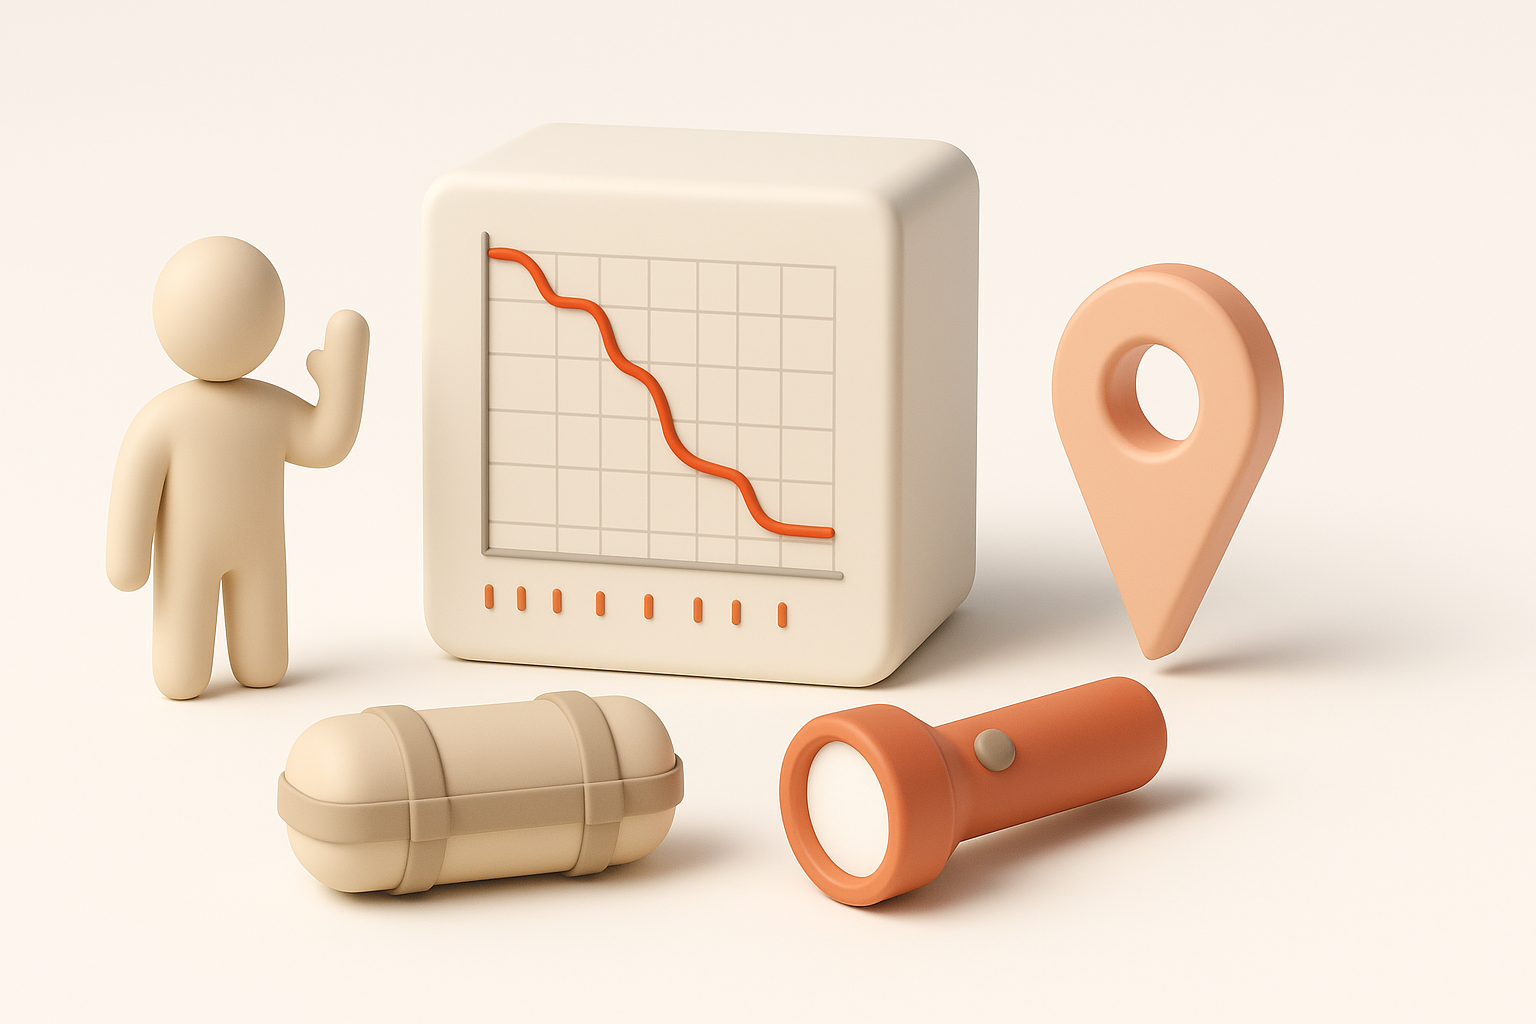
Optimizing for clarity, accuracy, and usability
In survival scenarios, clarity trumps visual noise. I focus on readable silhouettes, clear color coding (for hazards, exits, etc.), and accurate proportions. For interactive models, I keep poly counts manageable and use LODs (levels of detail) for performance.
Tips:
- Use consistent scale and orientation.
- Label critical objects (e.g., exits, emergency kits).
- Test for visibility in low-light or obstructed conditions.
Common pitfalls and how I avoid them
Some mistakes I’ve learned to avoid:
- Overcomplicating geometry: Too much detail can slow down simulations.
- Ignoring real-world constraints: Unrealistic layouts or props can mislead users.
- Neglecting user feedback: Always test with end users—what makes sense to a 3D artist may not be clear to a field responder.
Pitfall checklist:
- Double-check scale and measurements.
- Validate against real-world procedures.
- Review with subject matter experts.
Texturing, Rigging, and Animation for Disaster Scenarios
Techniques for believable environments and props
I use photo-based textures for realism, but always tweak them for clarity and performance. For disaster scenarios, I add wear, debris, and weathering effects using procedural tools or hand-painting. Props (like emergency equipment) need bold, readable textures and clear function cues.
Workflow:
- Unwrap UVs efficiently for clean texture mapping.
- Use tiling textures for large surfaces (e.g., roads, walls).
- Layer grime, water, and damage for authenticity.
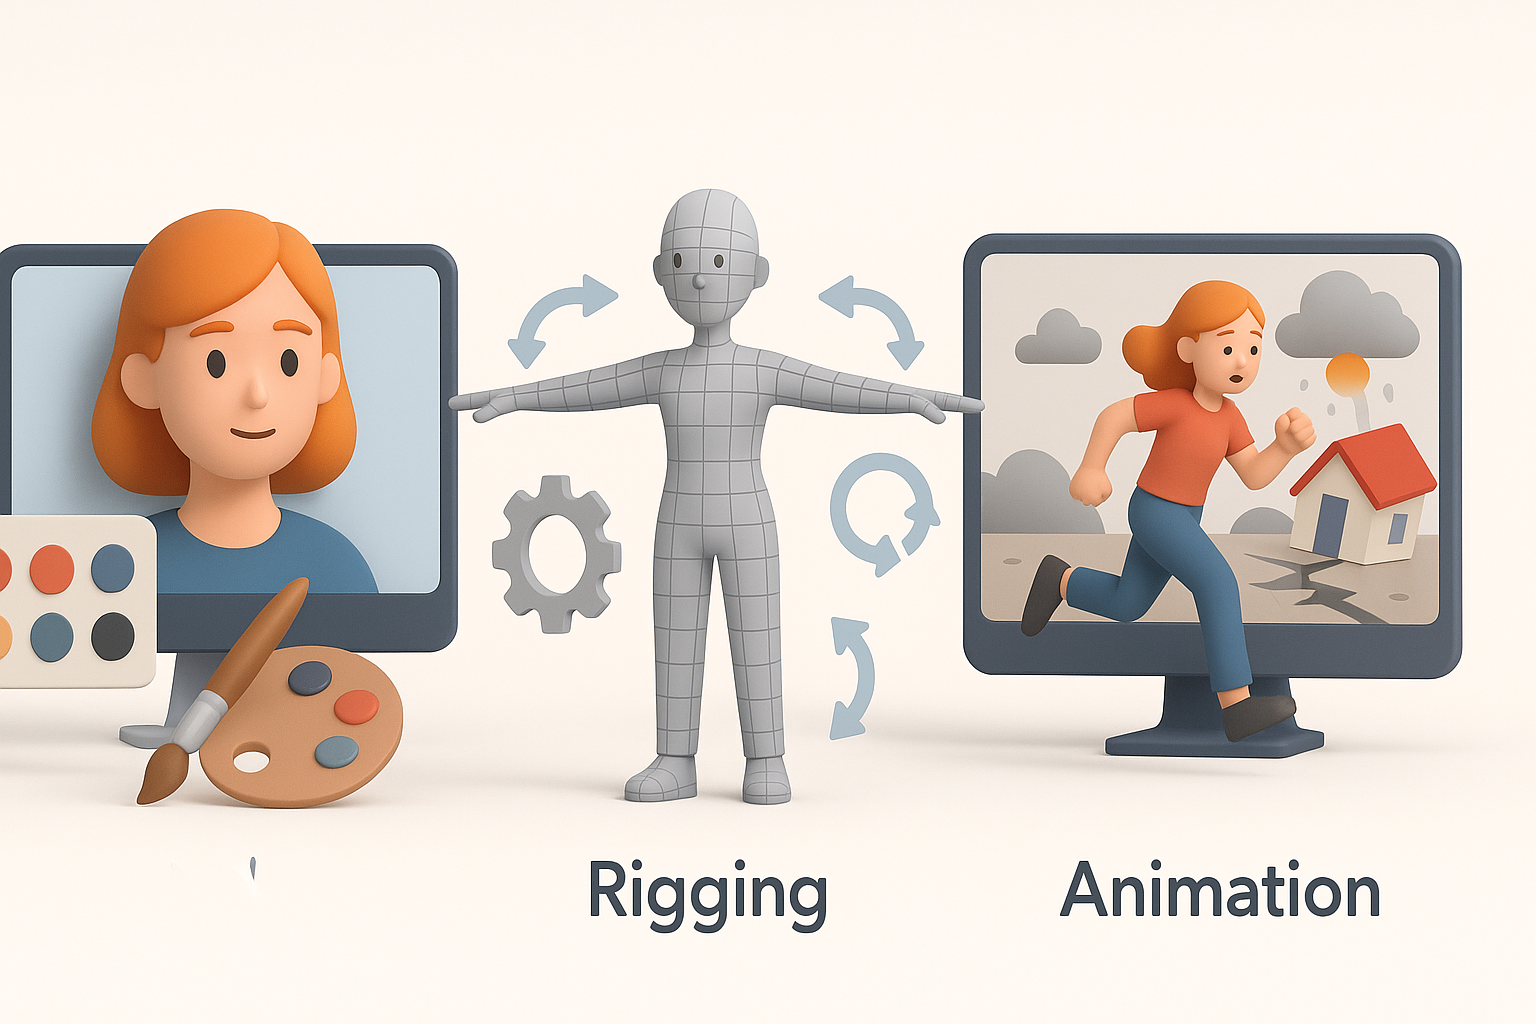
Animating survival actions and emergency responses
Animations bring scenarios to life—think doors being barricaded, people evacuating, or equipment being deployed. I rig props and basic characters for key actions, focusing on clarity and speed of movement. For rapid prototyping, I often use AI-assisted rigging or motion capture data, then fine-tune manually.
Animation steps:
- Identify critical survival actions (e.g., opening exits, using fire extinguishers).
- Keep movements readable and purposeful.
- Test animations in context to ensure they communicate intent.
Comparing Tools and Methods for 3D Disaster Modeling
When to use AI-powered platforms like Tripo
In my workflow, I turn to Tripo when I need to generate models quickly from minimal input—like a sketch of a collapsed building or a photo of a rescue vehicle. It’s especially useful for iterating on environment variations or generating props at scale. For custom or highly technical assets, I often start with AI-generated bases and refine them manually.
When to use AI tools:
- Rapid prototyping and other tools iteration.
- Generating multiple asset variations.
- Filling out large environments with context props.
Alternative methods and manual workflows
For specialized assets or when absolute accuracy is required, I rely on manual modeling and sculpting. Traditional workflows give me full control over every detail, but are slower and more labor-intensive. I sometimes blend both approaches—AI for speed, manual for precision.
Manual workflow pros:
- Maximum control and customizability.
- Better for unique or highly technical models.
- Easier to match specific real-world references.
Deploying and Sharing Survival 3D Models
Exporting for games, simulations, and XR
I always check platform requirements before export. For games and XR, optimized meshes and efficient texture maps are essential. I export in widely supported formats (FBX, OBJ, GLTF), ensuring materials and animations are compatible.
Export checklist:
- Check scale and orientation.
- Bake lighting or ambient occlusion if needed.
- Package textures and animations with clear naming conventions.
Collaboration tips and version control
On larger projects, version control is non-negotiable. I use cloud-based repositories and clear naming/versioning for assets. For team workflows, I recommend regular reviews and feedback cycles—especially when working with non-3D specialists like emergency planners.
Collaboration best practices:
- Use shared asset libraries and documentation.
- Maintain a changelog for major updates.
- Schedule regular syncs between artists, developers, and subject matter experts.
By applying these principles and workflows, I’ve created 3D assets that not only look convincing but also serve real-world disaster preparedness and response efforts. Whether you’re working solo or with a team, the right approach—and the right tools—make all the difference.


