Creating and Optimizing Muscle 3D Models: Expert Workflow
Building accurate, production-ready muscle 3D models requires a deep understanding of anatomy, careful tool selection, and a streamlined workflow. Over years of hands-on experience, I’ve refined my approach to balance realism, efficiency, and compatibility for games, XR, and film. This article distills my end-to-end process—highlighting anatomy study, tool choices, AI-powered optimizations, and practical troubleshooting. If you’re a 3D artist, technical director, or developer aiming to create muscle models that look and move convincingly, these insights will save you time and headaches.
Key takeaways:
- Anatomy reference is the foundation—never skip it.
- AI-powered tools can dramatically speed up segmentation and retopology.
- Rigging muscles for realistic movement takes planning and iteration.
- Optimize topology and textures for your target platform early.
- Always verify exports for compatibility and performance.
- Expect setbacks; troubleshooting is part of the process.
Executive Summary and Key Takeaways
What I’ve learned from muscle 3D modeling
Muscle modeling is as much about anatomical accuracy as it is about technical execution. Early in my career, I underestimated the importance of in-depth reference study, which led to models that looked “off” in motion or under lighting. With experience, I’ve learned that a solid workflow—anchored in good references, the right tools, and iterative testing—makes the difference between a passable model and one that truly sells the illusion of muscle.
Essential conclusions for creators
- Invest time up front in anatomy research.
- Use AI-powered segmentation and retopology to save hours.
- Plan your rigging with the final animation in mind.
- Always test your models in their intended engine or renderer.
- Keep your workflow adaptable; new tools can shift best practices quickly.
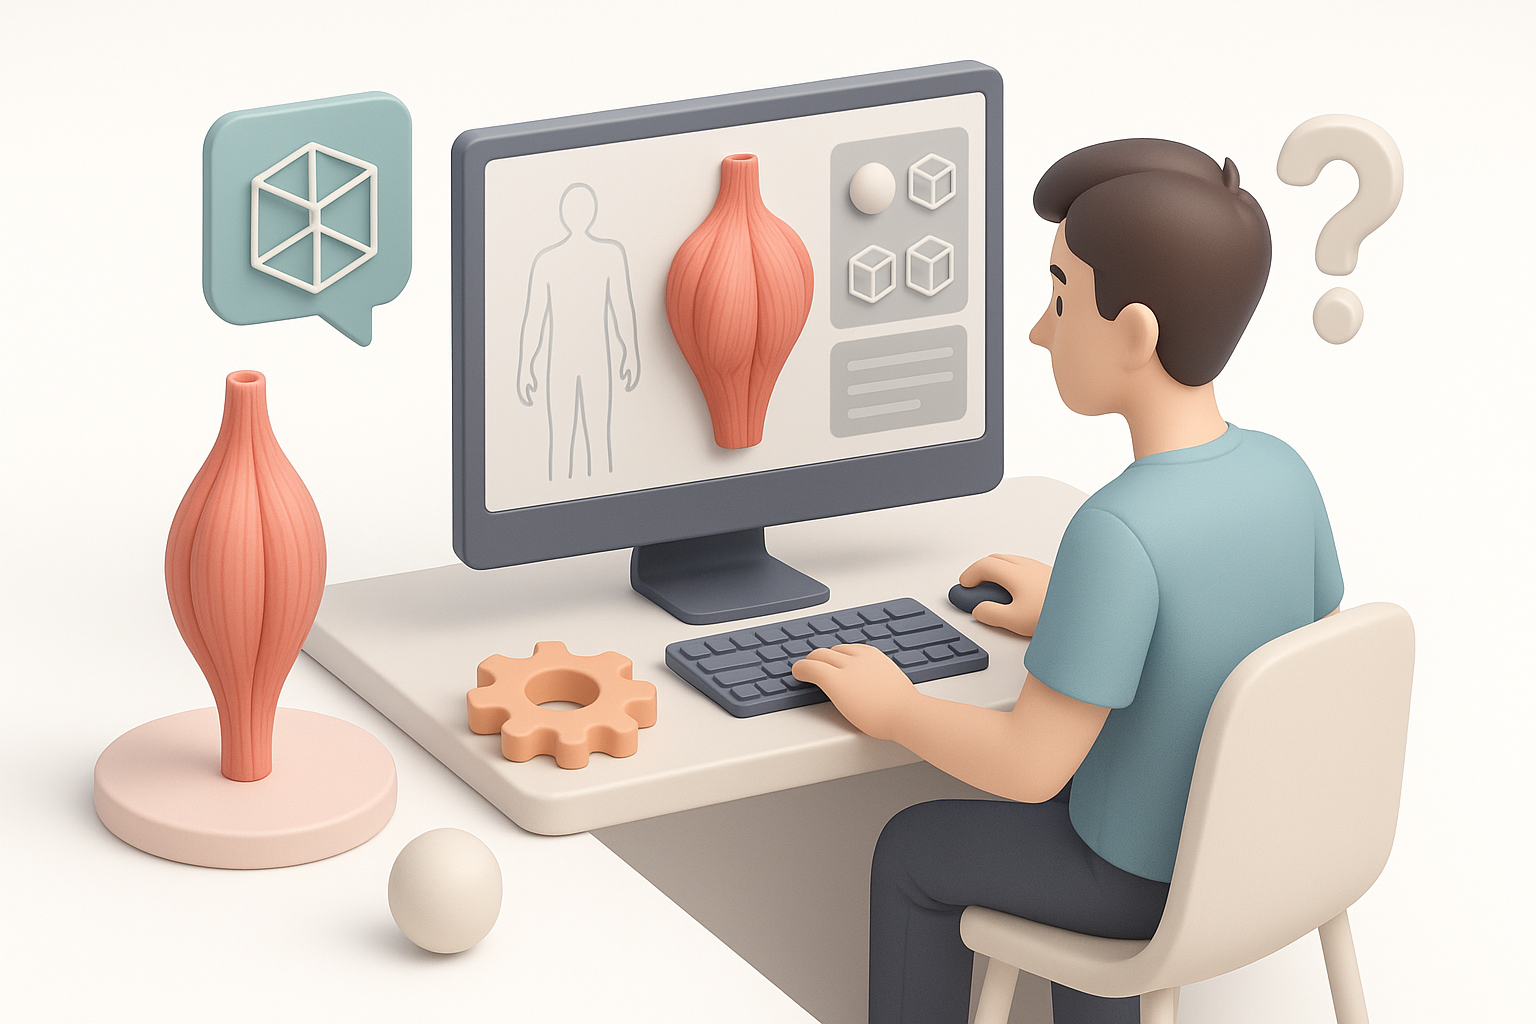
Understanding Muscle Anatomy for 3D Modeling
Reference gathering and anatomy study
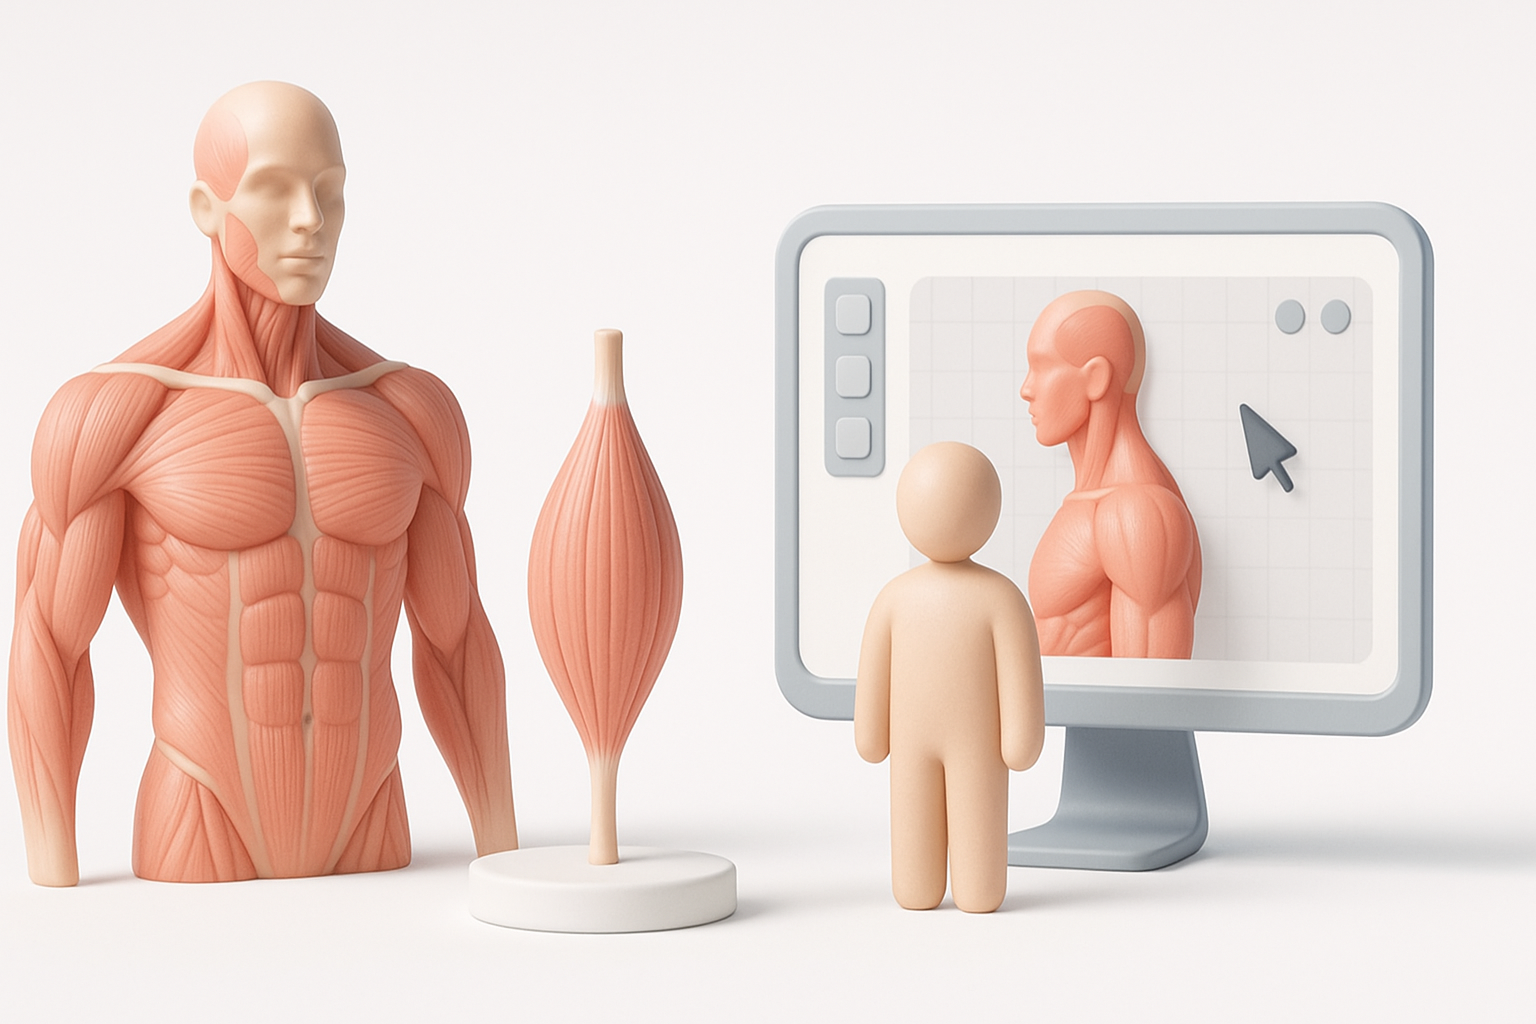
I always start with comprehensive reference collection—medical diagrams, 3D scans, and high-res photography. For muscle modeling, cross-sectional images and ecorché sculptures are invaluable. I organize references by muscle group and pose, which speeds up sculpting and helps maintain proportional accuracy.
Checklist:
- Gather medical illustrations and anatomy books.
- Use 3D anatomy apps for interactive exploration.
- Sort references by view (front, side, back) and muscle group.
Common mistakes and how I avoid them
Early on, I made the mistake of relying on memory or generic references, which led to anatomical inaccuracies—especially in muscle insertions and overlaps. Now, I double-check proportions and muscle flow against multiple sources and avoid stylizing too early in the process. I also pay close attention to how muscles deform in different poses, not just at rest.
Pitfalls to avoid:
- Skipping reference for “familiar” muscles
- Ignoring how fat and skin affect muscle shape
- Over-simplifying muscle intersections
Choosing the Right Tools and Platforms
My preferred software and why
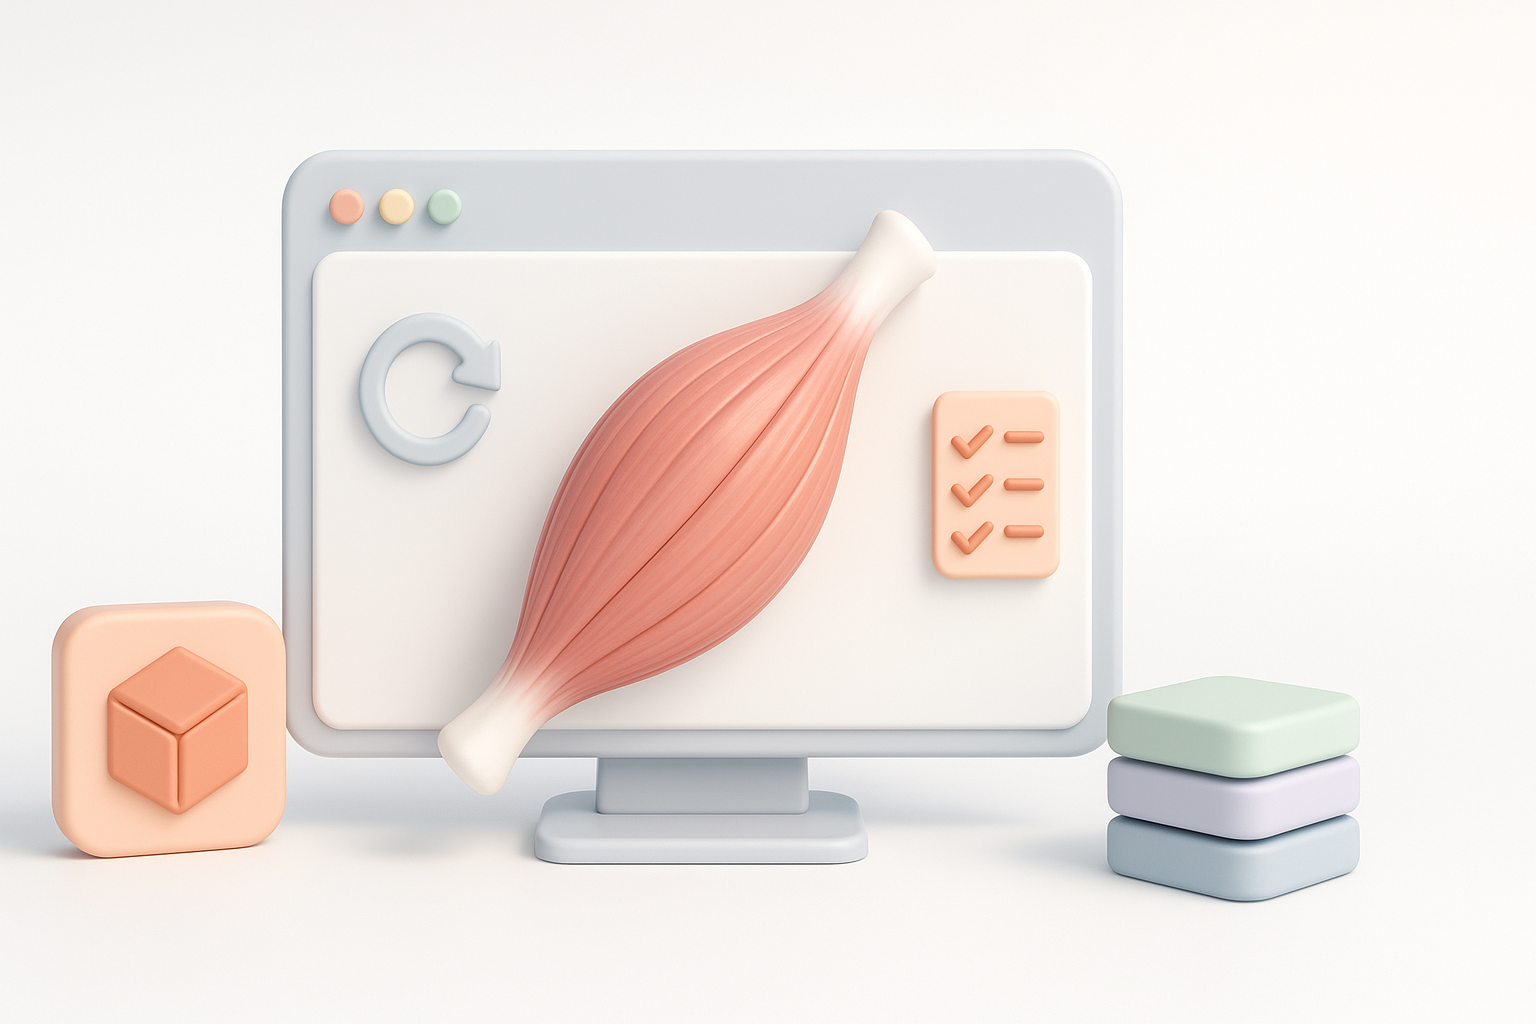
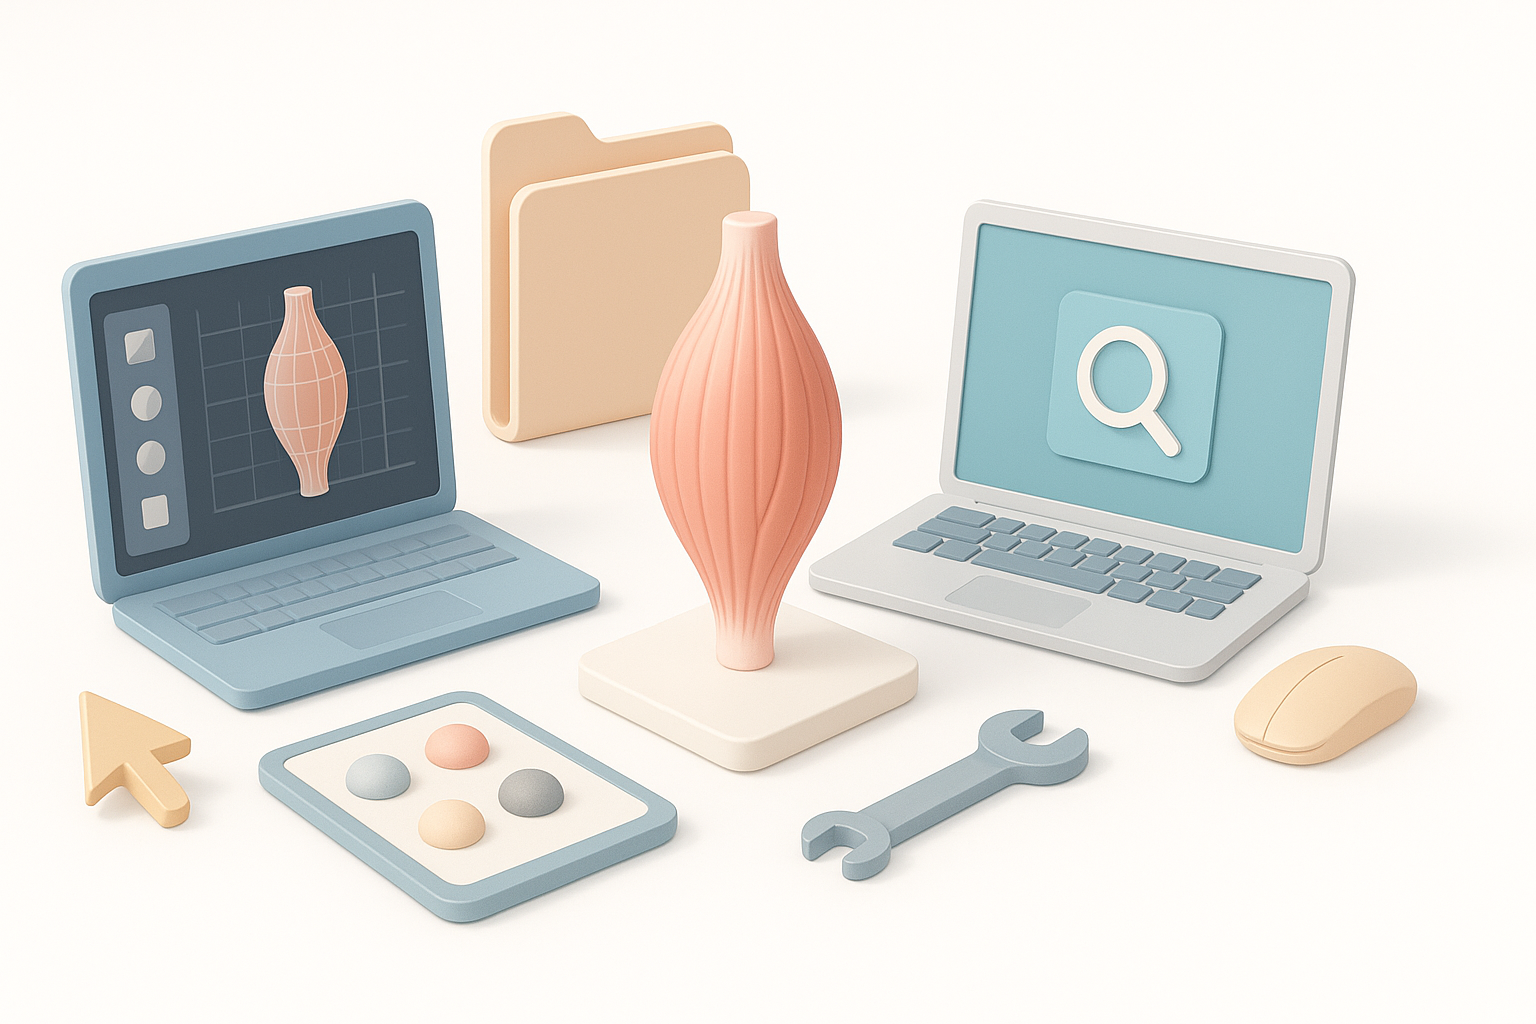
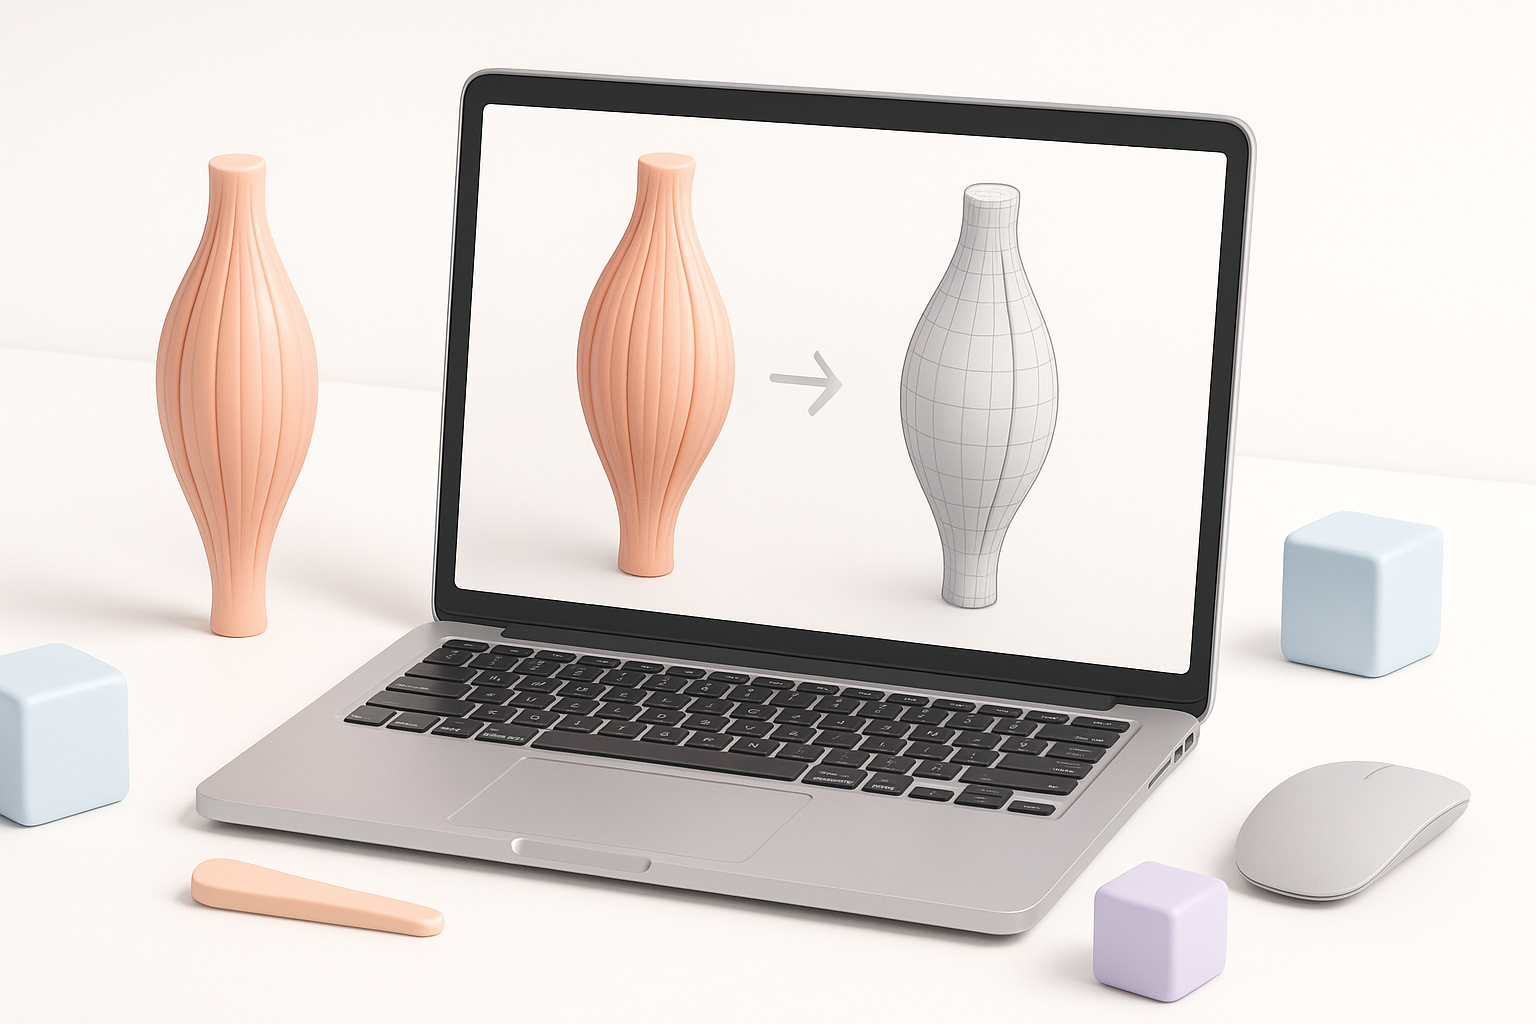
For sculpting, I use a combination of digital sculpting tools and AI-powered platforms like Tripo for rapid prototyping. Tripo’s segmentation and retopology features help me move from concept to clean base mesh quickly, freeing up time for refinement. For texturing, I rely on PBR painting tools and procedural texture generators.
My typical stack:
- Sculpting: Digital sculpting software
- AI assistance: Tripo for segmentation/retopology
- Texturing: PBR texturing tools
- Animation: Dedicated rigging/animation suites
Comparing AI-powered and traditional workflows
AI-powered tools have changed my workflow, especially for base mesh creation and retopology. What used to take hours of manual labor—like precise mesh segmentation or quad remeshing—can now be handled in minutes. However, I still rely on traditional sculpting for anatomical refinement and custom details. The best results often come from a hybrid approach.
Tips:
- Use AI tools for repetitive or technical tasks.
- Reserve manual work for artistic and anatomical refinement.
- Always check AI-generated topology for errors before moving forward.
Step-by-Step Workflow: Building a Muscle 3D Model

From concept to base mesh creation
- Concept/reference setup: Organize all reference images and define the target pose or function.
- Blocking out volumes: I rough out the main muscle masses using basic shapes, focusing on proportions and silhouette.
- Base mesh generation: Using Tripo, I quickly segment and generate a clean base mesh from my blockout or even from a sketch.
Mini-checklist:
- Confirm proportions before detailing
- Use symmetry tools to speed up early stages
- Save incremental versions
Segmentation, retopology, and texturing best practices
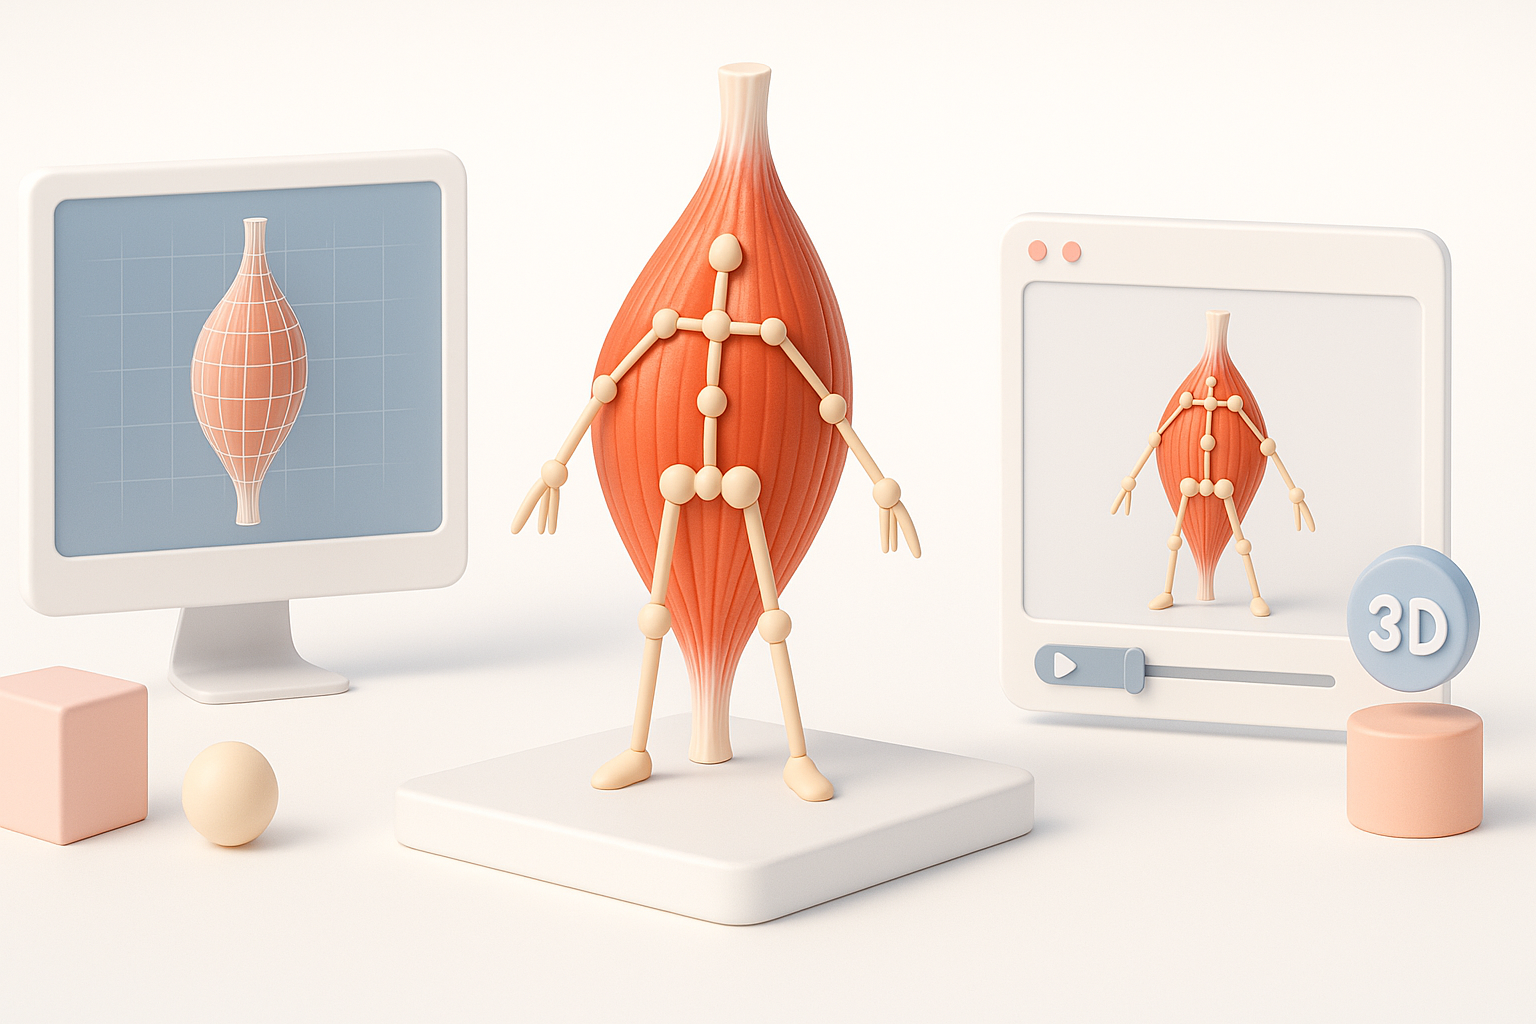
After the base mesh, I segment individual muscle groups using automated tools, then manually refine edges for anatomical precision. For retopology, Tripo’s intelligent algorithms help maintain edge flow along muscle fibers, which is crucial for deformation. I bake high-res details into normal and displacement maps, then paint textures using PBR workflows.
Best practices:
- Maintain clean edge loops along muscle directions
- Bake normals and AO for added definition
- Use procedural textures for skin variation
Rigging and Animation for Muscle Models
How I approach muscle rigging
Rigging muscles is about balancing realism with usability. I create a skeleton and use helper bones or blend shapes for major muscle deformations. For complex characters, I set up corrective shapes that trigger automatically in key poses.
Steps:
- Assign weights carefully to avoid “candy-wrapper” deformations
- Use muscle simulation only if performance allows
- Test rig with extreme poses early
Tips for realistic muscle movement
- Observe and replicate how real muscles bulge, slide, and compress.
- Use reference videos of athletes for dynamic poses.
- Add subtle secondary motion with jiggle or soft-body physics if possible.
Pitfalls:
- Overdriving muscle bulges (looks unnatural)
- Ignoring skin sliding over muscles
Optimizing and Exporting Muscle 3D Models
Performance considerations for games and XR
For real-time applications, I reduce polycount while preserving silhouette and bake as much detail as possible into textures. I test models in the target engine to check for frame rate impact and visual fidelity.
Checklist:
- LOD (level of detail) meshes for distant views
- Optimize texture sizes for platform requirements
- Remove unseen geometry
Export settings and compatibility advice
I always export in formats compatible with the target engine (FBX, OBJ, GLTF). Pay attention to scale, orientation, and embedded textures. I verify that normals and tangents are correct, and that animation data transfers cleanly.
Tips:
- Test exports in the destination engine before final delivery
- Use naming conventions for easy asset tracking
Troubleshooting and Common Challenges
What I do when things go wrong
When a model deforms badly or textures look off, I first check topology—bad edge flow is often the culprit. For shading issues, I check normal maps and UV seams. If AI-generated segmentation misses the mark, I manually tweak the affected areas.
Lessons learned:
- Keep backup versions before major workflow steps
- Don’t hesitate to redo segmentation or retopology if needed
- Document fixes for future reference
Lessons learned from past projects
No workflow is perfect. I’ve learned to expect surprises—whether it’s a rigging bug or a performance bottleneck. The key is to debug systematically and keep communication open with teammates or clients.
Integrating AI Tools for Enhanced Productivity
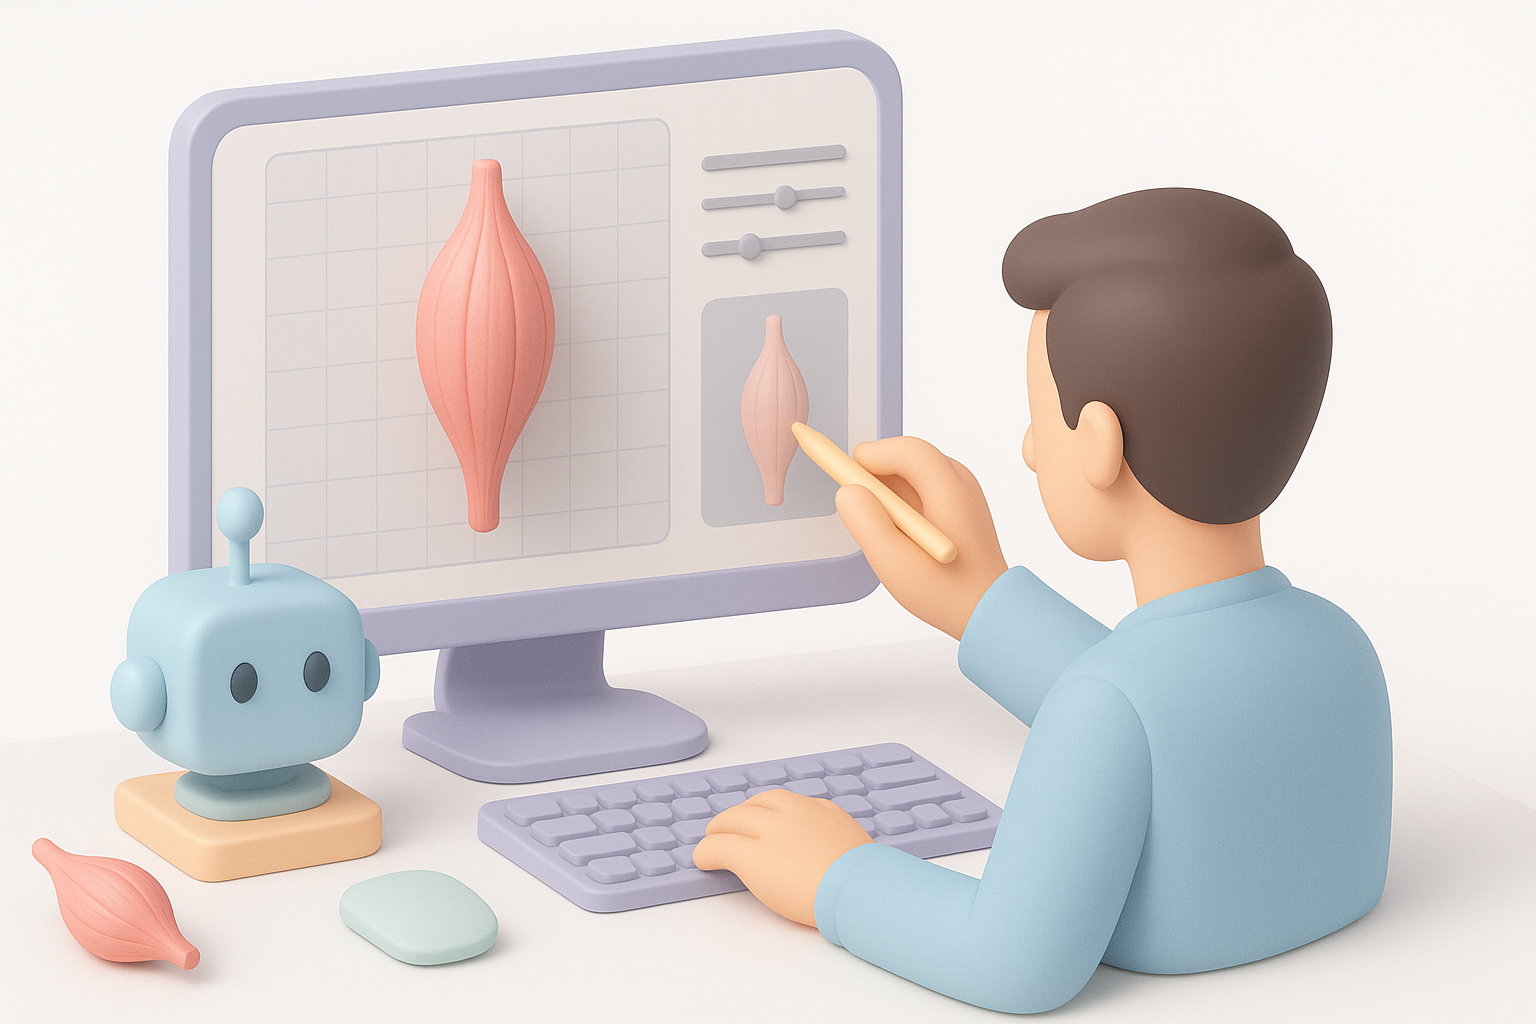
How AI streamlines my workflow
AI-powered segmentation and retopology tools like Tripo have cut hours from my workflow, especially when creating variations or iterating on feedback. I can go from concept to clean, animatable mesh in a fraction of the time it used to take.
Tips for leveraging intelligent segmentation and retopology
- Use AI segmentation for initial passes, then refine manually for anatomy.
- Let AI handle repetitive retopology, but always review edge flow.
- Experiment with text-to-3D or sketch-to-3D features for rapid prototyping.
Final advice:
Stay curious about new tools and workflows. AI is evolving fast, and integrating these advances can give you a real edge in muscle 3D modeling—without sacrificing anatomical fidelity or creative control.


