Creating Mortal Kombat 1 3D Models: Expert Workflow & Tips
скачать 3d модели для chicken gun
Creating 3D models inspired by Mortal Kombat 1 demands a blend of technical skill, artistic flair, and a streamlined workflow. Over the years, I’ve refined a process that leverages both manual techniques and AI-powered tools to achieve production-ready assets efficiently. Whether you’re a game developer, digital artist, or hobbyist, my workflow covers everything from concepting and sculpting to texturing, rigging, and animation. I’ll also share how I integrate AI tools like Tripo to accelerate iteration without sacrificing quality. Here’s how you can create iconic, game-ready Mortal Kombat 1 models with confidence.
Key takeaways:
- Gather strong references to nail the Mortal Kombat 1 style before modeling.
- Block out and sculpt base meshes with attention to anatomy and silhouette.
- Use efficient retopology and optimized texturing for animation-ready assets.
- AI tools like Tripo can rapidly generate base models, saving hours in early stages.
- Manual refinements remain essential for polish, animation, and engine compatibility.
- Rigging and animation should prioritize expressive, dynamic fighting poses.
Overview of Mortal Kombat 1 3D Models
Key features and visual style
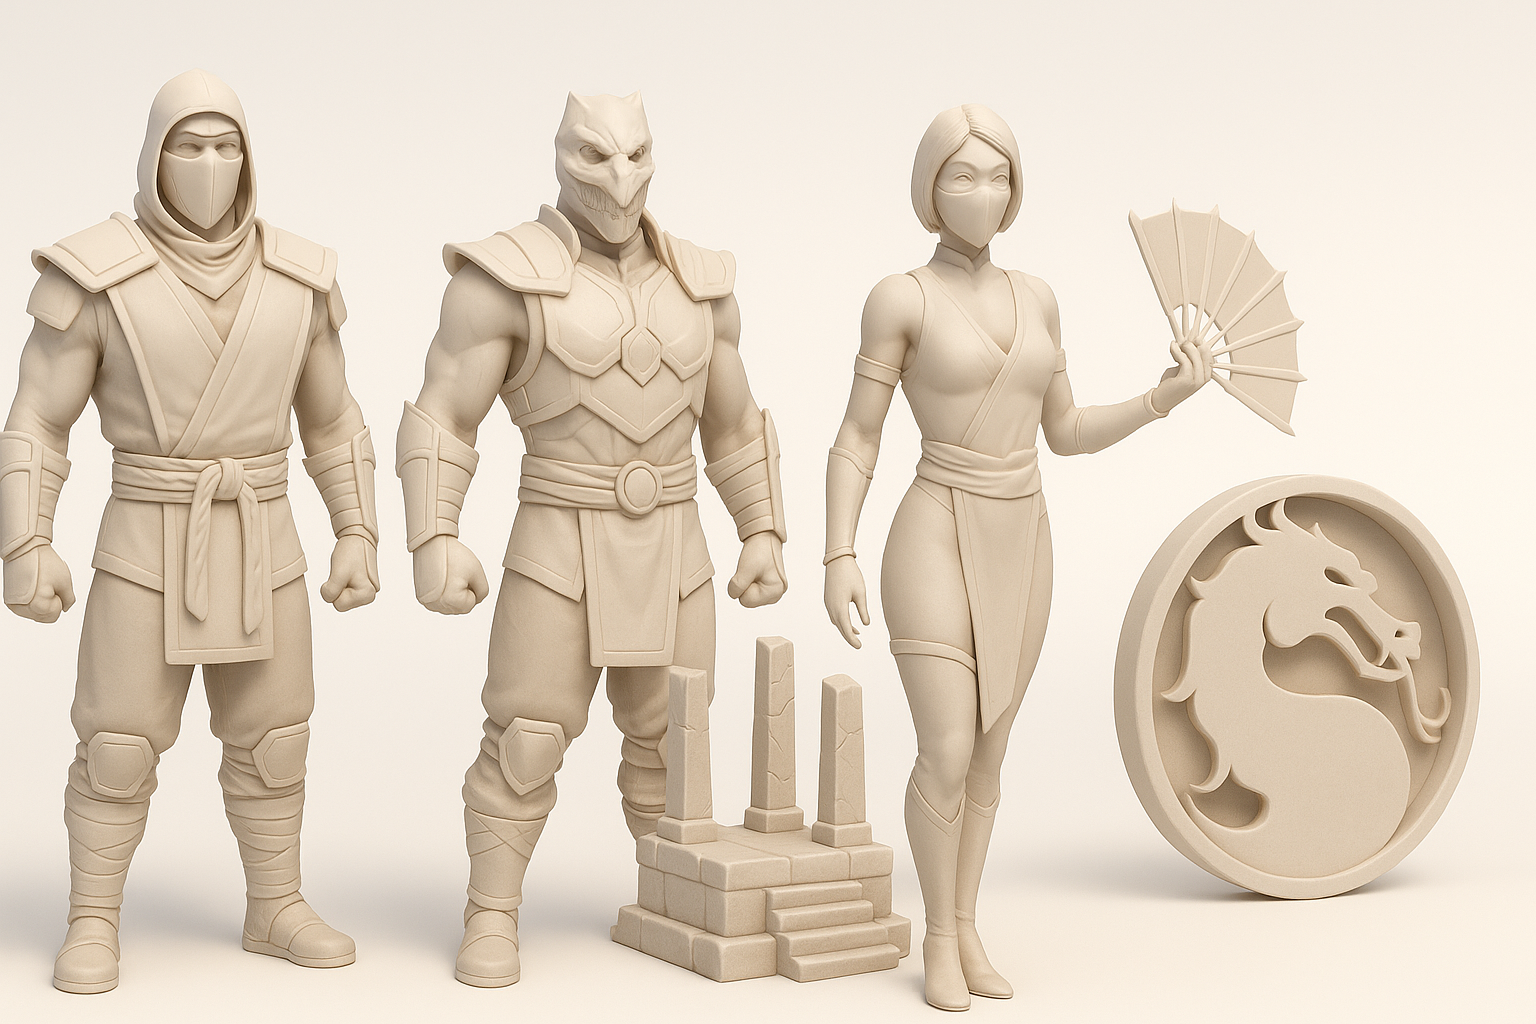
Mortal Kombat 1 models are defined by their muscular anatomy, exaggerated costumes, and gritty, realistic texturing. The visual language leans on sharp silhouettes, bold accessories, and iconic color palettes—think Scorpion’s yellow or Sub-Zero’s blue. In my experience, emphasizing these signature traits is crucial for recognizability and impact.
- Tip: Focus on primary shapes and costume elements first; details come later.
- Pitfall: Overcomplicating early models can dilute the strong, readable style.
Common use cases in games and media
These models are primarily used in fighting games, cinematic trailers, and promotional art. I’ve also seen them adapted for XR experiences and collectibles. The assets must be optimized for real-time performance while retaining enough detail for close-up shots.
- Checklist:
- Low to mid-poly for in-game
- High-poly for cinematics or renders
- Modular components for reusability
My Step-by-Step Workflow for Mortal Kombat 1 3D Models
Concepting and reference gathering
I always start by collecting references: official game art, screenshots, and fan interpretations. This helps lock down proportions, costume layers, and attitude. I sketch thumbnails or use moodboards to clarify the pose and silhouette.
Steps:
- Gather multiple angles of the character.
- Note key costume features and color schemes.
- Sketch or block out the main silhouette.
- Tip: Use reference boards to stay consistent during modeling.
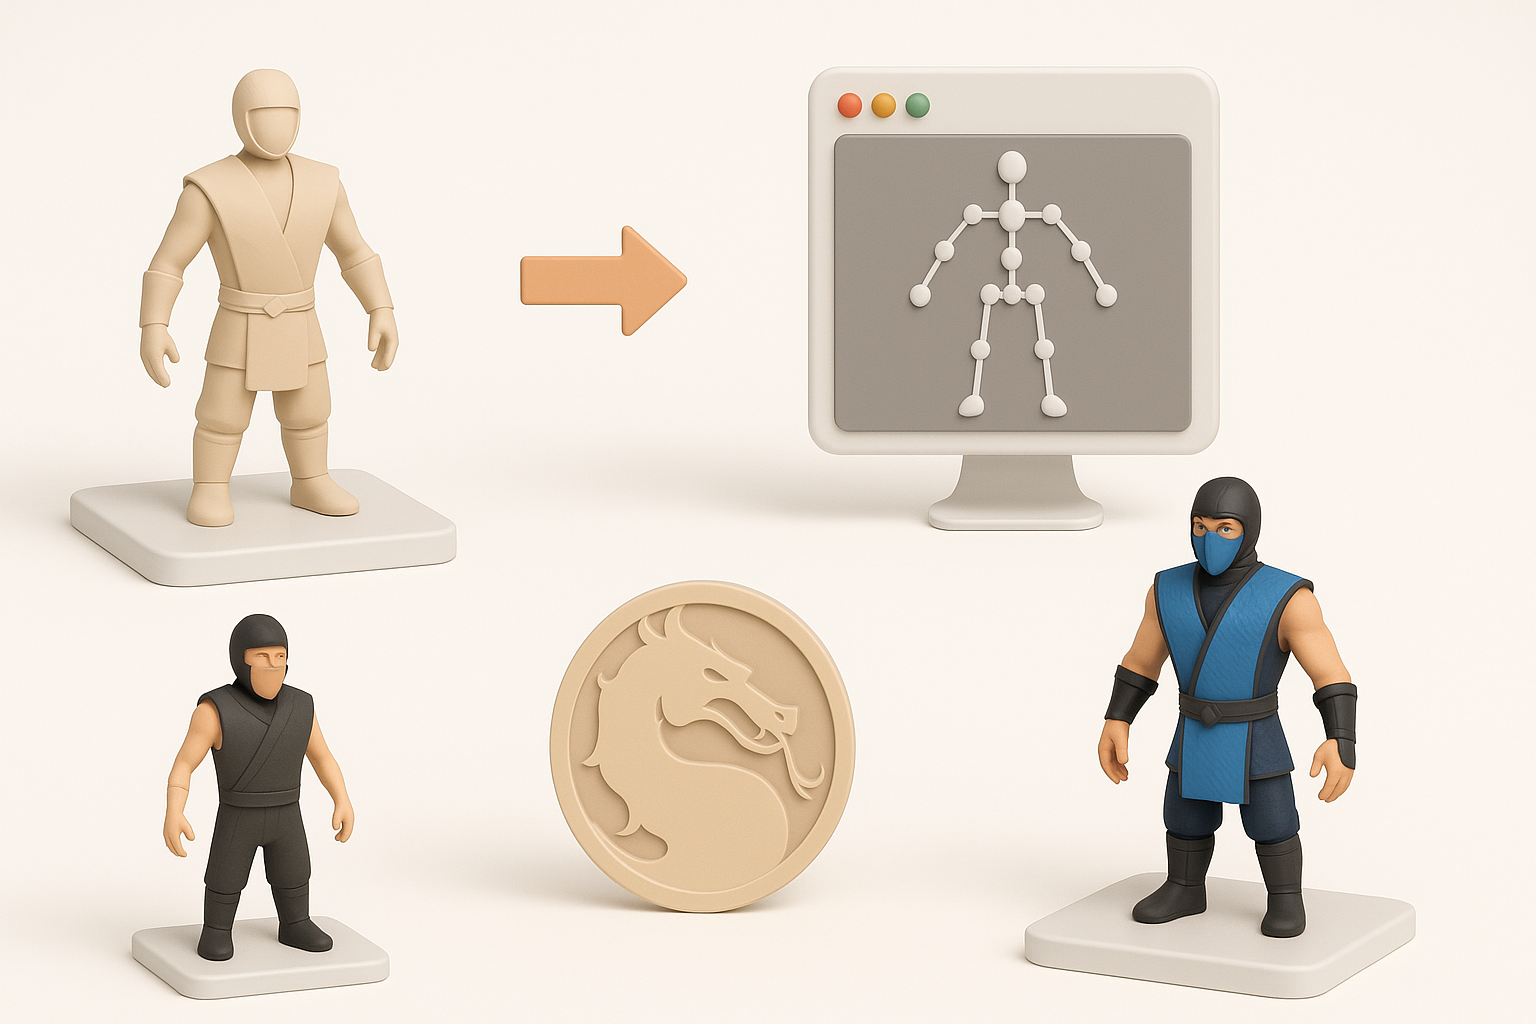
Blocking out and sculpting the base mesh
I block out the form using simple shapes, focusing on anatomy and iconic features (e.g., mask, armor, weapons). For speed, I sometimes use Tripo to generate a rough base mesh from sketches or descriptions—this is especially useful for quick iteration.
Workflow:
- Block in torso, limbs, and head separately.
- Merge and refine proportions.
- Add costume elements as separate meshes.
- Pitfall: Don’t get bogged down in details at this stage—keep everything editable.
Texturing, Retopology, and Optimization Best Practices
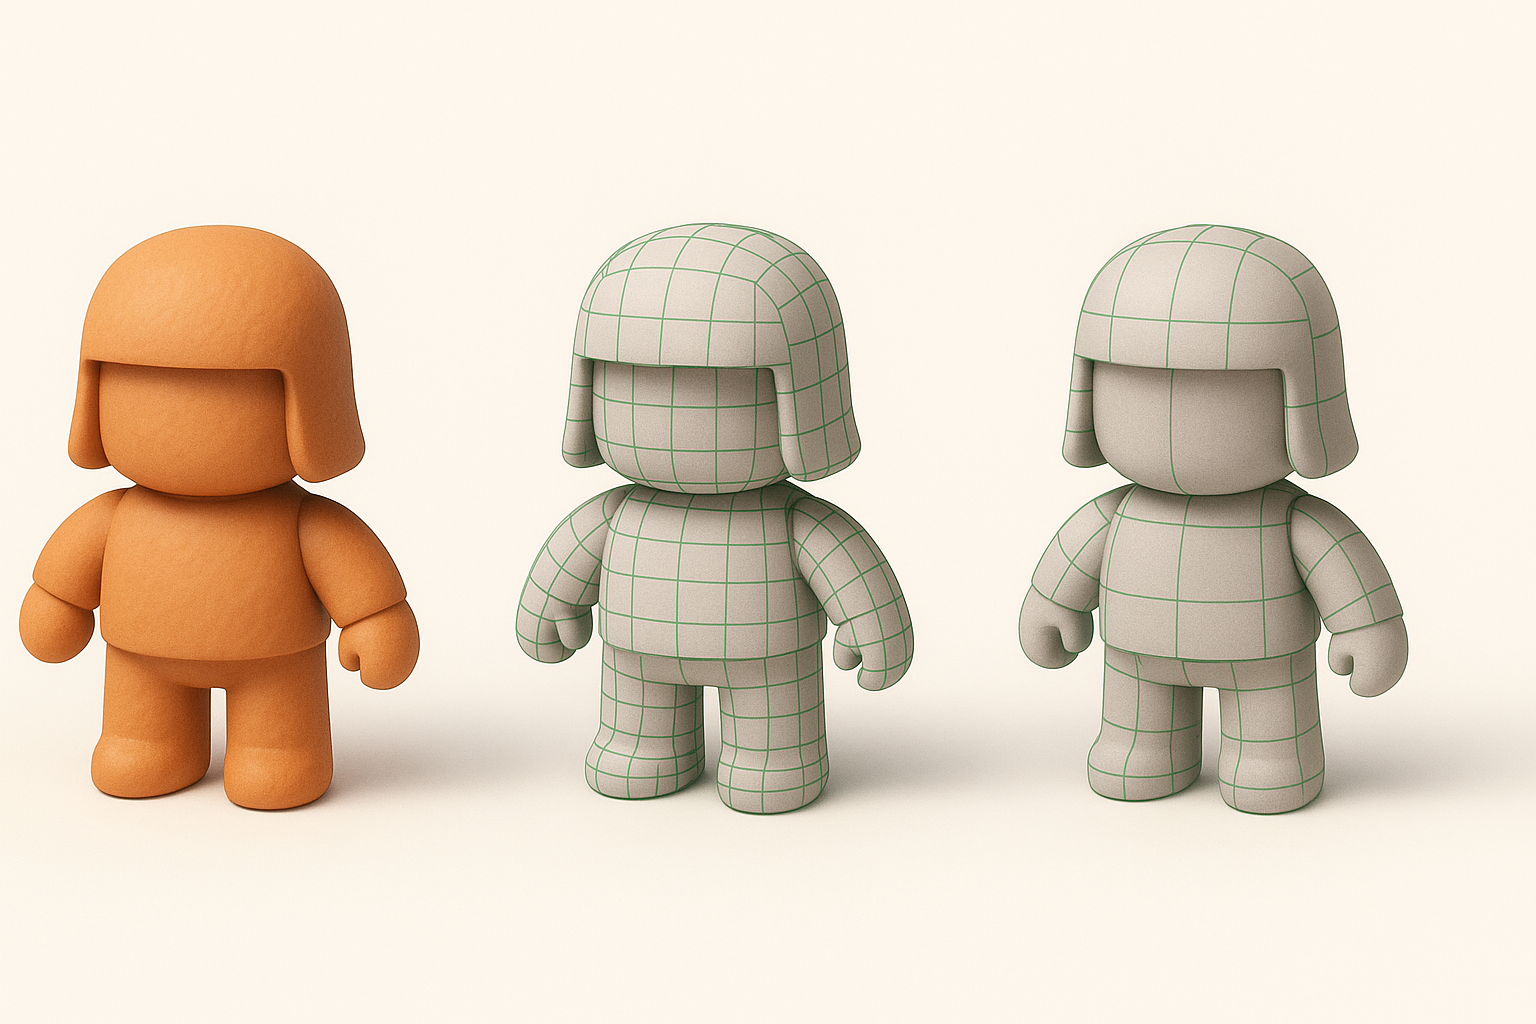
Efficient retopology for animation
Good topology is essential for smooth deformations during animation. I retopologize manually or use automated tools if the base is clean. Edge flow around joints (shoulders, elbows, knees) is a priority.
Checklist:
- Quads over triangles for deformation.
- Denser geometry at bends.
- Clean loops for facial animation if needed.
- Tip: Test deformations early by posing the mesh.
Texturing techniques for iconic Mortal Kombat looks
I bake normal and ambient occlusion maps from high-poly to low-poly meshes. Textures should emphasize grit—scratches, fabric weave, and subtle blood stains. I use layered materials for skin, leather, and metal.
Steps:
- UV unwrap with minimal seams.
- Bake maps for detail.
- Paint in dirt, wear, and color accents.
- Pitfall: Overly clean textures break immersion; add imperfections.
Rigging and Animation for Mortal Kombat 1 Characters
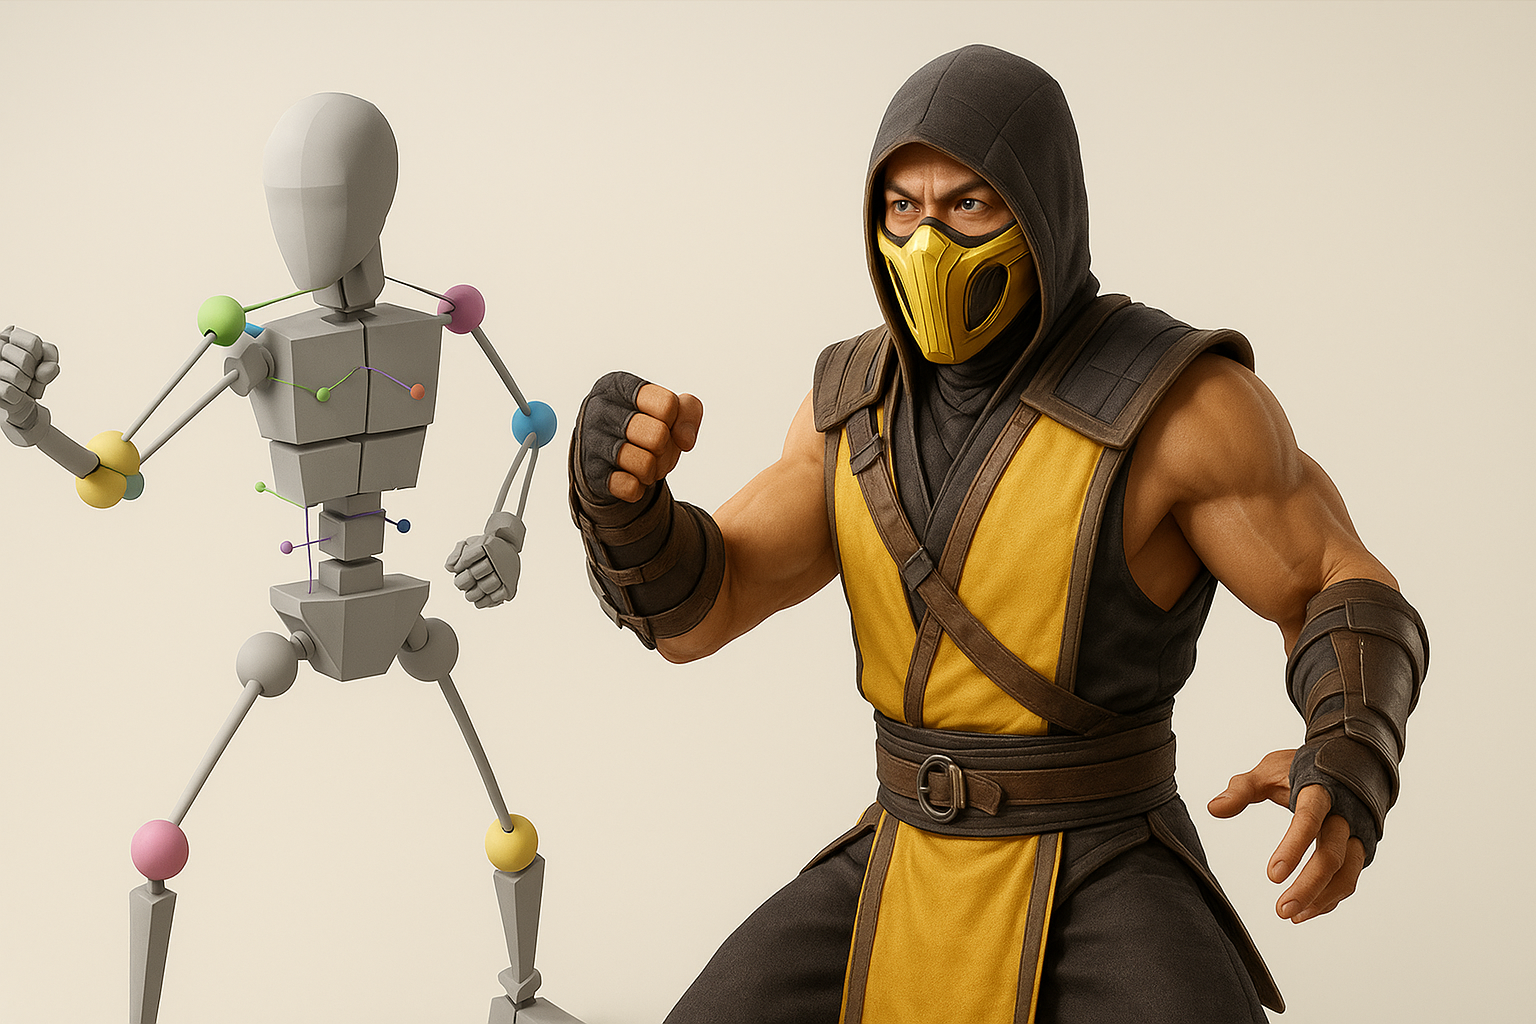
Setting up rigs for fighting game moves
I build a skeleton with enough joints for expressive combat poses. IK/FK switching is a must for arms and legs. For facial animation, I keep controls simple unless cinematics require more.
Checklist:
- Root, spine, head, arms, legs, fingers.
- IK handles for limbs.
- Constraints for weapons and accessories.
Animating signature attacks and poses
Signature moves—like Scorpion’s spear throw—require exaggerated anticipation and follow-through. I block out key poses first, then refine timing and arcs. Reference from the game is invaluable.
Tips:
- Animate in stepped mode for clarity, then smooth.
- Exaggerate motions for readability.
- Test in-engine for speed and impact.
Using AI-Powered Tools in the 3D Workflow
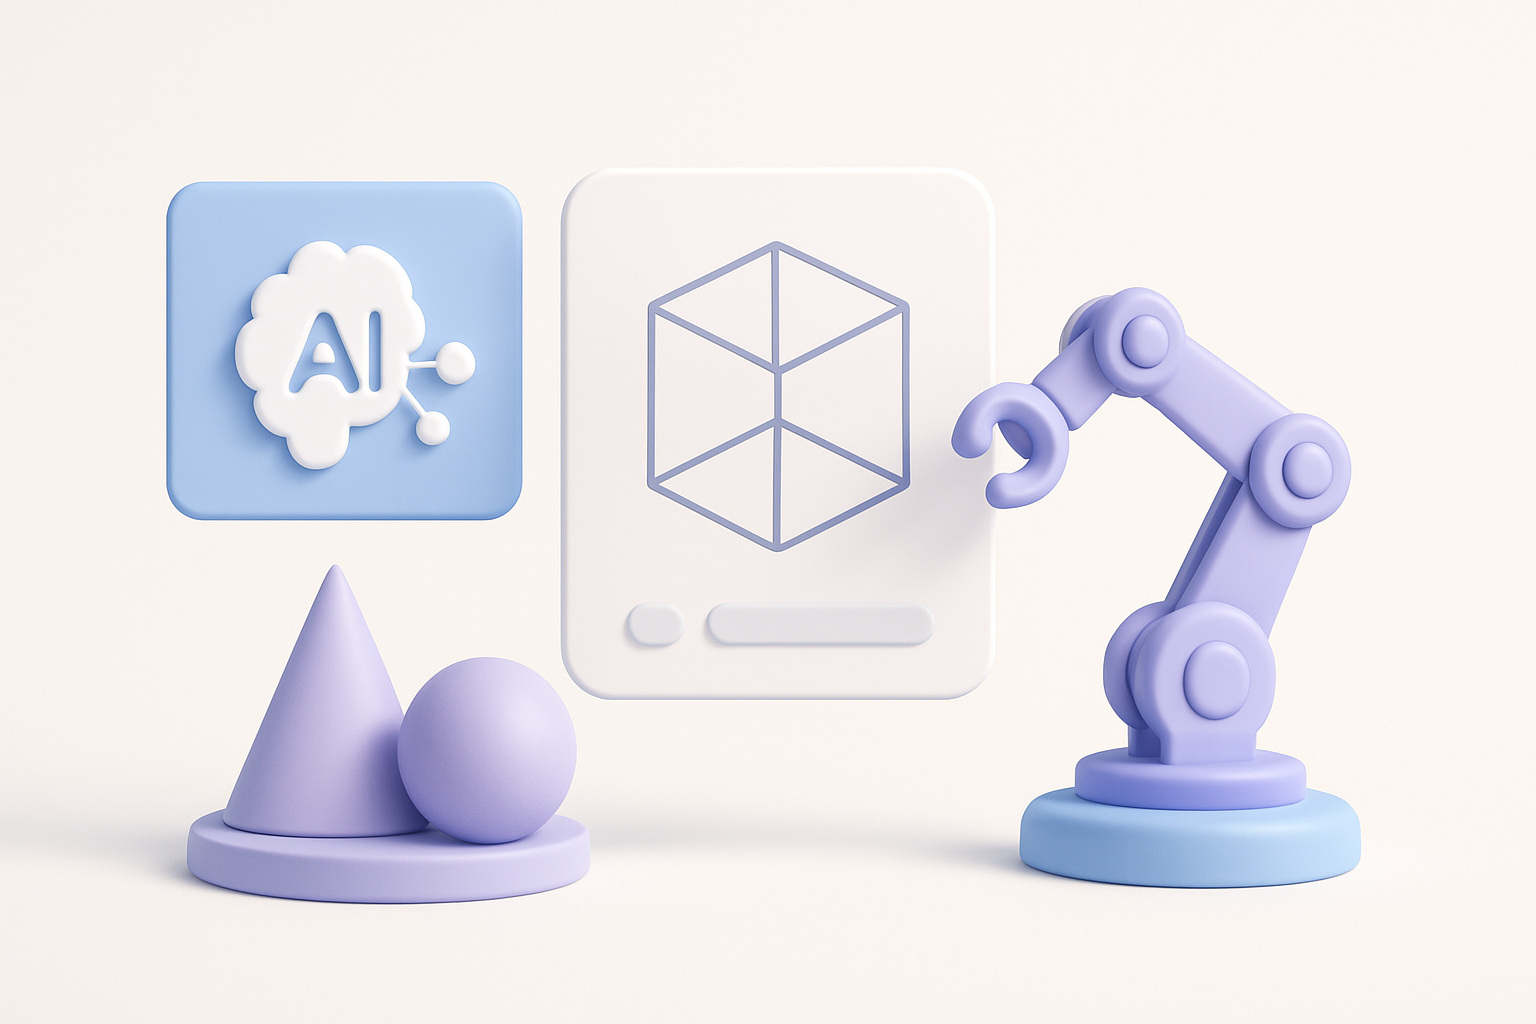
How I leverage Tripo for rapid model generation
Tripo allows me to generate base meshes from text prompts, images, or sketches. I use it to quickly prototype characters or props, then refine the output in my DCC tool. It’s especially helpful for blocking out complex costumes or accessories.
Workflow:
- Input prompt or image into Tripo.
- Review and edit generated mesh.
- Export for further sculpting and detailing.
- Tip: Use AI outputs as a starting point, not a final asset.
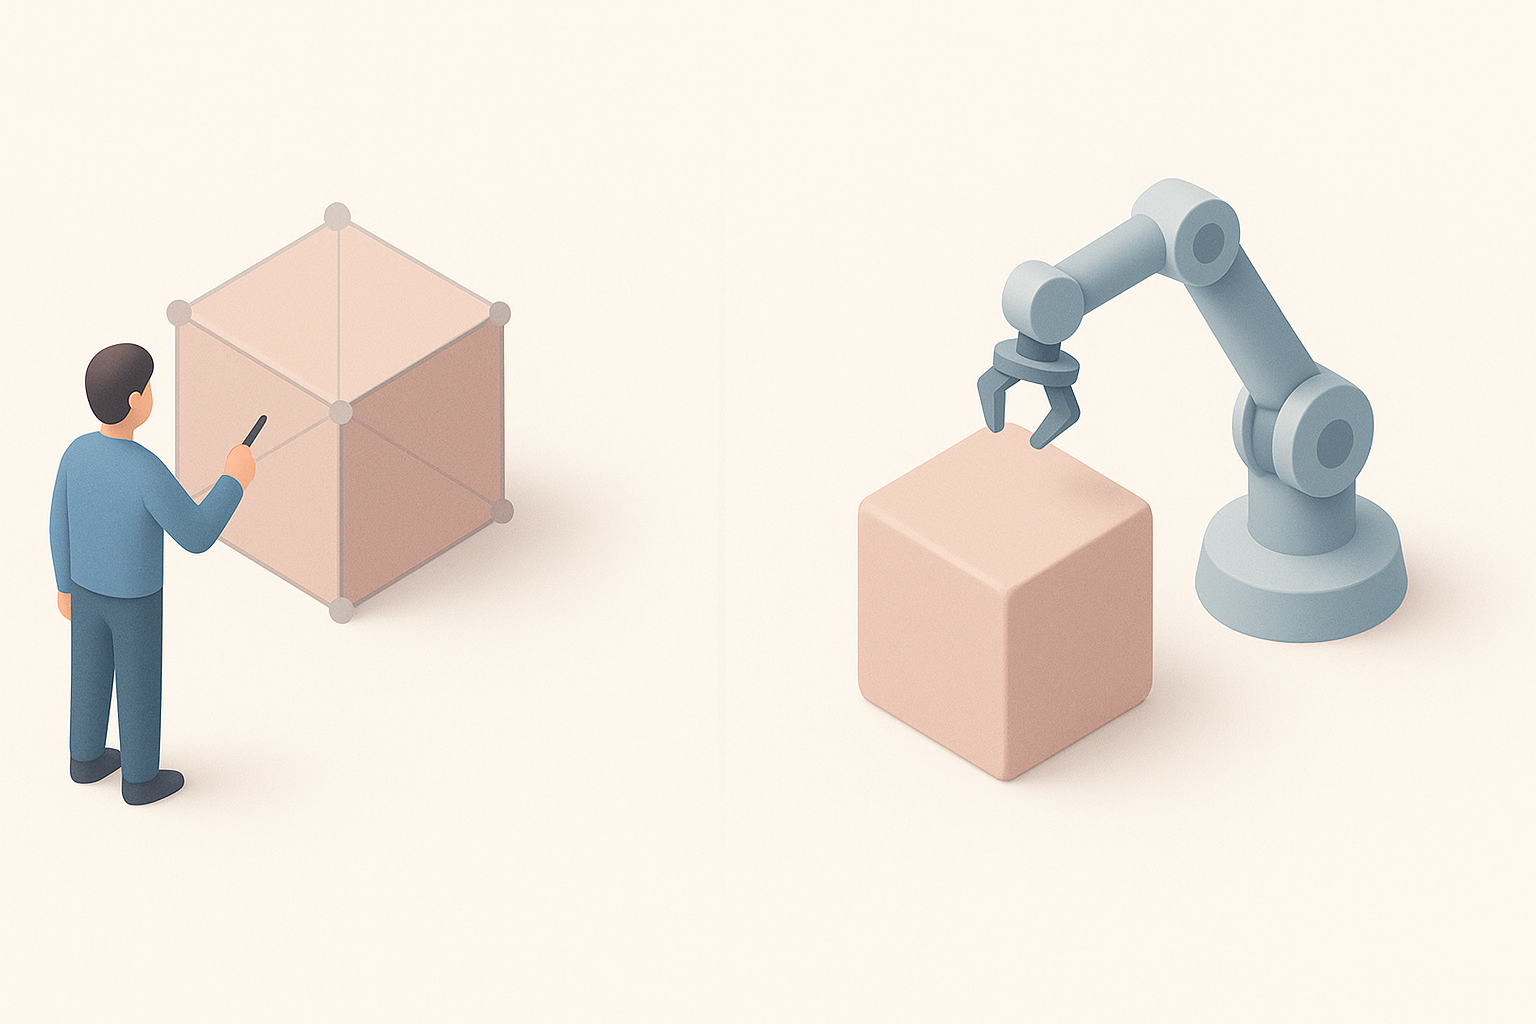
Integrating AI outputs with traditional 3D pipelines
After generating a base with Tripo, I import it into my main 3D application. From there, I retopologize, UV, and texture as usual. This hybrid approach saves time but still allows for full creative control.
Checklist:
- Clean up topology and UVs.
- Replace or refine AI-generated textures.
- Integrate into existing asset libraries.
- Pitfall: Don’t skip manual QA—AI outputs can have odd geometry or proportions.
Comparing Manual and AI-Assisted 3D Model Creation
Pros and cons from my experience
AI-assisted:
- Pros: Rapid prototyping, great for ideation, reduces repetitive work.
- Cons: Can require significant cleanup, less control over fine details.
Manual:
- Pros: Full creative control, precise topology, tailored to specific rigs/engines.
- Cons: Time-consuming, more technical skill required.
When to choose each approach
I use AI tools when I need quick iterations or when blocking out multiple concepts. For hero assets or final game models, I rely on manual refinement for quality and control.
- Tip: Combine both—start with AI for speed, finish manually for polish.
- Pitfall: Don’t rely solely on AI for production assets; always check quality.
Exporting and Implementing Mortal Kombat 1 Models
Preparing assets for game engines
I export models in formats like FBX or OBJ, with clean naming conventions and proper scale. All textures are packed and named for engine compatibility. I verify materials and check for errors before import.
Checklist:
- Apply transforms and freeze scale.
- Export with embedded or linked textures.
- Test import in engine (Unity, Unreal, etc.).
Ensuring compatibility and performance
Optimization is key—polycount, texture resolution, and shader complexity must fit the target platform. I use LODs for performance and check the asset in-game for any issues.
Tips:
- Bake down unnecessary geometry.
- Use texture atlases where possible.
- Profile in-engine for FPS and memory usage.
By following this workflow, I consistently produce Mortal Kombat 1-inspired 3D models that are both visually striking and technically robust. Leveraging AI tools like Tripo accelerates the early stages, but manual expertise ensures the assets meet production standards. Whether you’re building for games, XR, or media, these steps will help you achieve professional, game-ready results.


