How to Create a Realistic Mole 3D Model: Workflow & Tips
Creating a realistic mole 3D model requires more than technical skill—it’s about understanding anatomy, picking the right tools, and following a streamlined workflow. In my experience, leveraging AI-powered platforms can accelerate the process, but attention to anatomical detail and production-ready practices still matter most. Whether you’re working for games, film, or XR, I’ll break down proven steps, practical pitfalls to avoid, and tips to ensure your mole model looks and performs great in any pipeline.
Key takeaways
- Study mole anatomy and gather solid references before modeling.
- AI-driven 3D tools can drastically speed up base mesh creation.
- Manual refinement—detailing, retopology, and texturing—remains essential for realism.
- Optimize topology and UVs for animation and efficient rendering.
- Export settings and formats should match your target platform or engine.
Understanding Mole Anatomy for 3D Modeling
Key anatomical features to capture
A convincing mole model starts with anatomical accuracy. I always focus on:
- Compact body shape: Moles have cylindrical, streamlined bodies for burrowing.
- Distinctive limbs: Their broad, spade-like forepaws are unique and must be modeled with care.
- Facial features: The pointed snout, tiny eyes, and subtle ear flaps are easy to overlook but critical for realism.
- Surface detail: Short, dense fur and subtle skin folds bring the model to life.
Paying attention to these features early prevents rework later, especially when moving to texturing and rigging.
Reference gathering and analysis
Before opening any 3D app, I spend time collecting high-resolution photos and anatomical diagrams. My reference checklist:
- Multiple angles: top, side, front, and close-ups of paws and face.
- Skeleton and muscle diagrams (if available).
- Videos showing movement for rigging insight.
Organize references in a mood board or within your 3D app’s image plane. This keeps proportions and details consistent throughout the process.
Choosing the Right Tools and Software
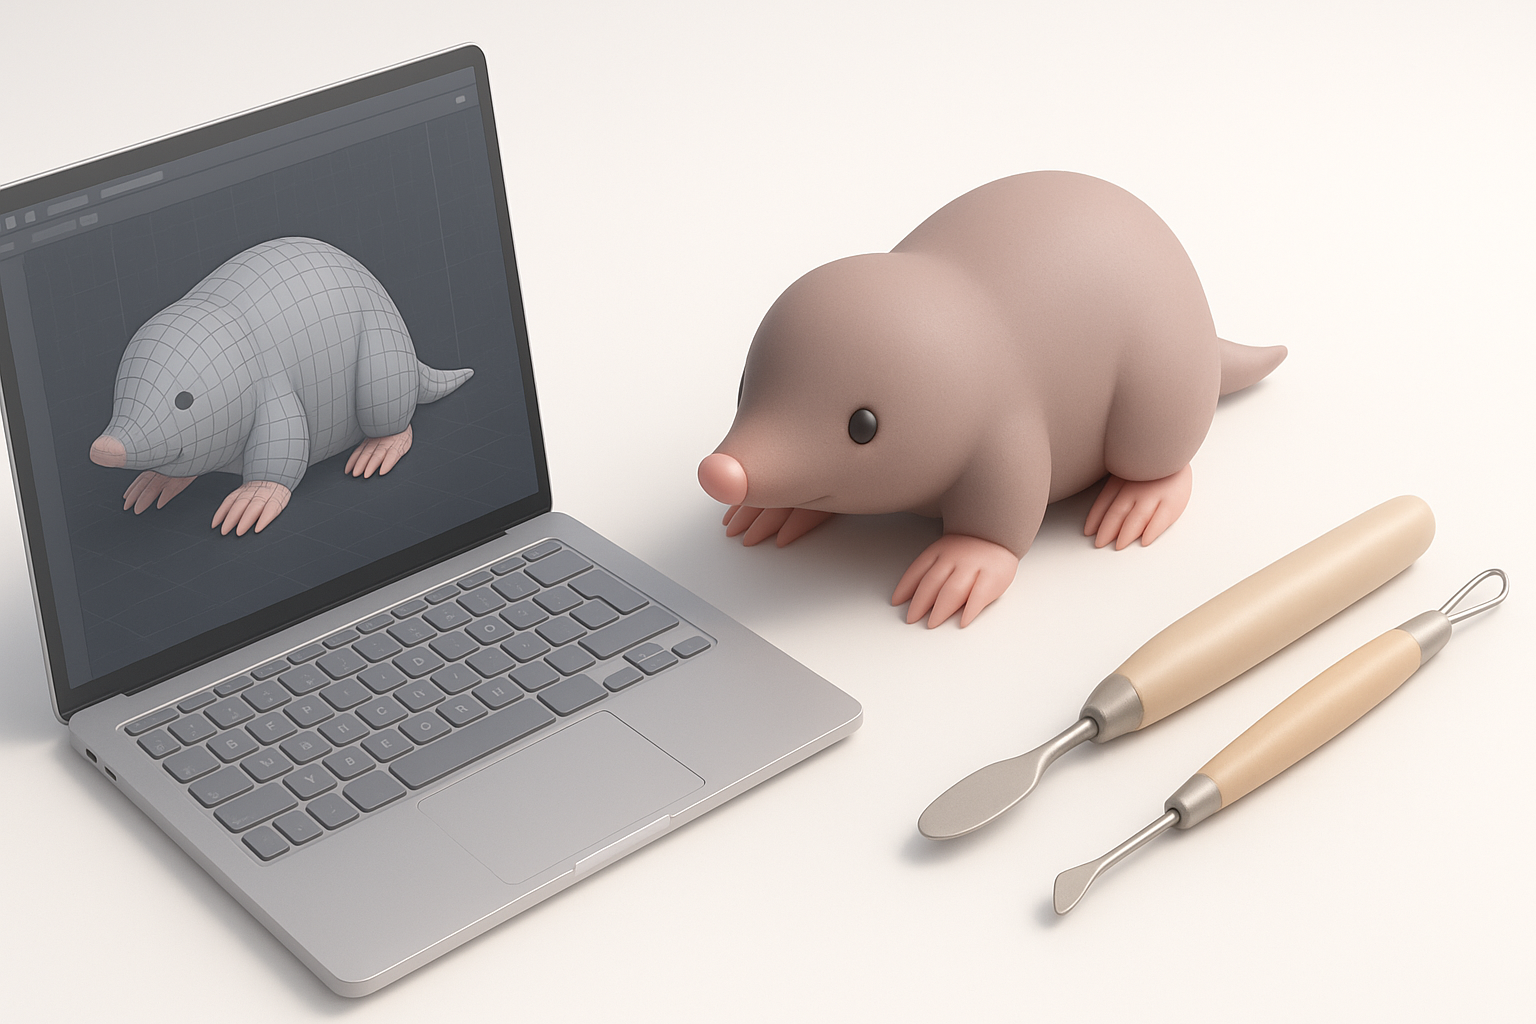
AI-powered platforms for rapid modeling
For quick iteration, I often use AI-driven 3D tools. Platforms like Tripo AI allow me to generate a solid base mesh from text prompts or sketches in seconds. This is especially useful for:
- Jumpstarting the modeling process.
- Quickly testing proportions and pose variations.
- Iterating on different mole species or stylizations.
Workflow tip: After generating the base, I export the mesh for further refinement in my preferred sculpting or modeling tool.
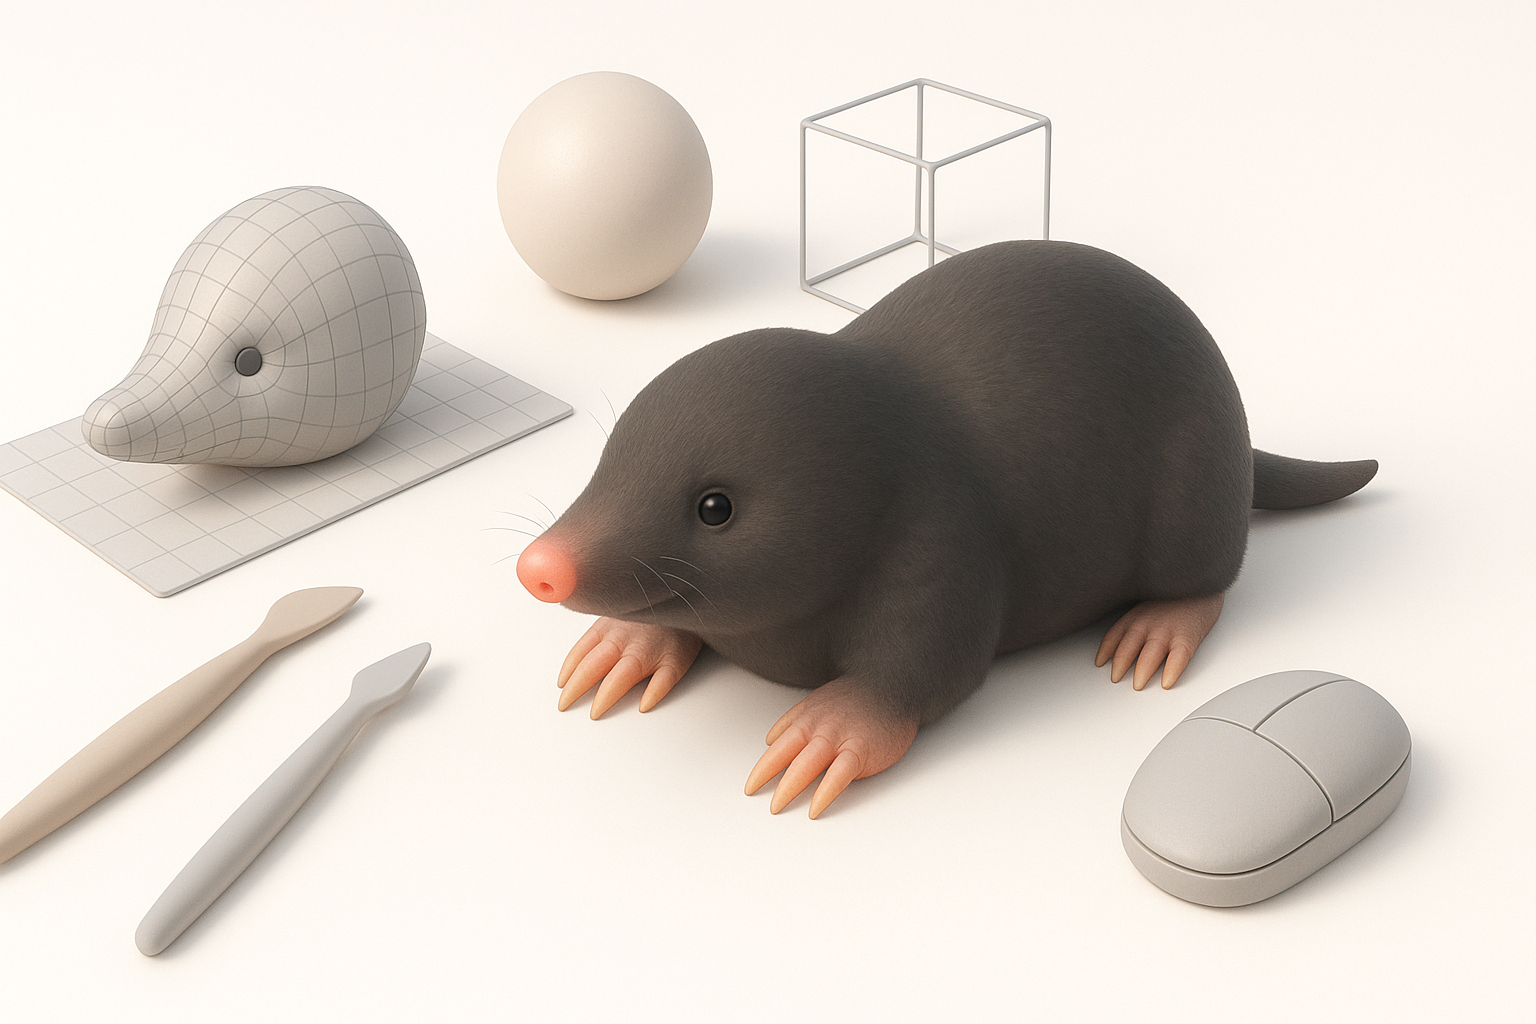
Alternative methods and manual sculpting
While AI tools save time, manual sculpting is still crucial for high-quality results. My typical stack:
- Start with a basic sphere or cylinder in a sculpting tool.
- Block out major volumes, then gradually add detail.
- Use symmetry functions for efficiency, but break symmetry for realism.
Pitfalls to avoid:
- Relying solely on AI output—manual cleanup is almost always needed.
- Skipping anatomy—AI tools can misinterpret subtle features.
Step-by-Step Workflow: From Concept to Completion
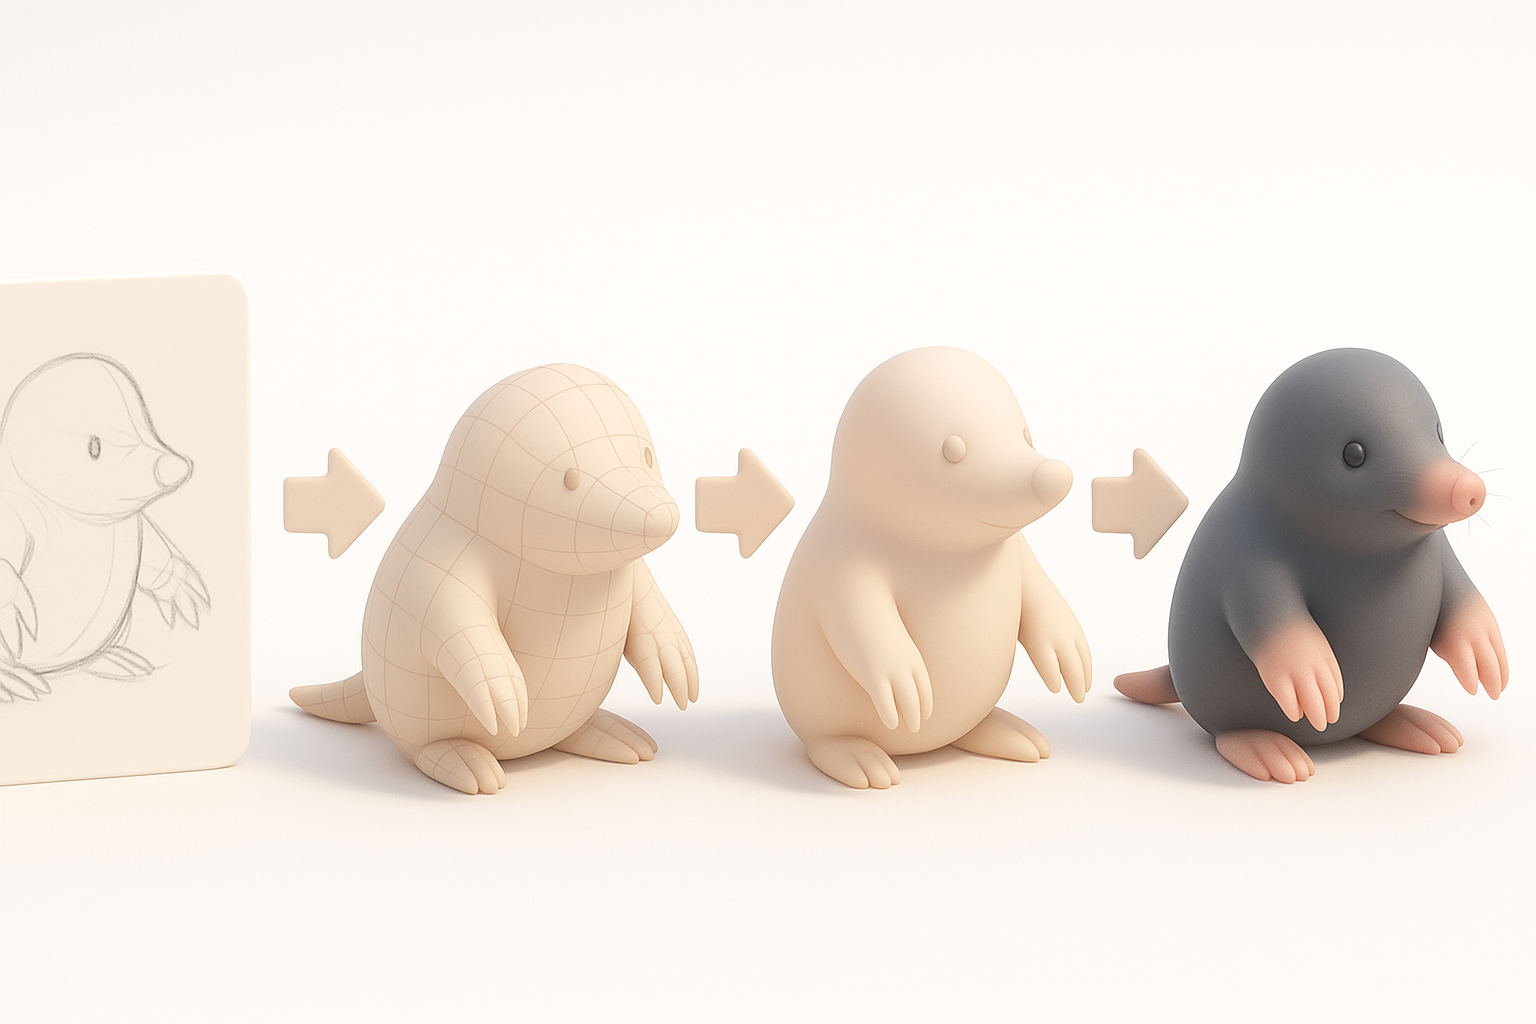
Blocking out the base mesh
Here’s how I approach the initial blockout:
- Generate or sculpt a rough shape: Use Tripo AI or start from primitives.
- Establish proportions: Match body, limbs, and head to references.
- Add primary forms: Rough in the snout, paws, and torso.
Checklist:
- Keep geometry simple for easy iteration.
- Check silhouette from all angles.
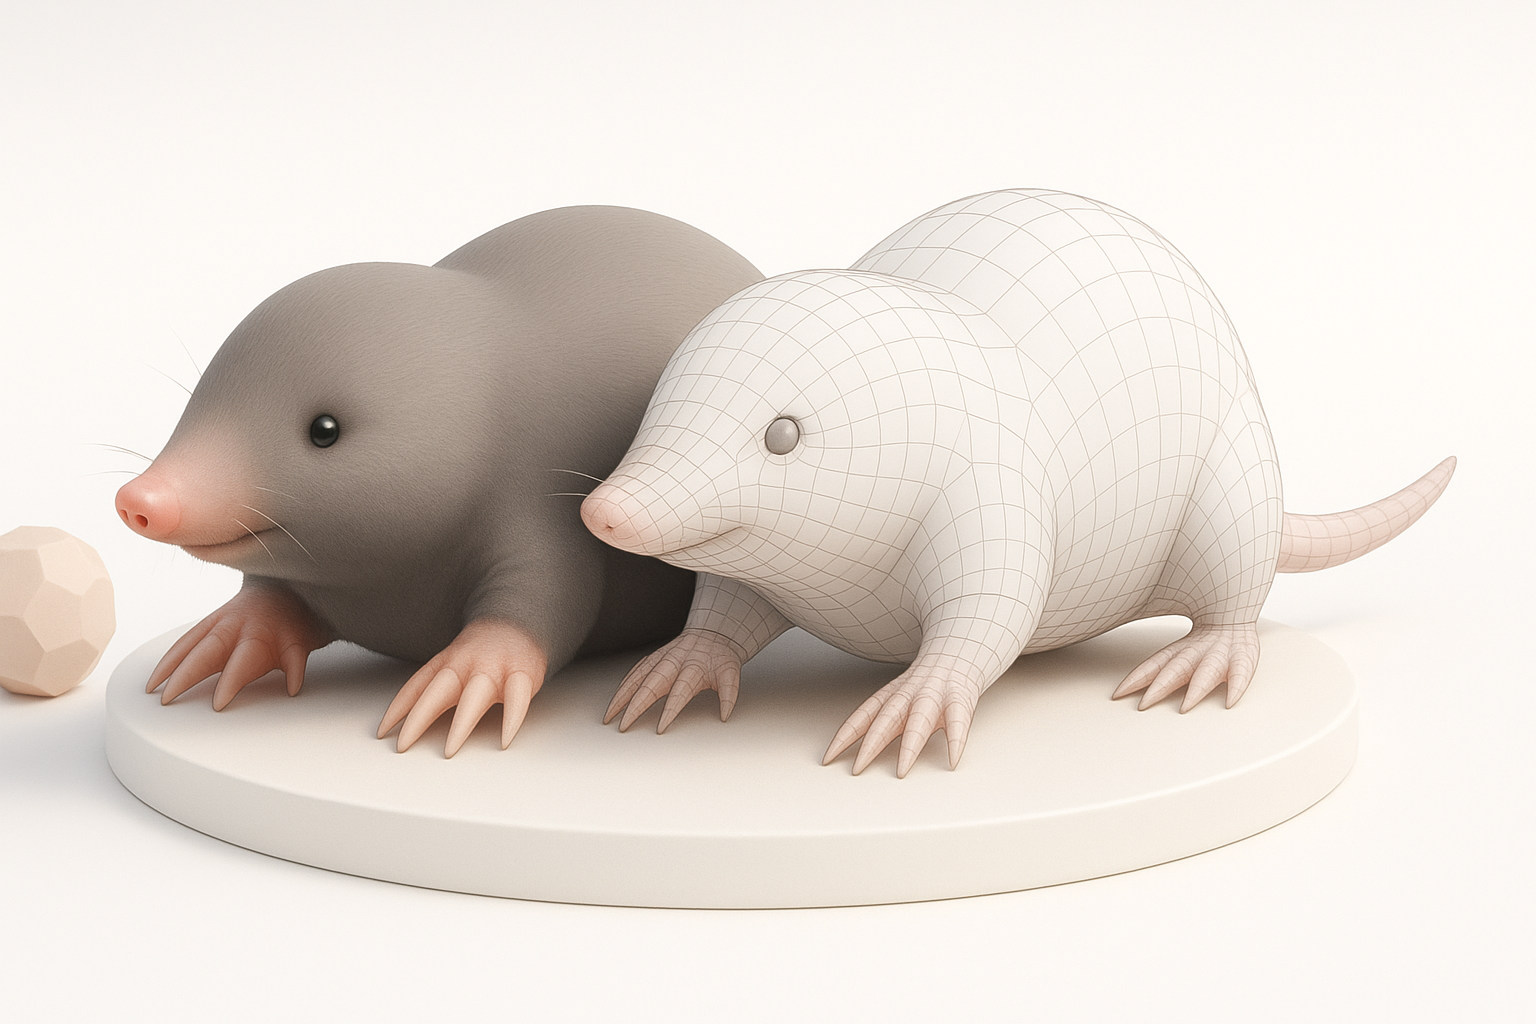
Detailing, retopology, and texturing
Once the base is right:
- Sculpt secondary and tertiary details: Fur patterns, skin folds, claws.
- Retopologize: Use automated or manual retopology to create clean, animation-friendly geometry.
- UV unwrap: Lay out UVs for efficient texture painting.
- Texture: Paint color, fur, and subtle surface variation. I use both procedural and hand-painted techniques.
Best practice: Bake normal and displacement maps from high-res sculpts to the optimized mesh for detail without heavy geometry.
Best Practices for Production-Ready Mole 3D Models
Optimizing topology and UVs
Production-ready means efficient and flexible. I always:
- Maintain quad-based topology for smooth deformation.
- Optimize polycount to balance detail and performance.
- Lay out UVs with minimal stretching and logical seams (hide them under the body or inside limbs if possible).
Pitfall: Overly dense meshes can slow down rigs and renders; keep it as light as possible.
Preparing for rigging and animation
If the mole will be animated:
- Add edge loops around joints (shoulders, elbows, snout).
- Ensure the mouth and eyelids have enough geometry for subtle movement.
- Test with simple rigs to catch deformation issues early.
Pro tip: Even if you don’t rig it yourself, prepping the mesh saves time for downstream artists.
Exporting, Sharing, and Using Your Mole Model
Export settings for different platforms
When exporting, I tailor settings to the target use:
- Games: Export as FBX or glTF, keep texture maps in power-of-two resolutions (e.g., 2048x2048).
- Film/VFX: OBJ or FBX, with high-res textures and separate maps for color, normal, roughness, etc.
- XR/AR: Optimize for low polycount and lightweight textures.
Checklist:
- Apply transforms and freeze scale/rotation.
- Embed or include all necessary textures.
Integrating into games, film, or XR projects
I always test the exported model in the target engine (Unreal, Unity, or custom pipeline):
- Check for shading or normal errors.
- Verify rig and animation compatibility.
- Adjust materials to match the engine’s renderer.
Pitfall: Forgetting to test in context can lead to last-minute surprises—always validate before final delivery.
By following this workflow and focusing on both creative and technical details, you’ll produce a realistic, production-ready mole 3D model suitable for any professional pipeline.


