Creating Metal Gear Solid 3D Models: Expert Workflow & Tips
Creating high-quality Metal Gear Solid 3D models demands a blend of technical skill, artistic vision, and efficient workflow management. In my experience, the key is balancing authentic detail with production-friendly practices—especially when preparing assets for games or XR. I rely on a mix of manual techniques and AI-powered tools like Tripo to accelerate concepting, texturing, and retopology. This guide distills my hands-on process, highlighting pitfalls to avoid and shortcuts that actually work. Whether you’re a game artist, XR developer, or fan project creator, you’ll find actionable strategies here for getting Metal Gear Solid assets from concept to engine-ready.
Key takeaways
- Gather deep reference to nail the franchise’s iconic style.
- Block out forms before chasing details—avoid premature refinement.
- Prioritize clean UVs and modular materials for efficient texturing.
- Use AI tools like Tripo for rapid prototyping and segmentation.
- Always optimize topology before export; watch polycounts closely.
- Test rigging early to prevent animation headaches later.
Overview: Metal Gear Solid 3D Model Creation
Key challenges and requirements
Metal Gear Solid assets are known for their military realism, layered gear, and subtle wear. The main challenges I face are:
- Capturing authentic proportions and silhouette
- Achieving believable material definition (e.g., metal, fabric, leather)
- Balancing polygon budgets with visual fidelity for real-time use
- Ensuring assets are animation- and engine-ready
Executive summary and takeaways
My workflow emphasizes reference-driven modeling, early optimization, and iterative testing. Using AI-powered tools, I can shortcut repetitive setup tasks, freeing up time for creative decisions. The most common pitfalls I see are over-modeling details too soon and neglecting UV/texture planning until late in the process.
My Step-by-Step Workflow for Metal Gear Solid 3D Models
Concepting and reference gathering
I always start by compiling a thorough reference board—screenshots from games, concept art, and real-world military gear. For Metal Gear Solid, focus on:
- Character silhouettes and gear loadouts
- Material types and surface wear
- Signature props and weapons
Checklist:
- Gather at least 10–20 high-res references
- Organize by character, prop, or material type
- Annotate key design features
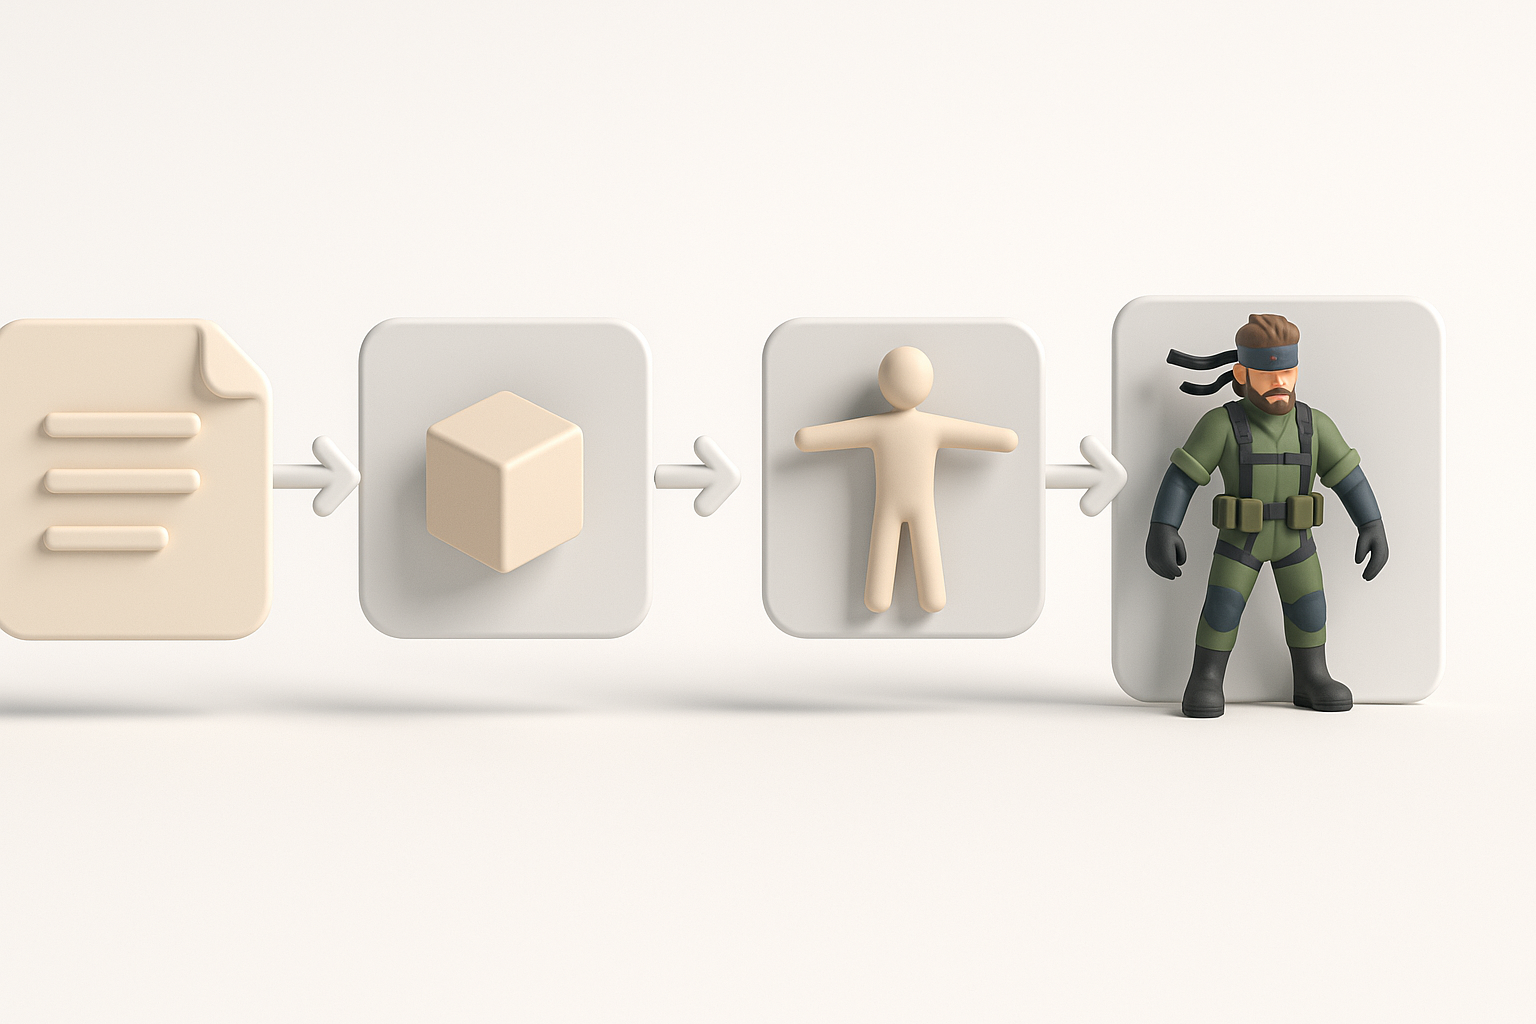
Blocking out forms and proportions
Before diving into details, I block out basic shapes using simple geometry. This helps me lock in correct proportions and pose. I often use Tripo’s sketch-to-3D feature for initial blockouts, adjusting output meshes as needed.
Steps:
- Start with rough primitives (boxes, cylinders)
- Adjust scale and silhouette to match references
- Check proportions from all key camera angles
Pitfall: Avoid adding fine details or surface features until the blockout is approved—early detail work often gets wasted.
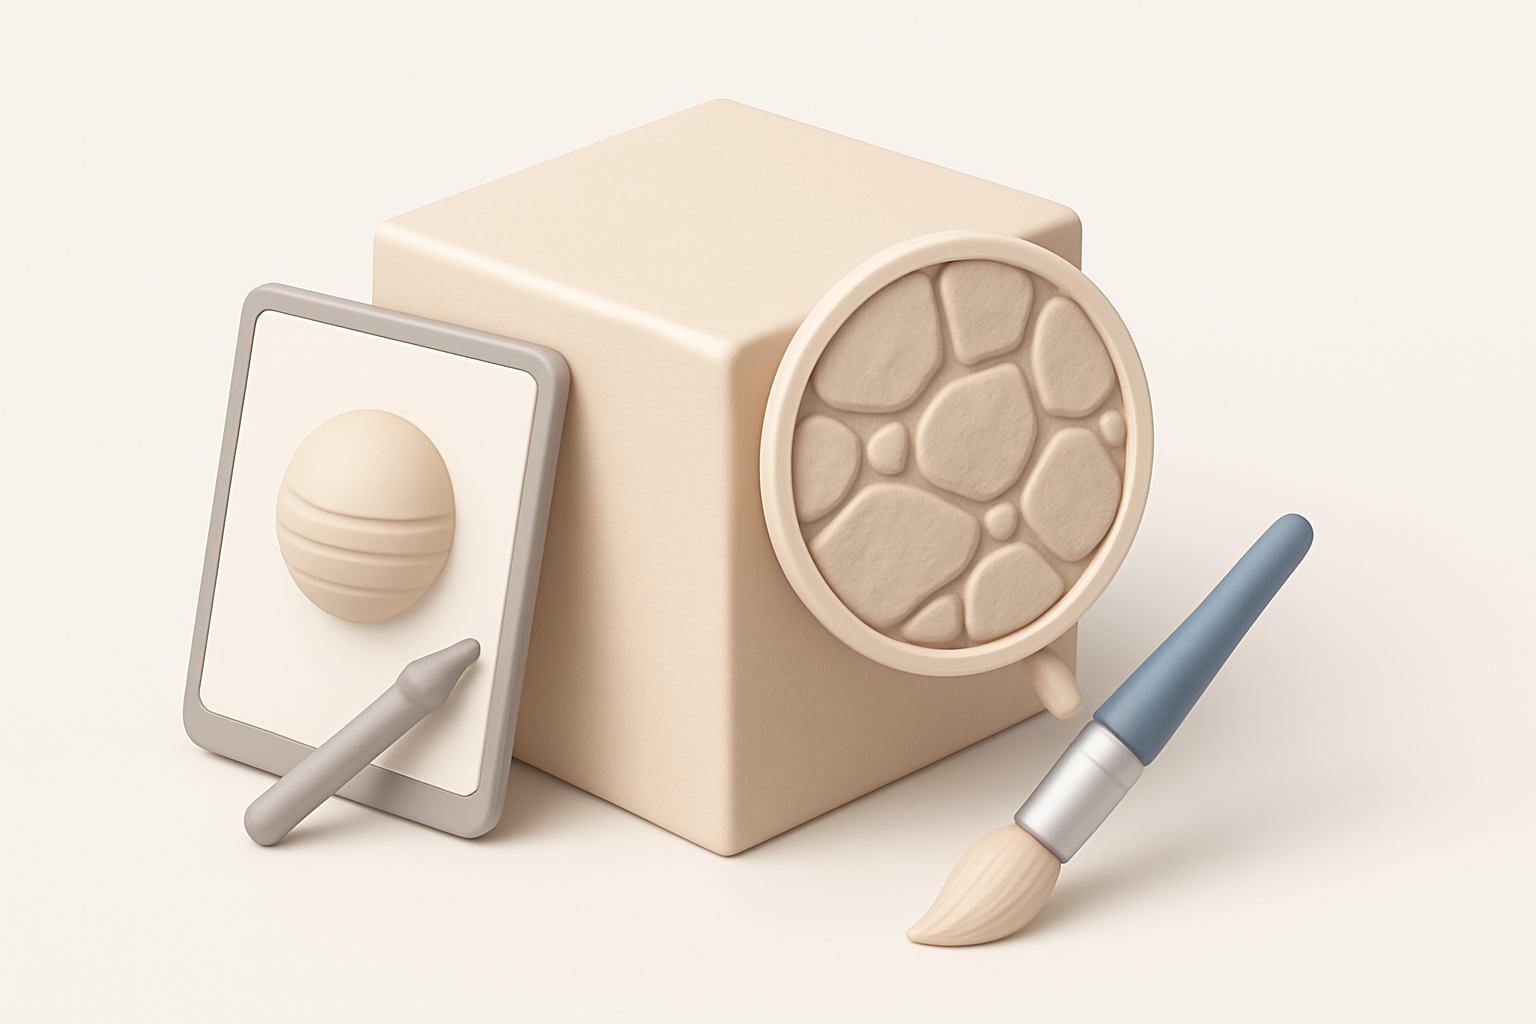
Best Practices for Texturing and Detailing

Efficient UV mapping and material setup
Clean UVs are essential for seamless textures and efficient engine use. I typically:
- Unwrap UVs as soon as the base mesh is locked
- Use overlapping UVs for symmetrical parts (e.g., gloves, boots)
- Set up material IDs for modular texturing
Checklist:
- Minimize seams in visible areas
- Pack UVs tightly to maximize texel density
- Test UVs with a checker map before painting
Adding realistic wear, decals, and surface details
Metal Gear Solid models shine with subtle wear—scratches, dirt, faded decals. I use a mix of procedural texturing and hand-painted layers.
Tips:
- Layer edge wear and grime in crevices
- Use real-world reference for scratch and rust patterns
- Apply decals (logos, numbers) via secondary UV sets or masks
Pitfall: Don’t overdo wear—aim for believable, not busy.
Rigging and Animation Considerations
Preparing models for animation
I ensure all moving parts are separate and logically named. For characters, I model in a neutral A-pose or T-pose.
Checklist:
- Separate meshes for gear that needs to move (e.g., holsters, straps)
- Clean, manifold geometry (no open edges or non-manifold faces)
- Consistent naming conventions for bones and meshes
Tips for smooth rigging and posing
Test simple deformation early. I often run quick auto-rigging in Tripo or other tools, then refine weights manually.
Tips:
- Add extra edge loops at joints for better bending
- Test extreme poses to spot problem areas
- Export and test in your target engine early
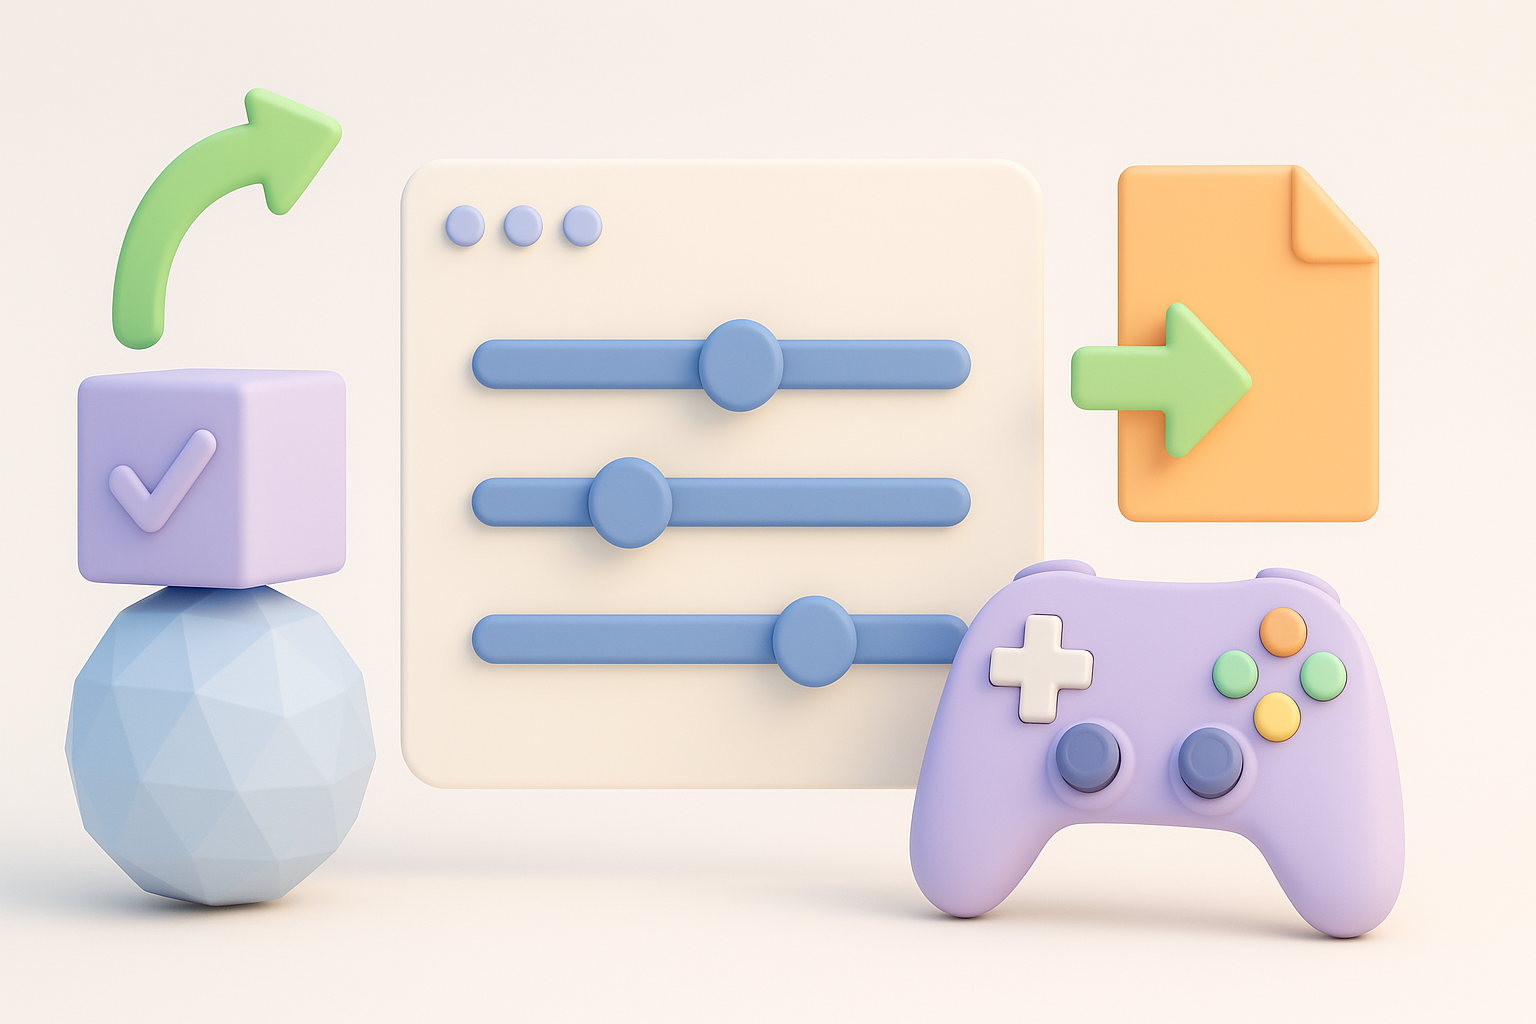
Optimizing and Exporting for Games or XR
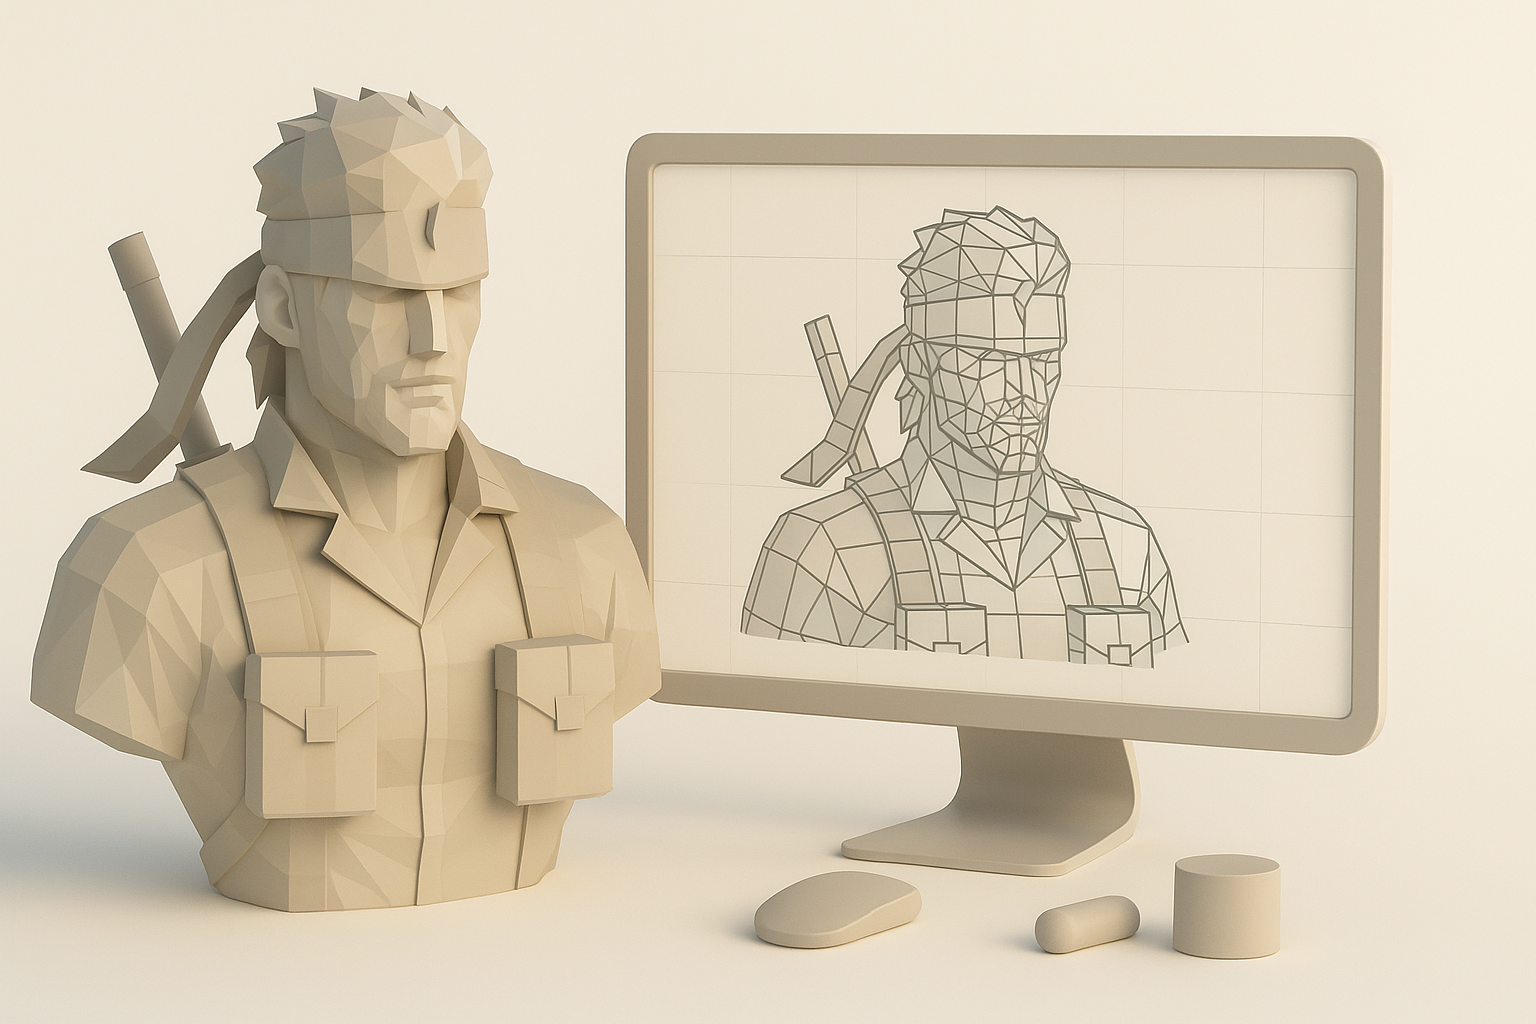
Retopology and polygon count management
Efficient topology is crucial for real-time use. I use Tripo’s auto-retopology for quick iterations, then manually tweak for critical areas (face, hands, gear).
Checklist:
- Target polycount based on platform (e.g., 20–50k for main characters)
- Use quad-based topology for smooth deformation
- Remove hidden or unnecessary faces
Export settings and compatibility tips
Before export, I:
- Freeze transforms and apply scale
- Check for non-manifold geometry
- Export in engine-friendly formats (FBX, GLTF)
- Embed or reference textures as needed
Pitfall: Always test imports in your game/XR engine—format quirks can break materials or rigging.
AI-Powered Tools and Alternative Methods
How I use Tripo AI for rapid prototyping
Tripo speeds up early-stage modeling, segmentation, and retopology. I often:
- Generate base meshes from rough sketches or text prompts
- Use auto-segmentation for complex gear or props
- Leverage quick texturing to preview looks before manual polish
Tips:
- Use AI outputs as a starting point, not the final asset
- Always review and clean up geometry before moving to production
Comparing manual and AI-assisted workflows
Manual modeling offers full control but is time-consuming for repetitive tasks. By integrating AI tools:
- I save hours on blockouts and retopology
- Can iterate on designs faster
- Still rely on manual refinement for hero assets and final polish
Pitfall: Don’t skip manual review—AI-generated assets often need cleanup for topology, UVs, and rigging.
By combining solid fundamentals with smart AI tool use, I consistently deliver Metal Gear Solid 3D models that are both authentic and production-ready. The key is to iterate, optimize, and never lose sight of the franchise’s iconic look.


