Maya 3D Modeling: Expert Workflows, Tips, and Best Practices
Maya remains my go-to tool for 3D modeling, especially for complex projects in games, film, and XR. Over the years, I’ve developed and refined workflows that maximize Maya’s strengths, streamline repetitive tasks, and avoid common pitfalls. This article distills my hands-on experience—covering everything from core modeling techniques to automation, texturing, and prepping assets for production. Whether you’re new to Maya or looking to level up your practice, you’ll find actionable tips and real-world advice here.
Key takeaways:
- Efficient project setup and navigation are foundational for speed and organization.
- Polygon modeling is my default, but I selectively use NURBS and sculpting for specific needs.
- AI-driven tools (like Tripo AI) can accelerate modeling, segmentation, and retopology.
- Texturing, UVs, and rigging each require deliberate planning for production-readiness.
- Maya excels in flexibility, but knowing its limits helps decide when to use alternative tools.
Getting Started with Maya 3D Modeling
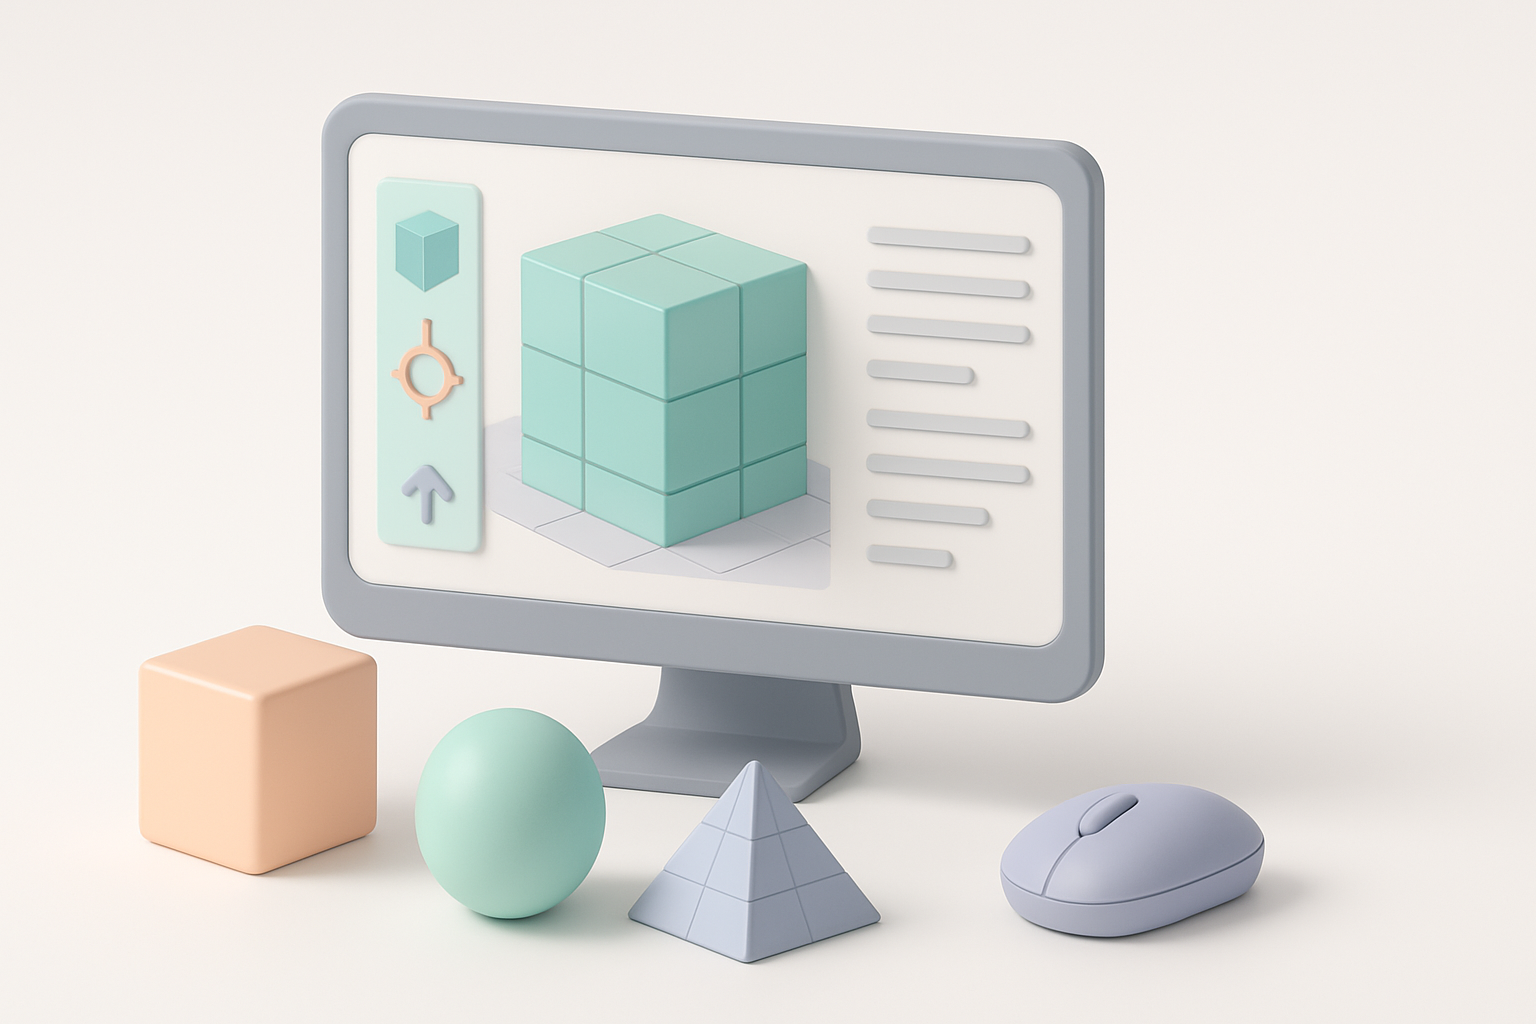
Essential Interface and Navigation Tips
Maya’s interface can feel overwhelming at first, but mastering a few essentials saves hours in the long run. I always customize my hotkeys—especially for switching between component modes (vertex, edge, face) and frequently used tools (Move, Scale, Extrude). Navigating the viewport efficiently (Alt + mouse for orbit/pan/zoom) is second nature and crucial for precise modeling.
My quick-start checklist:
- Set up custom shelves for favorite tools.
- Use marking menus (Shift + right-click) for rapid access.
- Split the workspace into Outliner, Attribute Editor, and Perspective View for clarity.
- Save custom layouts for different tasks (modeling, UVs, rigging).
Pitfall: Ignoring interface customization leads to slower workflows and more errors.
Setting Up Projects for Success
A clean project structure avoids headaches later. I always use Maya’s “Project” system to organize assets, scenes, and textures from the start. Naming conventions are non-negotiable—every object, material, and file gets a clear, consistent name.
Best practices:
- Create a new project folder for each asset or scene.
- Use versioning in filenames (e.g.,
character_v03.mb). - Store reference images and exported textures in dedicated subfolders.
- Regularly back up work, especially before major changes.
Core Modeling Techniques in Maya
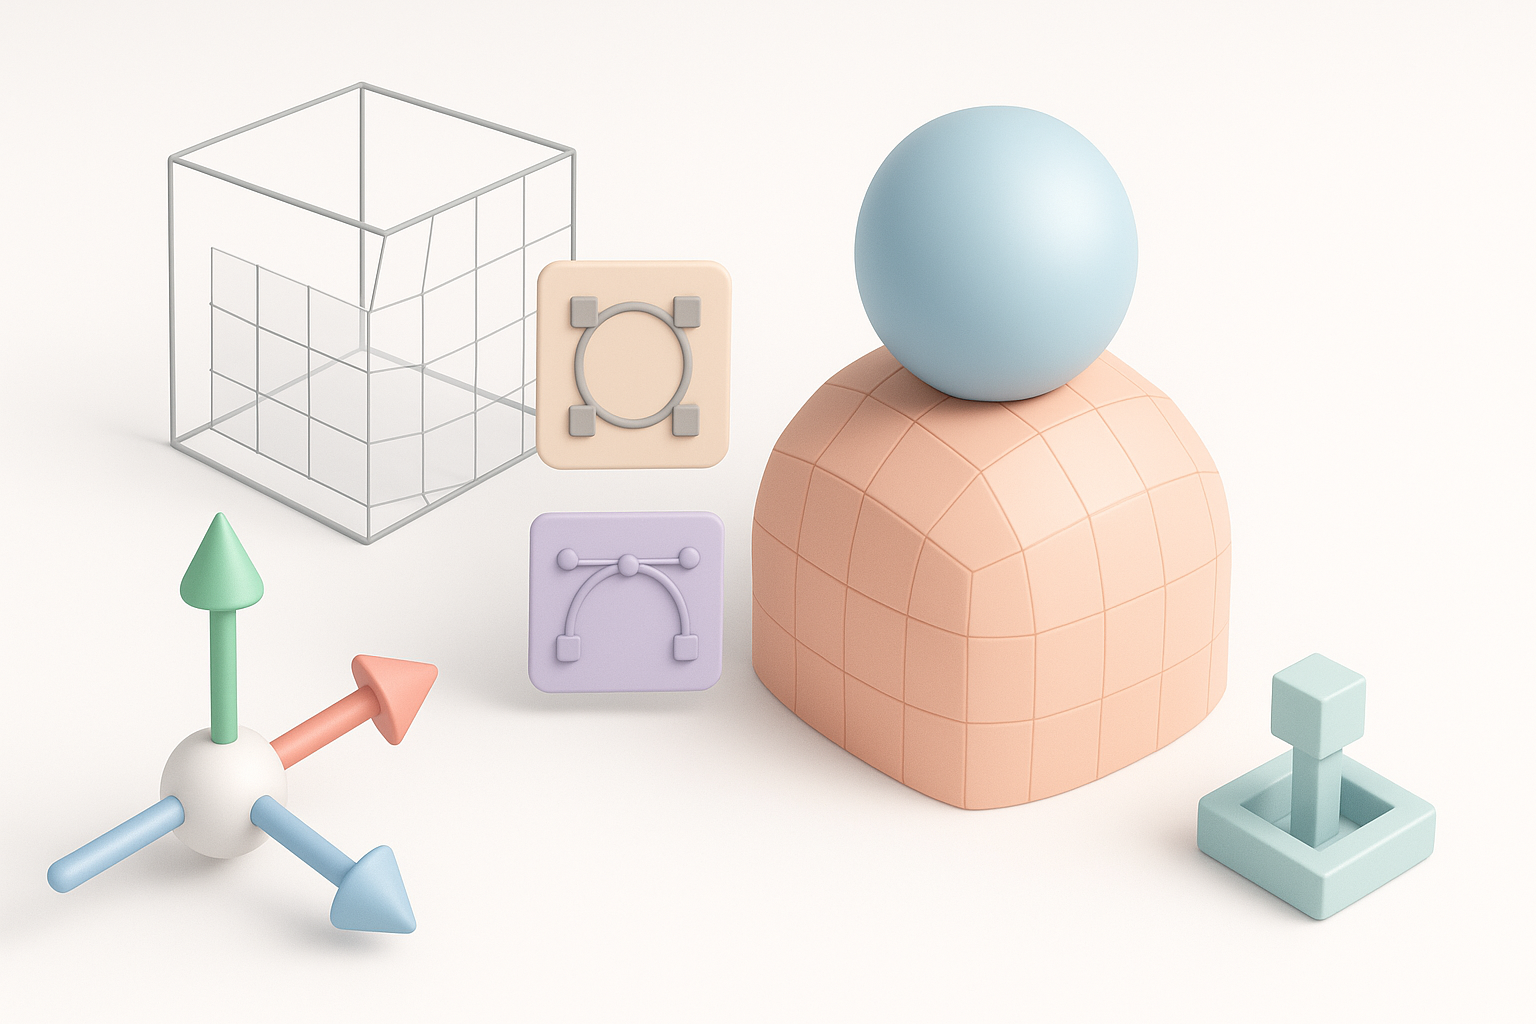
Polygonal Modeling: My Go-To Methods
Polygonal modeling is my default approach for most tasks—characters, props, environments. I start with primitive shapes, block out forms, then refine topology using Extrude, Insert Edge Loop, and Target Weld. Edge flow is critical for deformations and clean UVs.
My workflow:
- Start with low-resolution primitives.
- Block out proportions before adding detail.
- Use symmetry and instance mirroring for efficiency.
- Regularly check topology with “Display > Heads Up Display > Poly Count.”
Tip: Keep geometry quads whenever possible; avoid long triangles and n-gons.
NURBS and Sculpting: When and Why I Use Them
NURBS are invaluable for smooth, precise surfaces—think automotive parts or product design. I use NURBS curves and surfaces for initial forms, then convert to polygons for texturing and animation. Sculpting tools in Maya are serviceable, but for high-frequency detail, I often export to dedicated sculpting software and re-import.
When I use NURBS/sculpting:
- Creating mechanical, hard-surface objects.
- Generating base meshes for organic forms before retopology.
- Rapid prototyping of complex shapes.
Pitfall: Don’t leave models in NURBS form—convert and retopologize before production.
Advanced Workflows and Automation
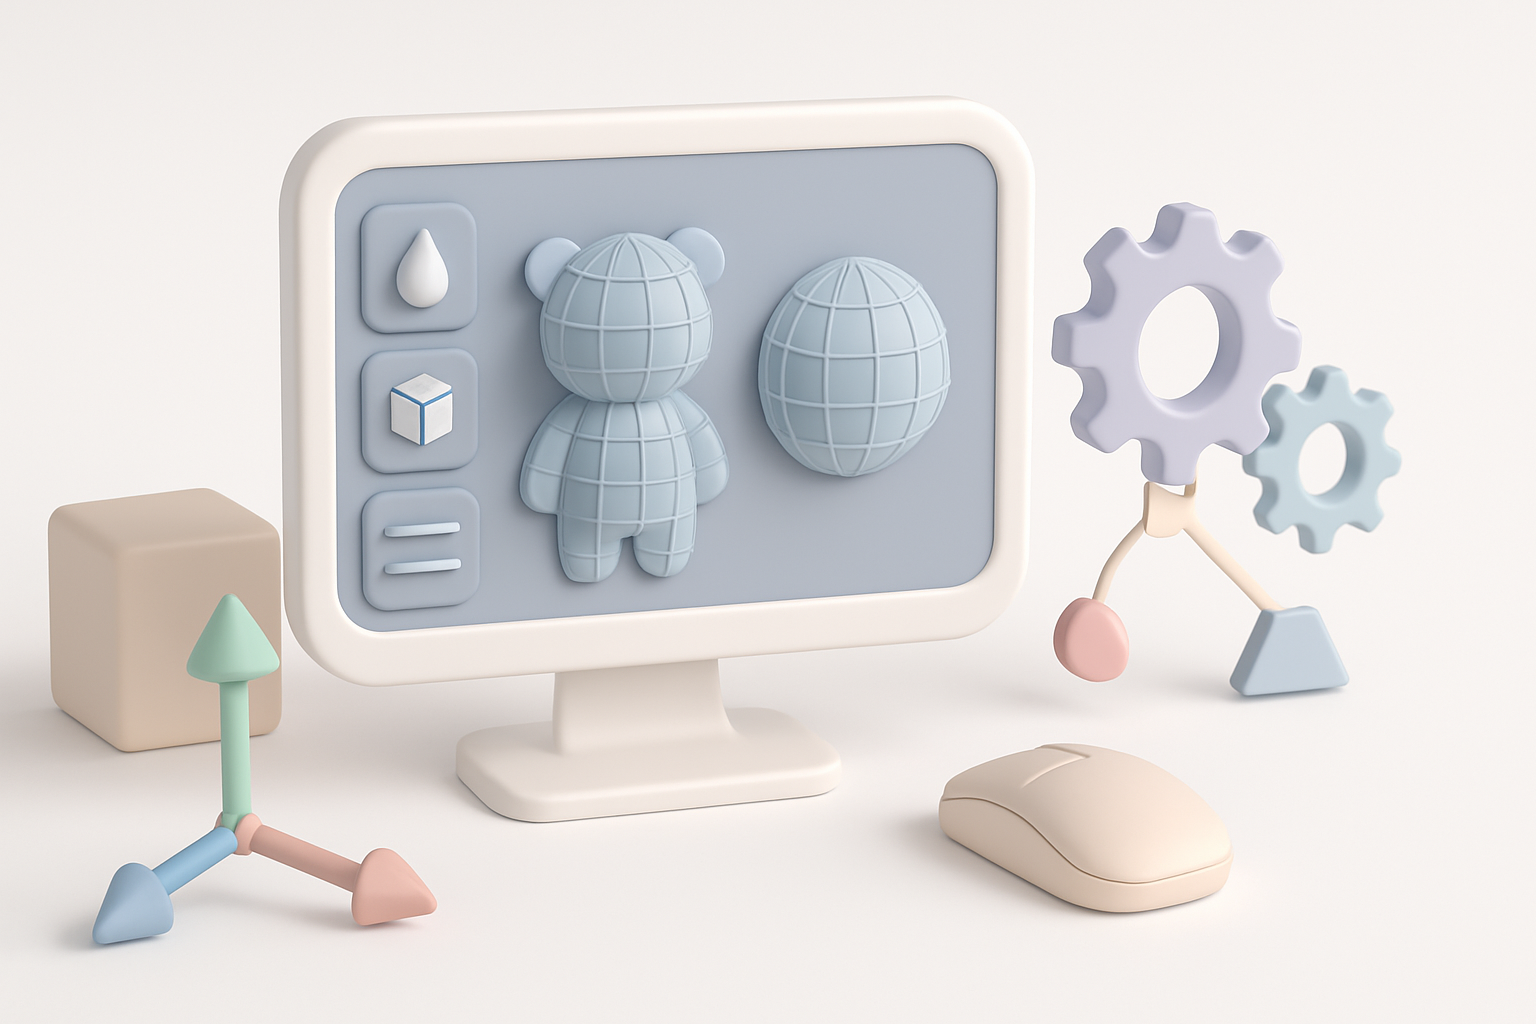
Leveraging AI Tools for Faster Modeling
AI tools like Tripo AI have become part of my workflow for rapid prototyping and asset generation. I use them to generate base meshes from sketches or reference images, then refine the output in Maya. This is especially useful for ideation or when deadlines are tight.
How I integrate AI tools:
- Generate a base mesh from text/image/sketch input.
- Import the output into Maya for cleanup and detailing.
- Use AI-assisted segmentation to separate parts for easier material assignment.
Tip: Always review and adjust AI-generated topology—automation accelerates, but doesn’t replace, manual polish.
Streamlining Retopology and UV Mapping
Clean topology and UVs are essential for texturing and animation. I use Maya’s Quad Draw on the modeling toolkit for manual retopology, but will leverage AI-powered retopology when speed is critical. For UVs, I rely on Maya’s automatic mapping as a starting point, but always tweak seams and layout for minimal distortion.
My process:
- Retopologize early, not after heavy detailing.
- Use “Unfold” and “Layout” tools for UVs, but manually adjust shells.
- Check for overlapping UVs and wasted texture space.
Pitfall: Rushing UVs leads to texturing headaches and visible seams.
Texturing, Rigging, and Preparing Models for Production
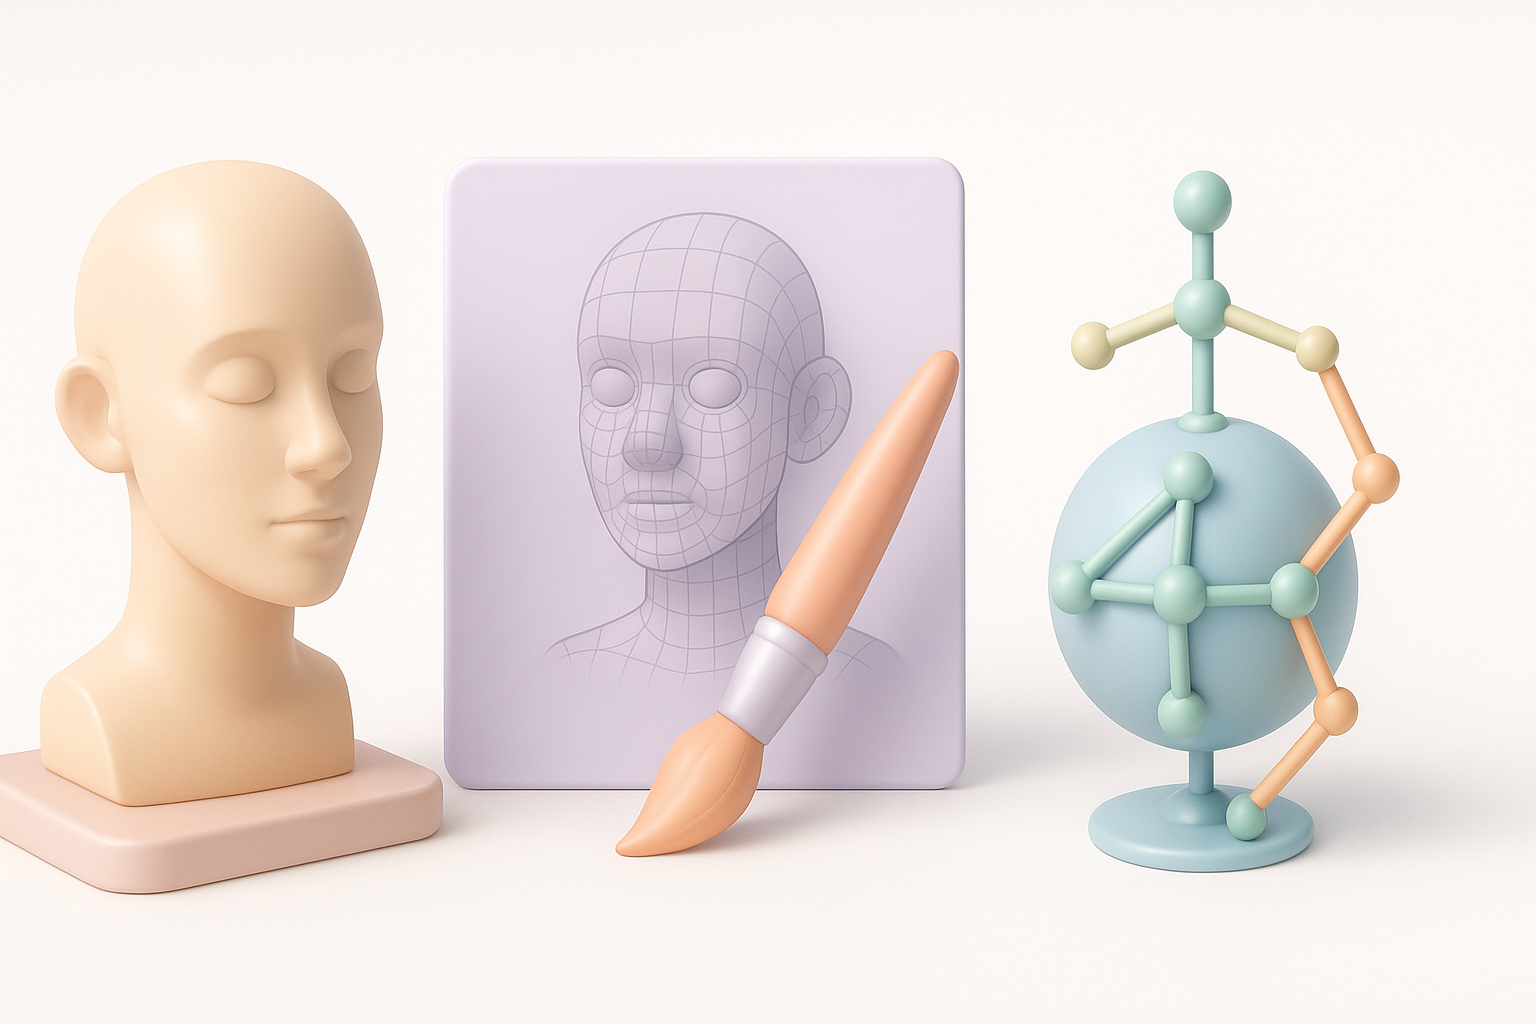
My Approach to Texturing and Materials
I start with a clean UV layout, then bake normal and ambient occlusion maps if needed. For texturing, I use layered shaders and procedural materials inside Maya, but often export to external painting tools for detailed work. I always test materials under different lighting to catch issues early.
Checklist:
- Name and organize all shaders/materials.
- Assign placeholder textures early to spot UV issues.
- Export texture maps in correct formats (PNG/TGA for transparency).
Tip: Use Tripo or similar platforms to generate base textures or test material variations quickly.
Rigging Essentials and Animation Prep
Before rigging, I freeze transformations, delete history, and ensure clean, non-overlapping geometry. I use Maya’s HumanIK for bipeds, and custom skeletons for creatures or props. Skin weighting is iterative—paint, test deformations, and refine.
Key steps:
- Label joints and controls clearly.
- Use proxy geometry for rigging tests.
- Export animation-ready models in standardized formats (FBX is my default).
Pitfall: Skipping cleanup before rigging leads to broken deformations and wasted time.
Best Practices and Common Pitfalls
What I’ve Learned from Real Projects
Real-world deadlines demand efficiency and flexibility. Overbuilding (too much detail, unnecessary modifiers) is a common trap. I now prioritize modular, reusable components, and keep scenes lightweight.
Lessons learned:
- Always model with the end-use in mind (game engine, film, XR).
- Document your process—future you (or teammates) will thank you.
- Review models in context (in-engine or with client feedback) early and often.
Troubleshooting and Optimization Tips
When things go wrong, I isolate the issue—checking geometry, history, and scene scale. Maya’s “Cleanup” tool is great for finding non-manifold geometry. I optimize by deleting unused nodes, combining meshes where possible, and keeping texture sizes reasonable.
Quick troubleshooting steps:
- Run “Mesh > Cleanup” regularly.
- Check for history bloat; delete unnecessary nodes.
- Optimize materials—reuse shaders when possible.
Pitfall: Ignoring optimization until late in production can cause performance issues and delays.
Comparing Maya with Other 3D Modeling Tools
Strengths and Limitations from My Experience
Maya excels at complex, animation-ready models and integrates well into most production pipelines. Its node-based architecture and scripting capabilities are unmatched for automation. However, for rapid concepting or stylized assets, other tools can sometimes be faster.
Strengths:
- Robust modeling, rigging, and animation tools.
- Deep customization and automation.
- Industry-standard for film, games, and XR.
Limitations:
- Steep learning curve.
- Can be resource-intensive for large scenes.
- Some tasks (like high-poly sculpting or procedural asset creation) are better handled elsewhere.
When to Use Maya vs. Alternative Methods
I reach for Maya when I need precision, advanced rigging, or integration with established pipelines. For quick asset generation, stylized models, or when collaborating with non-specialists, I might use AI platforms or other streamlined tools.
Decision points:
- Use Maya for animation-ready assets, complex rigs, and pipeline integration.
- Use AI-powered or alternative tools for rapid prototyping, ideation, and when speed outweighs manual control.
Summary:
Maya is a powerhouse for 3D modeling, but efficiency comes from smart workflows, leveraging automation (including AI), and knowing when to switch tools. With careful project setup, deliberate modeling, and constant optimization, I consistently deliver production-ready assets—on time and with fewer headaches.
