Creating a Man-Bat 3D Model Inspired by Arkham
Designing a Man-Bat 3D model in the style of the Arkham games is both a technical and creative challenge. In my experience, the process requires a strong grasp of character anatomy, efficient workflow planning, and the right blend of manual and AI-powered tools. This guide covers everything from gathering references and blocking out the mesh to texturing, rigging, and exporting for real-time engines. Whether you’re a game artist, hobbyist, or looking to streamline your pipeline with AI, you’ll find actionable steps and practical tips here.
Key takeaways

- Reference and planning are crucial for nailing Arkham’s gritty, anatomical style.
- Blocking, sculpting, and texturing each require focused workflows for best results.
- AI-powered tools like Tripo can accelerate base mesh creation and retopology.
- Manual detailing remains essential for achieving high-quality, game-ready models.
- Rigging and animation should be considered early to avoid rework.
- Export settings and optimization are key for real-time performance.
Understanding the Man-Bat Character and Arkham Style
Key visual traits of Man-Bat in Arkham games
The Arkham series’ Man-Bat is defined by exaggerated anatomy, leathery wings, and a monstrous, sinewy silhouette. I focus on the following traits:
- Gaunt, muscular build: Prominent ribcage, elongated limbs, and hunched posture.
- Bat-like facial features: Extended jaw, sharp teeth, and expressive eyes.
- Tattered wings: Membranes with visible veins and tears, adding realism.
- Layered textures: Dirty, scarred skin and subtle fur details.
Capturing these features means balancing realism with stylization. Overemphasizing any one area can break the Arkham look.
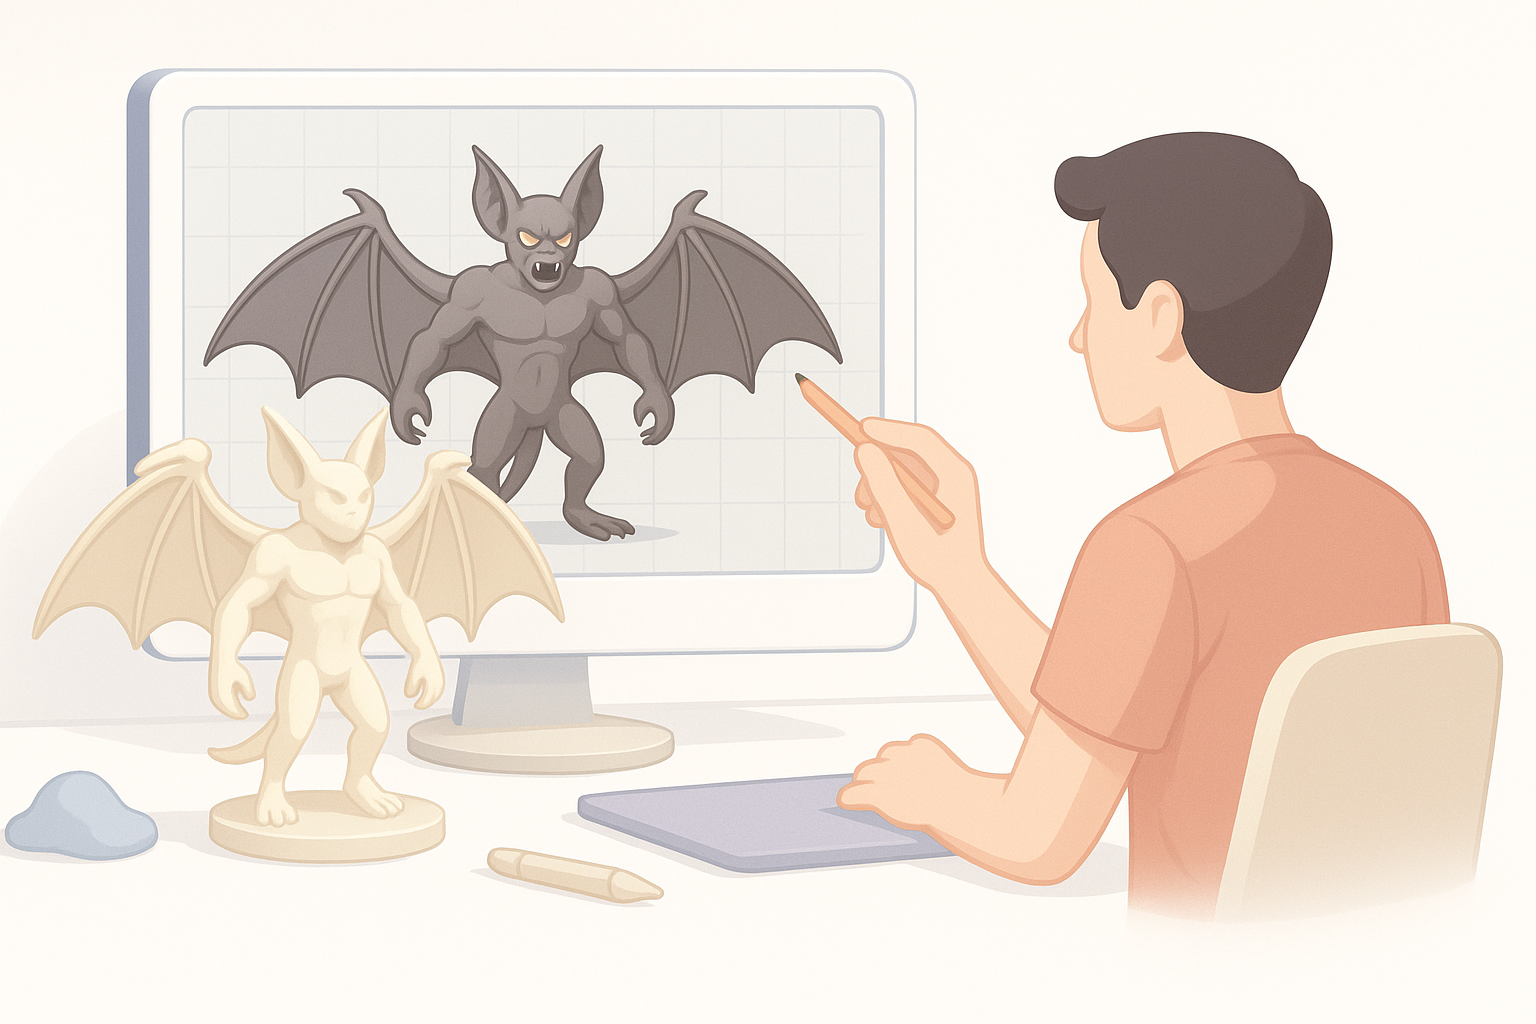
Gathering reference material and inspiration
I gather high-res screenshots from the Arkham games, official concept art, and anatomical studies (both human and bat). My reference board usually includes:
- Front, side, and back views of Man-Bat.
- Close-ups of wings, hands, and facial details.
- Mood boards for lighting and texturing inspiration.
Tip: I keep references visible in my workspace to avoid drifting off-style during modeling.
Planning and Preparing for 3D Modeling
Choosing the right software and tools
For this workflow, I combine traditional DCCs with AI-powered platforms:
- Base mesh & segmentation: Tripo AI for rapid prototyping and mesh segmentation.
- Sculpting: ZBrush or Blender for organic detail.
- Texturing: Substance Painter for PBR materials.
- Rigging/Animation: Maya or Blender, depending on pipeline needs.
Checklist:
- Ensure all tools support your target export format (FBX, GLTF, etc.).
- Confirm compatibility with your game engine.
Setting up your project for efficiency
I always start with a clear folder structure and version control. My setup includes:
- Separate folders for references, base meshes, textures, and exports.
- Scene templates with scale and grid settings matching the target engine.
- Predefined material slots and naming conventions.
Pitfall: Skipping project setup leads to confusion and lost work, especially in team environments.
Step-by-Step Workflow: Modeling Man-Bat
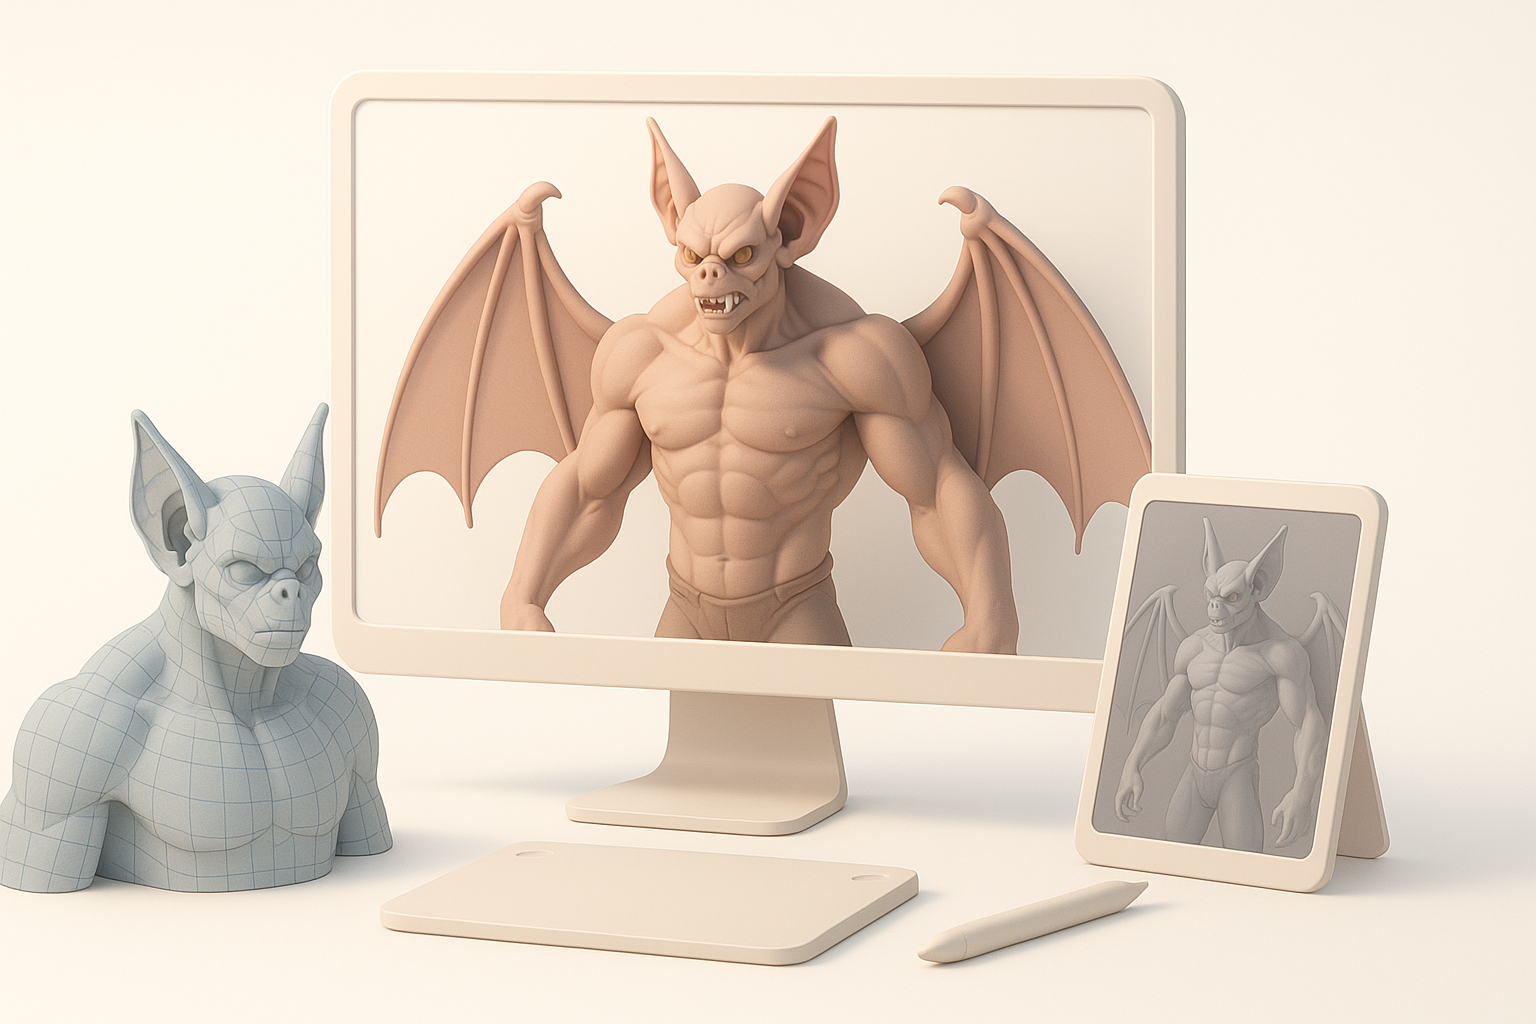
Blocking out the base mesh
I start with a rough blockout to establish proportions and silhouette. With Tripo AI, I input a descriptive prompt (“gaunt humanoid with bat wings, Arkham style”) and refine the output:
- Generate a base mesh.
- Adjust proportions manually for accuracy.
- Merge or separate mesh parts as needed (head, body, wings).
Tip: Focus on silhouette first—details come later.
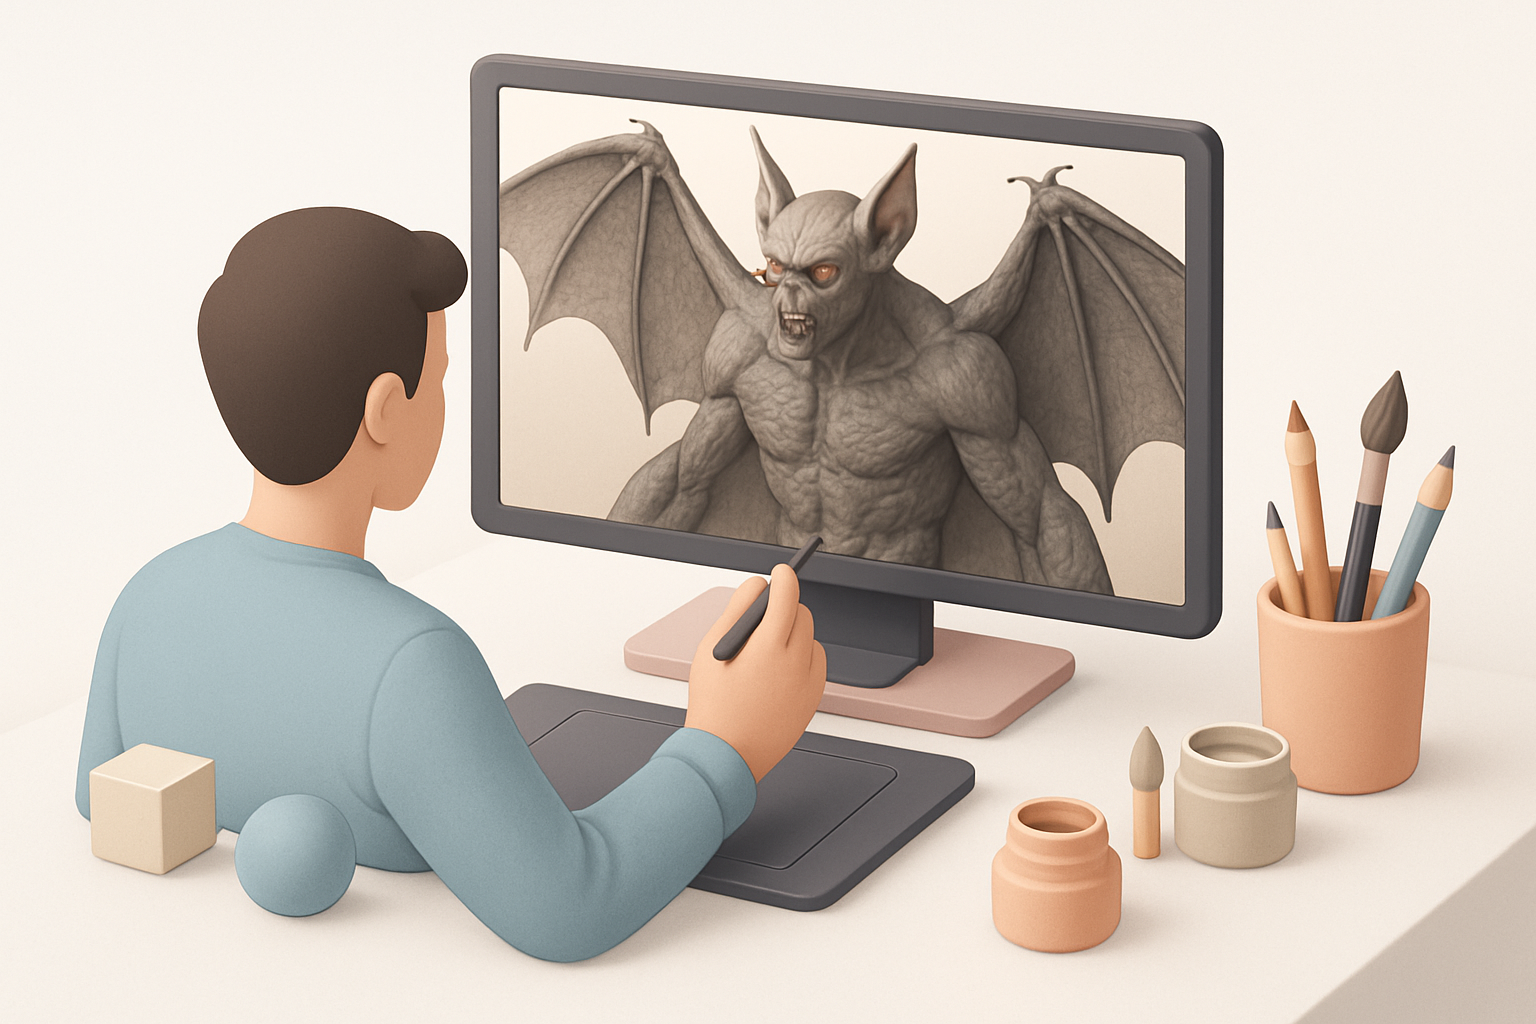
Sculpting details and anatomical features
Once the blockout is solid, I move to sculpting:
- Refine muscle groups, bone structures, and facial features.
- Add secondary forms: veins, scars, wing membranes.
- Use symmetry for speed, but break it up for realism.
Checklist:
- Keep topology clean for later retopology.
- Regularly check against references for anatomical accuracy.
Texturing and Detailing for Realism
Best practices for UV mapping and texturing
Clean UVs are essential for high-quality textures:
- Unwrap in a way that minimizes seams on visible areas (face, chest, wings).
- Use UDIMs or multiple UV tiles for high-res detail if your workflow allows.
- Export to Substance Painter for PBR texturing.
Pitfall: Overlapping UVs or poor layout leads to visible texture stretching.
Adding surface details and material effects
In texturing, I focus on:
- Layered dirt, scars, and subtle subsurface scattering for skin.
- Specular/roughness variation for wet vs. dry areas.
- Alpha maps for wing tears and fur patches.
Tip: Use baked normal and cavity maps to enhance sculpted details.
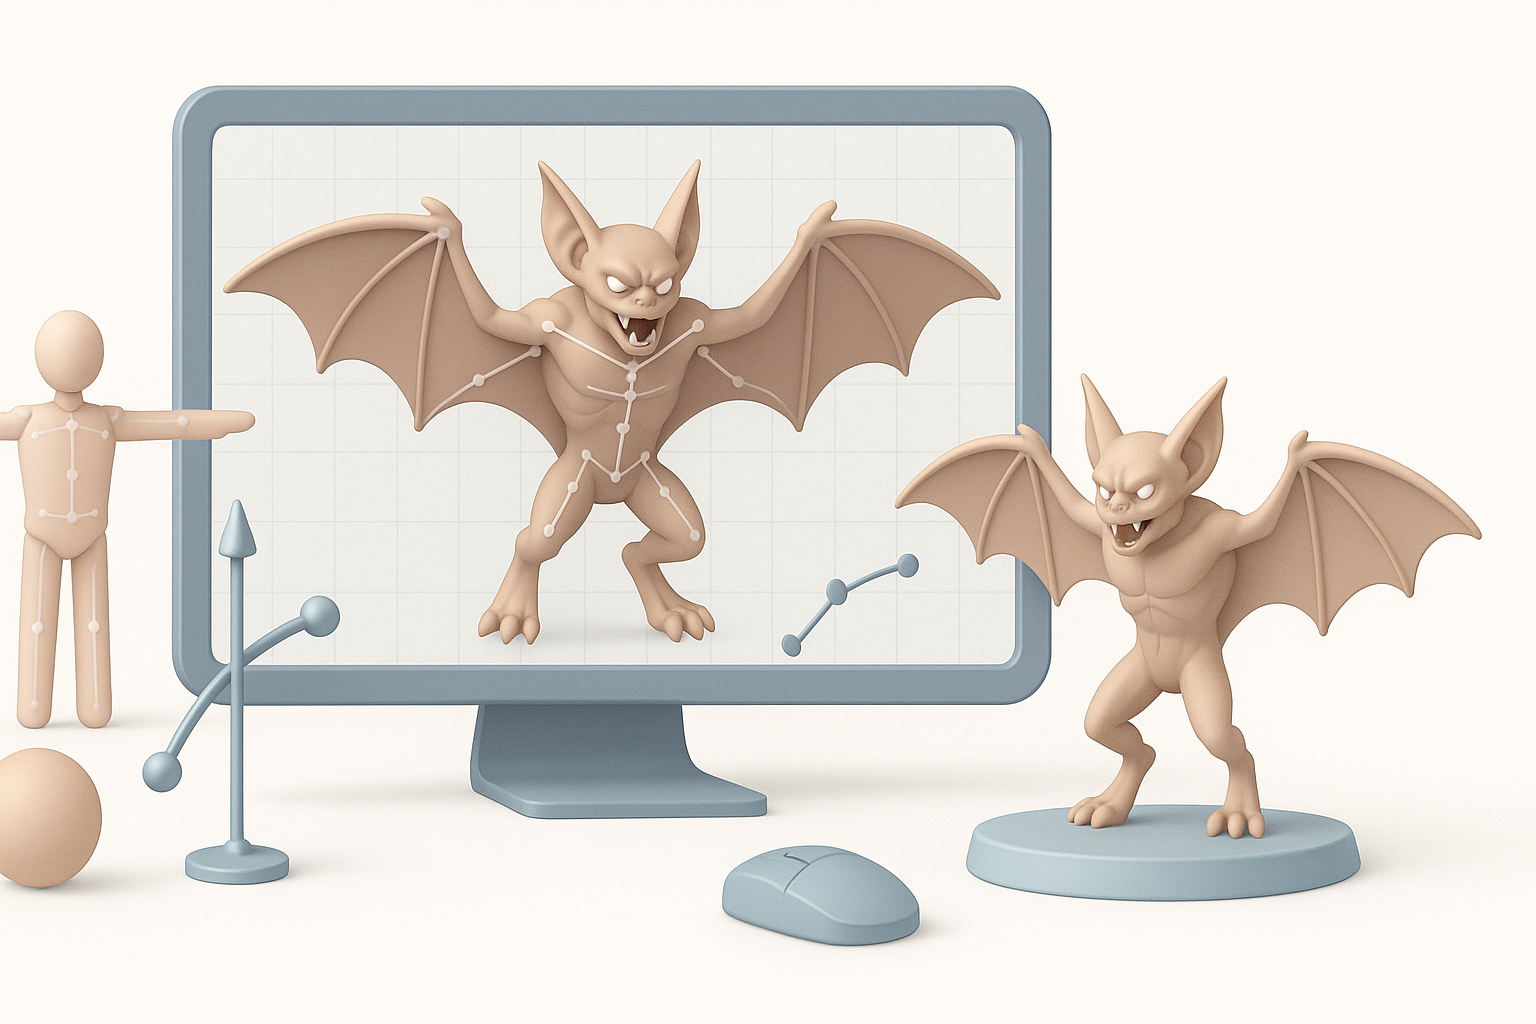
Rigging and Animation Considerations
Setting up a functional rig for Man-Bat
A good rig is crucial for expressive animation:
- Add extra joints for wings and fingers.
- Use IK/FK switching for arms and legs.
- Weight-paint carefully around wing membranes.
Checklist:
- Test deformation with extreme poses.
- Include facial rigging for snarls and expressions.
Animating key poses and movements
Man-Bat’s animations are dynamic—think gliding, screeching, and sudden movements:
- Block out key poses first (idle, attack, flight).
- Animate wing folds and extensions with secondary motion.
- Polish facial expressions for emotion.
Tip: Reference both bats and human actors for believable motion.
Optimizing and Exporting the Model
Retopology and mesh optimization tips
For real-time use, optimized topology is a must:
- Use Tripo AI’s retopology tools to quickly generate clean, quad-based meshes.
- Manually tweak edge flow around joints and facial features.
- Target a reasonable polycount (e.g., 30–50k tris for a hero character).
Pitfall: Neglecting retopology leads to animation artifacts and poor performance.
Export settings for games and real-time engines
Before export:
- Bake maps (normals, AO, curvature) at final resolution.
- Freeze transforms and apply correct scale.
- Export in engine-friendly formats (FBX with embedded textures or GLTF).
Checklist:
- Test import in your engine before finalizing.
- Double-check pivot points and material assignments.
Comparing AI-Powered and Manual Workflows
When to use AI tools for 3D modeling
AI-driven tools shine in:
- Fast base mesh generation from text or sketches.
- Automatic segmentation and UV unwrapping.
- Retopology and basic texturing.
I rely on these for rapid prototyping and iteration, especially under tight deadlines.
My experience with AI-assisted pipelines
Integrating AI platforms like Tripo has:
- Reduced time spent on repetitive tasks.
- Freed me to focus on creative sculpting and detailing.
- Occasionally required manual fixes, especially for complex anatomy or unique silhouettes.
Tip: Always review AI outputs before moving to later stages.
Lessons Learned and Expert Tips
Common challenges and how I overcome them
- Maintaining anatomical accuracy: Constantly reference real-world anatomy and Arkham designs.
- Avoiding muddy details: Work in passes—block out, refine, then detail.
- Balancing speed and quality: Use AI for speed, but don’t skip manual cleanup.
Checklist:
- Regularly save iterations.
- Solicit feedback early from peers or art leads.
Final thoughts on achieving Arkham-level quality
Achieving Arkham-level quality is about attention to detail and smart tool use. AI can accelerate your workflow, but the final polish comes from a trained eye and iterative refinement. Stay organized, reference often, and don’t be afraid to redo areas for better results.
If you’re looking to create a production-ready Man-Bat or any complex character, blending AI tools like Tripo with hands-on artistry is the most effective path I’ve found.


