Creating and Using a Larynx 3D Model: Expert Workflow
When I need to create a precise, production-ready 3D model of the larynx—whether for medical education, animation, or XR integration—I rely on a streamlined, AI-augmented workflow. This approach lets me move from anatomical research to a rigged, textured model in a fraction of the time traditional methods require. Below, I’ll break down my process, from gathering references to exporting optimized assets, and share practical tips for getting the most out of modern AI-powered tools like Tripo.
Key takeaways
- Start with accurate anatomical references for best results.
- Use AI-powered 3D tools to accelerate modeling and reduce manual errors.
- Retopology and texturing are crucial for realism and efficiency.
- Rigging and animation require anatomical understanding for medical accuracy.
- Export in formats compatible with your target platforms (medical, XR, etc.).
- AI workflows can save time, but traditional methods may be better for highly custom or experimental models.
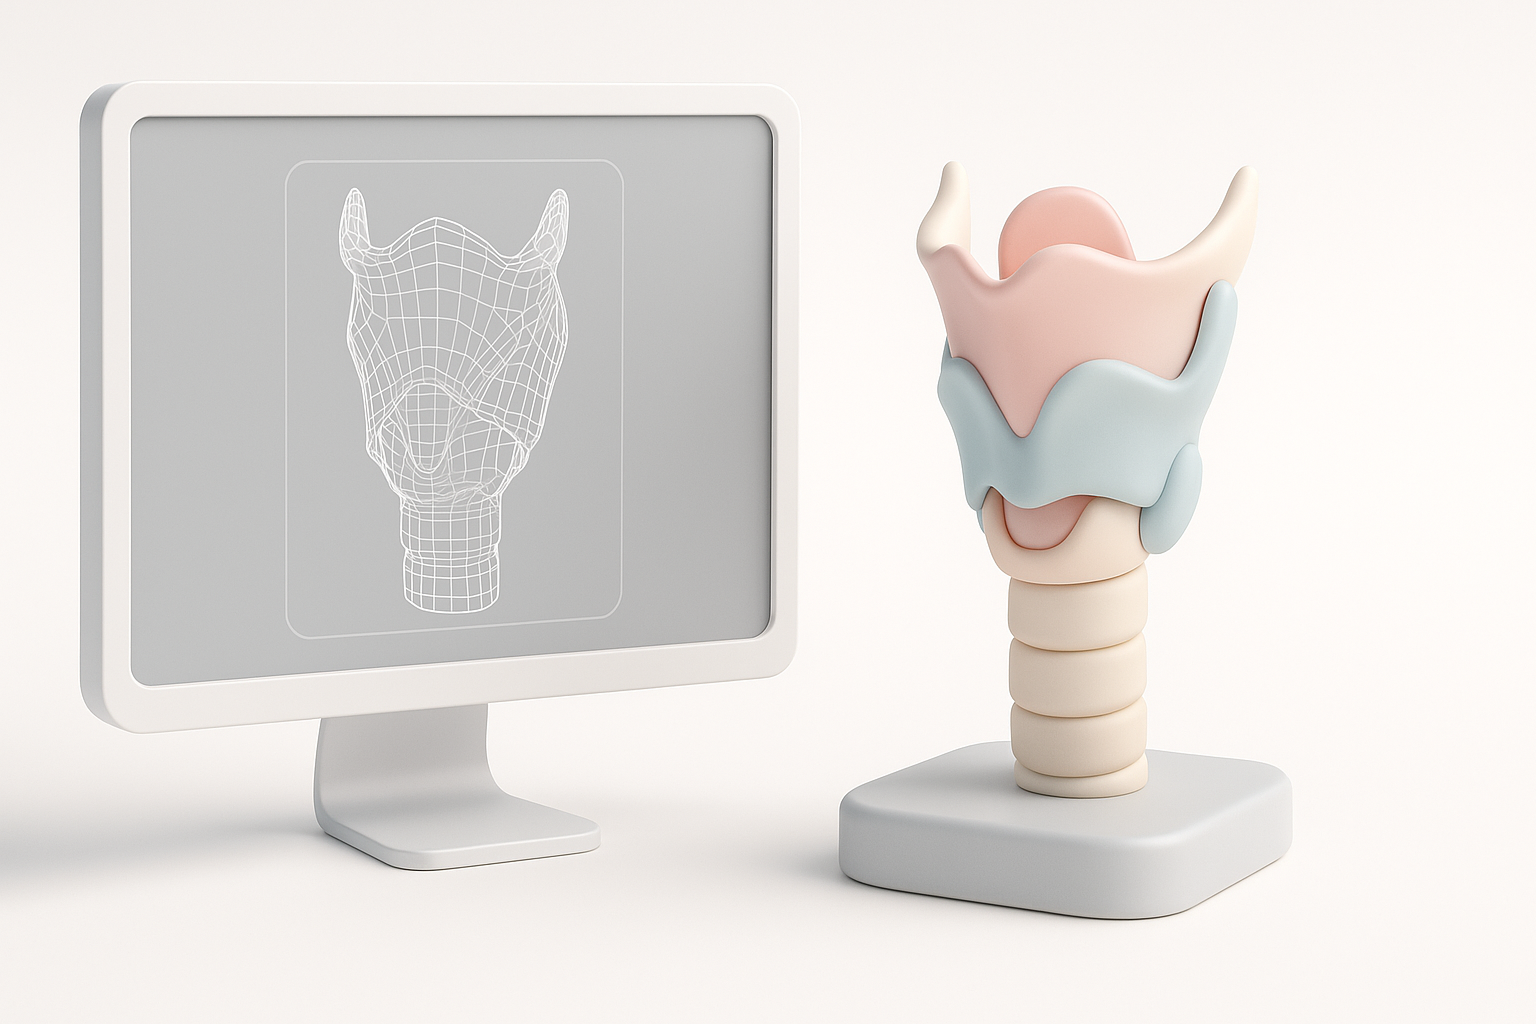
Understanding the Anatomy of the Larynx for 3D Modeling
Key anatomical features to include
From my experience, anatomical accuracy is non-negotiable. The larynx is a complex structure with several essential components:
- Cartilages: Thyroid, cricoid, arytenoid, epiglottis—these must be clearly defined.
- Vocal folds: Include both true and false vocal cords.
- Ligaments and membranes: These add structural realism, especially for educational models.
- Surrounding tissues: Consider adding tracheal rings and adjacent muscles for context.
Missing or oversimplified features can undermine the model’s educational or functional value, especially for medical simulations.
Reference materials and research tips
I always start with high-quality anatomical atlases, medical imaging (CT/MRI), or peer-reviewed diagrams. Here’s my checklist:
- Gather multiple viewpoints (anterior, posterior, lateral).
- Use cross-sectional images for internal details.
- Supplement with 3D scans if available.
Avoid relying on a single reference or stylized illustrations—they often miss critical subtleties.
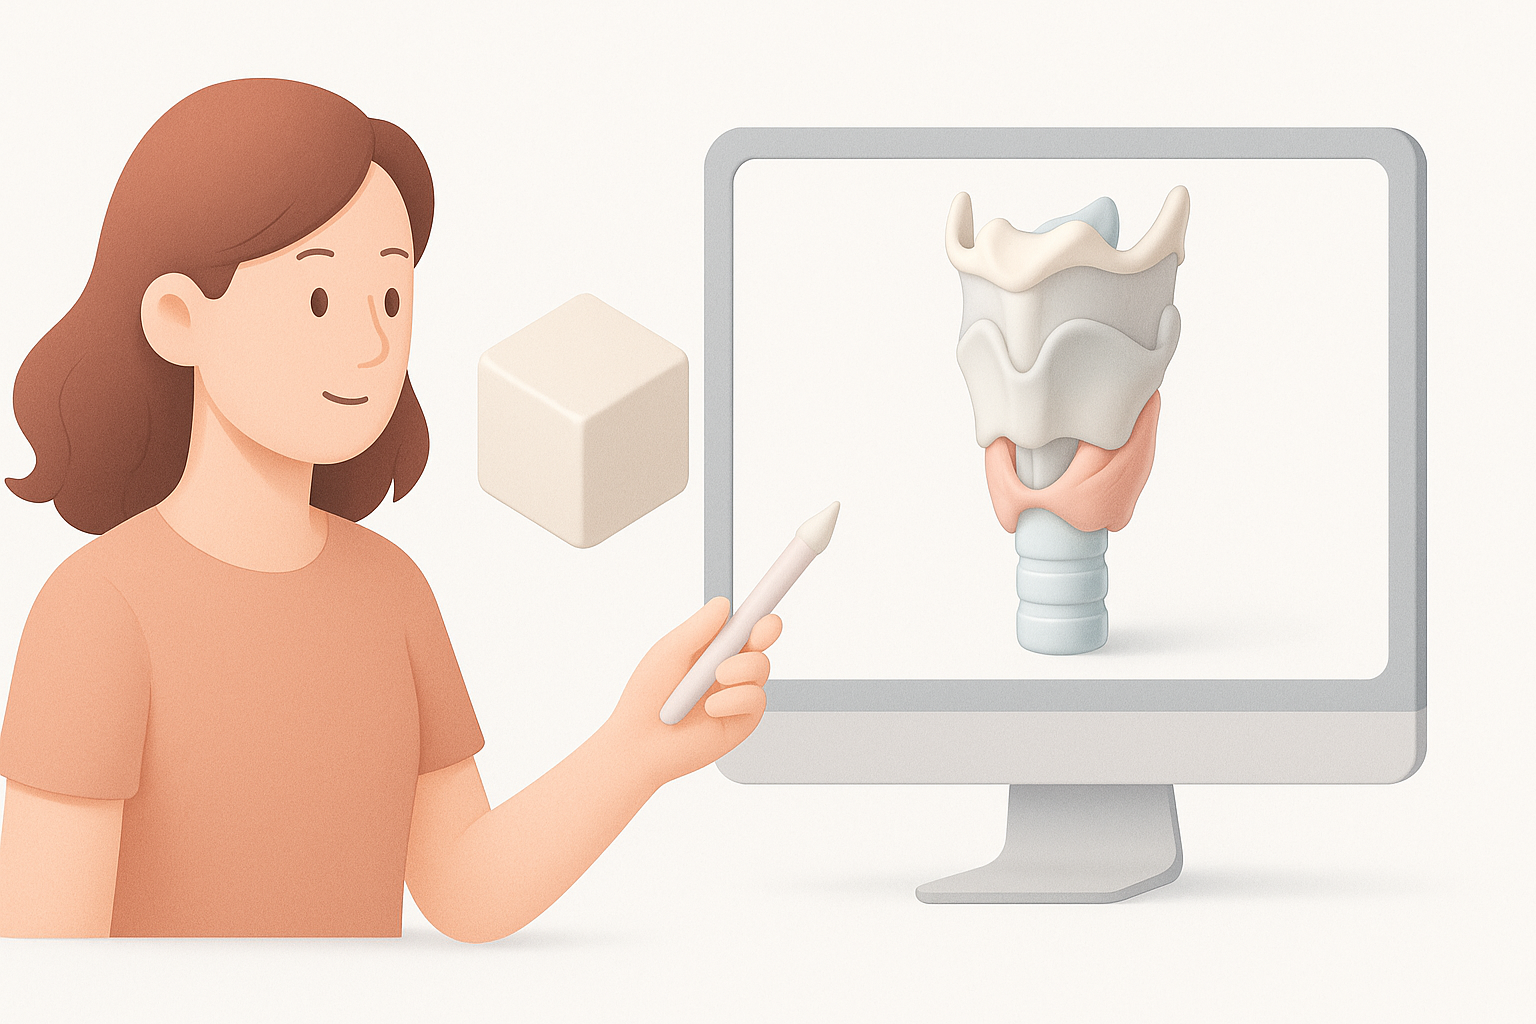
Best Practices for Generating a Larynx 3D Model
Choosing the right AI-powered tools
AI-powered platforms like Tripo have transformed my workflow. The main advantages are speed and accessibility:
- Text-to-3D: I input detailed anatomical descriptions to guide the model generation.
- Image/sketch input: Uploading annotated sketches or medical scans can yield more precise results.
- Customization: I look for tools that allow quick adjustments and segmentation.
Before settling on a tool, I check that it supports medical-grade detail and offers outputs compatible with my downstream needs.
Step-by-step workflow: From concept to model
Here’s the high-level process I follow:
- Define scope: Decide on the level of detail and animation requirements.
- Gather references: Collect anatomical images and sketches.
- Generate base mesh: Use Tripo’s text or image input; review the AI-generated result for anatomical fidelity.
- Refine geometry: Make manual edits or use segmentation tools for accuracy.
- Save iterations: I always version my files at key milestones.
Pitfall: Don’t skip the review step—AI models can misinterpret ambiguous references.
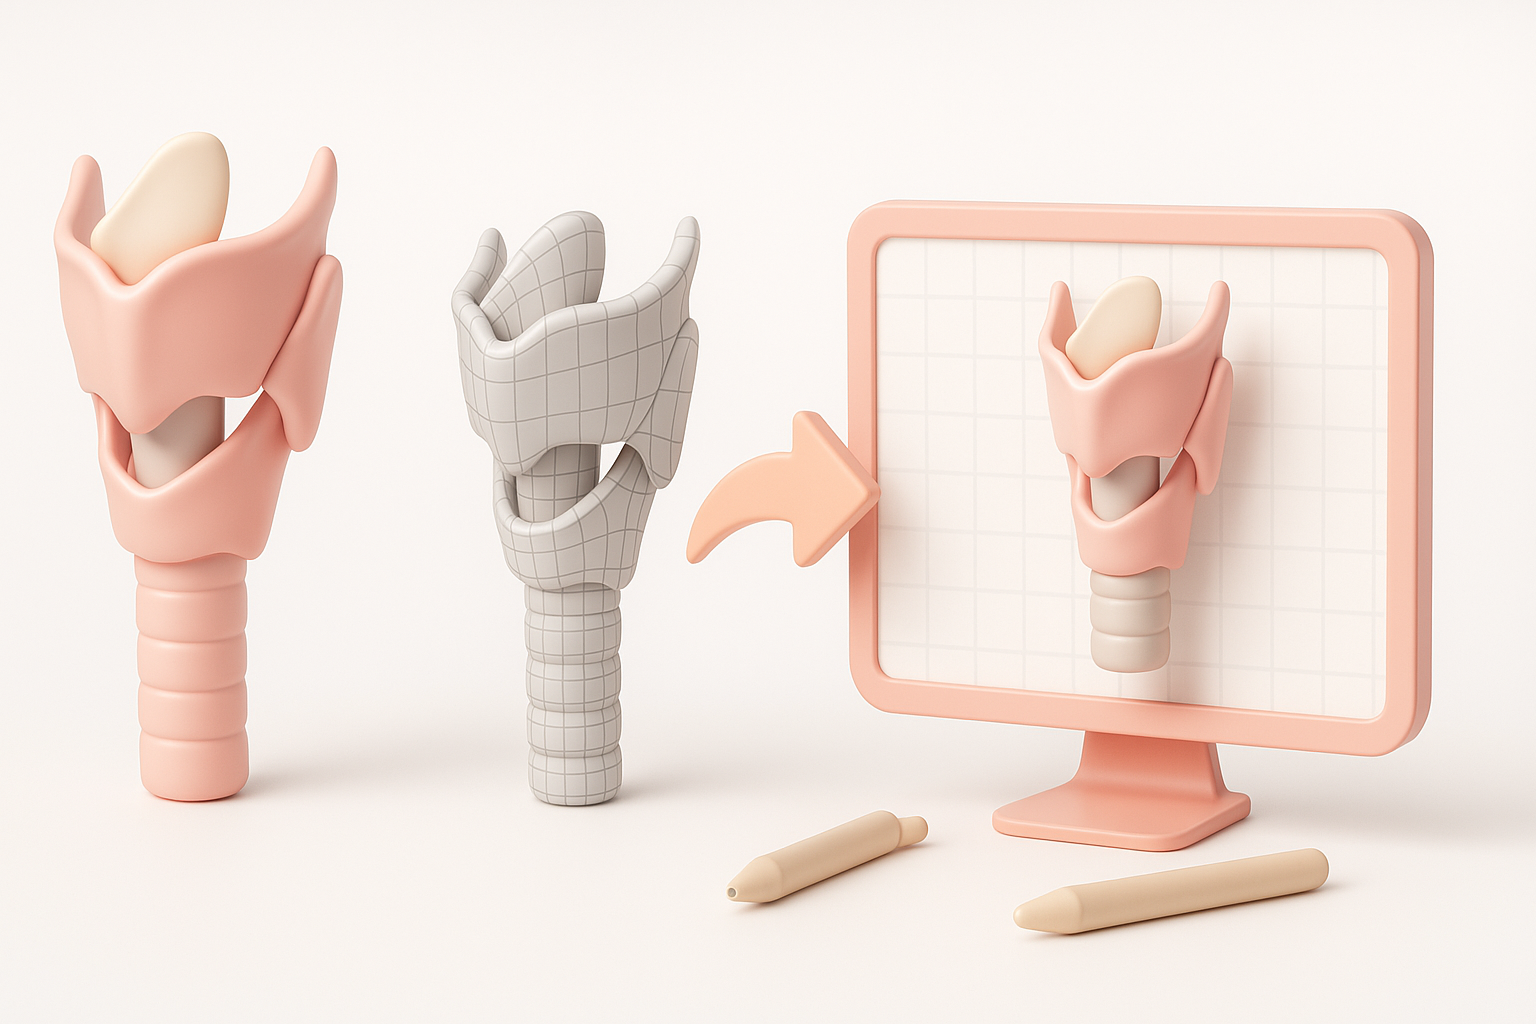
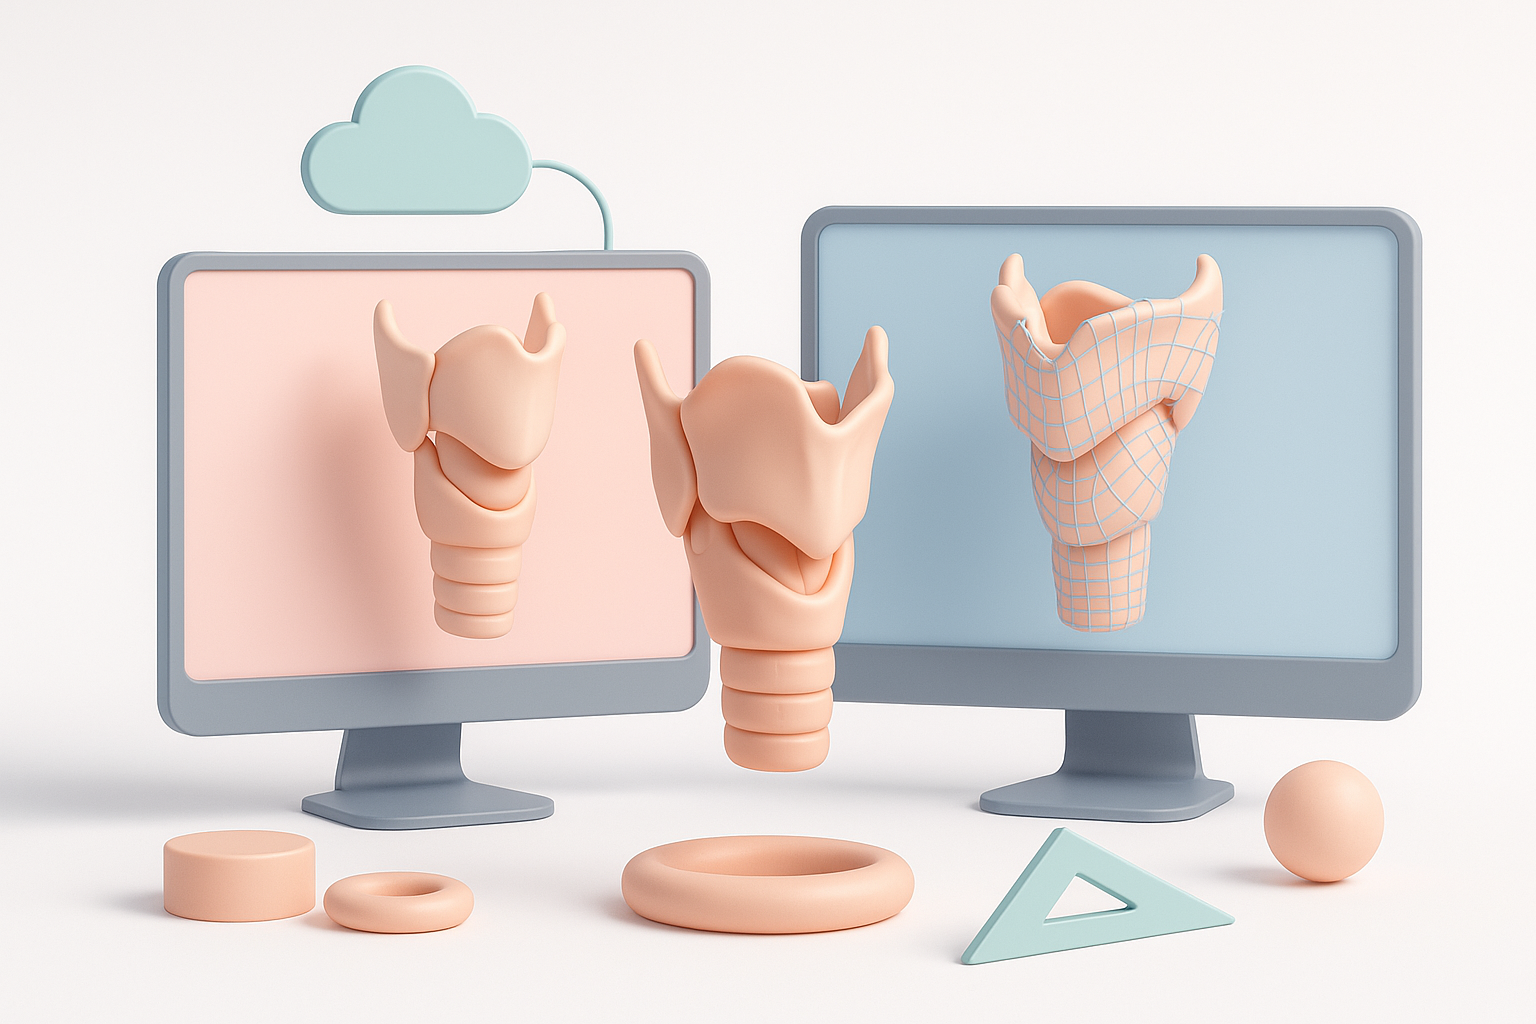
Texturing, Retopology, and Optimization Techniques
Efficient retopology for anatomical accuracy
Clean topology is essential for both animation and real-time rendering. In my process:
- I use Tripo’s built-in retopology tools to create quad-based meshes.
- I manually inspect edge flow around the vocal folds and cartilage joints.
- For medical use, I maintain higher poly counts in key areas but optimize less critical regions.
Checklist:
- Check for non-manifold edges or flipped normals.
- Test deformations with simple rigs before finalizing.
Applying realistic textures and materials
Realism comes from good texture maps. Here’s what works:
- Reference-based texturing: I sample colors and patterns from endoscopic or cadaveric images.
- Material assignment: Assign different materials for cartilage, mucosa, and connective tissue.
- Texture baking: Use baked AO and normal maps for added depth.
Tip: Use procedural textures for subtle variations, but avoid overdoing it—medical models should remain clear and readable.
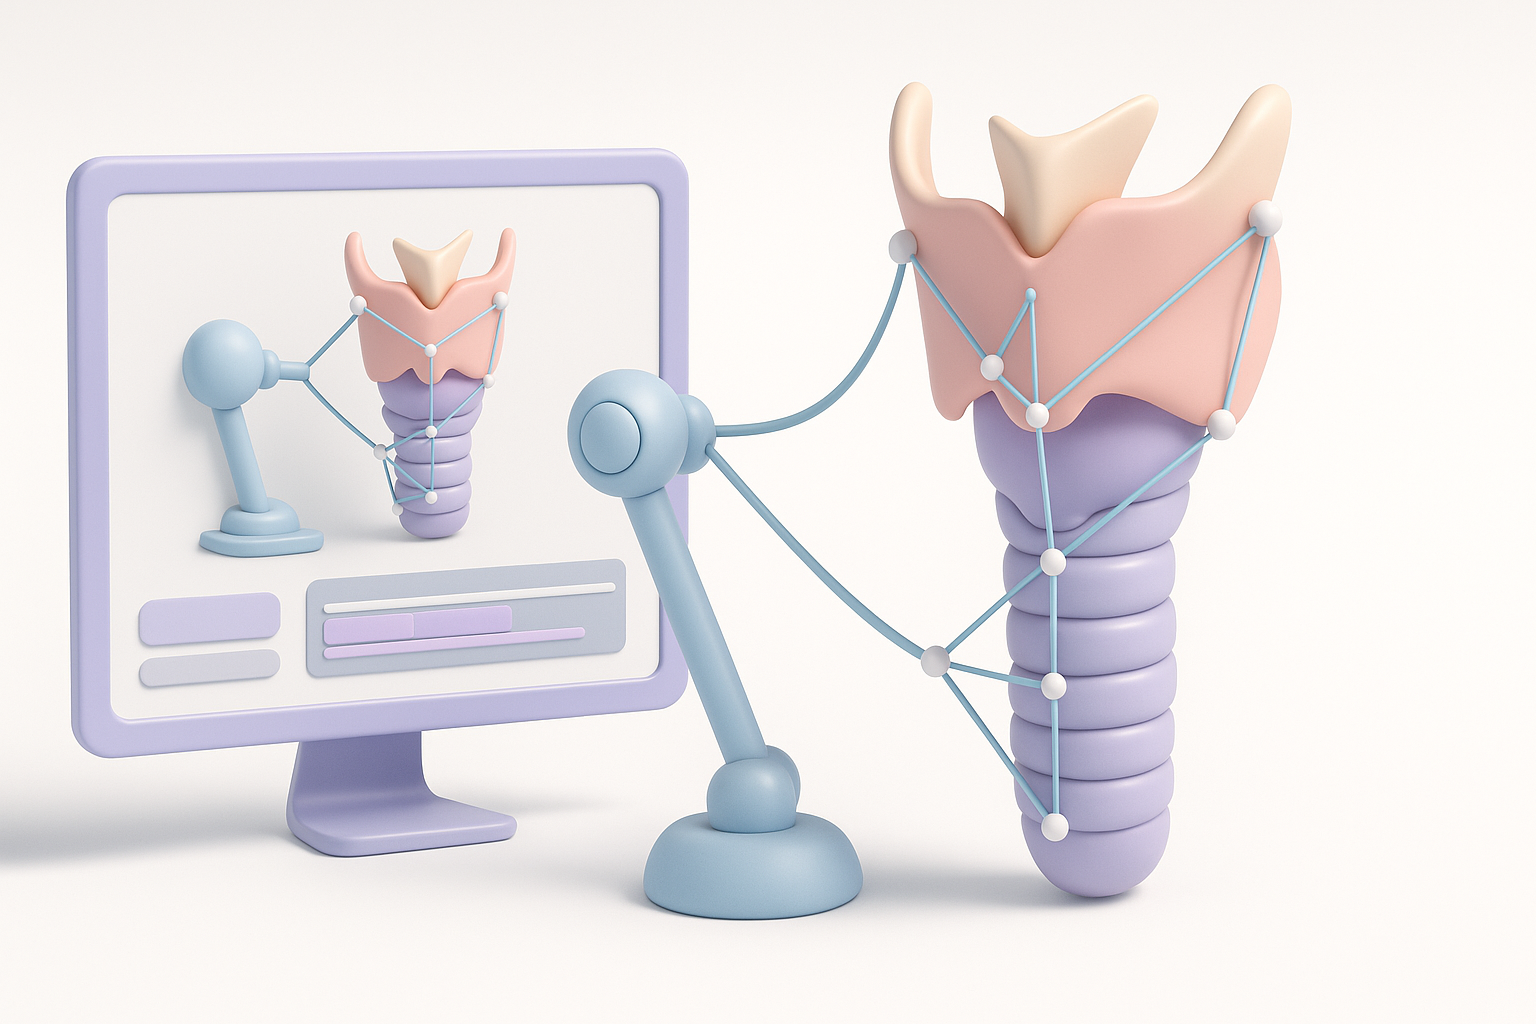
Rigging and Animating the Larynx Model
Setting up basic rigging for movement
Rigging the larynx is nuanced due to its complex biomechanics. My approach:
- Place bones or deformers at major articulation points (e.g., cricoarytenoid joint).
- Assign vertex weights carefully to avoid unnatural deformations.
- Test basic movements (opening/closing of the glottis, tilt of the epiglottis).
Pitfall: Overly simple rigs can’t replicate realistic laryngeal motion—use reference animations if possible.
Animating common laryngeal functions
For educational or simulation purposes, I typically animate:
- Phonation: Vibration and adduction of the vocal folds.
- Swallowing: Elevation and closure of the epiglottis.
- Breathing: Abduction of the vocal cords.
Workflow:
- Block out primary poses.
- Refine timing and secondary motion.
- Export animation clips for reuse.
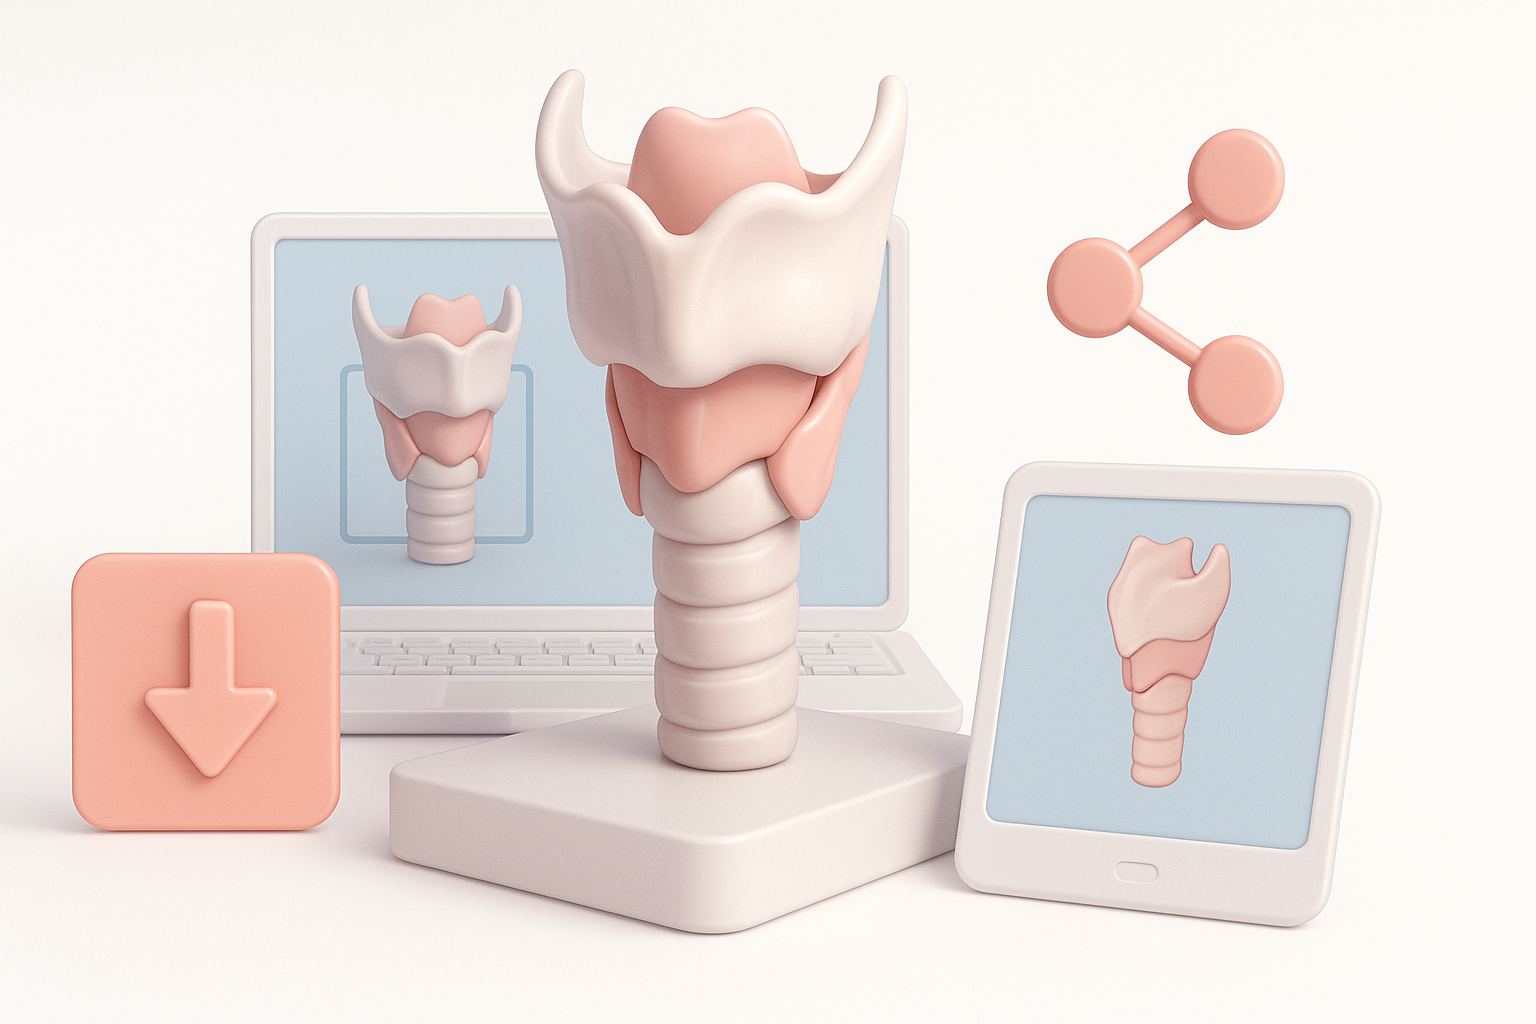
Exporting, Sharing, and Integrating the Larynx Model
Export formats and compatibility considerations
Choosing the right export format is crucial for interoperability:
- FBX/GLB: For animation and XR platforms.
- OBJ/STL: For static visualization or 3D printing.
- USDZ: For AR integration on mobile devices.
I always check polygon count, texture resolution, and rig compatibility before exporting.
Integrating with medical, educational, or XR platforms
Integration steps vary by platform:
- For medical apps, ensure compliance with visualization standards (e.g., DICOM overlays).
- For XR, optimize for low-latency rendering—LOD (Level of Detail) models help.
- For web or mobile, test on target devices for performance.
Tip: Share models via cloud platforms or repositories with clear metadata and usage notes.
Comparing AI-Driven and Traditional 3D Modeling Methods
Pros and cons based on my experience
AI-driven workflows:
- Pros: Drastically faster; less manual labor; easier for non-specialists.
- Cons: Occasional anatomical inaccuracies; less control over fine details.
Traditional modeling:
- Pros: Maximum control and customization; reliable for unique or experimental structures.
- Cons: Time-consuming; requires advanced skill set.
My advice: For standard anatomy and rapid prototyping, AI is a game-changer. For cutting-edge research or custom pathology, traditional methods still have a place.
When to choose AI-powered workflows
I choose AI-powered tools like Tripo when:
- Time is tight and accuracy is “good enough” for the project’s purpose.
- I need to iterate quickly or generate multiple variants.
- The end use is education, AR/VR, or interactive applications where efficiency trumps hyper-detailed customization.
Pitfall: Don’t rely solely on AI for models requiring regulatory approval or surgical planning—always validate with domain experts.
In summary: Creating a larynx 3D model is faster and more accessible than ever with AI-powered tools. With the right workflow, you can deliver anatomically accurate, animated assets ready for medical, educational, or XR applications—without the bottlenecks of traditional modeling.


