Creating a Korilakkuma 3D Model: Workflow and Best Practices
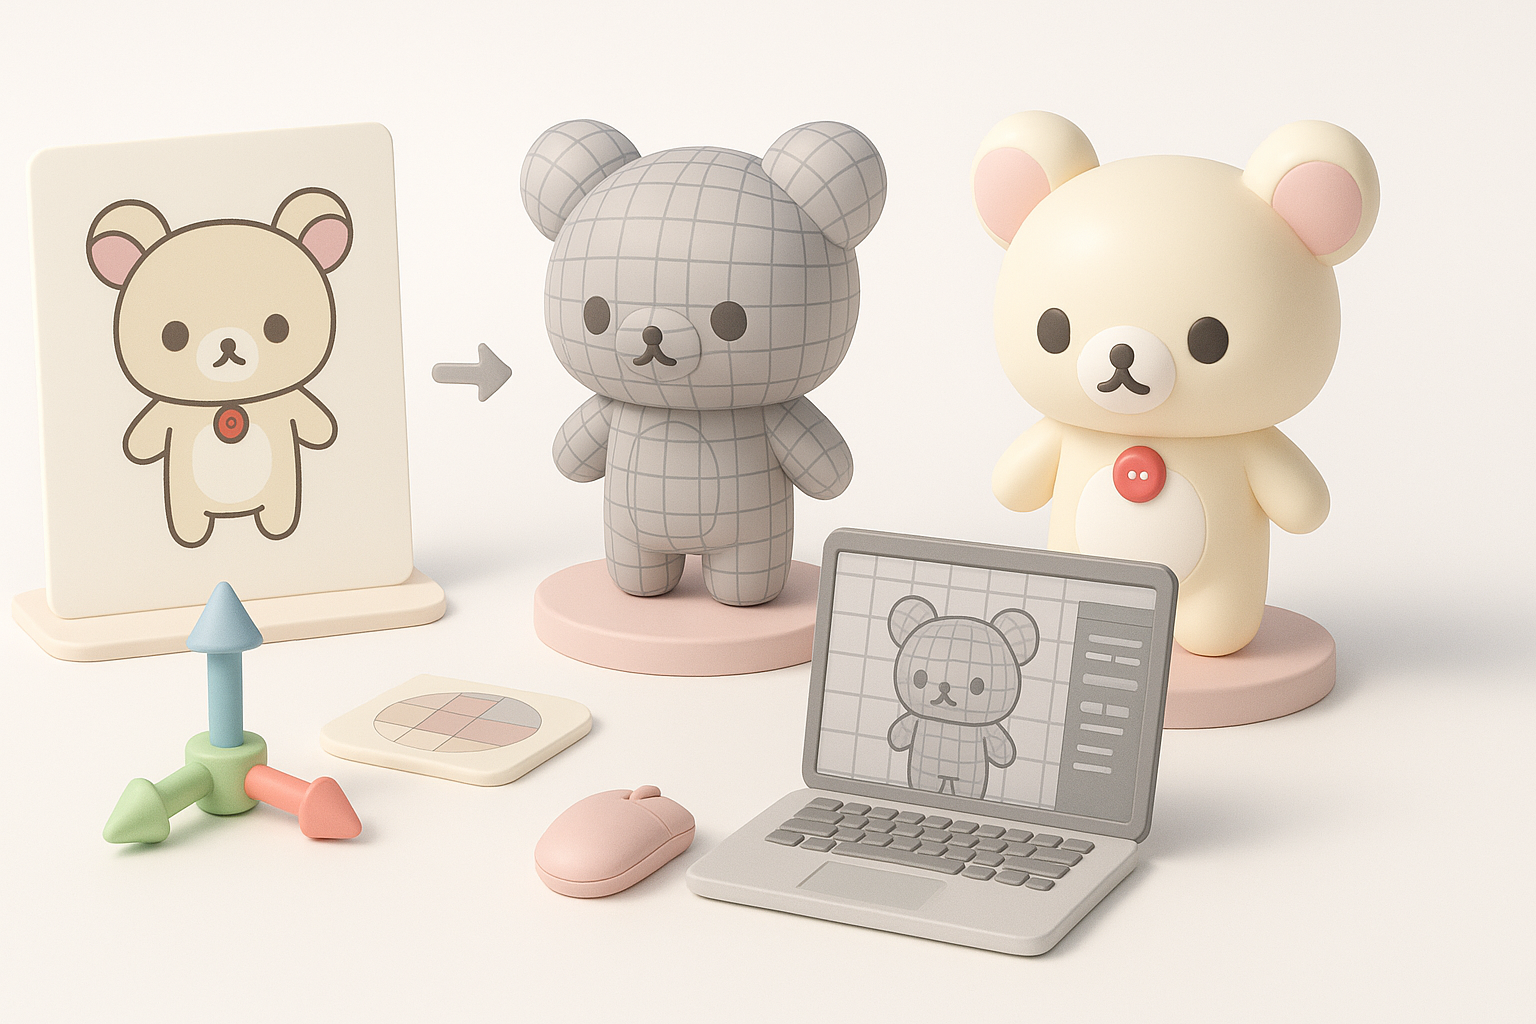
Creating a Korilakkuma 3D model is a rewarding project for character artists, game developers, and anyone interested in stylized 3D workflows. In my experience, the key is a clear plan, strong references, and leveraging the right mix of AI-powered and traditional 3D tools. I rely on platforms like Tripo to accelerate the base mesh and texturing, then refine details manually for optimal results. This guide breaks down my end-to-end workflow—from concept and modeling to texturing, retopology, and animation—with practical tips and lessons learned.
Key takeaways:
- Start with clear references and a defined style to keep the model on track.
- Use AI-powered tools to speed up base mesh and texturing, then refine manually.
- Prioritize clean topology and efficient UVs for easy rigging and animation.
- Test the model early in your target environment (game engine, renderer, etc.).
- Export settings matter—tailor them to your platform (web, real-time, print, etc.).
Overview: Approaching a Korilakkuma 3D Model Project
Key Considerations Before Starting
Before opening any 3D software, I clarify a few essentials:
- Purpose: Is this for animation, real-time use, or a still render?
- Style: Am I aiming for a faithful recreation, or a stylized interpretation?
- Constraints: What are the polygon and texture limits?
Understanding these factors shapes every decision, from topology to texture resolution.
Executive Summary and Main Takeaways
In short, success hinges on preparation and an iterative approach. I’ve found that AI tools like Tripo can handle much of the technical grunt work, freeing me to focus on creative choices. However, manual cleanup and artistic polish are always needed for a production-ready result.
Gathering References and Planning the Model
Collecting High-Quality Visual References
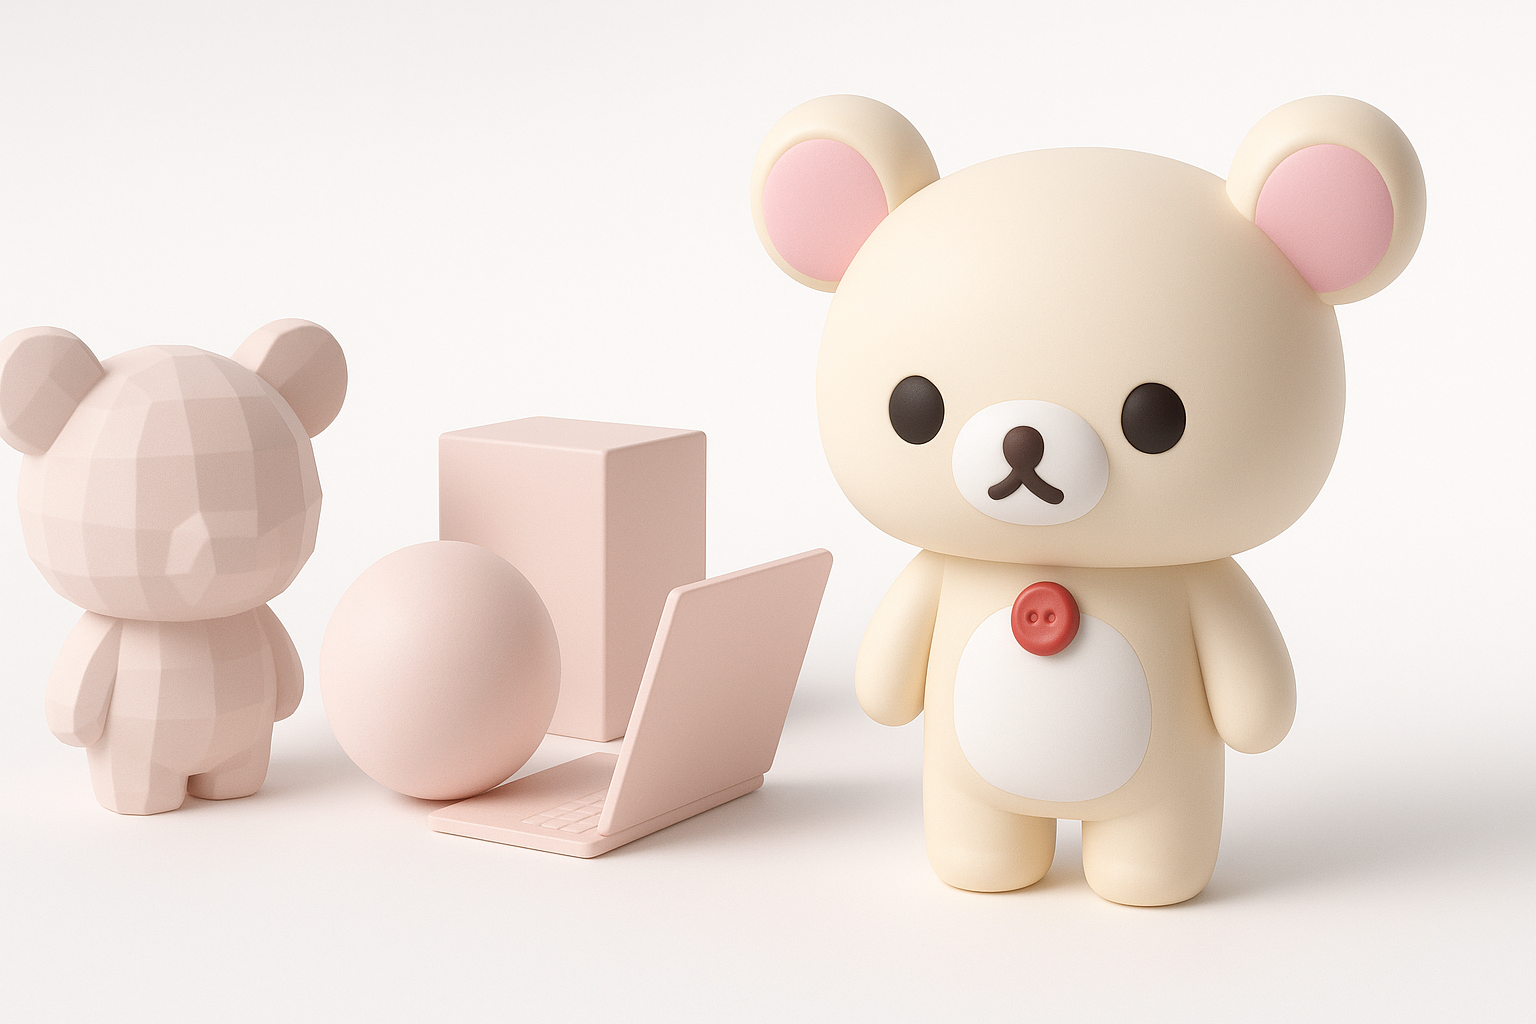
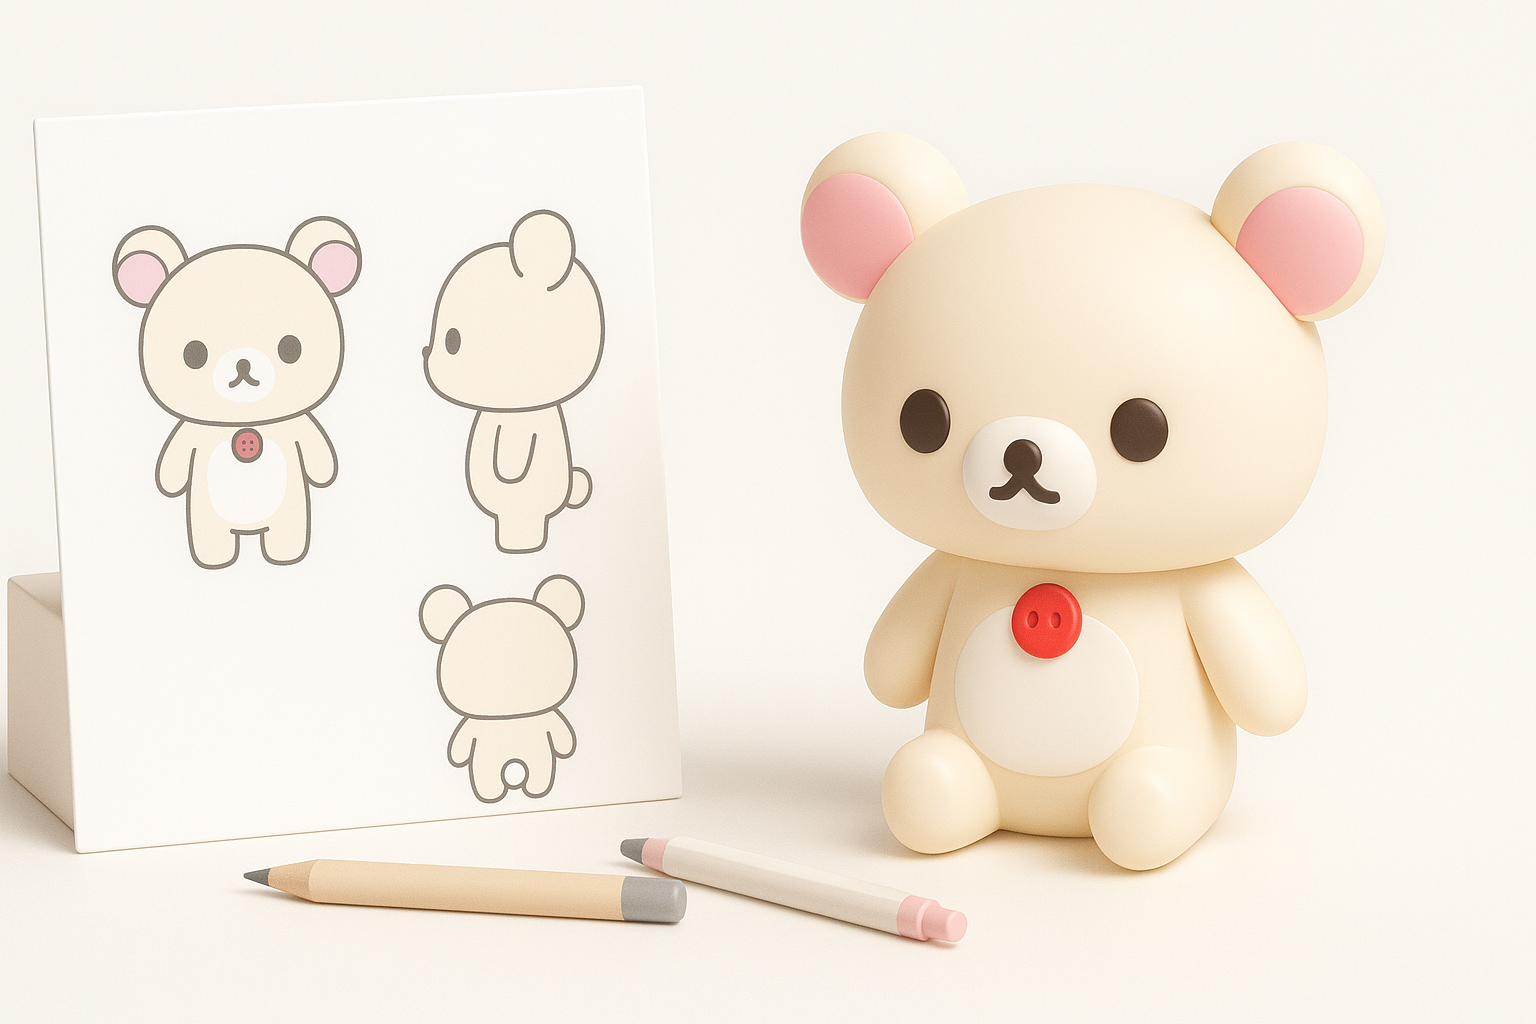
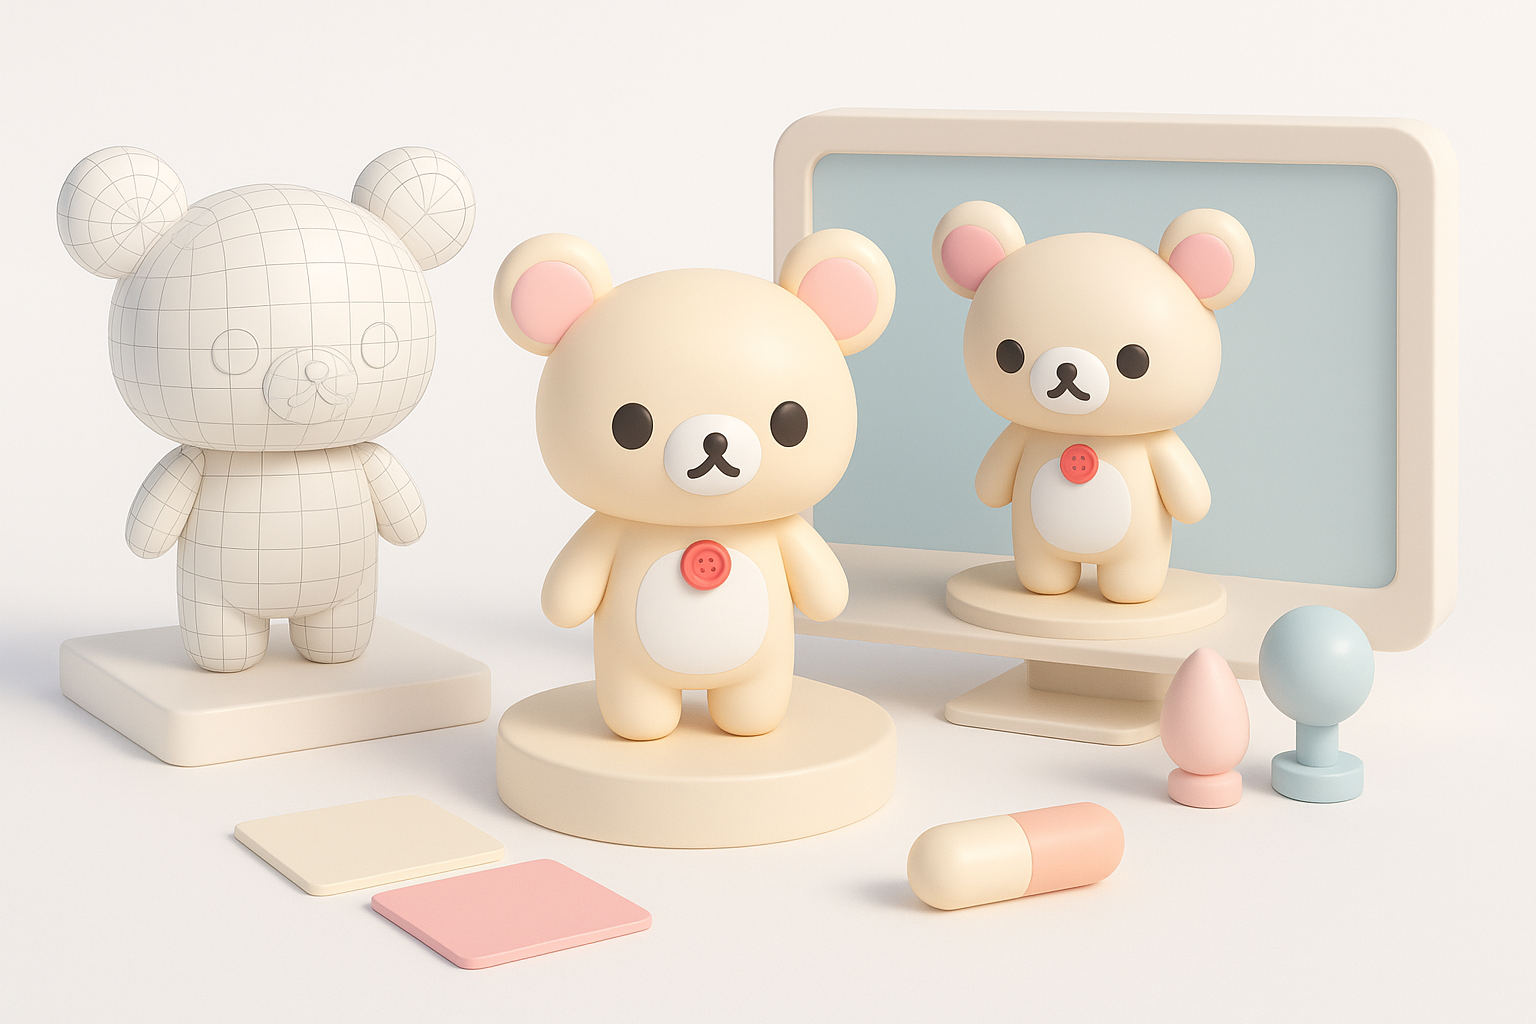
I always begin by gathering multiple images of Korilakkuma: front, side, and 3/4 views, plus close-ups of distinctive features. Official artwork, figures, and fan models all help. I organize these in PureRef or a similar tool for quick access.
Checklist:
- Official character sheets or turnarounds
- High-res toy photos
- Screenshots from animations or games
- Close-ups of face and details
Defining Style, Scale, and Intended Use
Next, I set the model’s scale (e.g., matching real-world plush size or game units) and clarify the style: flat colors, soft shading, or more realistic fur. If the model is for a game, I plan for low-poly constraints; for animation, I allow more detail and edge loops.
Choosing Tools and Setting Up the Workflow
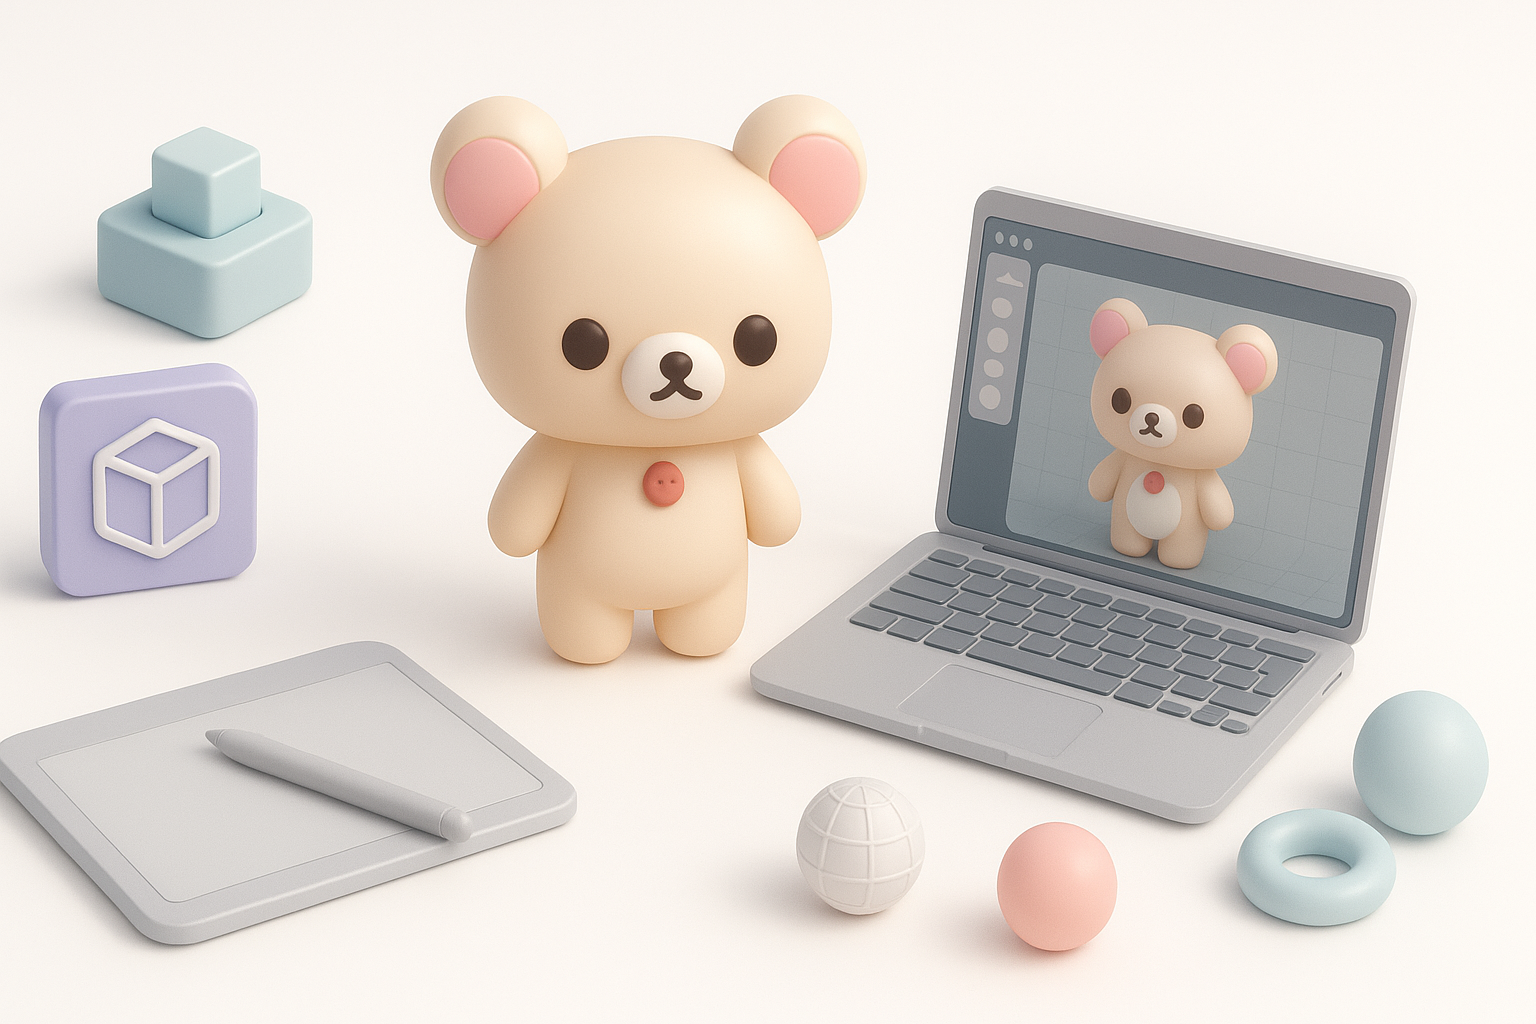
Selecting AI-Powered and Traditional 3D Tools
For speed, I often start with Tripo to generate a base mesh from a sketch or description. This gets me 80% of the way, fast. I then use Blender or Maya for sculpting, retopology, and UVs. For texturing, I may use Tripo’s auto-texture tools as a base, then refine in Substance Painter.
My typical stack:
- Tripo (base mesh, auto-texture, segmentation)
- Blender/Maya (sculpt, retopo, rig)
- Substance Painter (detailed texturing)
- Marmoset/Unreal/Unity (rendering, real-time preview)
Optimizing the Workflow for Speed and Quality
I keep the workflow modular—exporting at each stage so I can backtrack if needed. I also save incremental versions, especially before major changes like retopology or UV unwrapping.
Step-by-Step: Modeling Korilakkuma in 3D
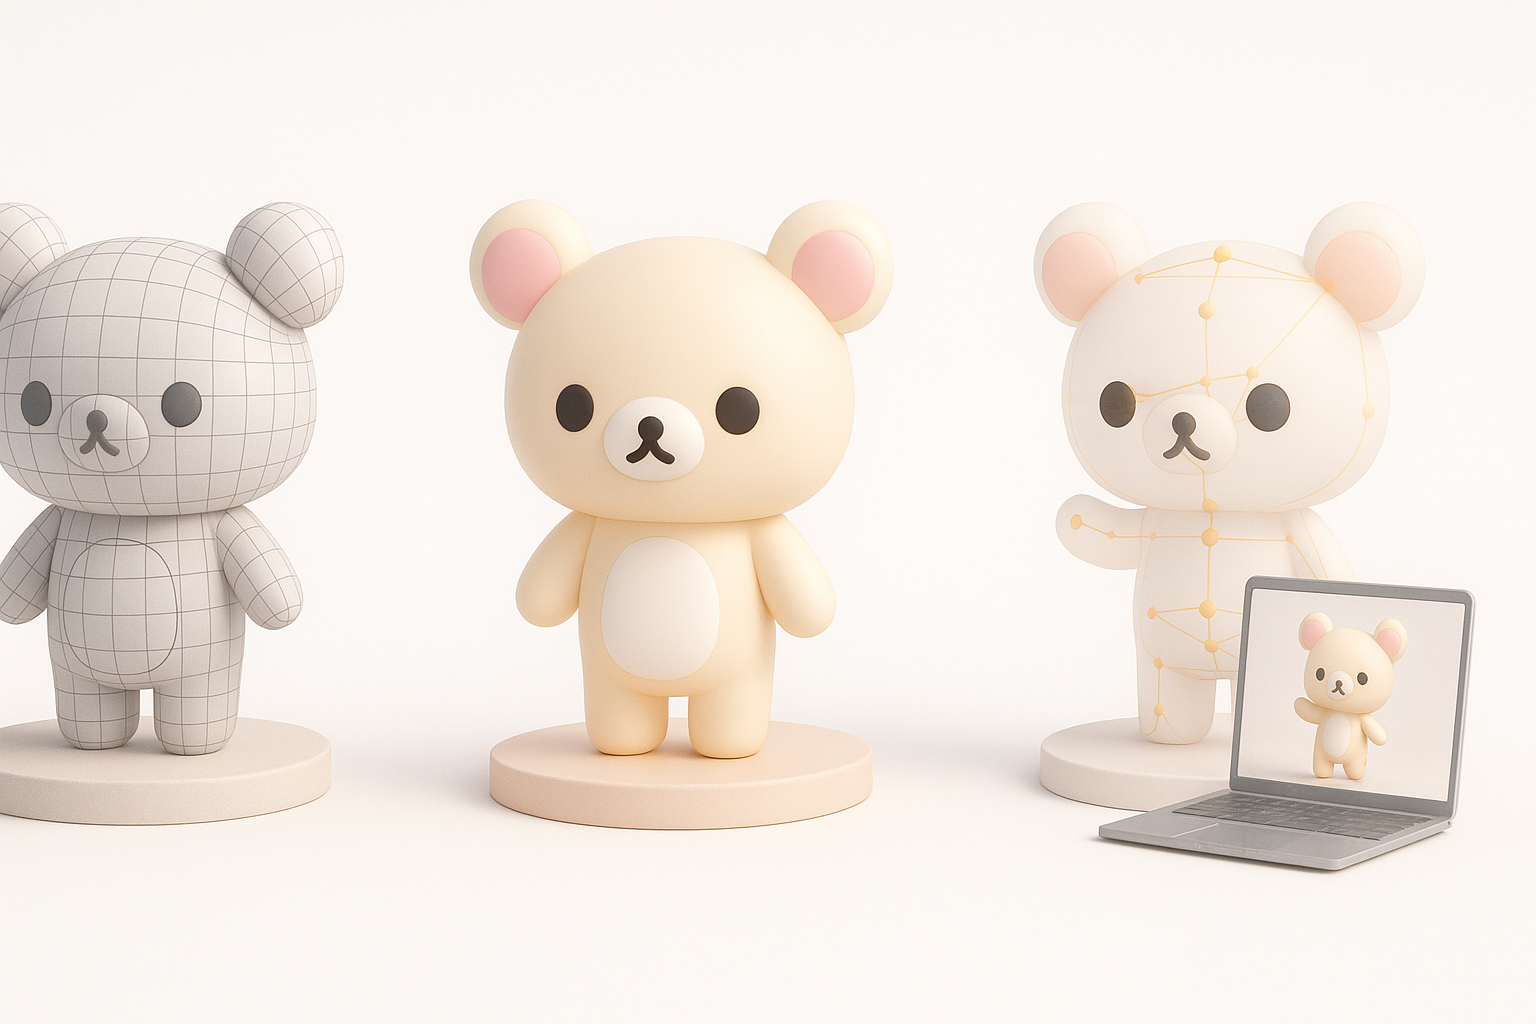
Blocking Out the Base Mesh
I start by blocking out Korilakkuma’s basic shapes: head, body, limbs, and ears. With Tripo, I input a sketch or text prompt, then tweak the auto-generated mesh for proportions. If working manually, I use simple spheres and cylinders as placeholders.
Steps:
- Generate/import base mesh
- Adjust proportions to match reference
- Merge or separate parts as needed
Refining Shapes and Adding Details
Next, I sculpt secondary forms—cheeks, paws, and facial features. I keep the mesh simple at first, subdividing only when needed. For Korilakkuma, subtle curves and symmetry are key; I use mirror modifiers and symmetry tools to speed up the process.
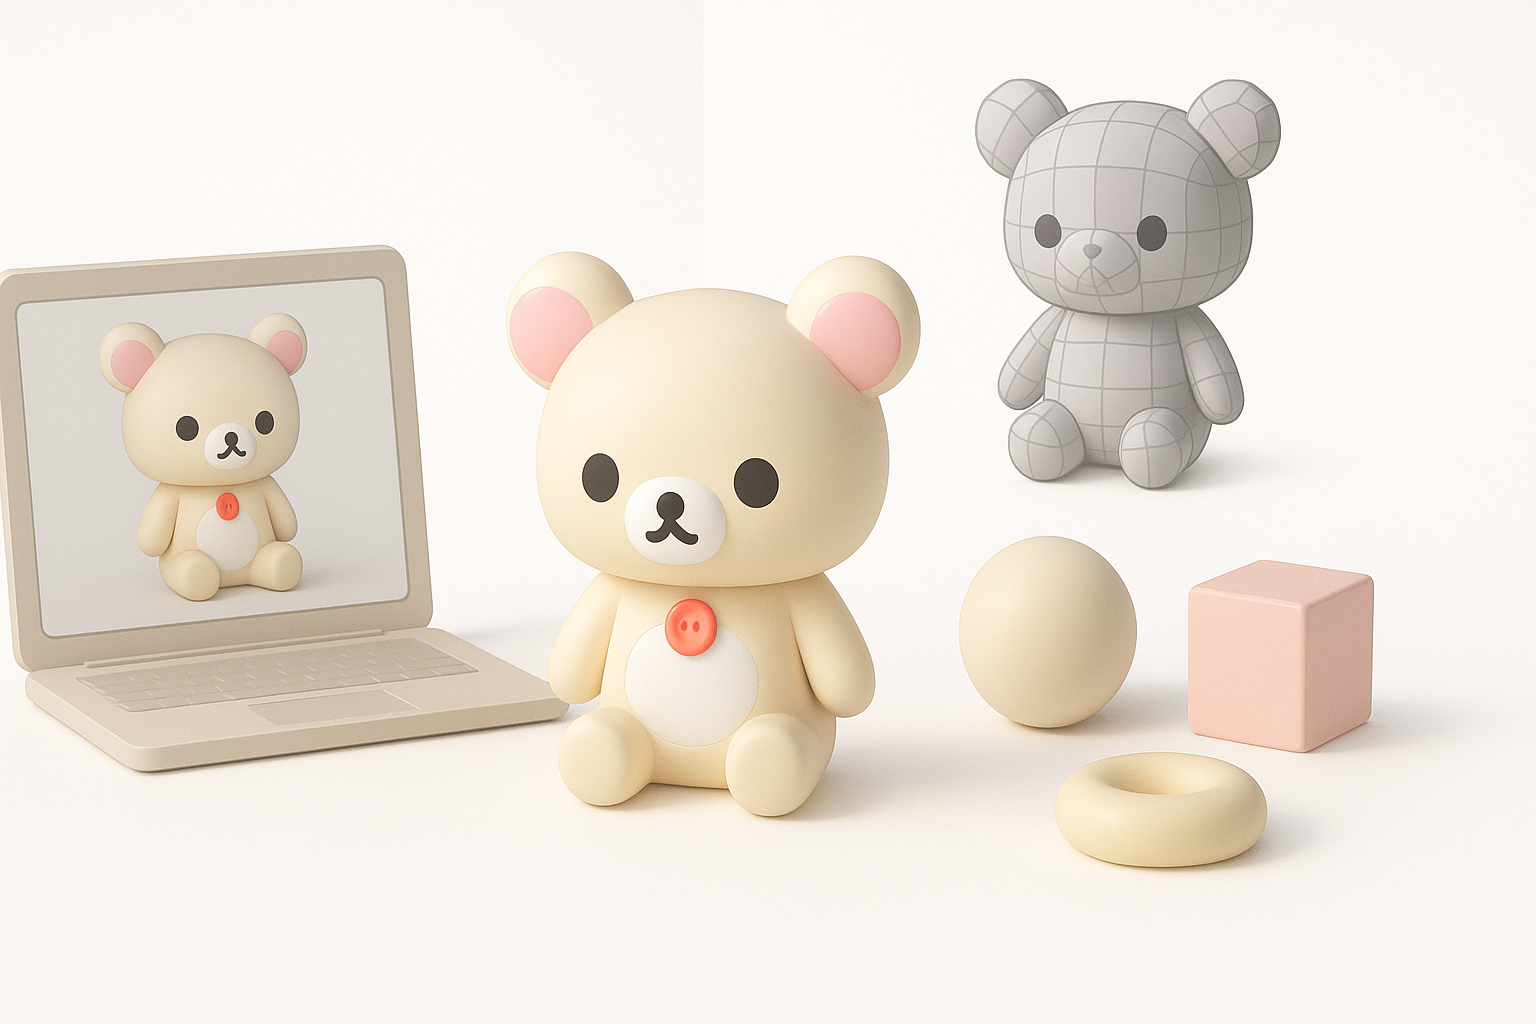
Texturing, Materials, and Rendering
Creating and Applying Textures
For stylized models like Korilakkuma, I prefer hand-painted or flat color textures. Tripo’s auto-texture can get me started, especially for base colors and UVs. I then hand-paint overlays—like blush, eyes, and inner ears—in Substance Painter or Photoshop.
Tips:
- Keep UVs straight and logical for easy edits
- Use 2K textures for flexibility; downscale as needed
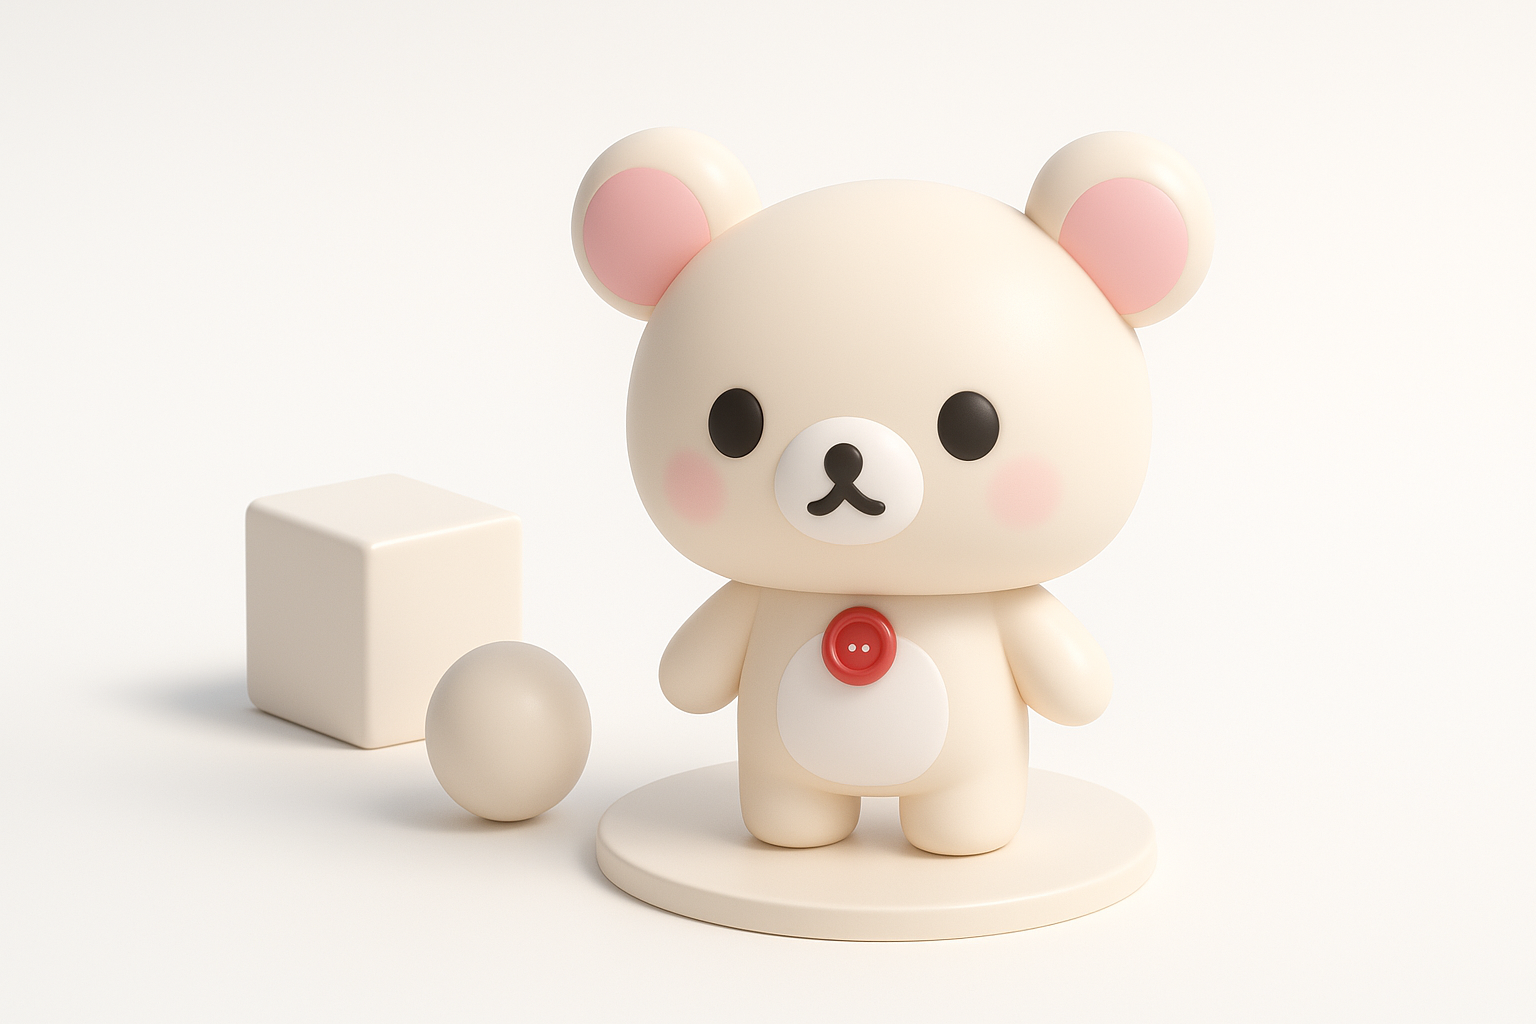
Lighting and Rendering for Presentation
I set up a simple three-point light rig for renders, using soft shadows to enhance the plush look. For real-time previews, I check the model in a PBR environment to ensure materials look good under different lighting.
Retopology, Rigging, and Animation Tips
Efficient Retopology for Animation
Clean topology is crucial for smooth deformation. I use Tripo’s retopology tools for a quick base, then manually adjust edge loops around joints (shoulders, hips, neck). I keep the polycount low but add extra loops where the mesh bends.
Checklist:
- Even quad flow, especially at joints
- Clean UV seams at hidden areas
Basic Rigging and Pose Testing
I rig the model with a simple skeleton—spine, limbs, head. I test basic poses to check for deformation issues, fixing weights as needed. For Korilakkuma, squash-and-stretch controls can add extra appeal.
Exporting, Sharing, and Using the Model
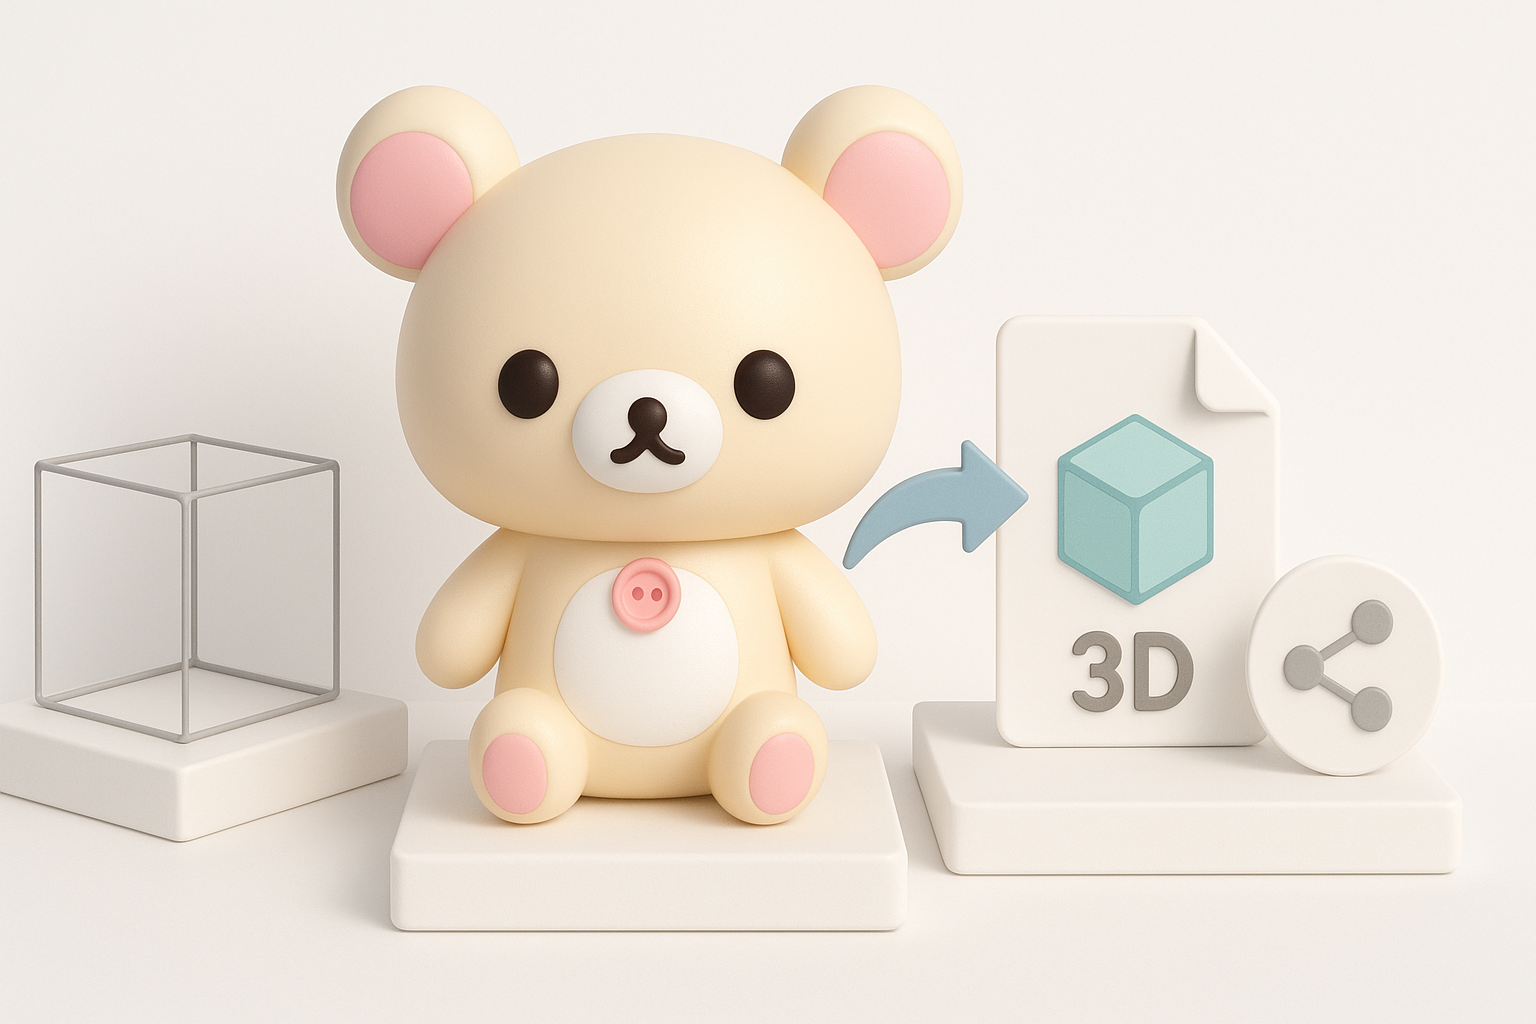
Export Settings for Different Platforms
I export in FBX or GLTF for games and AR/VR, OBJ for static renders, and STL for 3D printing. I check scale, orientation, and embed textures when possible. Tripo streamlines this process with presets for common platforms.
Showcasing and Sharing Your Work
I present the model with clean turntable renders and wireframe overlays. Sketchfab or Marmoset Viewer are great for interactive previews. I always credit references and note which tools were used.
Comparing AI-Powered and Manual 3D Modeling Approaches
Pros and Cons of AI-Driven Workflows
Pros:
- Fast base mesh and UV generation
- Good for rapid prototyping and iteration
Cons:
- Often requires manual cleanup for production
- Less control over fine details and topology
I use AI for speed, but always plan for a manual pass to ensure quality.
When to Use Alternative Methods
If ultra-precise control or unique topology is needed (e.g., for advanced rigs or stylized deformation), I build from scratch or heavily edit AI outputs. For quick concepts or background assets, AI is usually sufficient.
Best Practices and Lessons Learned
Common Pitfalls and How I Avoid Them
- Messy topology: I always retopologize before rigging.
- Poor UV layout: I check UVs early, not just before texturing.
- Overcomplicating: I keep the mesh as simple as possible for easier edits.
Tips for Consistent, High-Quality Results
- Work from big shapes to small details.
- Save versions at every major milestone.
- Test in the target environment early and often.
- Don’t skip manual review, even with AI assistance.
By following these steps and best practices, I consistently deliver clean, stylized character models like Korilakkuma—ready for animation, games, or display.


