Creating Kirby and the Forgotten Land 3D Models: Expert Workflow
As someone who's worked on stylized 3D models for games, I know the unique challenges in capturing the charm of characters like Kirby. In this article, I’ll break down my end-to-end workflow for creating production-ready 3D assets inspired by Kirby and the Forgotten Land. I’ll cover concepting, modeling, texturing, retopology, rigging, and exporting, highlighting where AI-powered tools like Tripo can save time and where hands-on techniques still matter most. Whether you’re a game artist, indie dev, or hobbyist, you’ll find practical advice and pitfalls to avoid for efficient, high-quality results.
Key takeaways
- Gather strong references and clarify style before modeling.
- Use AI-powered tools to accelerate blocking, segmentation, and retopology.
- Prioritize clean topology and UVs for stylized assets.
- Manual tweaks are often needed for iconic shapes and personality.
- Optimize exports for your target engine or XR platform.
- Always validate models in context before final delivery.
Overview: 3D Modeling for Kirby and the Forgotten Land
Key challenges and creative goals
Modeling for a game like Kirby and the Forgotten Land is all about balancing simplicity with expressive character. The biggest challenge is nailing the instantly recognizable silhouettes and vibrant, painterly textures while keeping geometry efficient for real-time performance. My goal is always to create assets that are both visually appealing and technically sound for integration into game engines or XR environments.
Summary of recommended tools and workflows
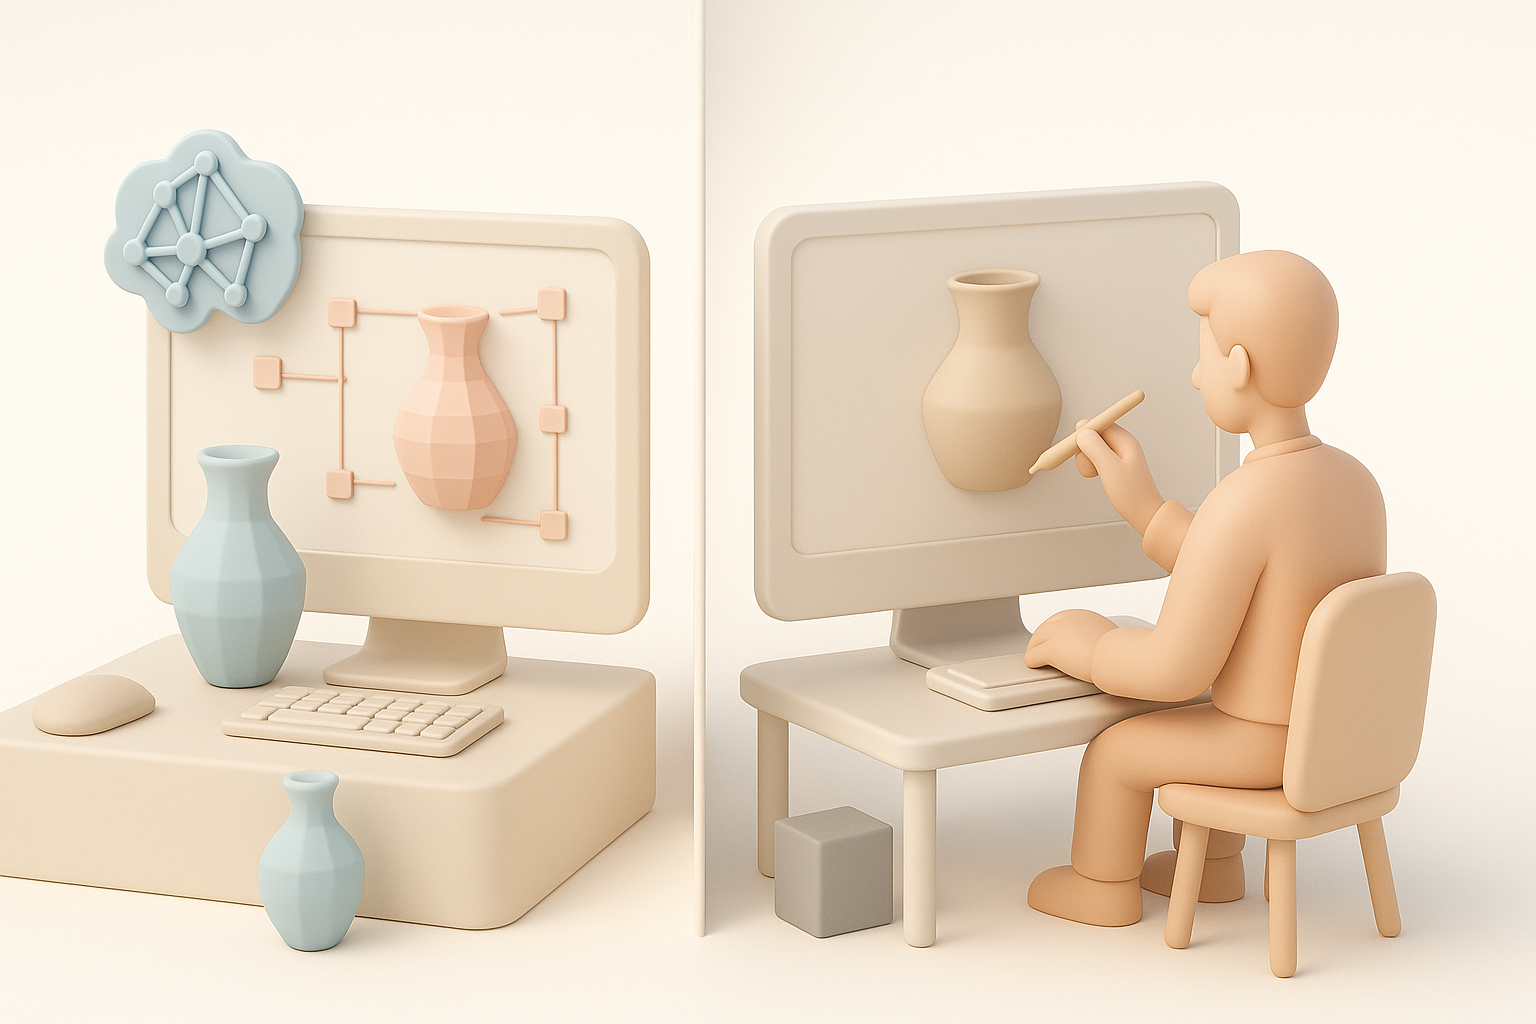
I rely on a mix of AI-powered solutions like Tripo for rapid prototyping, along with traditional DCCs (Digital Content Creation tools) for manual adjustments. My typical workflow includes:
- Reference gathering
- Blocking and sculpting
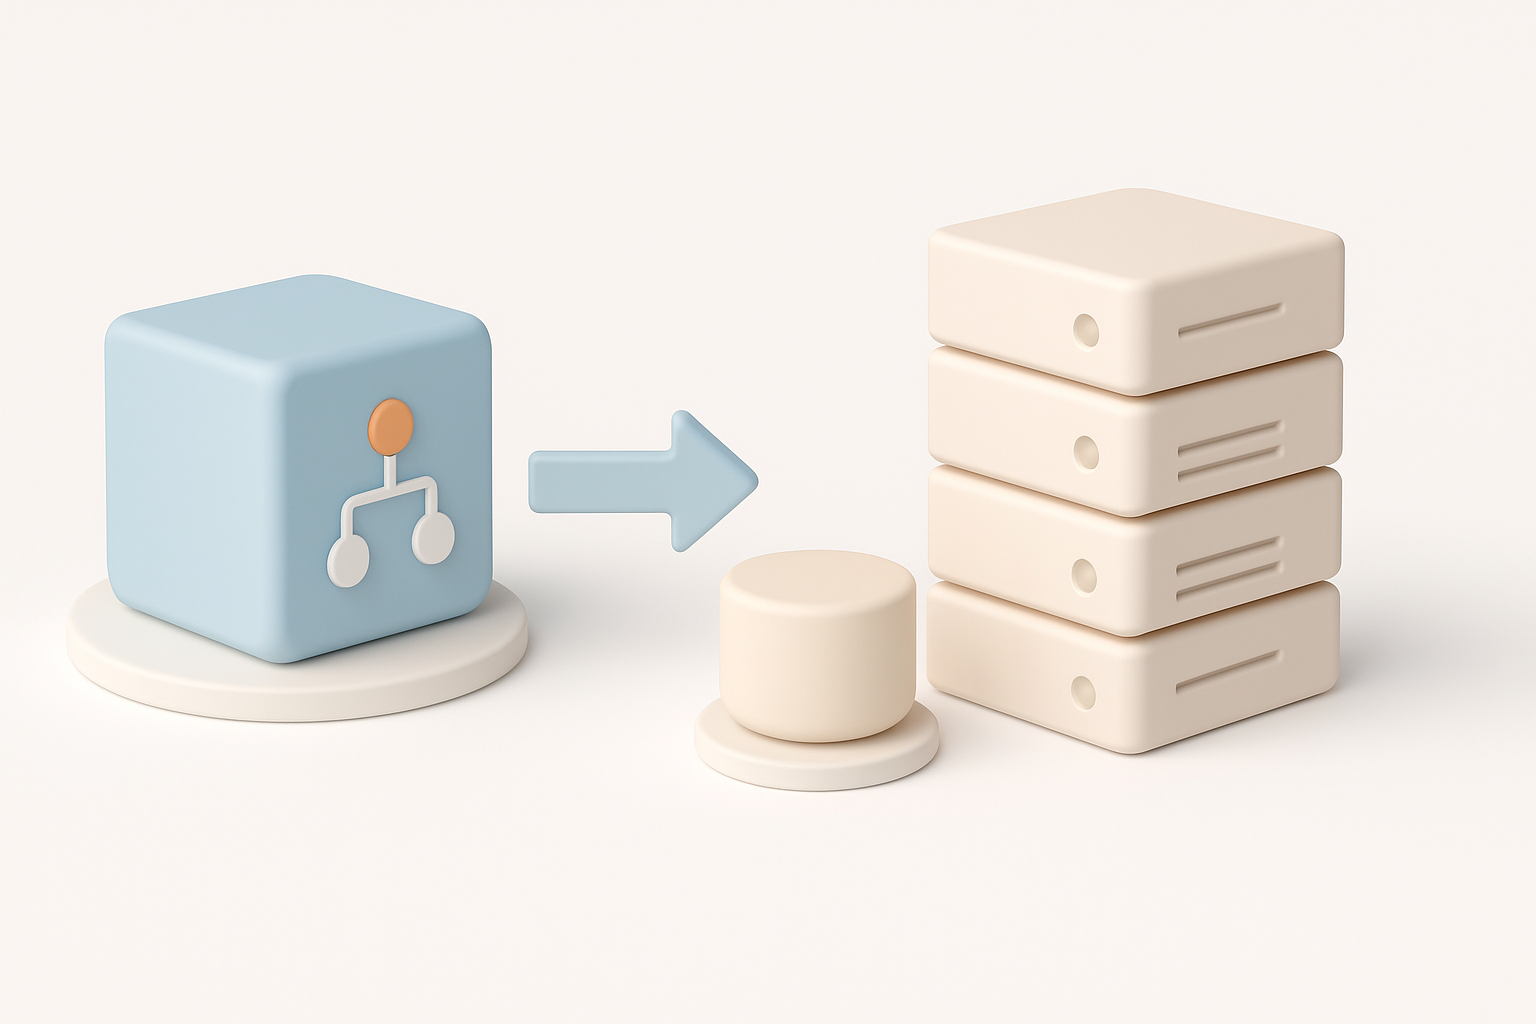
- Automated segmentation and retopology (where possible)
- Manual cleanup and stylization
- UV mapping and texture painting
- Rigging and basic animation
- Export and engine integration
Step-by-Step: My Process for Modeling Kirby Characters
Concepting and reference gathering
I always start by collecting as many references as possible—official art, in-game screenshots, and fan interpretations. For Kirby, I pay close attention to proportions, facial expressions, and color palettes. Sometimes I’ll sketch my own variations to clarify the pose or mood.
Checklist:
- Gather orthographic and perspective views
- Note key features (cheeks, eyes, feet size)
- Sketch over references to plan topology flow
Blocking out forms and proportions
I block out the main shapes using basic spheres and cylinders. For Kirby, less is more—so I keep the mesh simple and focus on silhouette. AI-powered tools can generate a quick base mesh from text or sketches, which I then refine for accuracy.
Steps:
- Block out body, limbs, and facial features
- Adjust proportions to match reference
- Merge and smooth transitions for a unified look
Texturing and Detailing: Bringing Kirby to Life
Best practices for stylized textures
Stylized games like Kirby rely on hand-painted textures. I keep color palettes limited and use soft gradients for shading. Baking ambient occlusion helps add subtle depth. Tripo’s texturing tools can auto-generate base colors, which I touch up manually for highlights and blush.
Tips:
- Use large, clean brush strokes
- Focus on eyes and mouth for expressiveness
- Avoid noisy details; keep it readable from a distance
Tips for efficient UV mapping and painting
Efficient UVs are crucial for texture quality and engine performance. I minimize seams and maximize UV space. AI-based auto-unwrap can be a time-saver, but I always check for stretching and overlap.
Mini-checklist:
- Lay out UVs for minimal distortion
- Pack islands tightly for texture resolution
- Test with checker patterns before painting
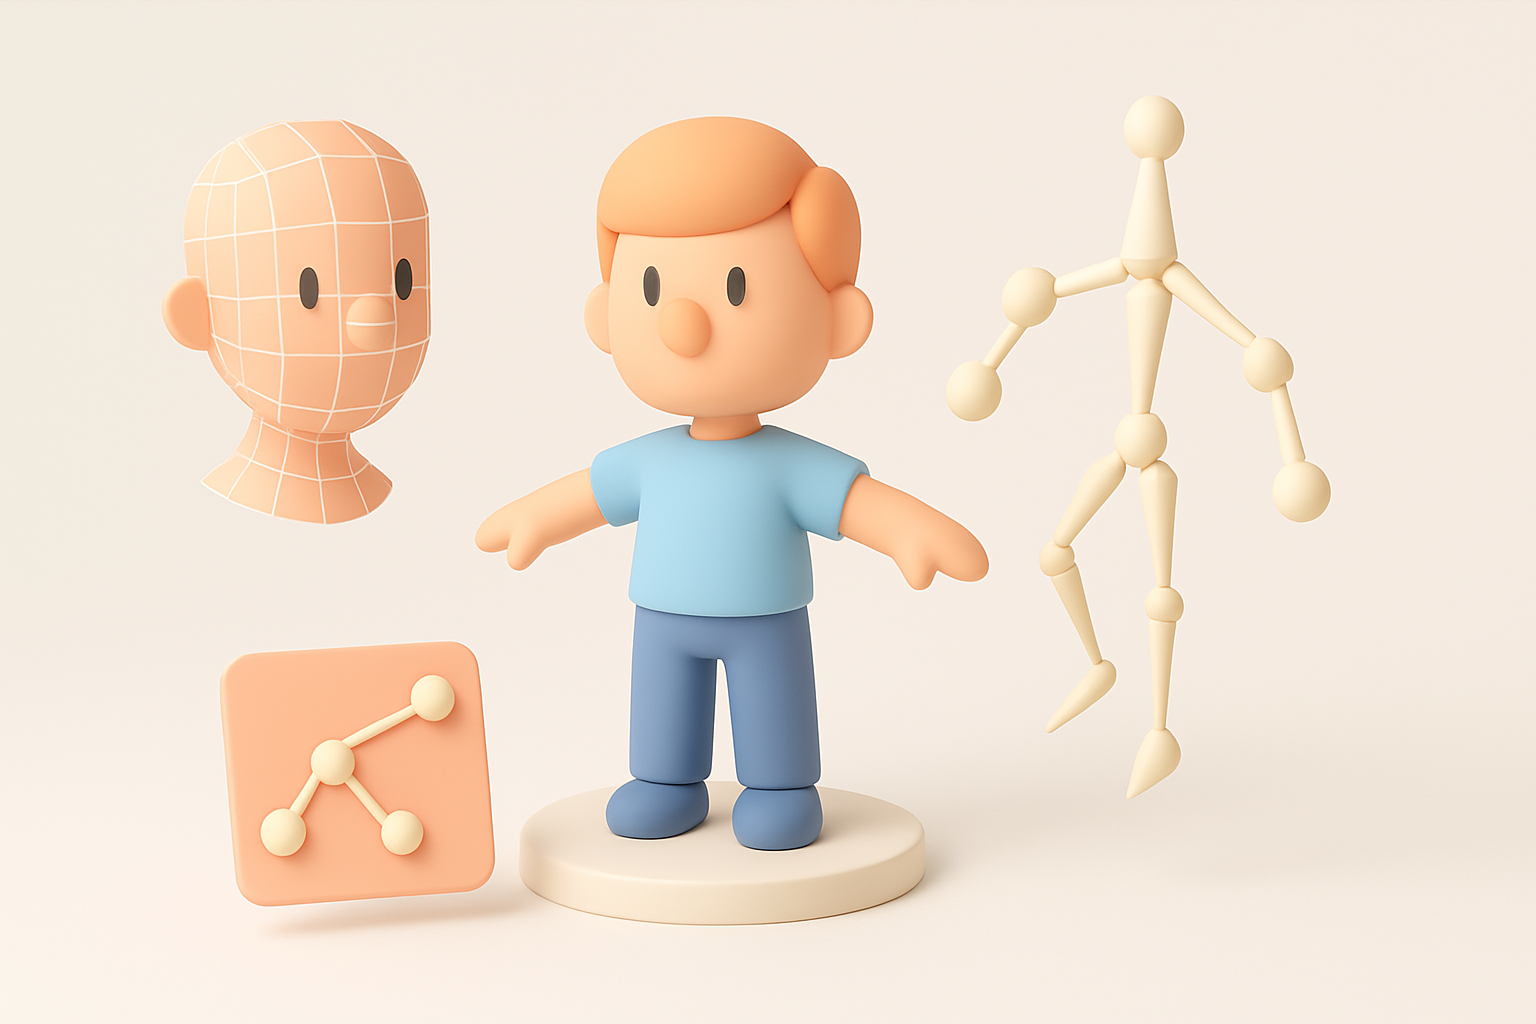
Retopology, Rigging, and Animation Essentials
Optimizing topology for games and XR
For real-time assets, I keep polycount low but ensure enough geometry for smooth deformations. Automated retopology tools help, but I often manually tweak edge loops around joints and facial features.
Pitfalls to avoid:
- Overly dense meshes that waste resources
- Poor edge flow causing animation artifacts
Rigging and simple animation workflows
Kirby’s simple form makes rigging straightforward. I use a basic skeleton with controls for limbs and facial expressions. AI-assisted rigging can auto-weight bones, but I always test deformations and fix problem areas by hand.
Steps:
- Place joints for arms, feet, and face
- Bind skin and adjust weights
- Create simple walk, jump, and idle animations
Production-Ready Models: Exporting and Integration
Export settings and file formats
I export models in formats compatible with my target engine—usually FBX or GLB/GLTF. Tripo and similar tools offer direct export presets, but I double-check scale, orientation, and material assignments before finalizing.
Checklist:
- Freeze transforms and apply scale
- Export with embedded textures if possible
- Verify material naming conventions
Integrating models into game engines or XR platforms
I import the asset into the engine and check for issues—normals, texture alignment, and animation playback. It’s vital to test the model in context, under in-game lighting and camera angles.
Tips:
- Preview LoD (Level of Detail) if supported
- Test with real-time shadows and effects
- Iterate based on feedback from designers or animators
Comparing AI-Powered and Manual 3D Workflows

Where AI tools accelerate the process
AI-powered platforms like Tripo are invaluable for rapid prototyping, segmentation, and automated retopology. They cut down on repetitive tasks and let me focus on creative decisions. For stylized assets, AI-generated base meshes are a great starting point.
When to use manual techniques for best results
Despite advances, manual intervention is essential for stylization and polish. Iconic characters like Kirby need careful adjustment of proportions, facial features, and textures to capture their personality. I always review and refine AI outputs to ensure the final asset meets quality standards.
Lessons Learned and Expert Tips
Common pitfalls and how I avoid them
- Ignoring references: Leads to off-model results. I always keep my references visible.
- Overcomplicating topology: Causes performance issues. I simplify wherever possible.
- Rushing UVs: Results in texture artifacts. I check UVs with test patterns.
My advice for aspiring 3D artists
- Focus on fundamentals: shape, silhouette, and color.
- Leverage AI tools for speed, but don’t skip manual polish.
- Validate your work in engine early and often.
- Don’t be afraid to iterate—great stylized art comes from refinement.
By combining AI-powered efficiency with hands-on artistry, I’m able to create production-ready Kirby models that are both technically robust and visually faithful to the beloved franchise.


