Creating a Jupiter 3D Model: Expert Workflow & Best Practices
Creating a production-ready 3D model of Jupiter requires a blend of scientific accuracy, artistic interpretation, and workflow efficiency. In my experience, leveraging AI-powered tools has dramatically reduced the time from concept to completion, making planetary modeling accessible and precise. This guide is for 3D artists, game developers, XR creators, and anyone aiming to capture Jupiter’s unique atmospheric features in a compelling, optimized model. Below, I break down my full workflow, highlight best practices, and share practical lessons from real-world projects.
Key takeaways:
- Reference quality and clear project goals are critical for realism.
- AI-powered platforms like Tripo streamline model generation and texturing.
- Intelligent segmentation and retopology are essential for clean, efficient geometry.
- Animating Jupiter’s rotation and storms adds realism for games and XR.
- Common pitfalls include overcomplicating textures and ignoring scientific data.
- Start simple, iterate, and always validate against reference imagery.
Executive Summary: Key Takeaways for Jupiter 3D Modeling
Why Jupiter is a compelling subject for 3D artists
Jupiter’s dynamic atmosphere, swirling storms, and bold color bands make it visually striking and scientifically intriguing. For 3D artists, it offers a chance to blend realism with creativity—capturing both its massive scale and intricate details. I find Jupiter projects especially rewarding for educational, entertainment, and XR applications.
Summary of recommended workflows and tools
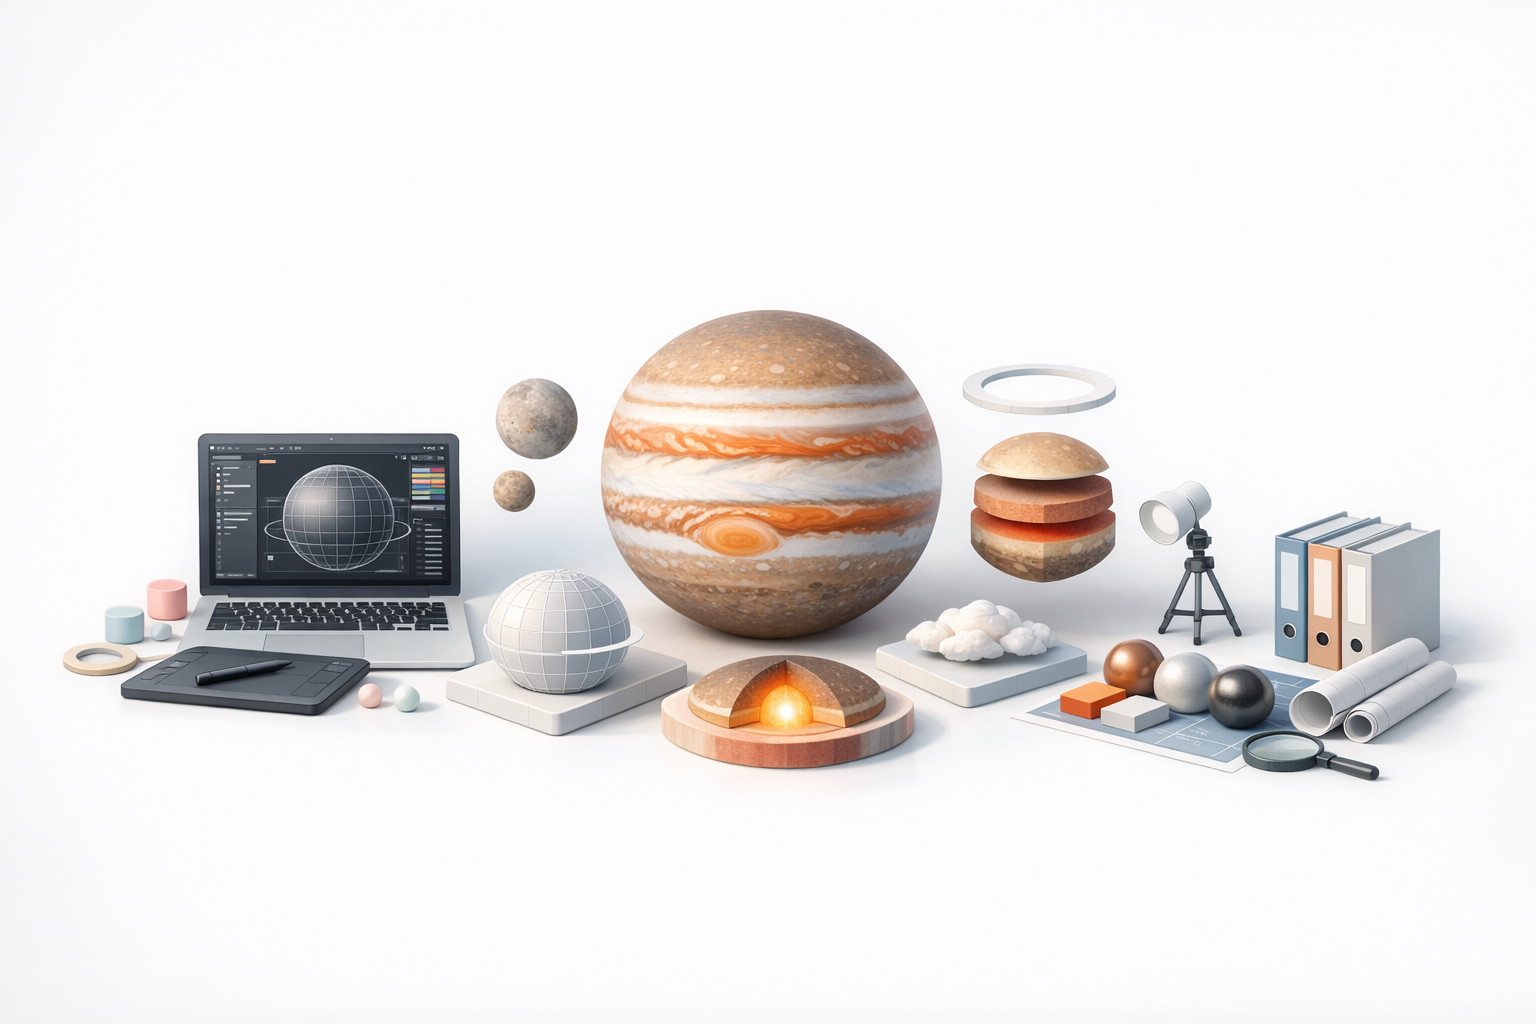
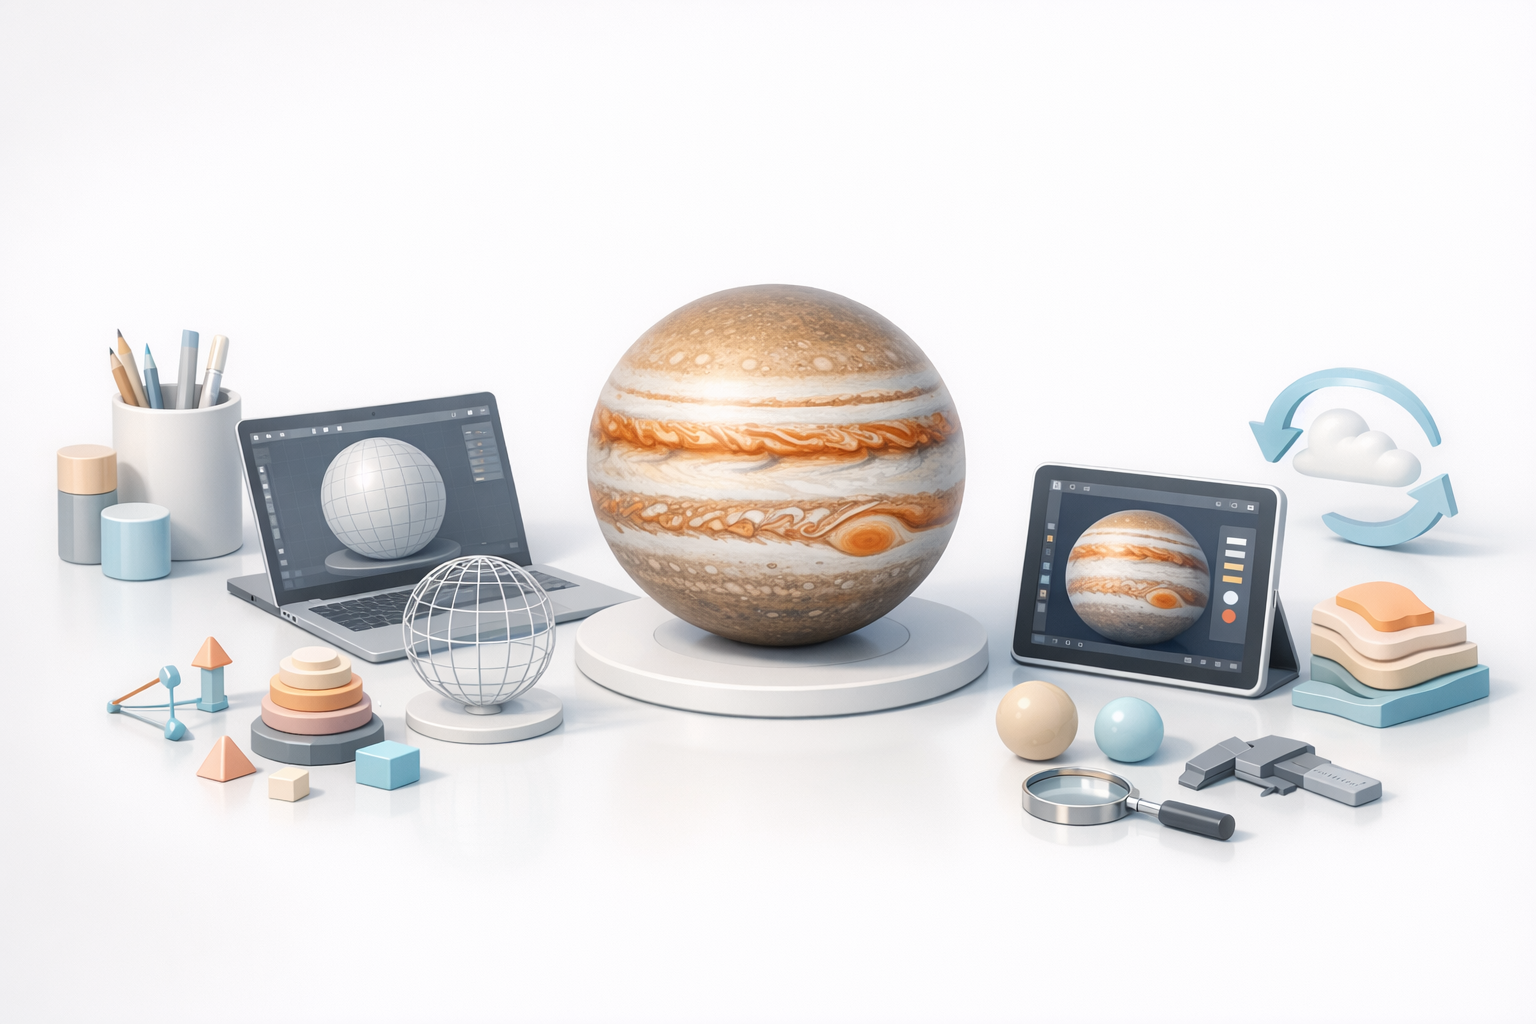
My preferred workflow starts with gathering high-quality references, then using an AI-powered platform (like Tripo) to generate a base model from text prompts, images, or sketches. From there, I refine geometry, apply detailed textures, and set up animation for rotation and atmospheric effects. This method maximizes speed and accuracy while minimizing manual technical work.
Conceptualizing and Planning a Jupiter 3D Model
Gathering reference images and scientific data
I always start by collecting NASA imagery, scientific diagrams, and high-res telescope photos. Reliable sources ensure accuracy in cloud patterns, colors, and proportions. I organize these references in a mood board for easy access during modeling and texturing.
Checklist:
- NASA/JPL photo archives
- Scientific illustrations (for storm placement and scale)
- Color palettes extracted from real images
Defining project goals and artistic direction
Before modeling, I clarify the end use: Is this for a real-time game, a cinematic shot, or educational XR? This decision shapes polycount, texture resolution, and animation needs. I jot down the key features to highlight—like the Great Red Spot or polar auroras—and decide how stylized or realistic the final model should be.
Generating a Jupiter 3D Model from Text, Images, or Sketches
Using AI-powered platforms for rapid model creation
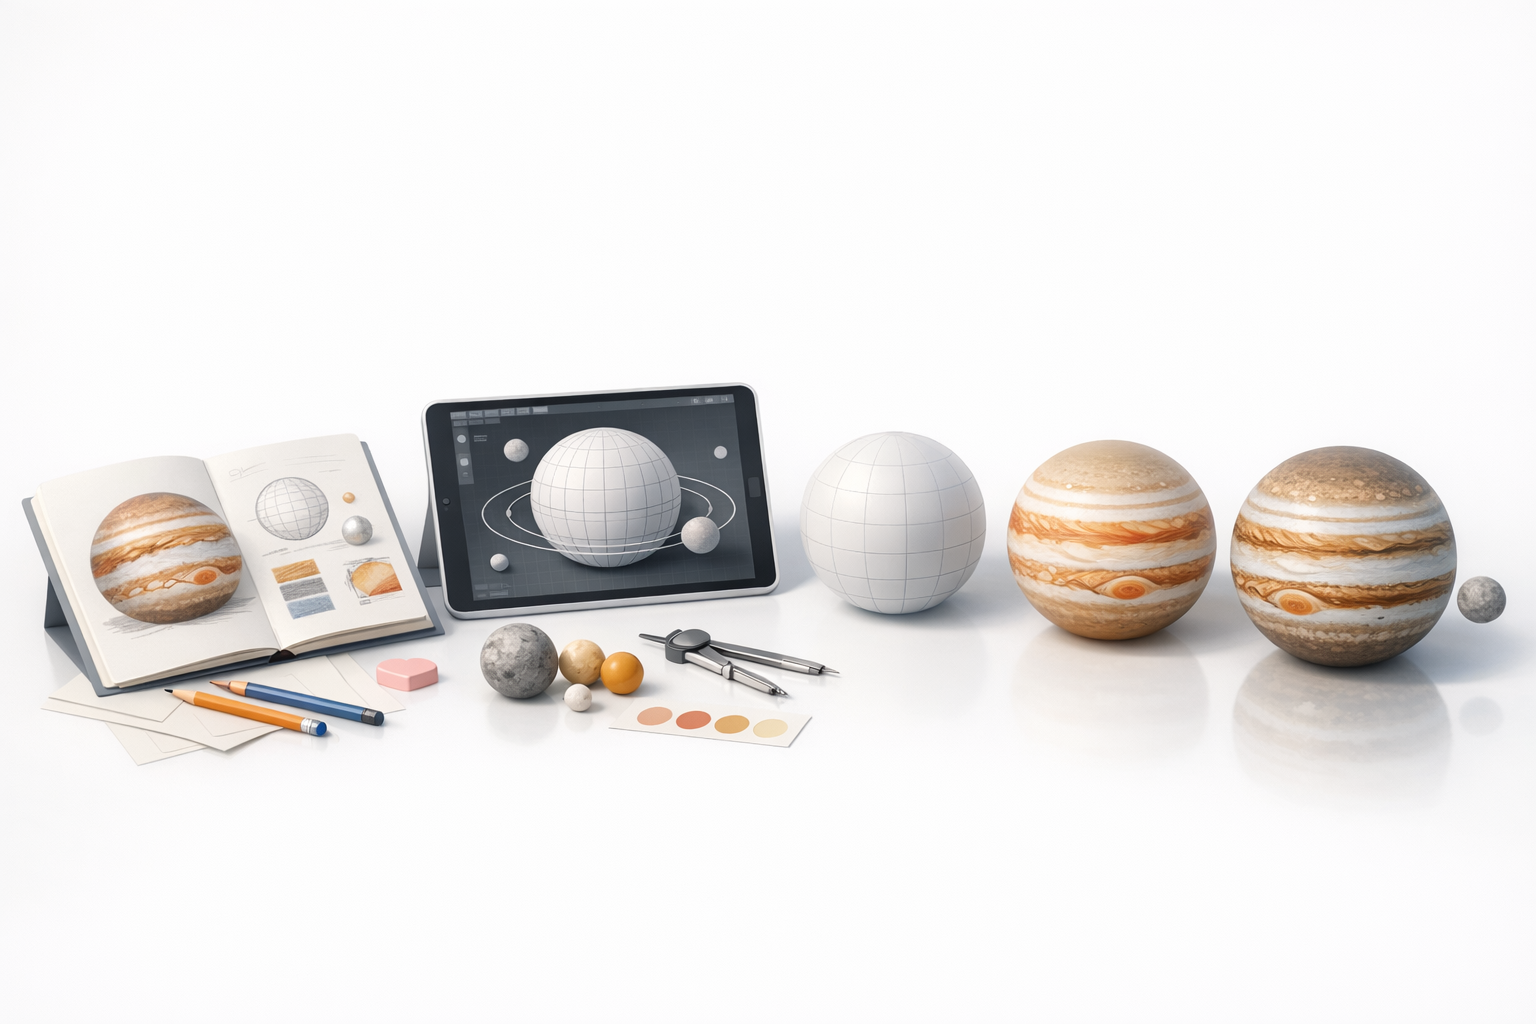
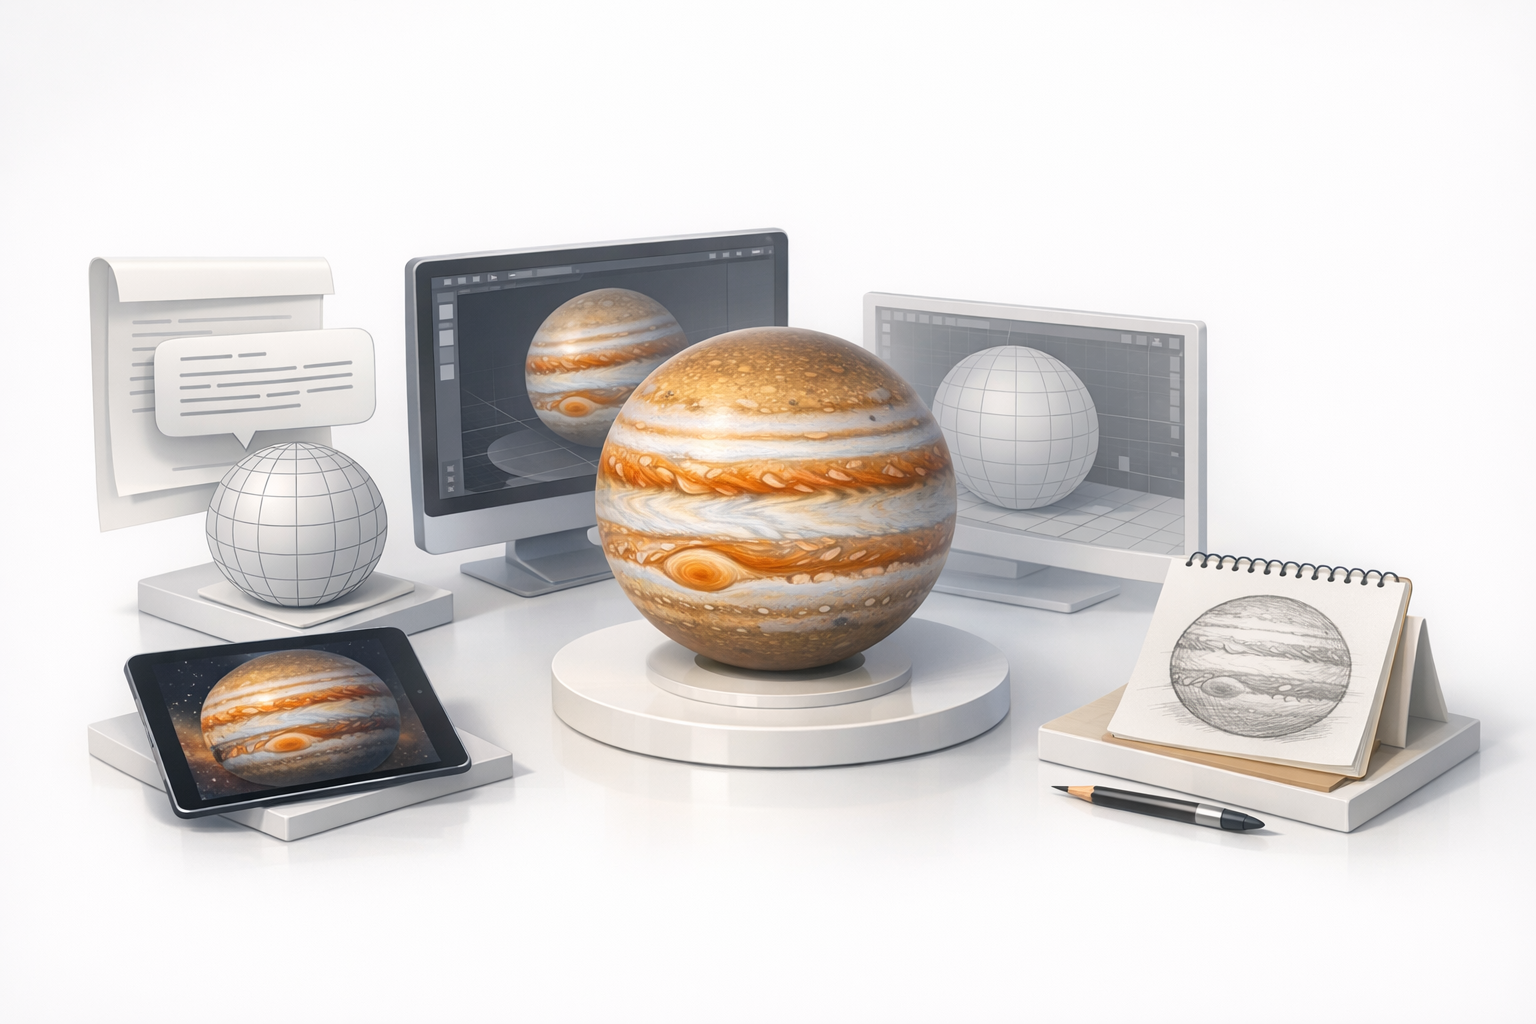
With platforms like Tripo, I can generate a solid Jupiter base mesh in seconds from a simple text prompt ("realistic Jupiter planet with swirling clouds") or by uploading a sketch/reference image. This jumpstarts the process and frees me to focus on refinement rather than manual sculpting.
Steps:
- Input descriptive prompt or image/sketch.
- Review the generated mesh for proportion and basic color accuracy.
- Export for further editing if needed.
Tips for achieving accurate planetary features
I’ve found that specificity in prompts yields better results—mentioning details like “Great Red Spot” or “banded clouds” helps. For scientific accuracy, I sometimes overlay generated textures with real Jupiter map projections. Always check for symmetry and clean poles, as AI outputs can occasionally distort these areas.
Optimizing Jupiter Models: Segmentation, Retopology, and Texturing
Intelligent segmentation for complex cloud patterns
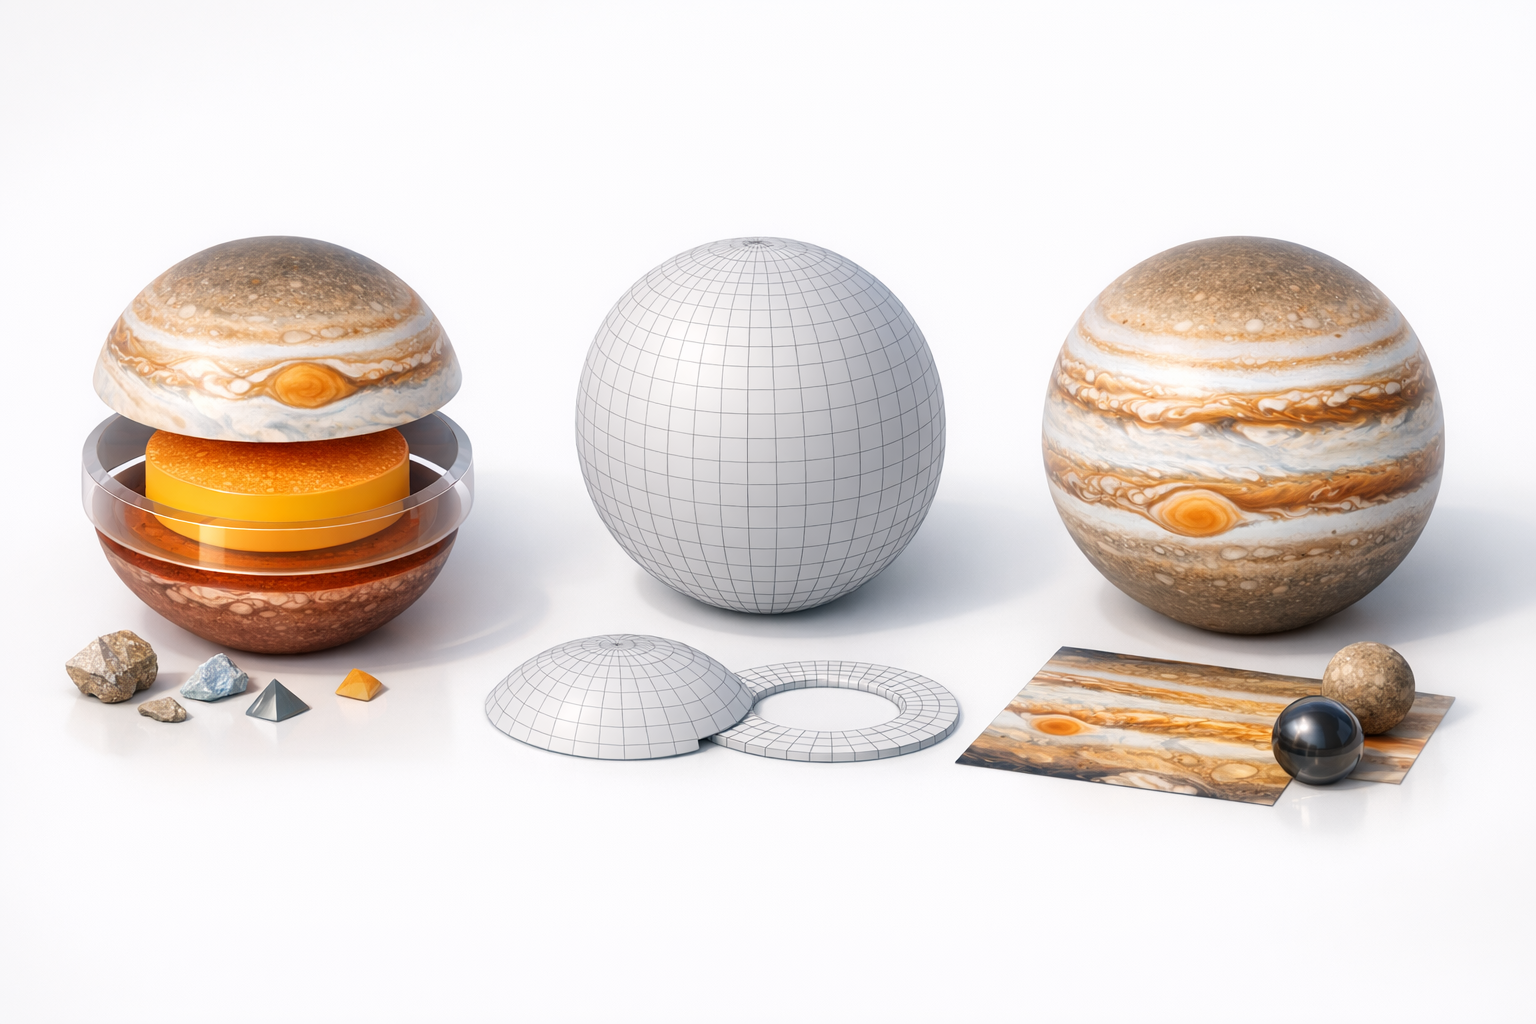
Segmenting Jupiter’s bands and storms is crucial for advanced texturing and animation. Tripo’s segmentation tools let me isolate regions like the equator, poles, and major storms. This makes it easier to apply targeted texture maps and procedural effects later.
Pitfalls to avoid:
- Over-segmenting, which can complicate UVs and workflow
- Ignoring subtle transitions between cloud bands
Best practices for retopology and realistic texturing
Clean topology is essential for smooth animation and shading. I use automated retopology to optimize the mesh, ensuring even quads and minimal poles. For texturing, I blend procedural noise with high-res satellite imagery, adjusting hue and saturation to match references.
Mini-checklist:
- Retopologize for even edge flow
- Bake normal and detail maps to enhance cloud structure
- Use layered shaders for depth (e.g., subtle atmospheric haze)
Rigging, Animation, and Presentation Techniques
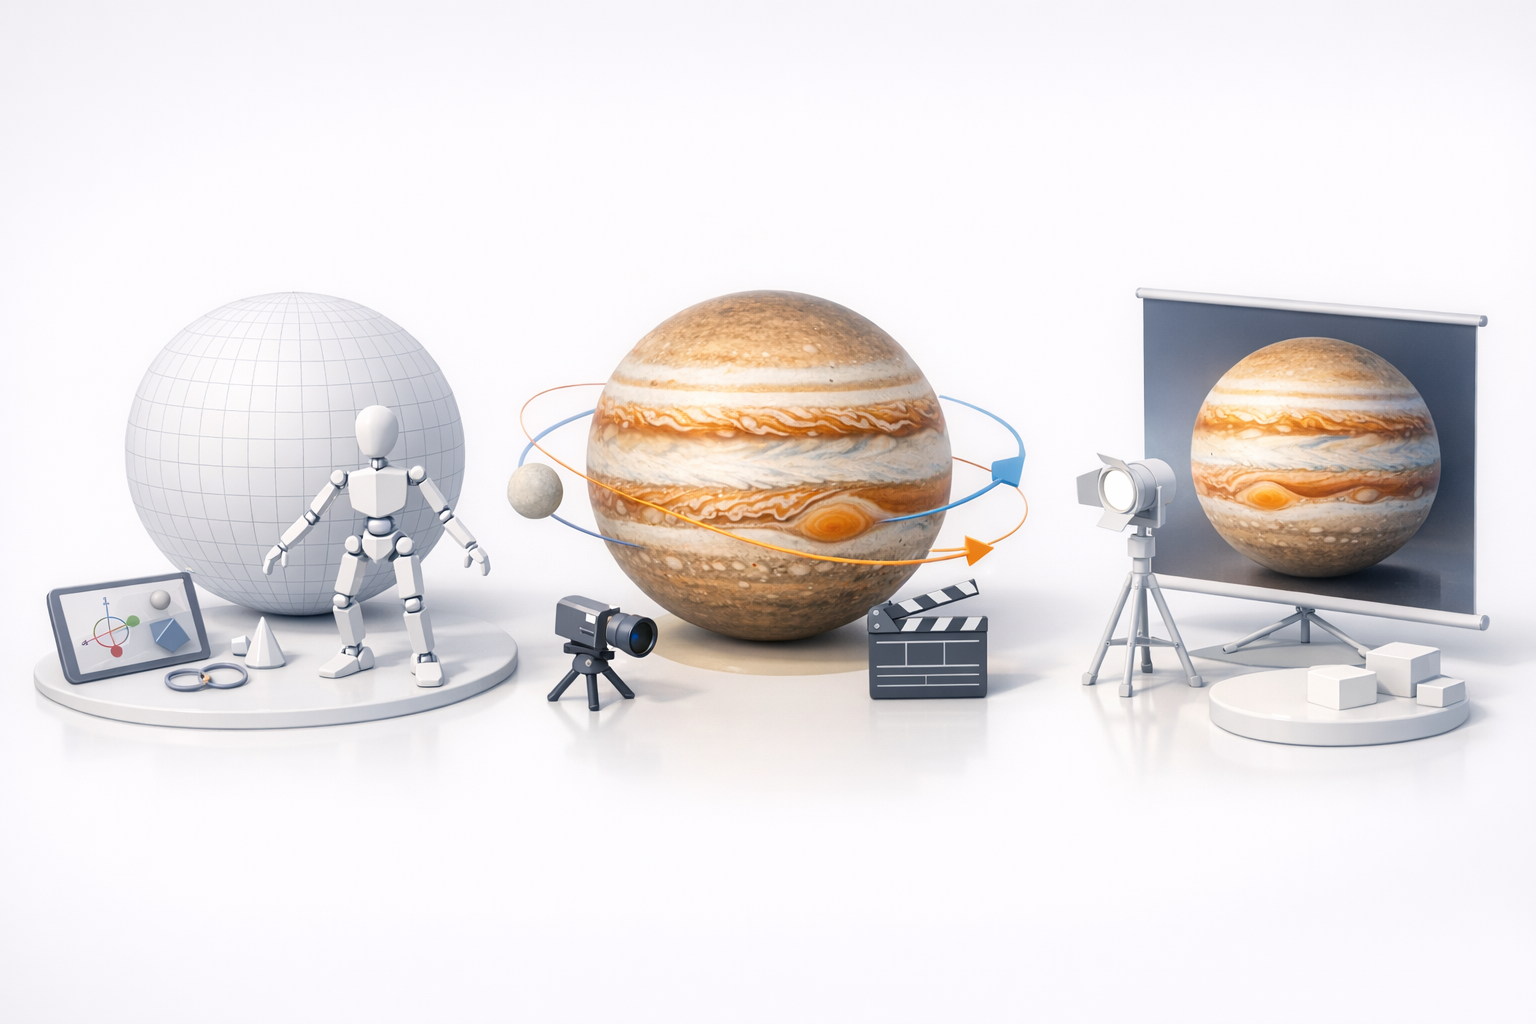
Animating Jupiter’s rotation and atmospheric effects
Animating Jupiter is straightforward—apply a slow Y-axis rotation to the sphere. For more realism, I layer animated cloud textures using UV scrolling or shader effects to simulate atmospheric movement. For XR or film, I sometimes add animated lightning or auroras.
Steps:
- Rotate the base mesh slowly (Jupiter’s day is ~10 hours).
- Animate cloud layers separately for dynamic effects.
- Preview in your target engine for performance.
Showcasing your model in games, XR, or film
For real-time use, I optimize textures and mesh resolution. In film or high-res renders, I crank up texture detail and add volumetric effects. I always test the model under various lighting and camera angles to ensure visual consistency.
Comparing AI-Powered and Traditional 3D Modeling Workflows
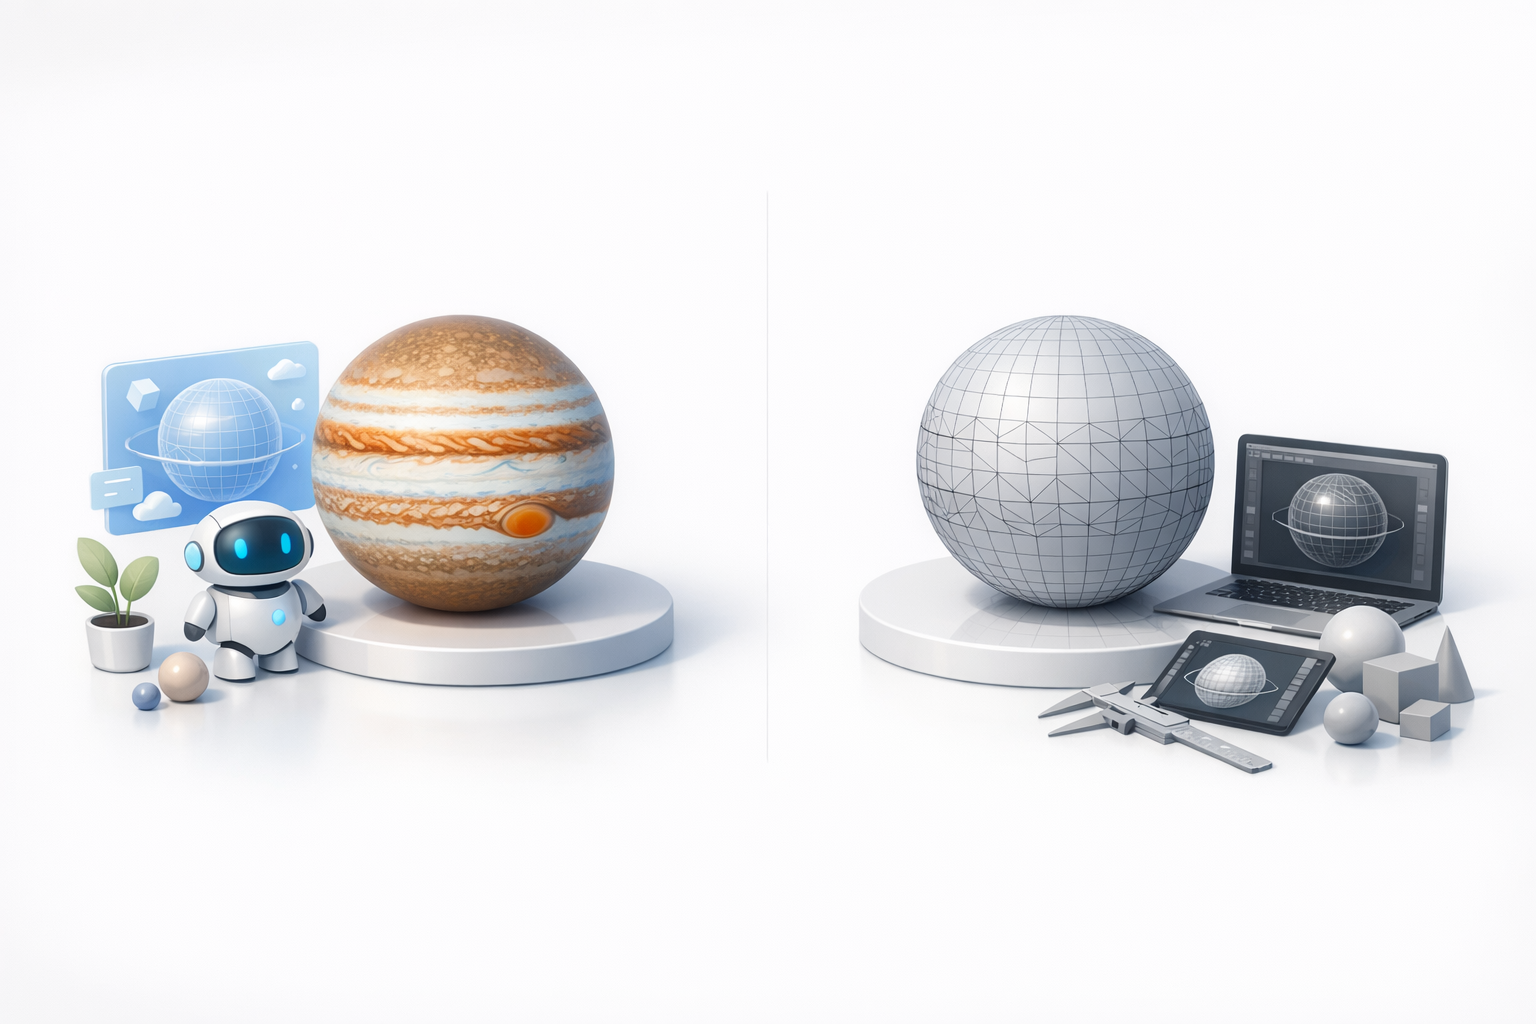
Efficiency and quality differences
In my hands-on experience, AI-powered workflows outpace traditional manual modeling by a wide margin—especially for planetary objects. The quality is production-ready with minimal cleanup, though some manual refinement is still needed for hero assets. Traditional workflows offer more control but are much slower.
Personal insights on workflow choices
For rapid prototyping, concept art, or background assets, I default to AI tools. For closeups or hero shots, I start with AI-generated geometry and then refine manually. The hybrid approach delivers both speed and quality.
Expert Tips and Lessons Learned from Jupiter 3D Projects
Common challenges and how I solve them
- Cloud band distortion at poles: I fix this by manually painting pole textures or using polar projection mapping.
- Texture seams: Seamless textures are a must—procedural blending helps.
- Overcomplicated geometry: I keep the mesh simple; detail comes from textures, not polygons.
Advice for creators new to planetary modeling
- Start with a clear reference and project goal.
- Use AI tools to generate a base, but always check against real data.
- Focus on clean UVs and seamless textures.
- Don’t overcomplicate—let the textures do the heavy lifting.
In summary: Combining AI-powered generation with traditional refinement lets me create accurate, visually stunning Jupiter 3D models in a fraction of the time. With the right references, clear goals, and attention to detail, even complex planetary features become manageable and production-ready.
