Creating and Optimizing Injustice 2 3D Models: Expert Workflow
As someone who’s worked extensively with character and environment assets for fighting games, I know that creating Injustice 2–style 3D models requires a careful blend of artistry and technical precision. This guide breaks down my proven workflow for generating, refining, and optimizing models that fit the game’s distinct visual style—whether you’re using AI-powered tools or manual techniques. I’ll cover sourcing references, legal considerations, step-by-step creation, and the best ways to ensure your models are both visually compelling and production-ready. This is for 3D artists, game developers, and anyone aiming to streamline their asset pipeline for fighting game projects.
Key takeaways:
- Reference gathering and legal checks are critical before modeling.
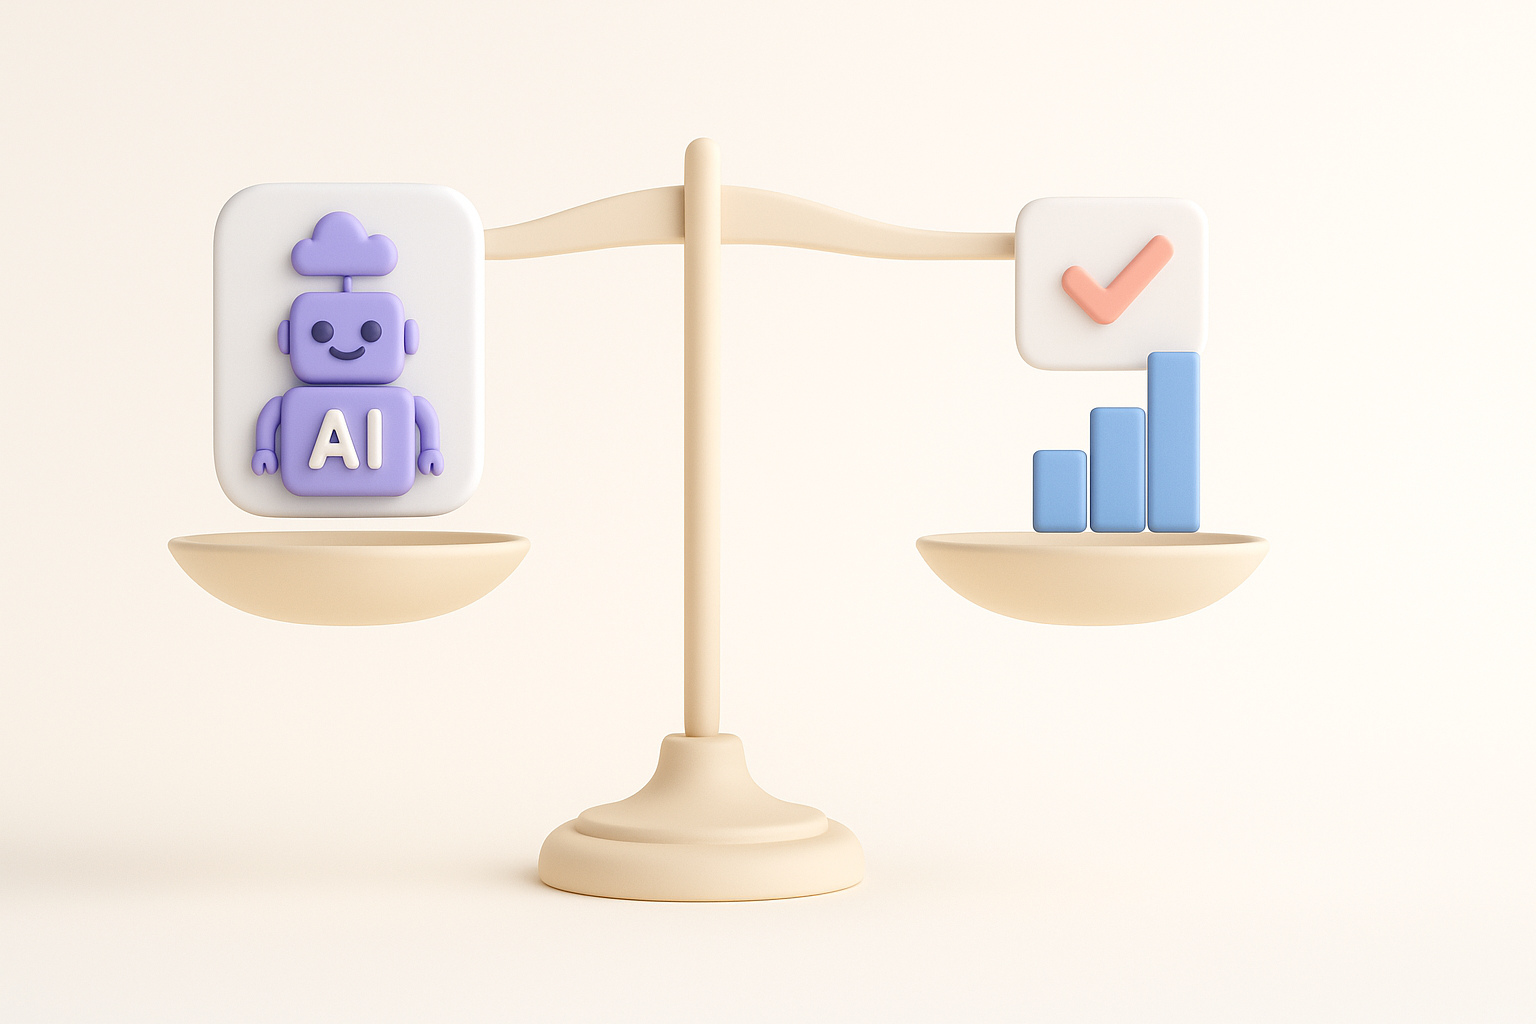
- AI-powered tools like Tripo AI can dramatically speed up initial asset creation.
- Manual sculpting, retopology, and texturing remain essential for polish and detail.
- Optimizing topology, UVs, and textures ensures game-ready performance.
- Integrating multiple tools can boost flexibility and quality.
- Consistent QA and iteration prevent common pitfalls and wasted time.
Overview of Injustice 2 3D Models
Key Features and Visual Style
Injustice 2 models are known for their stylized realism—muscular, heroic proportions, detailed costumes, and expressive facial rigs. Materials often have a cinematic sheen, with careful attention to fabric, metal, and skin shaders. I always focus on strong silhouettes and exaggerated features that read well from a distance, as this is crucial for fighting games.
Common Uses in Games and Media
These models aren’t just for gameplay; they’re used in cinematics, marketing renders, and XR experiences. I’ve seen them adapted for VR, mobile, and even collectible 3D prints. The key is to balance visual fidelity with performance, especially when assets are reused across different platforms.
How I Source and Prepare Injustice 2 3D Models
Finding Reference Materials and Assets
My workflow starts with extensive reference gathering. I use official concept art, in-game screenshots, and high-res promotional materials. Sometimes, I’ll sketch over references to block out proportions and costume details. If I need base meshes, I look for licensed or original assets that match the project’s legal requirements.
Checklist:
- Gather at least 3–5 high-quality references per character/asset.
- Annotate key features (costume layers, materials, accessories).
- Prepare sketches or blockouts for tricky silhouettes.
Legal and Ethical Considerations
It’s essential to respect IP rights—especially with franchise assets. I always verify usage permissions for any third-party models or textures, and avoid using ripped or unlicensed assets in commercial projects. For fan work, I clearly separate personal and professional pipelines.
Pitfall:
Using unauthorized models can result in takedowns or legal issues. When in doubt, create your own base mesh or use AI tools to generate original content.
Step-by-Step Workflow: Creating Injustice 2 3D Models
Using AI-Powered Tools for Model Generation
I often use Tripo AI to quickly generate base meshes from text prompts, sketches, or image inputs. It’s especially effective for blocking out complex costumes and props, letting me iterate on shapes before committing to detailed sculpting.
My process:
- Input a text description or sketch (e.g., “armored superhero with cape, tactical boots”).
- Review and adjust the generated model for proportion and pose.
- Export the base mesh for manual refinement.
Tips:
- Use clear, specific prompts for best results.
- Combine AI outputs with reference overlays to check accuracy.
Manual Techniques: Sculpting, Retopology, and Texturing
After the AI pass, I move to manual sculpting—using traditional tools to refine anatomy, add folds, and define facial features. Retopology is next, ensuring the mesh is clean and animation-friendly. For texturing, I paint in Substance Painter or similar, focusing on material separation and wear.
Steps:
- Sculpt primary forms, then secondary details (armor, straps, emblems).
- Retopologize for animation (edge loops around joints, facial topology).
- Unwrap UVs and bake normal/ambient occlusion maps.
- Texture with layers for base color, roughness, and metallic effects.
Optimizing Models for Production
Best Practices for Retopology and UV Mapping
Good topology is critical for fighting games—deformations must be clean and natural. I keep polycounts efficient (10k–40k for characters), with denser geometry at joints and faces. For UVs, I minimize seams and maximize texel density where detail matters.
Checklist:
- Edge loops around elbows, knees, and mouth.
- Symmetrical UV layouts for easier texture painting.
- Test deformations with simple rigging before finalizing topology.
Texturing, Rigging, and Animation Tips
I texture in PBR workflows, using masks to separate materials. For rigging, I use modular skeletons and test with in-engine animations. When animating, I prioritize readable silhouettes and exaggerated poses—crucial for fighting game clarity.
Tips:
- Use material IDs for quick shader swaps.
- Bake animation tests early to catch skinning issues.
- Keep file sizes optimized for real-time performance.
Comparing AI Tools and Alternative Methods
When to Use AI-Powered Platforms
I reach for AI platforms like Tripo AI when I need rapid prototyping, or when concept art is loose and I want to explore variations quickly. They’re less suited for final, hero assets but excellent for blocking out ideas or populating background content.
Best uses:
- Early-stage concepting.
- Generating base meshes for manual refinement.
- Speeding up asset iteration cycles.
Integrating Other Tools in the Workflow
For final polish, I always combine AI outputs with manual sculpting, texturing, and rigging. Traditional DCC tools remain essential for precise control and troubleshooting. I also use in-engine editors for real-time feedback and shader tuning.
Pitfall:
Relying solely on AI outputs often leads to generic or off-style results. Always refine and customize.
What I’ve Learned: Expert Tips and Common Pitfalls
Troubleshooting and Quality Assurance
Regular QA is key. I check for mesh errors, flipped normals, and animation artifacts at every stage. Peer reviews and engine tests catch issues early.
Mini-checklist:
- Inspect mesh in wireframe and shaded modes.
- Test with placeholder animations.
- Run through in-game lighting scenarios.
Maximizing Efficiency and Creativity
The most efficient workflow leverages AI for speed, but always layers in manual artistry for quality. I block out with AI, sculpt and texture by hand, and iterate based on feedback. Don’t be afraid to scrap and restart—early iteration saves time later.
Tips:
- Batch process similar assets for consistency.
- Save reusable materials and rigs.
- Stay organized with clear file naming and versioning.
By blending AI-powered tools with hands-on techniques, I’ve been able to deliver Injustice 2–style 3D models that meet both creative and technical demands. With careful planning and iterative refinement, you can streamline your workflow and produce assets ready for any fighting game pipeline.


