Creating Horizon Zero Dawn 3D Models: Expert Workflow & Tips
Creating 3D models for a visually rich game like Horizon Zero Dawn requires a blend of technical skill, creative vision, and workflow efficiency. In my experience, the key is balancing high fidelity with game-ready optimization—especially when deadlines are tight. I’ll break down my full workflow, from concepting to final export, and show how AI-driven tools like Tripo can speed up prototyping and iteration. Whether you’re a game artist, indie developer, or hobbyist, these practical steps and insights will help you deliver production-ready assets that fit seamlessly into modern pipelines.
Key takeaways:
- Reference gathering and planning are crucial for matching Horizon Zero Dawn’s style.
- Blocking, sculpting, and retopology require a balance between detail and efficiency.
- Smart use of AI tools (like Tripo) can drastically cut down prototyping time.
- Proper UV mapping and texturing are essential for game performance and visual quality.
- Rigging and export settings must be tailored for game engine compatibility.
- Manual and AI-assisted approaches each have clear strengths—choose based on project needs.
Overview: 3D Modeling for Horizon Zero Dawn
Key challenges and requirements
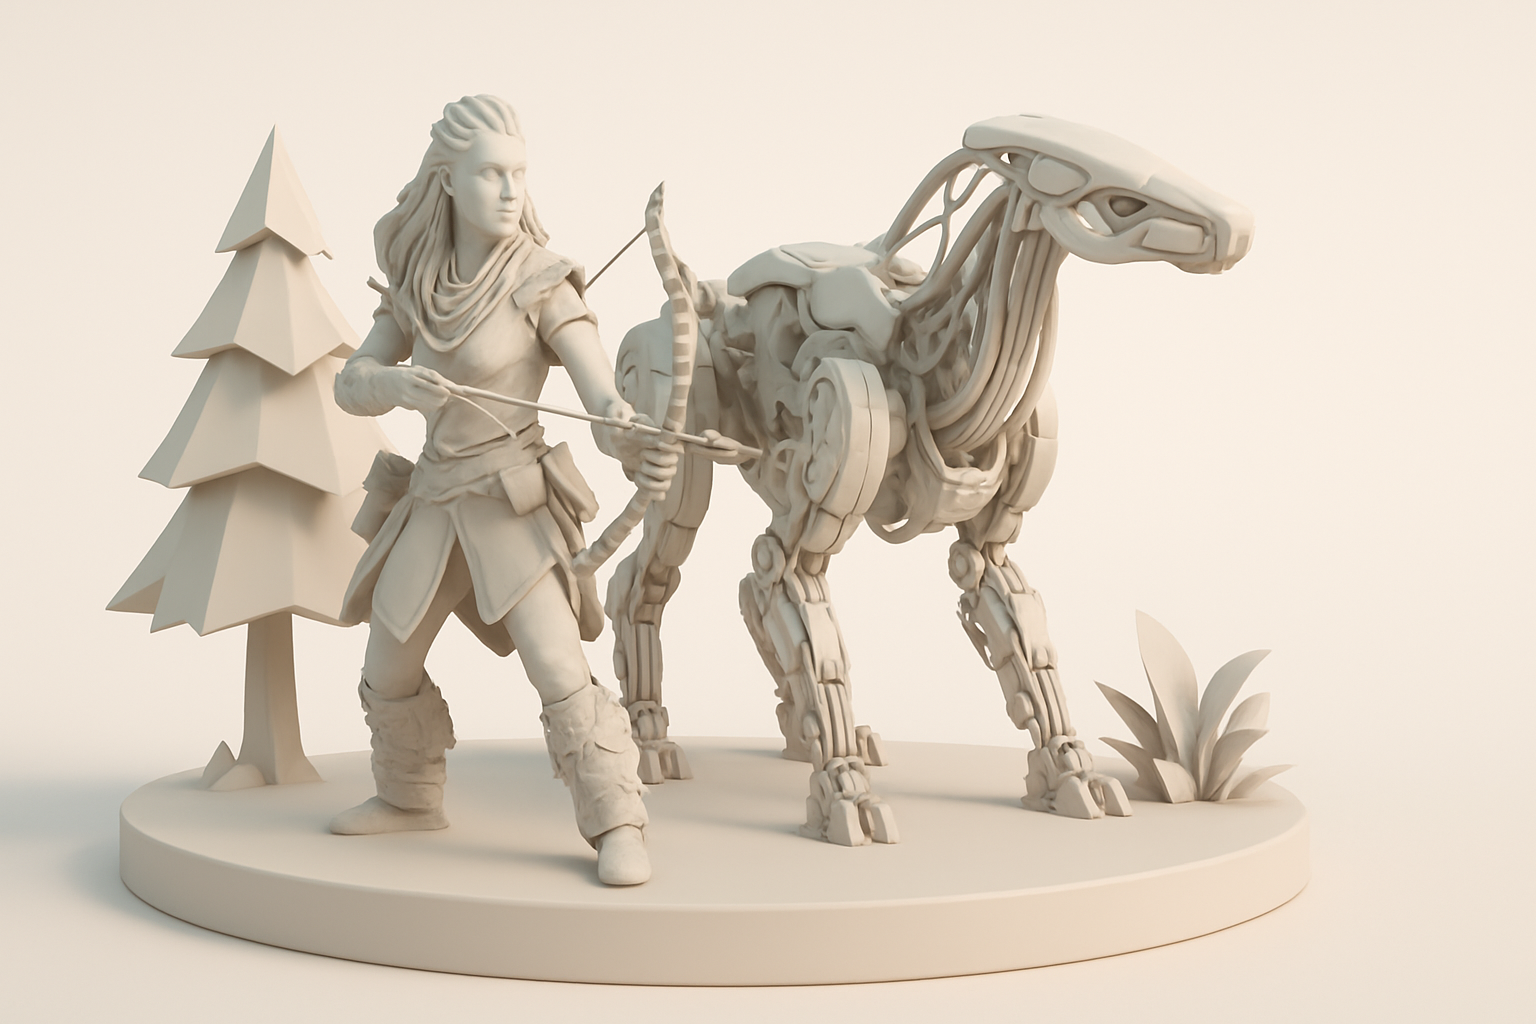
Horizon Zero Dawn’s world is defined by intricate mechanical creatures and lush environments. The biggest challenges I face are achieving the right level of detail without overloading the asset, and ensuring all models are optimized for real-time rendering. The design language blends organic and mechanical forms, so models must be both believable and technically sound.
Executive summary and main takeaways
Every asset must fit strict polycount and texture guidelines, and the art direction demands consistent quality. My main advice: don’t skip reference gathering, and always plan for downstream steps like rigging and animation. AI-powered tools can help, but human oversight is essential for style and polish.
My Step-by-Step Workflow for Horizon Zero Dawn 3D Models
Concepting and reference gathering
I start every project by collecting as much reference as possible—official concept art, in-game screenshots, and even fan art. For Horizon Zero Dawn, I pay extra attention to mechanical joints, armor plating, and material wear.
Checklist:
- Gather references from multiple angles
- Note scale, silhouette, and key design motifs
- Break down complex forms into manageable sub-elements
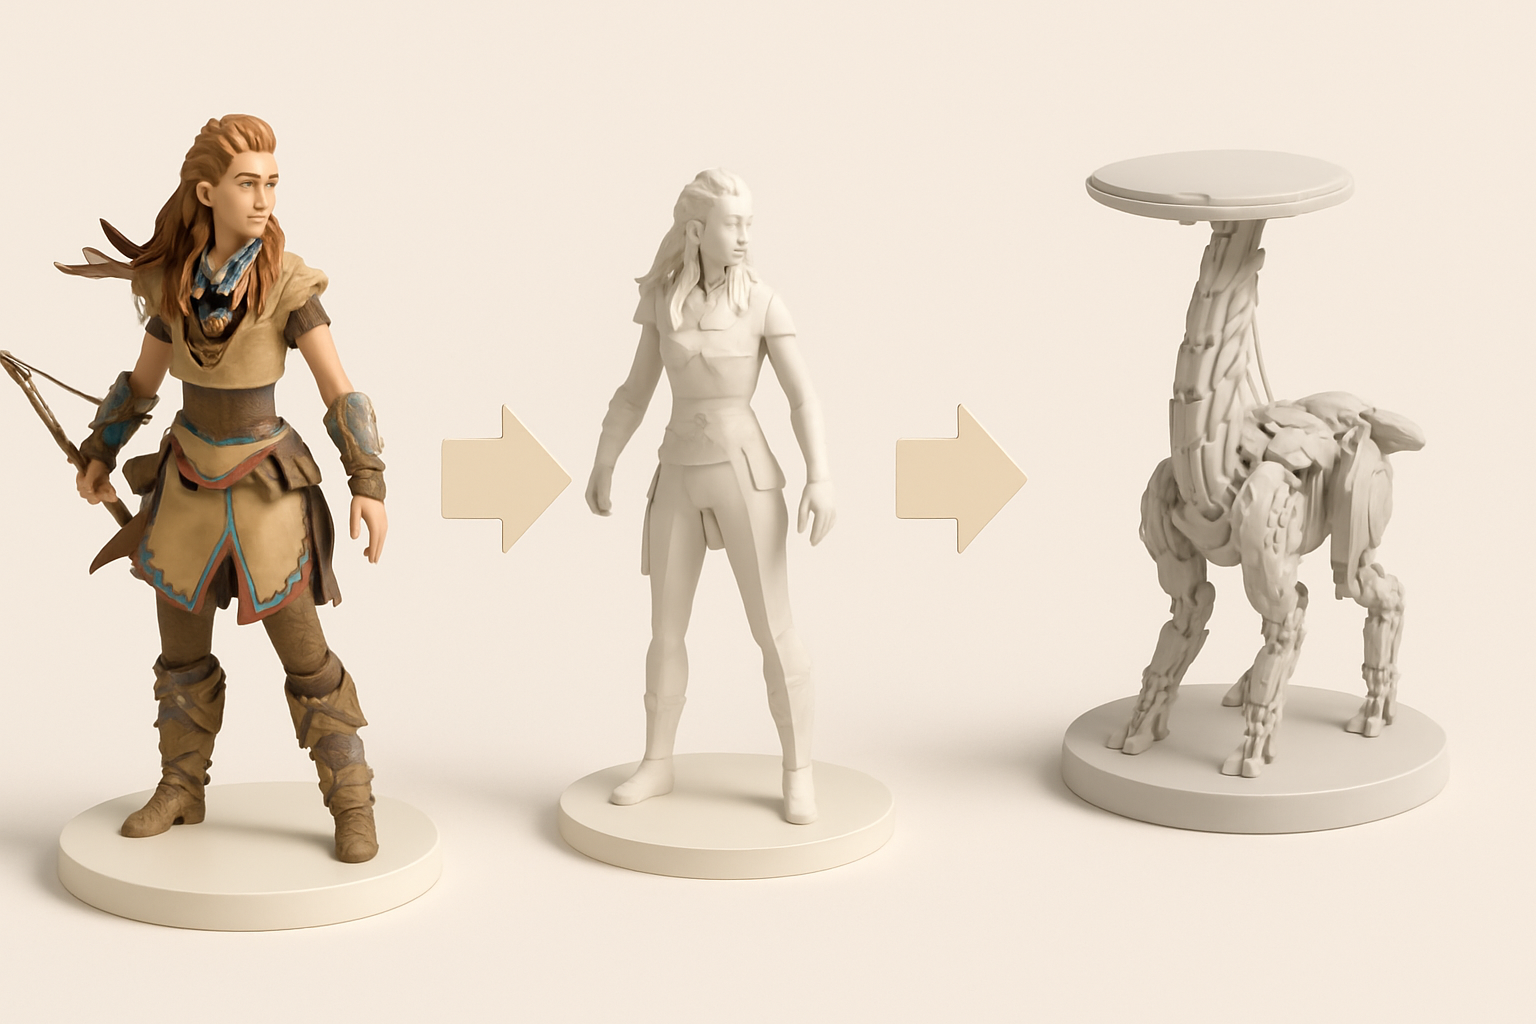
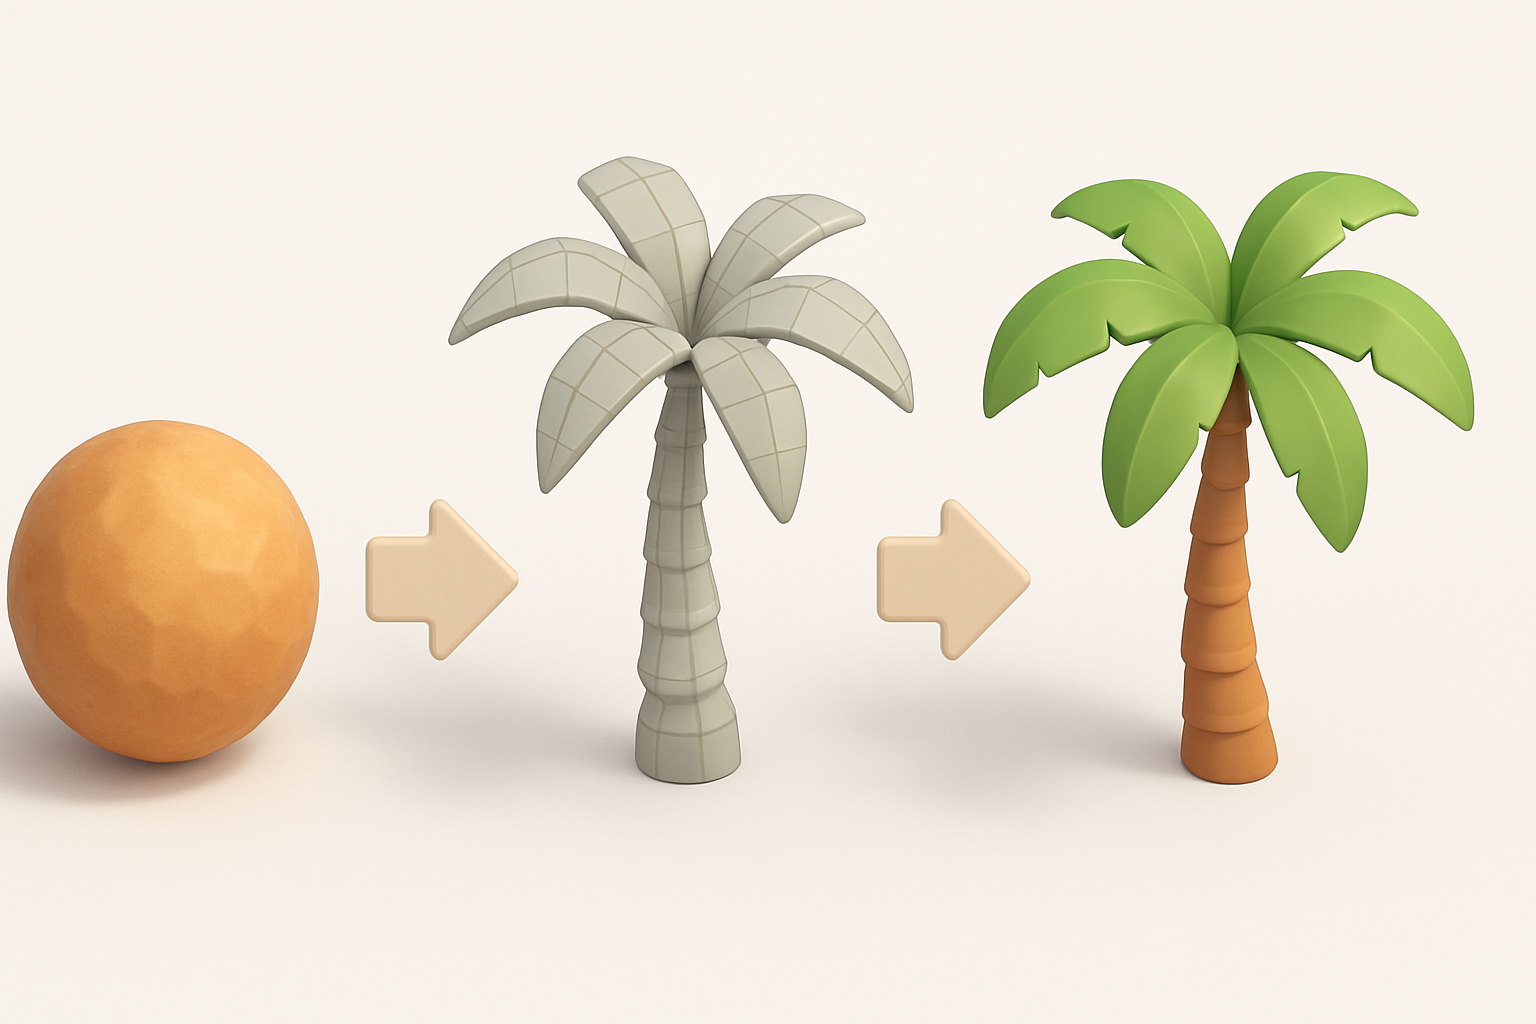
Blocking out and sculpting the base mesh
My next step is blocking out the basic shapes in a 3D package. I focus on getting proportions and major forms right before adding detail. For mechanical creatures, I separate moving parts early on.
Tips:
- Use simple primitives for initial blockout
- Don’t rush into detailing; iterate on silhouette first
- Regularly check the model against references
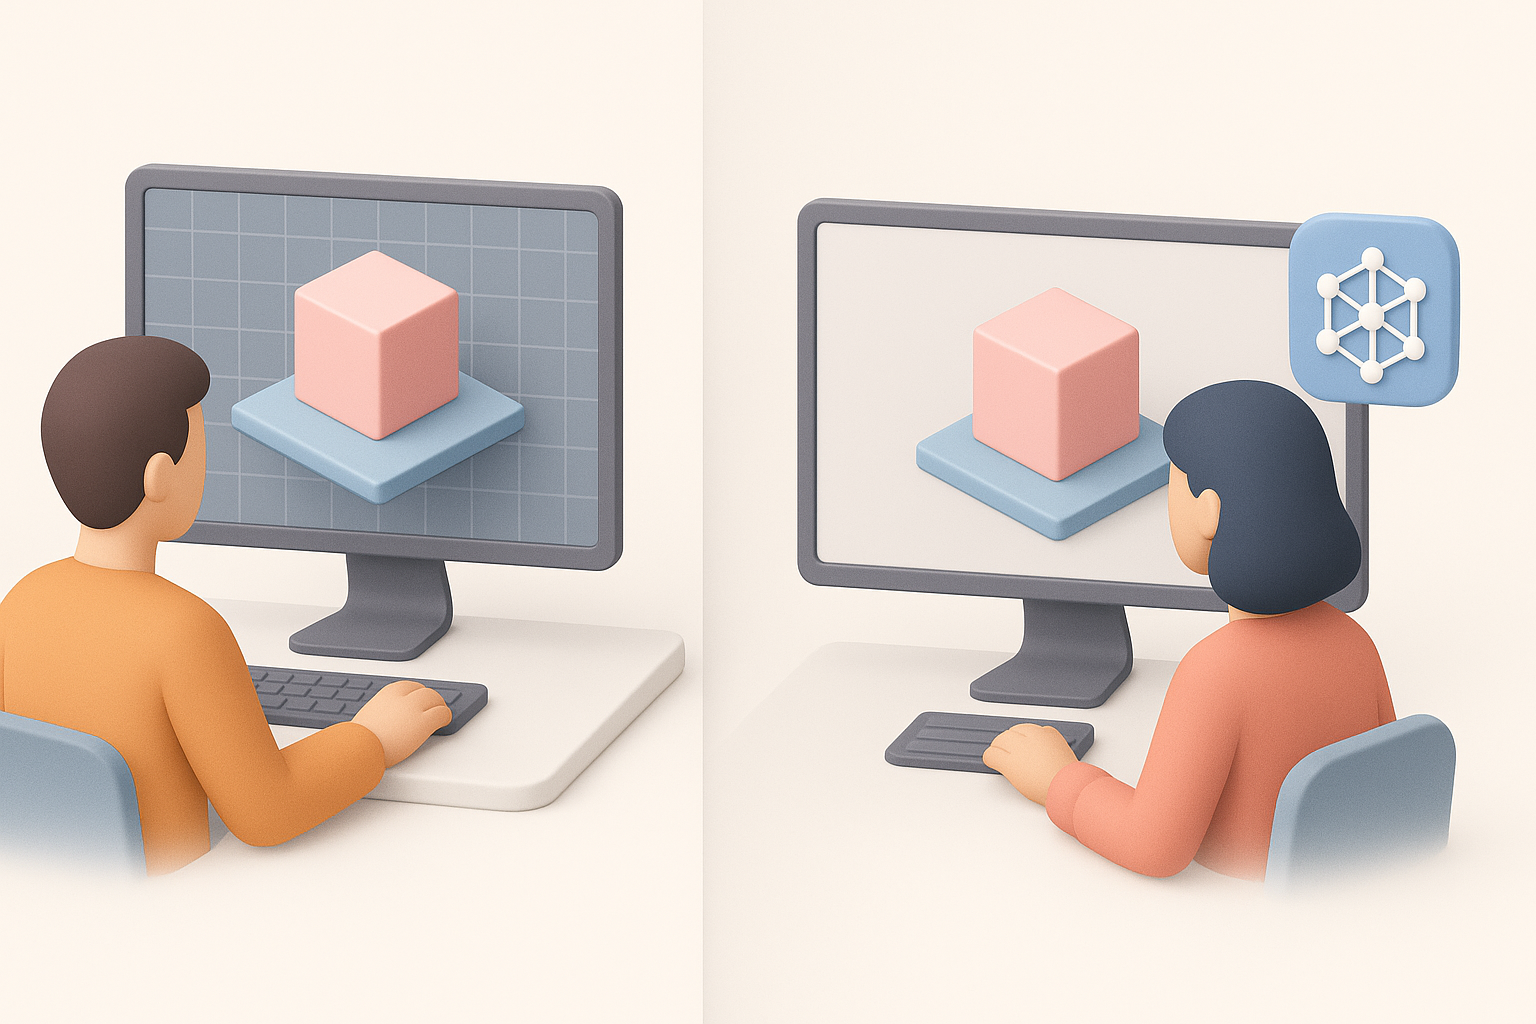
Texturing, Retopology, and Optimization Best Practices
Efficient retopology and UV mapping
Once the high-poly sculpt is done, I retopologize for animation and game engine performance. Clean edge flow is non-negotiable. I use auto-retopology tools when appropriate, but always check and tweak manually.
Best practices:
- Keep polycount within engine limits (usually under 50k for creatures)
- Lay out UVs to maximize texture resolution and minimize seams
- Use UDIMs only if the engine and workflow support it
Texturing for game-ready assets
I bake normal, AO, and curvature maps from the high-poly to the low-poly mesh. Then, I create PBR textures, focusing on the interplay of metal, paint, and organic elements. Consistent texel density is key.
Pitfalls to avoid:
- Overly complex materials that hurt performance
- Inconsistent texel density across the model
- Neglecting edge wear and dirt for realism
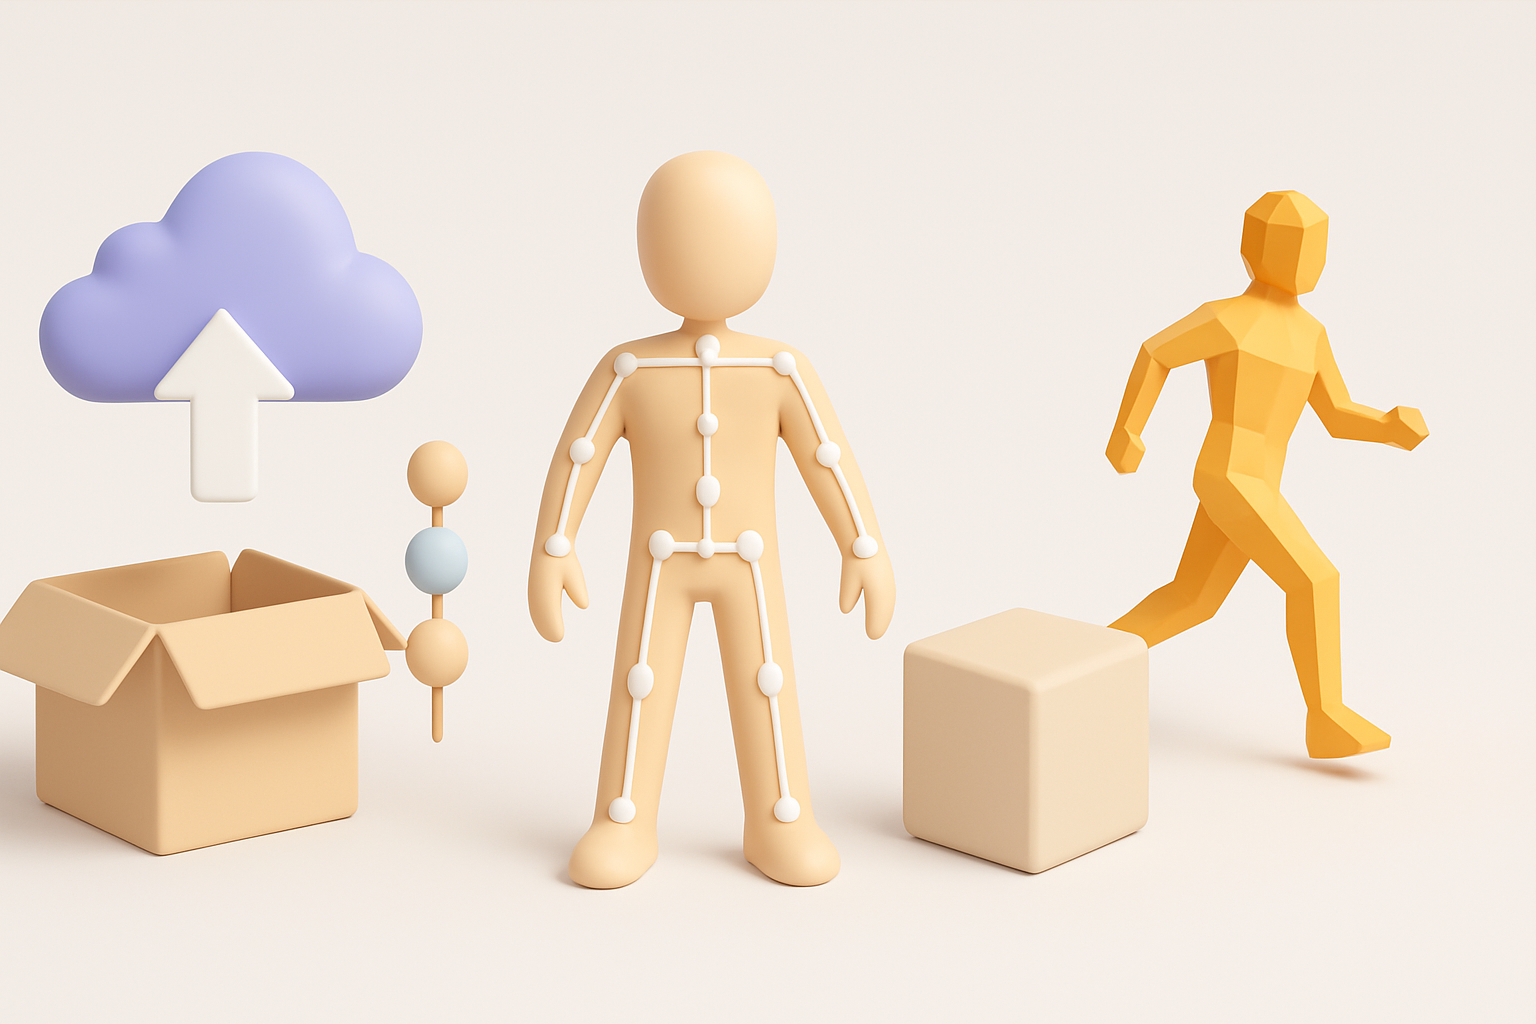
Leveraging AI Tools for Faster 3D Model Creation
How I use Tripo for rapid prototyping
Tripo has become a staple in my early-stage workflow. By inputting a text prompt, sketch, or image, I can quickly generate a base 3D model that’s close to my target design. This speeds up iteration and helps visualize concepts before committing to detailed sculpting.
How I use it:
- Generate rough blockouts from concept art or written briefs
- Use AI models as a starting point for manual refinement
- Quickly test different design variants
Integrating AI-generated assets into my workflow
After generating a base mesh with Tripo, I import it into my main 3D software for cleanup, detailing, and optimization. I always verify topology and scale, and adjust the model to match my references and technical requirements.
Steps:
- Import AI-generated mesh
- Check and fix geometry/topology issues
- Refine forms and add bespoke details
- Integrate into the rest of the asset pipeline
Exporting, Rigging, and Animation for Game Integration
Preparing models for game engines
Exporting models is all about compatibility. I freeze transforms, apply scale, and ensure naming conventions are engine-friendly. I check that all materials and textures are correctly assigned and packed.
Checklist:
- Apply transforms and cleanup scene
- Export in the engine’s preferred format (FBX, OBJ)
- Test import into the actual game engine
Rigging and basic animation tips
For mechanical creatures, I rig with a focus on joint articulation and modularity. I use simple IK/FK setups for prototyping, then refine as needed. Animation tests help catch issues early.
What I’ve learned:
- Keep rigs simple for prototyping, complex for final assets
- Test deformations and joint limits
- Export animation clips separately if required by the engine
Comparing Manual and AI-Assisted 3D Modeling Approaches
Pros and cons from my experience
Manual modeling gives full control and is ideal for hero assets or when style fidelity is critical. AI-assisted tools like Tripo shine for rapid prototyping and bulk asset creation, but usually require manual cleanup.
Pros of manual:
- Total creative control
- High customization and polish
Pros of AI-assisted:
- Fast initial results
- Great for iteration and ideation
Cons:
- Manual: time-consuming, repetitive for similar assets
- AI: may need significant cleanup, less control over fine details
When to choose each method
I use manual modeling for key assets and when art direction is strict. For background elements, quick iterations, or when exploring ideas, AI-assisted workflows save time and keep projects moving.
Decision tips:
- Use AI tools for blockouts, variants, and non-hero assets
- Stick to manual for signature models and final polish
- Always review and refine AI outputs to meet quality standards
By combining proven manual techniques with AI-powered acceleration, I’m able to deliver Horizon Zero Dawn-style assets efficiently and at high quality. Adapting your approach to the project’s needs—and knowing when to leverage each method—is key to success in modern 3D game art.


