Creating a 3D Print Model for a Hijab Undercap: Workflow & Tips
Designing a production-ready 3D print model for a hijab undercap requires a blend of practical design knowledge, digital modeling skills, and an understanding of fabric simulation. In my experience, the process is streamlined when you leverage AI-powered tools alongside traditional modeling techniques. This article covers my step-by-step workflow, from concept to print-ready asset, including how I optimize mesh, apply realistic textures, and customize variants. If you’re a creator in fashion, XR, or product design looking to simplify your 3D workflow, these insights will help you avoid common pitfalls and achieve reliable results.
Key takeaways:
- Accurate reference and concept work are essential for functional, comfortable designs.
- AI tools can dramatically speed up modeling, segmentation, and texturing.
- Mesh cleanup and retopology are vital for printability and durability.
- Realistic fabric textures and variant options enhance product appeal.
- Export settings and file prep impact print success—double-check before sending to the printer.
- Avoid over-complicating geometry; keep the model simple but true to real-world requirements.
Understanding Hijab Undercap Design for 3D Printing
Key Features and Functional Requirements
A hijab undercap is meant to sit comfortably under a hijab, providing grip, coverage, and breathability. In my modeling workflow, I prioritize:
- Ergonomic fit: The cap must contour to the head without sharp edges.
- Seam placement: Mimic real-world stitching for authenticity and structural strength.
- Ventilation zones: Optional mesh areas for airflow, if desired.
Checklist:
- Reference real undercap products for shape and fit.
- Ensure the model avoids protrusions that could cause discomfort.
- Design for easy removal and cleaning.
Common Materials and Comfort Considerations
Most undercaps are made from stretchable, soft fabrics like cotton, bamboo, or jersey blends. For 3D printing, I replicate these qualities with:
- Flexible filament (TPU, TPE): If printing for wearability.
- Smooth, rounded surfaces: To mimic fabric drape and avoid irritation.
- Thickness balance: Too thin breaks, too thick feels bulky.
Tips:
- Test print a small section to check material feel.
- Adjust thickness based on filament properties and intended use.
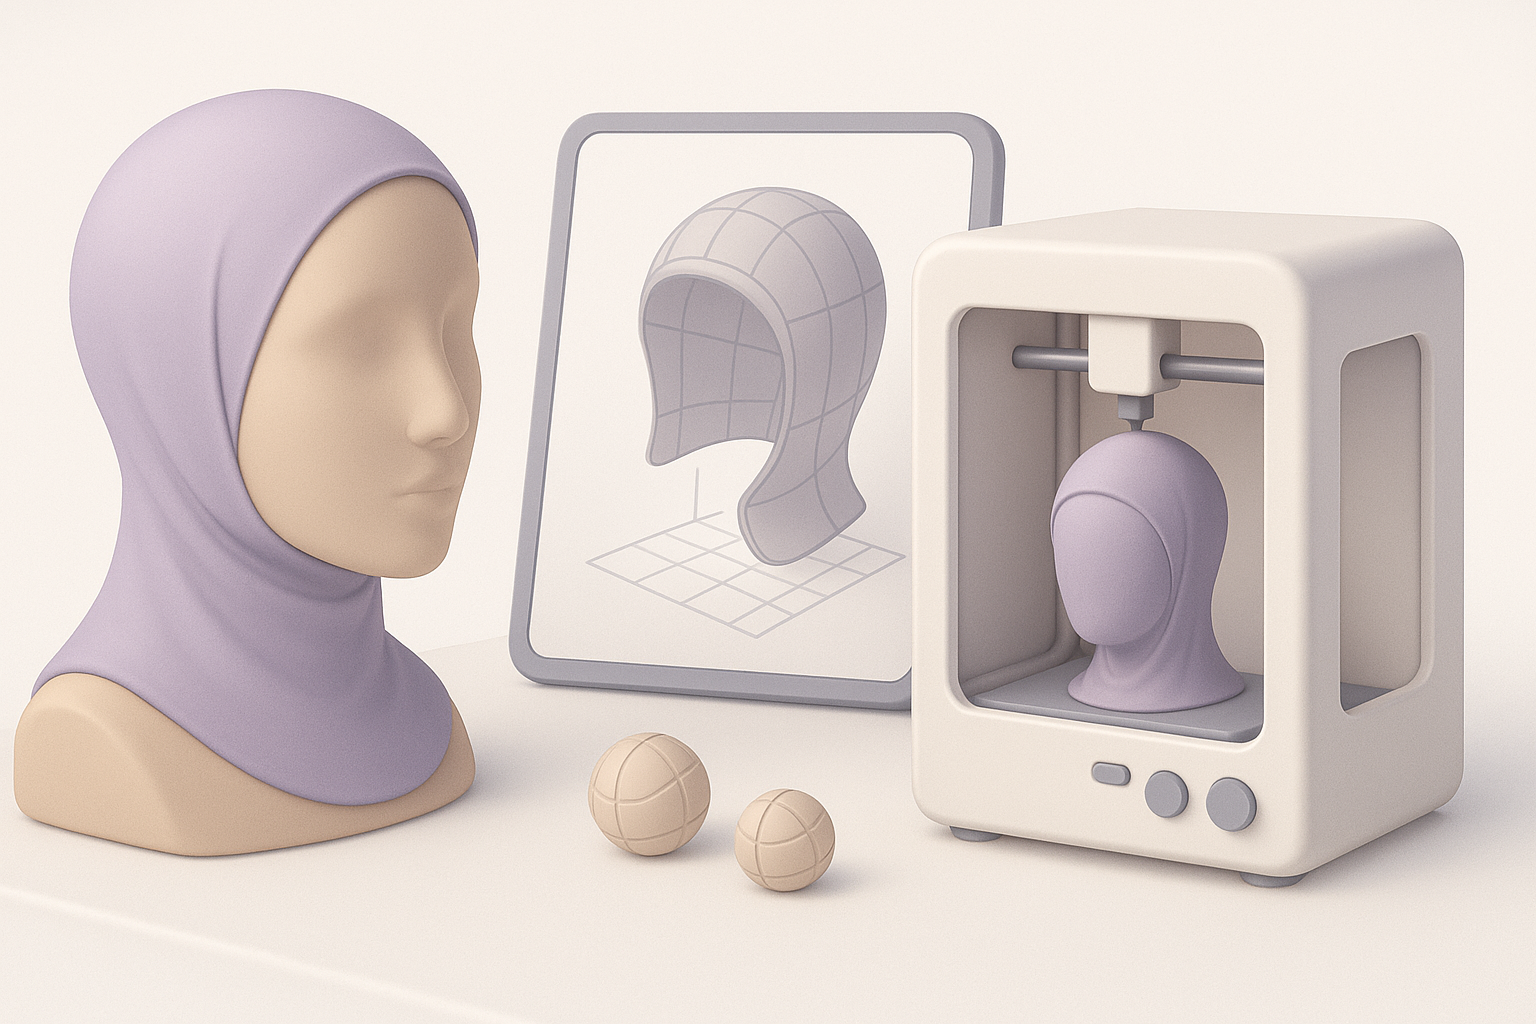
My Step-by-Step Workflow for Modeling a Hijab Undercap
Reference Gathering and Concept Sketching
I start by collecting high-resolution images and, when possible, physical samples. Sketching the cap’s silhouette and seam lines helps clarify proportions and construction.
Steps:
- Gather multiple angles of reference photos.
- Sketch the cap’s profile and key seams.
- Annotate areas for ventilation or elastic bands.
What I’ve found: Investing time here prevents redesigns later.
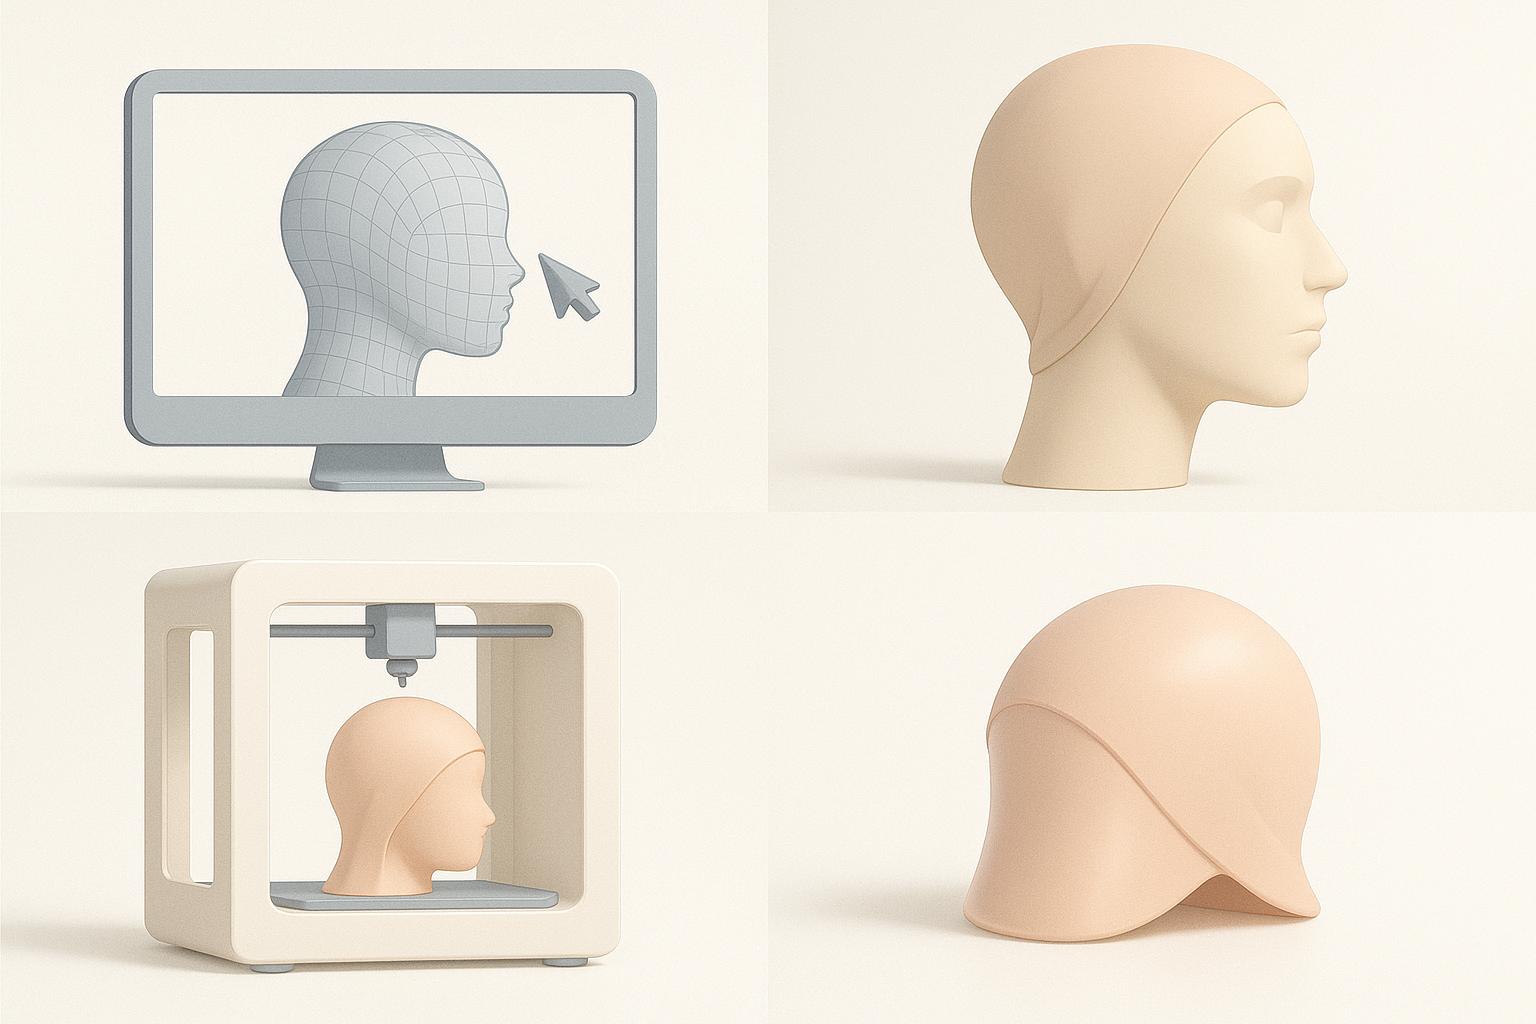
3D Modeling Techniques and Best Practices
I use a combination of polygonal modeling and sculpting to achieve organic shapes. For undercaps:
- Begin with a base head mesh for scale.
- Block out the main cap shape with simple geometry.
- Add seam lines and subtle folds using sculpt tools.
Best practices:
- Work in quads for easier retopology.
- Keep geometry light—avoid unnecessary subdivisions.
- Use symmetry tools to speed up modeling.
Optimizing the Model for 3D Printing
Retopology and Mesh Cleanup
Retopology is crucial for ensuring the model prints cleanly and efficiently. I typically:
- Remove non-manifold edges and intersecting faces.
- Convert the mesh to quads or tris as needed for slicing.
- Simplify geometry to reduce print time and minimize errors.
Mini-checklist:
- Check for holes and overlapping faces.
- Ensure even thickness across the cap.
- Run mesh analysis tools to spot issues.
Export Settings and File Preparation
Before exporting, I set the model’s scale and orientation. For 3D printing:
- Export as STL or OBJ, depending on printer/software.
- Apply final transformations (rotation, scale).
- Double-check for watertight mesh.
Pitfalls to avoid:
- Forgetting to apply scale—results in incorrect sizing.
- Exporting with hidden geometry or loose parts.
Texturing and Customization Options
Applying Realistic Fabric Textures
For visualizations or AR/XR use, fabric realism is key. I use texture maps and procedural shaders to mimic cotton or jersey:
- Bake normal and bump maps for subtle weave effects.
- Use color variations to simulate dyed fabrics.
Tips:
- Reference real fabric scans for authenticity.
- Adjust specularity to match matte or shiny finishes.
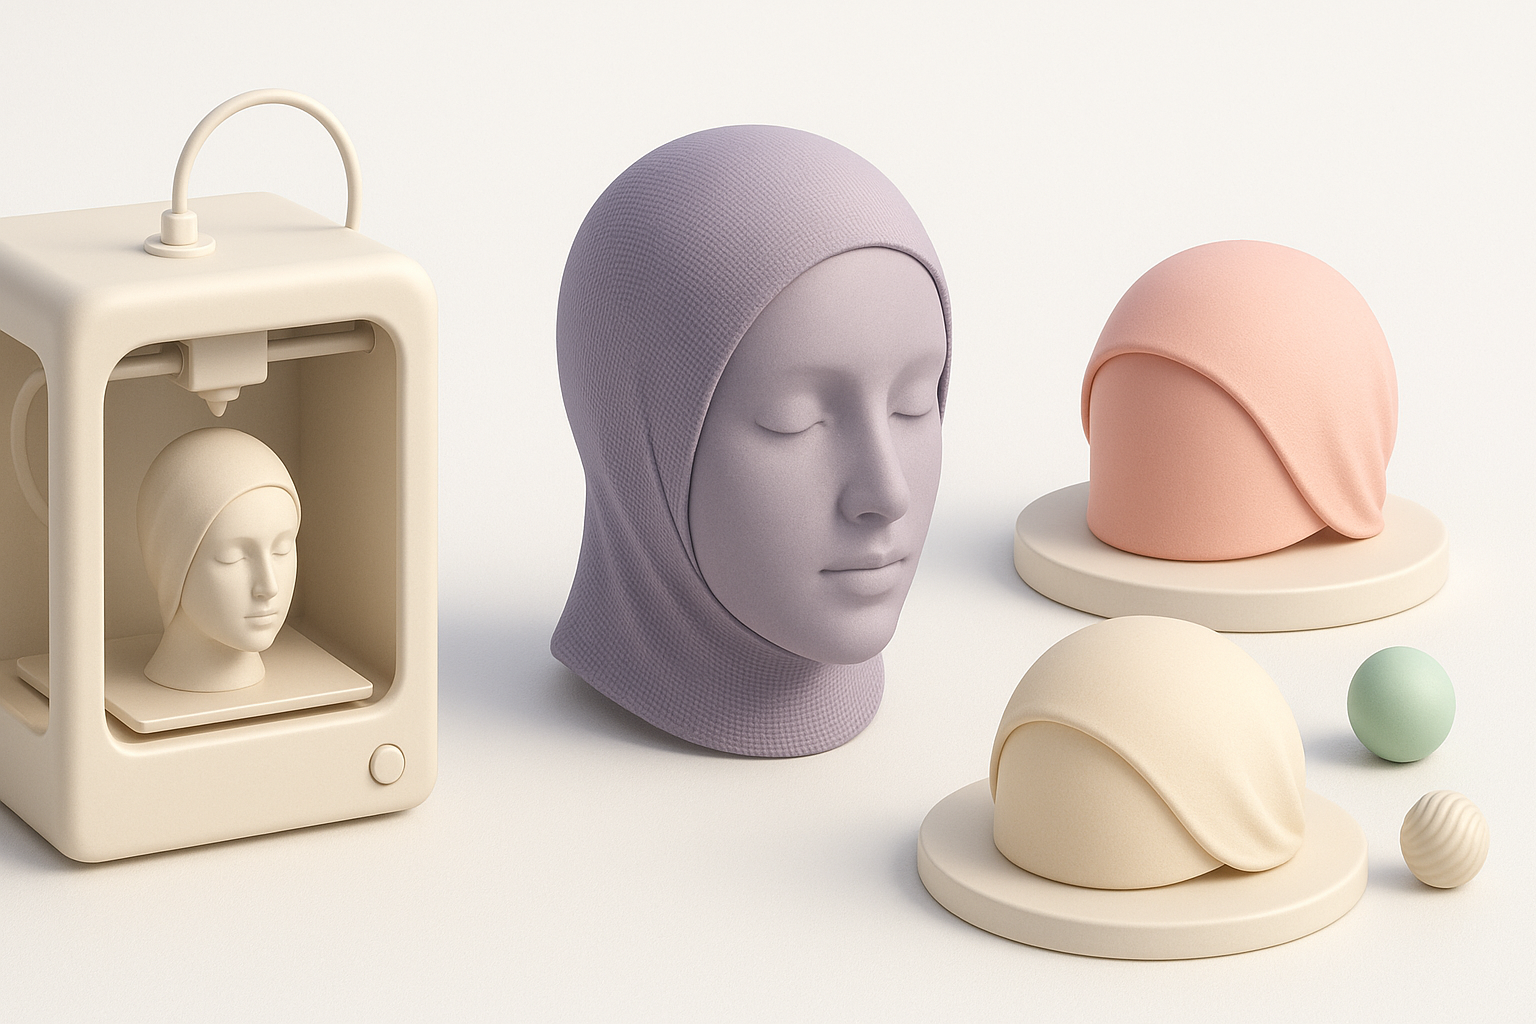
Personalization and Variant Creation
Offering variants (colors, patterns, seam placements) is easy with parametric modeling or AI-driven tools:
- Create base mesh, then duplicate and tweak for each variant.
- Use texture overlays for quick pattern changes.
What works: Keep variants organized with clear naming conventions.
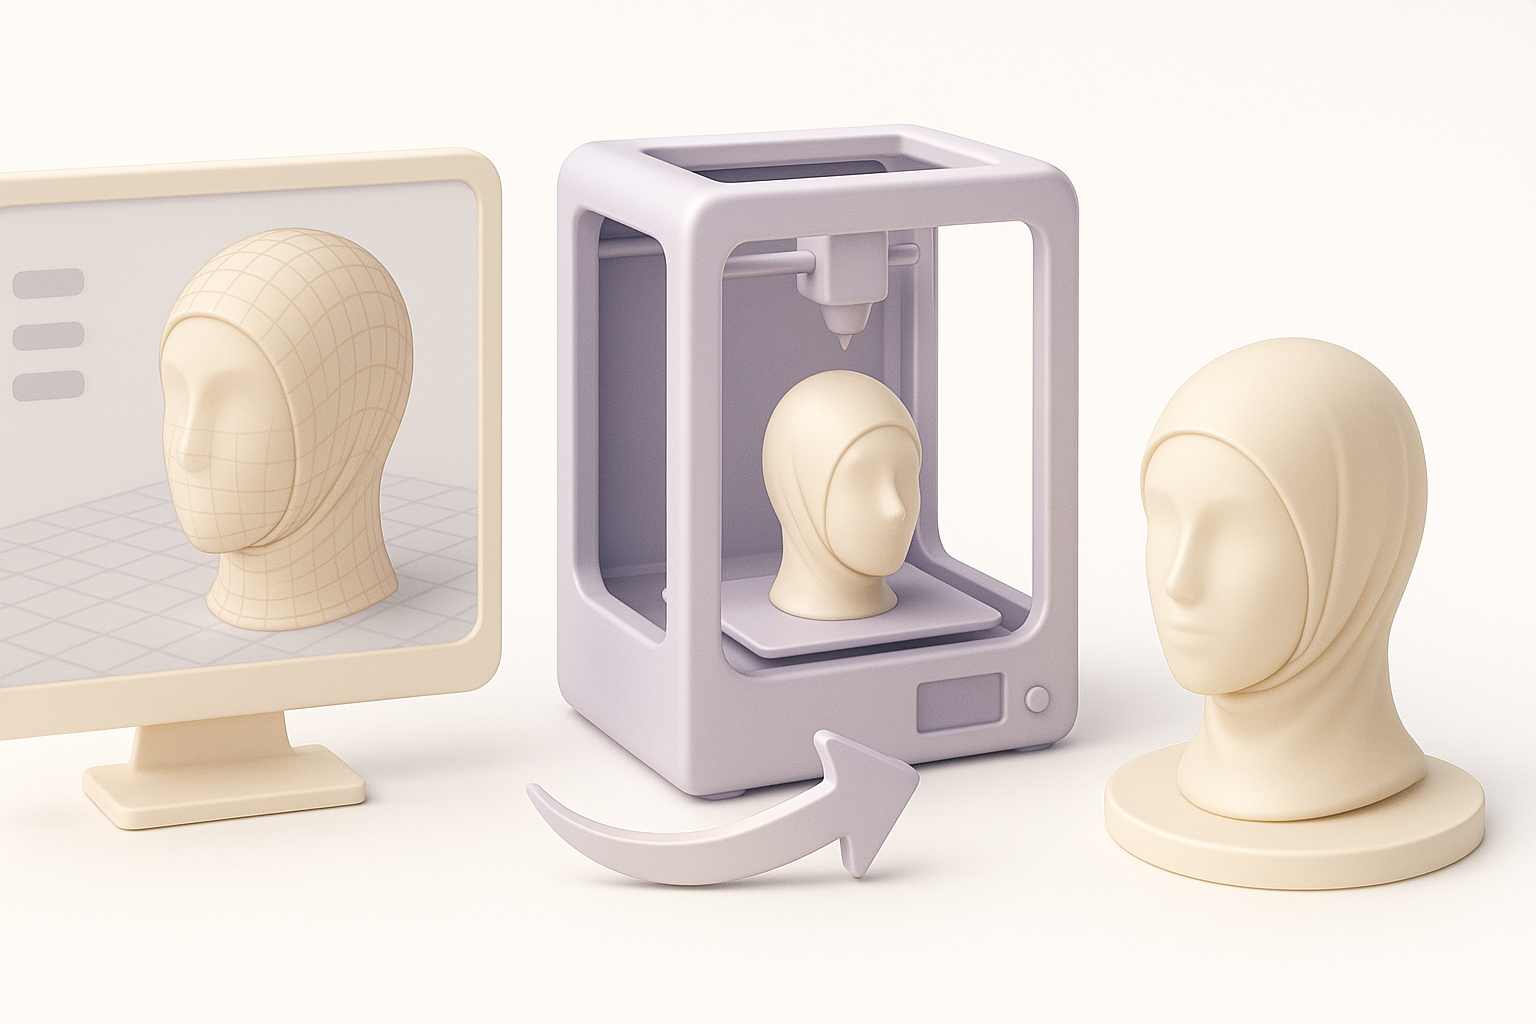
Using AI-Powered Tools for Efficient Creation

How I Leverage Tripo AI in My Workflow
I use Tripo AI to accelerate segmentation, retopology, and texturing:
- Generate base mesh from sketches or images.
- Auto-segment cap and seam areas for easy editing.
- Apply AI-driven retopology for print-ready geometry.
Practical tip: Feed clear, annotated references for best results.
Comparing Manual and AI-Assisted Methods
Manual modeling offers control but is time-consuming. AI tools:
- Speed up repetitive tasks (segmentation, mesh cleanup).
- Allow rapid prototyping and variant creation.
My approach: Use AI for initial drafts, then refine manually for production.
Best Practices and Lessons Learned

Common Pitfalls and How to Avoid Them
- Over-complicated geometry: Leads to print failures; keep it simple.
- Ignoring thickness: Can result in fragile prints.
- Skipping mesh checks: Causes slicing errors.
How I avoid them:
- Always run mesh analysis before exporting.
- Print small test sections before committing to full print.
- Use AI tools to double-check segmentation and retopology.
Tips for Achieving Production-Ready Results
- Reference real products for proportions and comfort.
- Optimize mesh for printability, not just visual appeal.
- Leverage AI tools to minimize manual labor and avoid technical bottlenecks.
- Maintain organized files and clear variant naming.
Summary: Combining hands-on modeling with AI-powered workflows lets me deliver reliable, production-ready hijab undercap models efficiently—ready for 3D printing or digital use.


