How to Create and Optimize a 3D Hexagon Model
скачать 3d модели для chicken gun
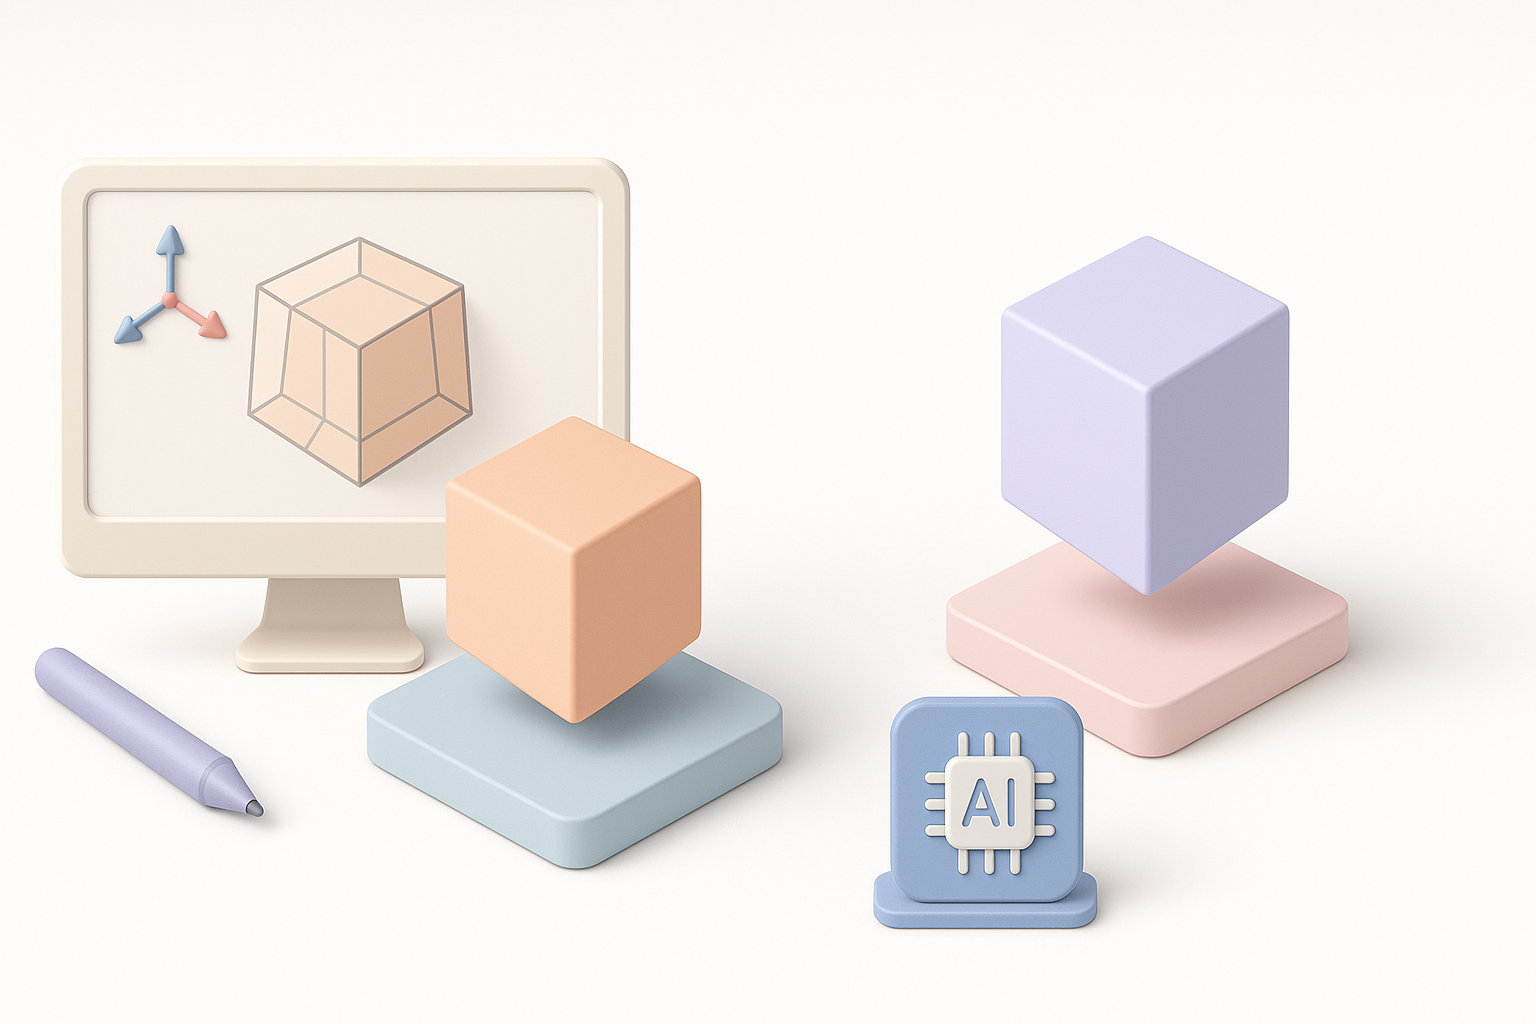
Creating a 3D hexagon model is a foundational skill for anyone working in game development, XR, product visualization, or design. In my experience, the process can be streamlined significantly by understanding hexagonal geometry, leveraging the right tools (both manual and AI-powered), and following best practices for retopology and texturing. This guide breaks down my workflow, highlights where AI tools like Tripo can save hours, and covers how to export your models for real-world use. Whether you’re a 3D artist or a developer aiming to speed up your pipeline, you’ll find actionable insights here.
Key takeaways
- Understand hexagonal geometry before modeling to avoid common mistakes.
- Manual modeling offers control, but AI tools can deliver rapid, production-ready results.
- Clean retopology is crucial for performance and easy texturing.
- Exporting with the right settings ensures compatibility with game engines and XR platforms.
- Choose manual or AI workflows based on project needs and time constraints.
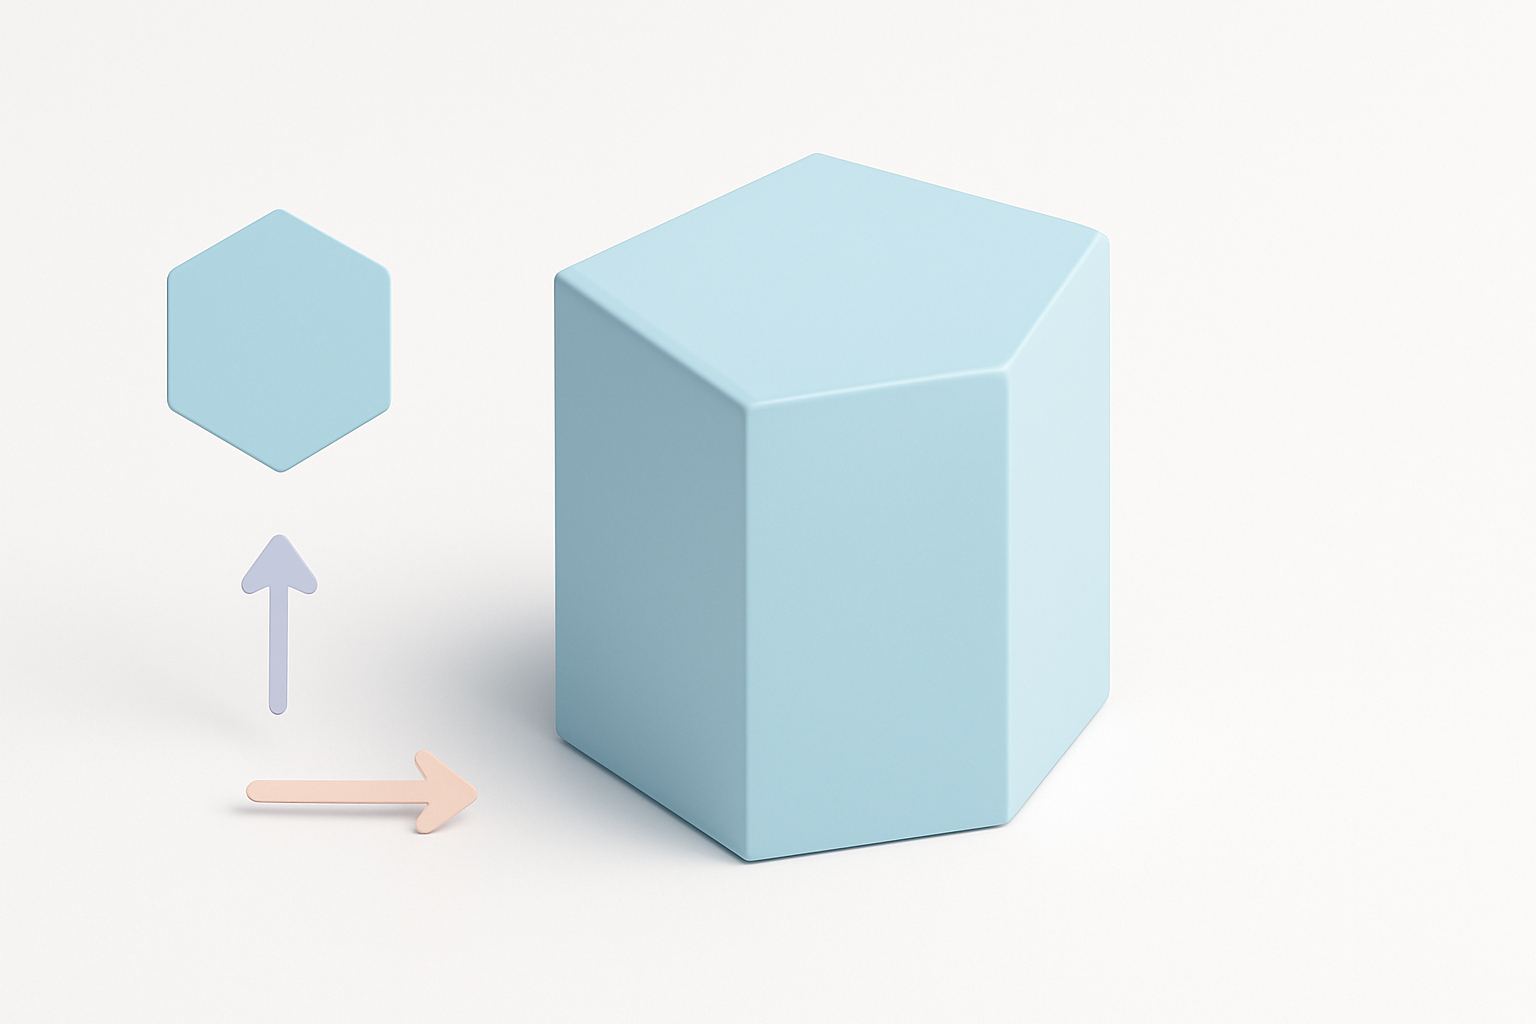
Understanding Hexagon Geometry in 3D Modeling
Key properties of hexagons in 3D design
Hexagons are six-sided polygons, and in 3D modeling, they’re often used to create modular, tiling surfaces or objects with a geometric, sci-fi feel. What I’ve found is that keeping edges equal and angles at 120° is essential for seamless tiling and clean shading. When extruding a hexagon into 3D, I always check for:
- Uniform edge length to avoid shading artifacts.
- Planar faces for easy texturing.
- Consistent normals, especially for lighting.
Common use cases for 3D hexagon models
In my projects, I’ve used 3D hexagons for:
- Modular tiles in game environments.
- Sci-fi panels and architectural details.
- Board game tokens and product prototypes.
- Decorative elements in XR and AR scenes.
Hexagons are popular because they tessellate without gaps and add visual interest compared to squares or triangles.
Step-by-Step Workflow: Building a 3D Hexagon Model
Manual modeling techniques I use
When modeling manually, I typically:
- Start with a 2D hexagon: Use the polygon tool, set sides to 6.
- Extrude to 3D: Pull the face along the Z-axis for thickness.
- Bevel edges: Slight bevels prevent sharp shading and improve realism.
- Check topology: Ensure quads for easier subdivision and texturing.
Checklist:
- Snap vertices for perfect symmetry.
- Avoid unnecessary edge loops.
- Use modifiers (like mirror or array) for repeating patterns.
Pitfall: Overcomplicating geometry early makes texturing and optimization harder down the line.
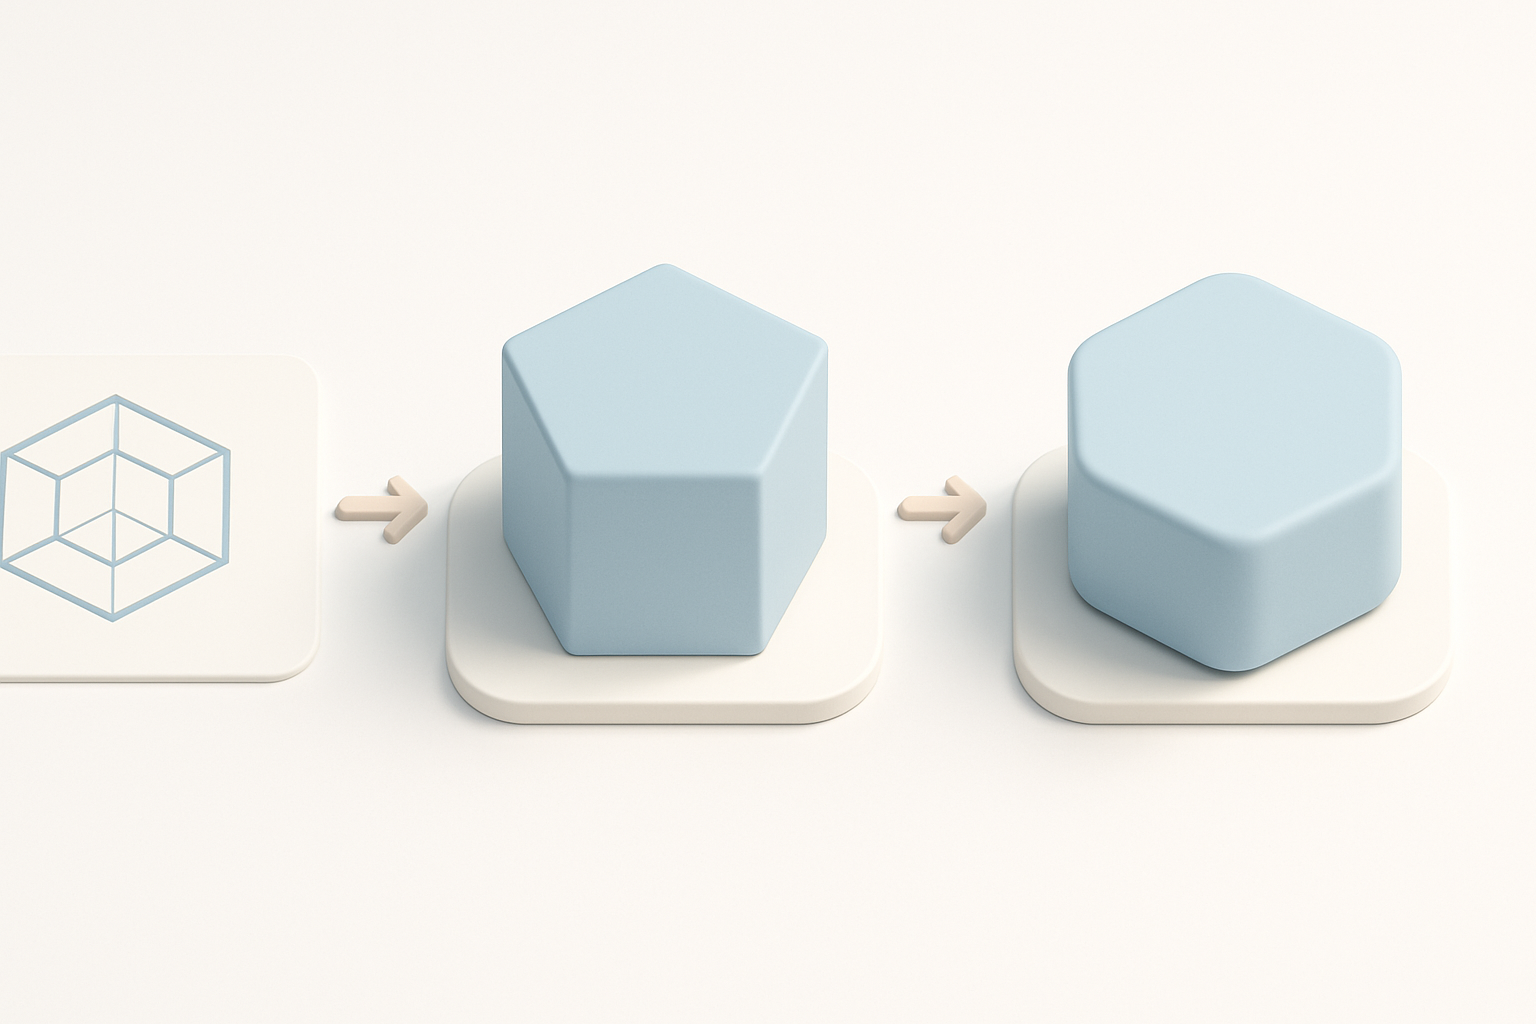
Leveraging AI-powered tools for faster results
With AI tools like Tripo, I can generate a clean, production-ready 3D hexagon in seconds. Here’s how I usually approach it:
- Input: Provide a text prompt (“3D hexagon tile with beveled edges”) or upload a reference sketch.
- Review: Inspect the auto-generated model for geometry and proportion.
- Edit: Use built-in tools for segmentation, retopology, or quick tweaks if needed.
- Export: Download in the required format.
Tips:
- Use descriptive prompts for better results.
- Always check geometry before moving to texturing or rigging.
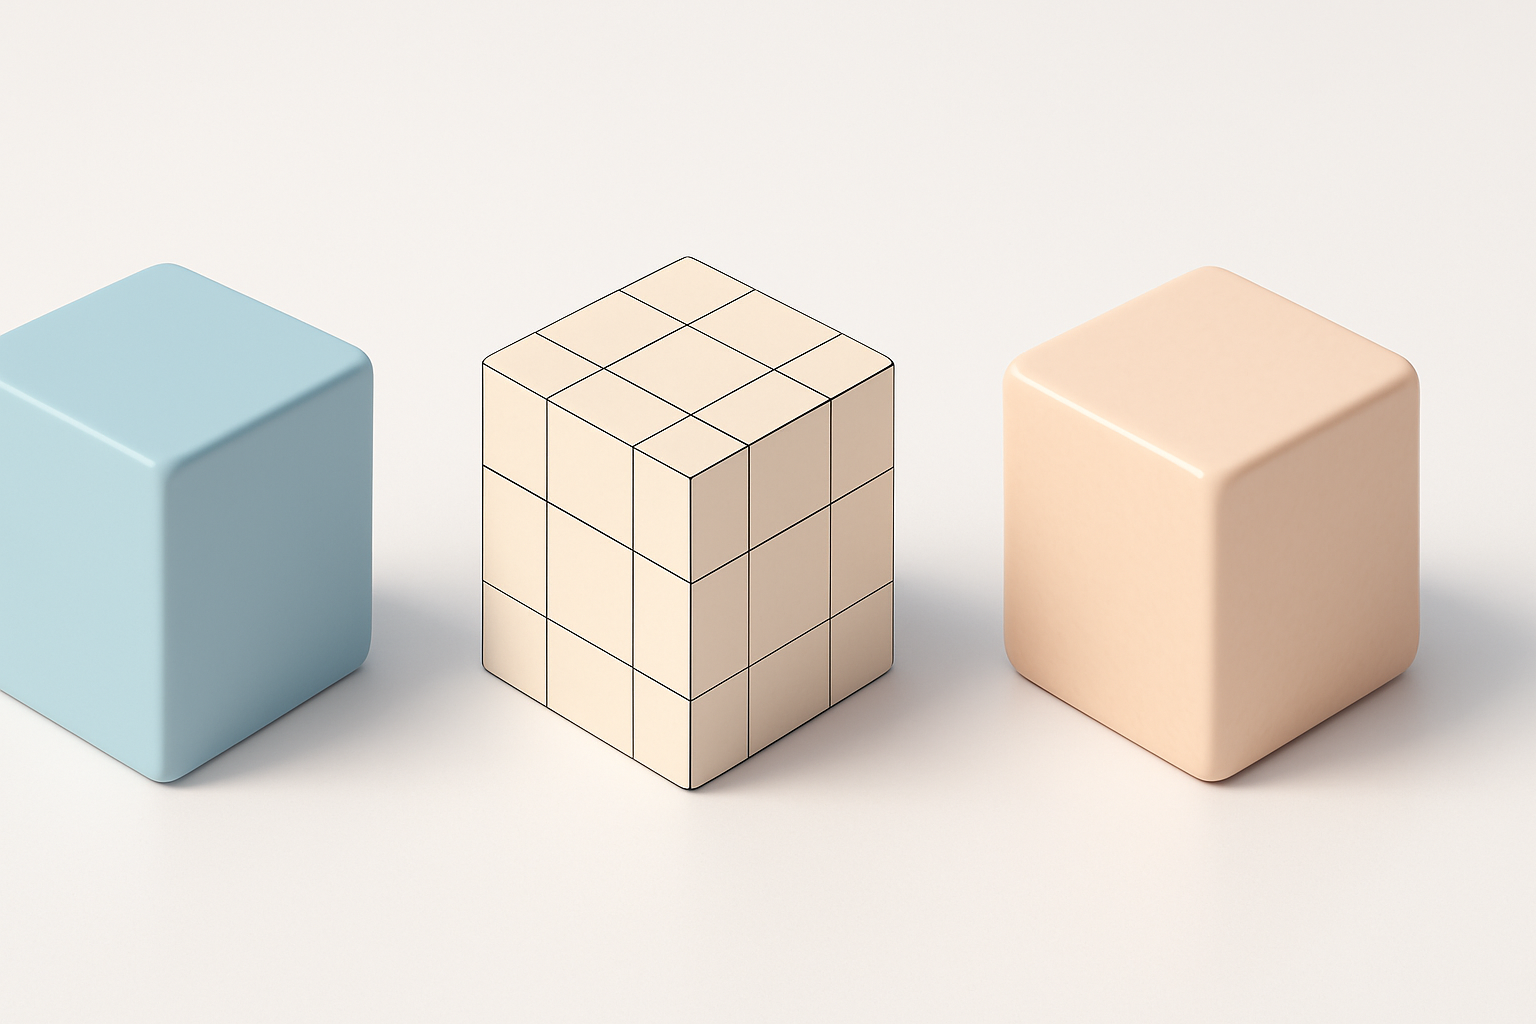
Best Practices for Retopology and Texturing
Efficient retopology for clean geometry
Whether I model manually or use AI, I always retopologize before finalizing:
- Aim for all-quad meshes for animation or subdivision.
- Keep polycount low for games/XR; higher for cinematic renders.
- Remove hidden faces if the hexagon will be part of a surface.
Checklist:
- Edge flow follows the shape.
- No overlapping vertices or faces.
- Consistent face size for better deformation and texturing.
Texturing tips for realistic or stylized hexagons
For texturing, I recommend:
- Unwrap UVs with minimal stretching—hexagons are prone to distortion.
- Use tiling textures for modular assets.
- For realism, add subtle normal/bump details (scratches, wear).
- For stylized looks, exaggerate edge highlights or use hand-painted textures.
Pitfall: Ignoring UV seams can lead to visible lines, especially on repeating tiles.
Exporting and Integrating Hexagon Models
Preparing models for game engines and XR
Before exporting, I always:
- Apply all transforms (scale, rotation).
- Check orientation (Y-up or Z-up, depending on engine).
- Optimize mesh for target platform (reduce polycount for XR/mobile).
Checklist:
- Pivot point at the base or center for easy placement.
- No unapplied modifiers.
- Clean, single material assignment unless multi-material is needed.
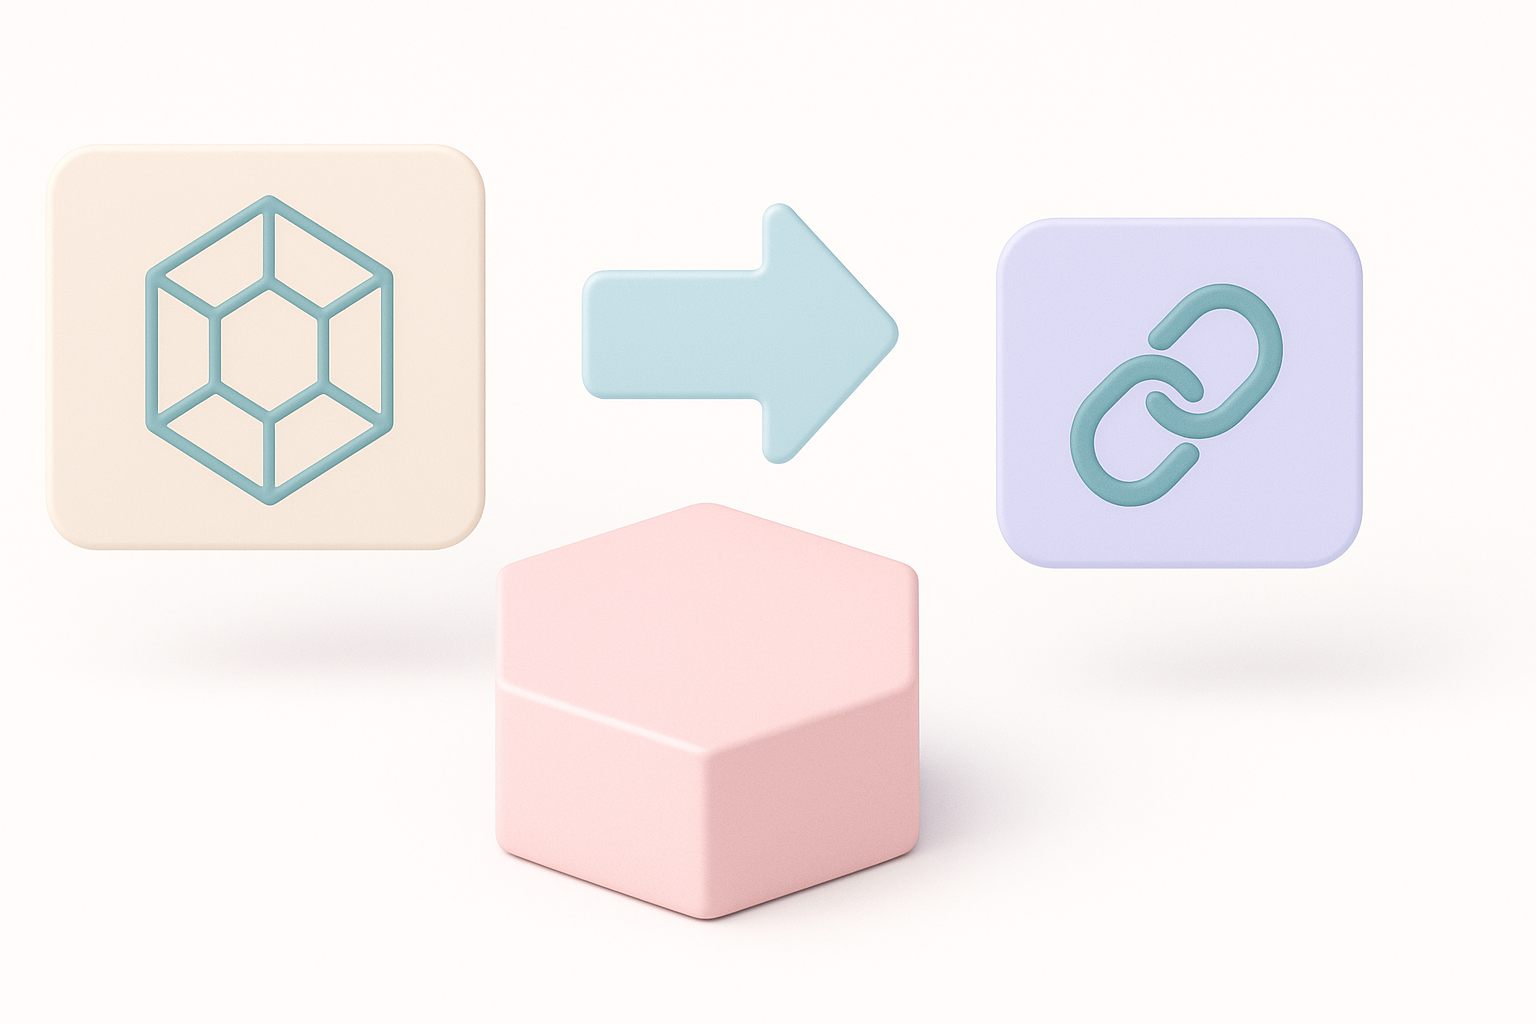
File formats and compatibility considerations
I’ve found the following file formats most reliable:
- FBX: Best for most engines (Unity, Unreal).
- OBJ: Widely supported, but limited material support.
- GLB/GLTF: Ideal for web/XR, supports PBR materials and animations.
Tip: With Tripo, I can export directly to these formats, ensuring compatibility without extra conversions.
Comparing AI and Traditional 3D Modeling Methods
My experience with AI-driven workflows
AI-powered modeling has transformed my workflow. For standard shapes like hexagons, AI tools generate clean, usable models in seconds, freeing me to focus on creative tasks like texturing and integration. I rely on AI for rapid prototyping and when deadlines are tight.
Pros:
- Speed and consistency.
- Built-in retopology and texturing options.
- Easy iteration from text or sketches.
Cons:
- Less control over fine details (though this is improving).
- May require manual cleanup for complex customizations.
When to choose manual vs. automated approaches
I choose manual modeling when:
- Custom, highly detailed geometry is needed.
- Unique UV layouts or topology are required for animation.
I use AI tools when:
- Time is limited.
- The shape is standard or modular.
- Quick iterations or variations are needed.
Final tip: Combining both approaches—AI for base meshes, manual tweaks for polish—delivers the best results in most real-world projects.


