Creating and Optimizing Half-Life 3D Models: Expert Workflow
As someone who’s built production-ready 3D assets for Half-Life mods and similar game engines, I’ve refined a workflow that minimizes bottlenecks, maximizes visual fidelity, and leverages AI tools for speed. This article breaks down each stage of my process—from concept to in-game testing—highlighting practical best practices, optimization tips, and the smart use of AI-powered platforms like Tripo. Whether you’re a solo artist or part of a team, you’ll find actionable advice to streamline your 3D model creation for Half-Life and comparable engines.
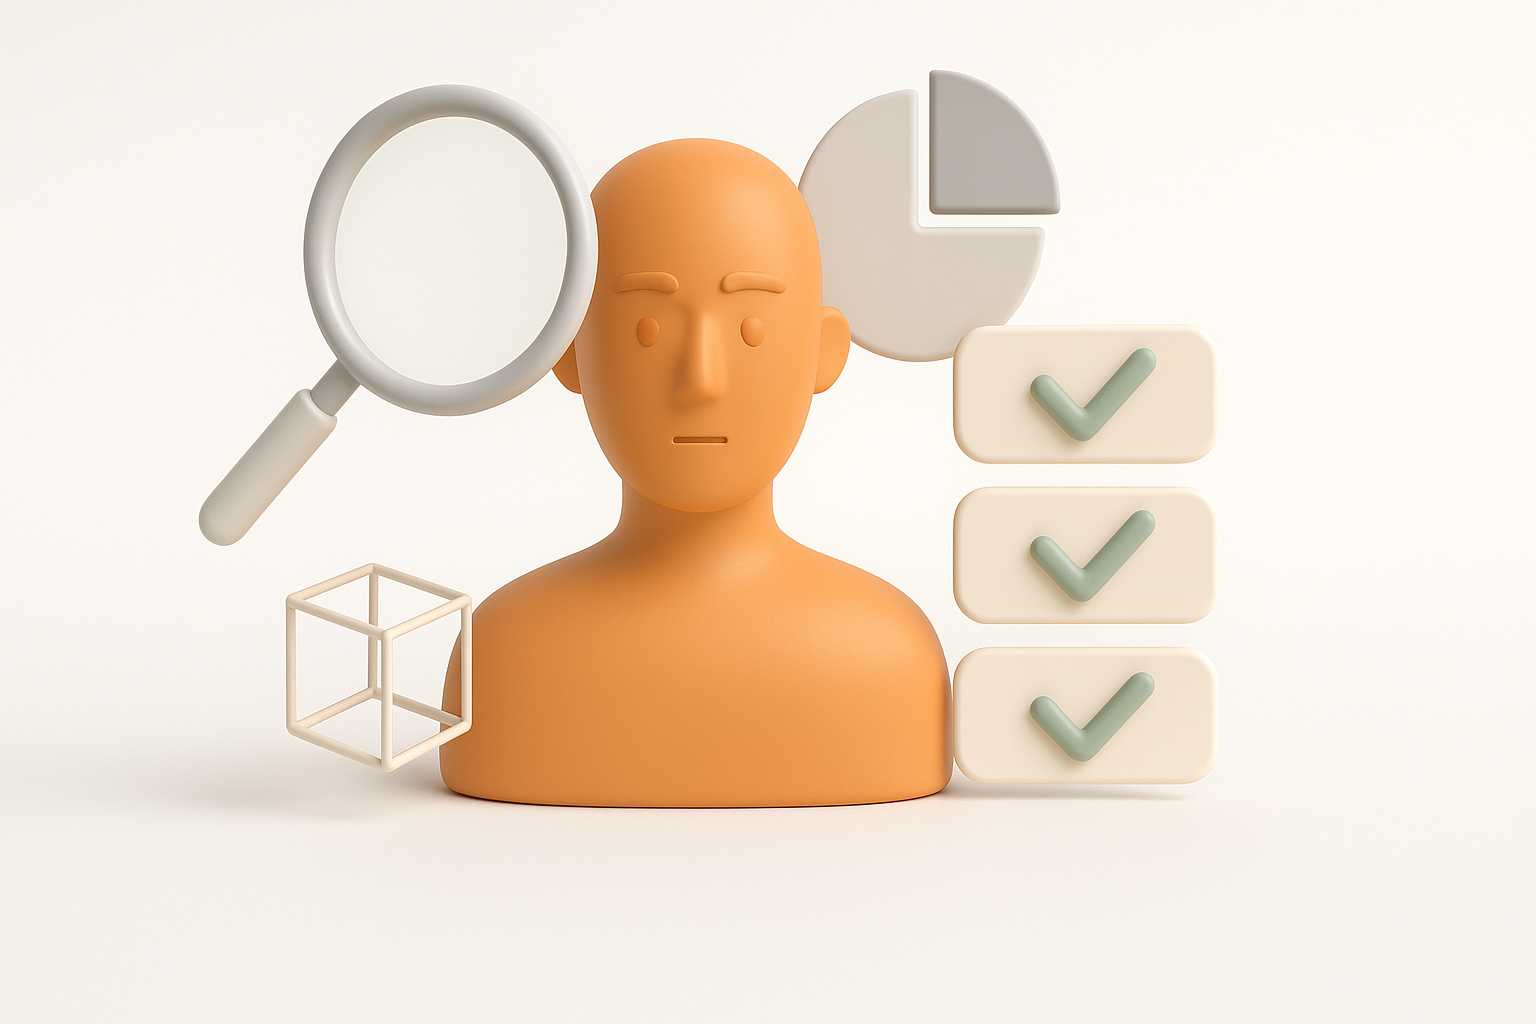
Key takeaways
- Start with clear technical and visual requirements for Half-Life engine compatibility.
- Block out, sculpt, and retopologize with optimization in mind from the outset.
- Use AI tools like Tripo for rapid segmentation, retopology, and texturing—especially for iteration-heavy projects.
- Prioritize efficient UV mapping and texture baking to hit performance targets.
- Test rigging and animations directly in-engine to catch issues early.
- Manual methods offer control; AI speeds up repetitive or technical steps—use both strategically.
Understanding Half-Life 3D Model Requirements
Game engine compatibility and file formats
Half-Life uses the GoldSrc engine, which has strict requirements for 3D asset formats—primarily SMD or OBJ for models, compiled into MDL files. In my experience, it’s crucial to:
- Export models in the correct orientation and scale (often Y-up, meters or inches depending on your DCC tool).
- Use triangulated meshes, as the engine doesn’t support quads or n-gons.
- Double-check texture resolutions and naming conventions for compatibility with the Half-Life compiler tools.
Checklist:
- Mesh exported as triangulated OBJ/SMD
- Correct scale and axis orientation
- Texture maps in supported formats (BMP, TGA, or PNG)
Key visual and technical constraints
Half-Life’s engine is optimized for low-poly assets and simple shaders. What I’ve found:
- Keep polygon counts low (often 1,000–3,000 tris for characters, less for props).
- Avoid overlapping UVs unless for mirrored details.
- Limit material count; the engine prefers single-material setups per mesh.
Pitfalls to avoid:
- Overly dense meshes that tank performance
- High-res textures that get downscaled or cause memory issues
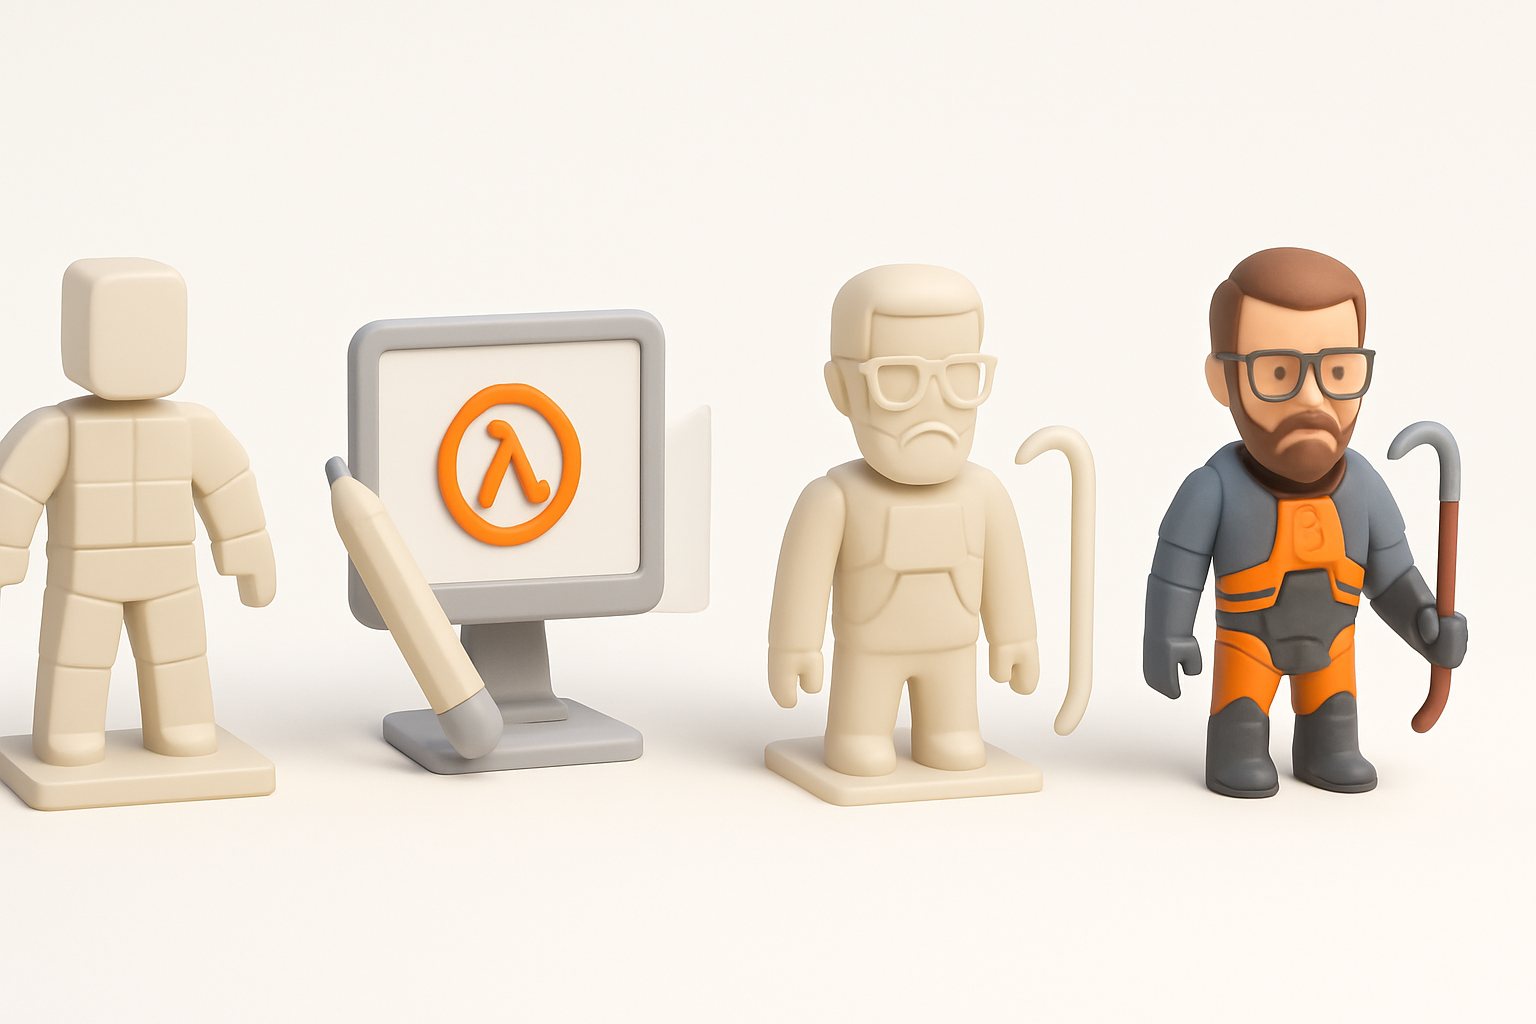
My Step-by-Step Workflow for Half-Life 3D Model Creation
Concepting and reference gathering
I always start by defining the model’s purpose and gathering references—screenshots from the game, concept art, and real-world analogs. This step clarifies proportions, silhouette, and key details.
My process:
- Collect 5–10 reference images.
- Sketch rough orthographic views if needed.
- Define a polygon budget and texture size up front.
Tip: For collaborative projects, share moodboards early to align vision.
Blocking out and sculpting the base mesh
With references in hand, I block out the main forms using simple shapes. For Half-Life, I keep geometry minimal and focus on the silhouette.
- I usually block out in Blender or similar, using primitives.
- Once the proportions work, I sculpt major details, but avoid fine surface detail that won’t translate to low-poly.
- If using Tripo, I’ll sometimes generate a base mesh from a sketch or prompt, then refine manually.
Pitfall: Don’t over-model—detail should come from textures, not geometry, for Half-Life assets.
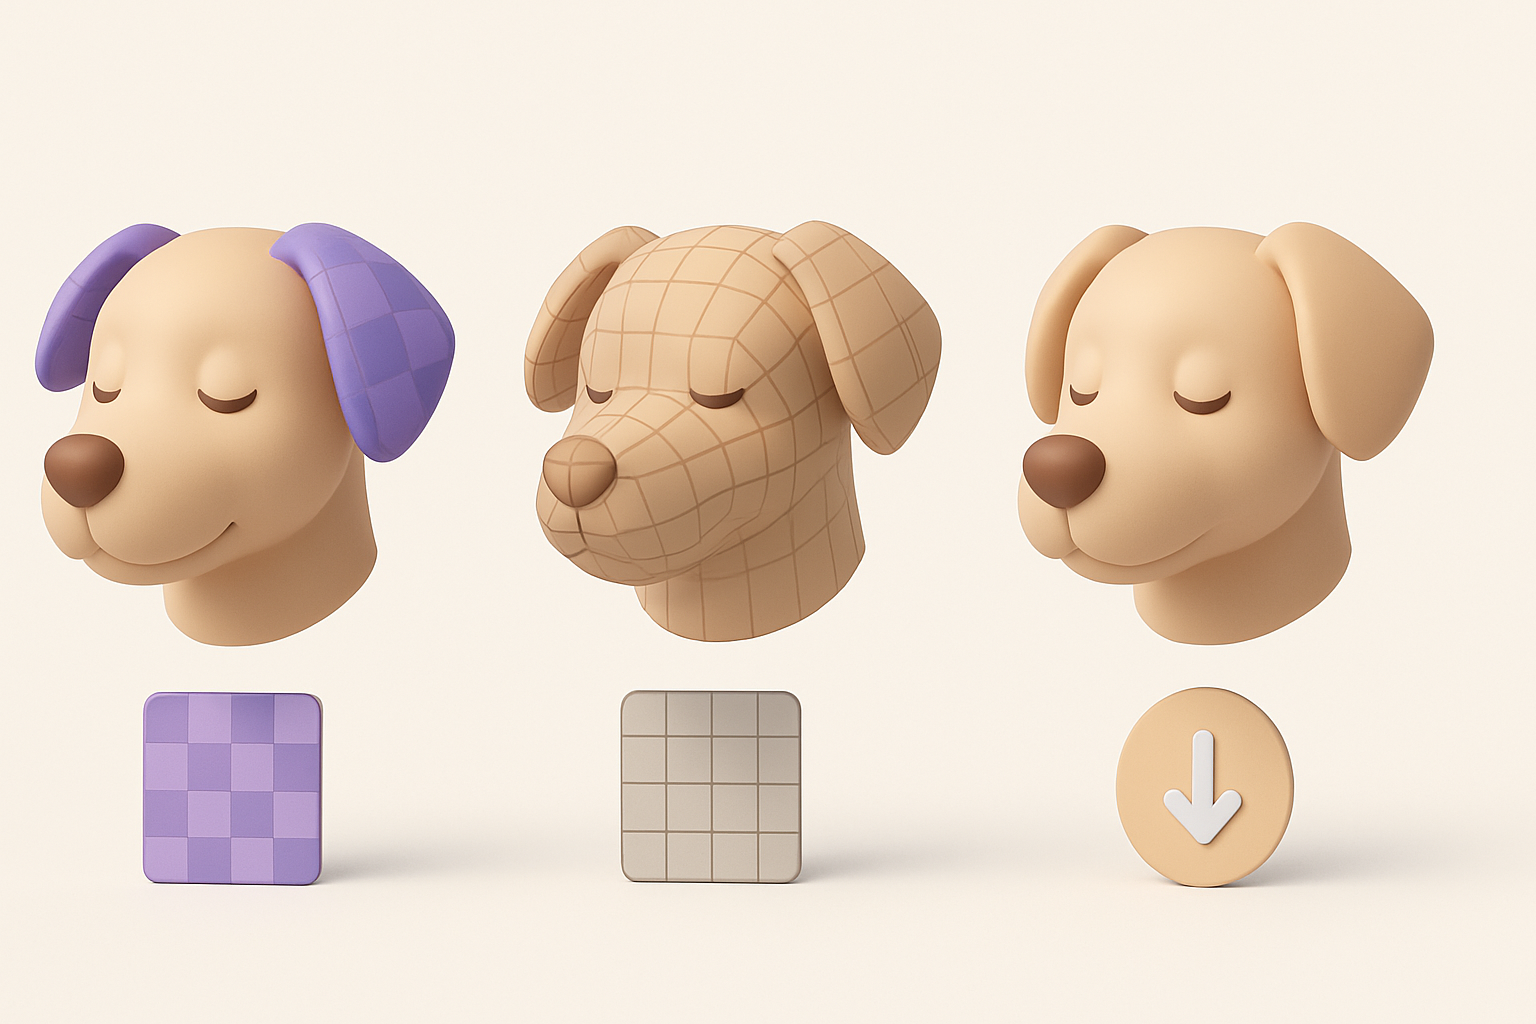
Texturing, Retopology, and Optimization Best Practices
Efficient UV mapping and texture baking
Efficient UVs are essential. I aim for as little wasted space as possible, with logical islands and minimal stretching.
- I unwrap UVs manually for main assets, packing islands tightly.
- Where possible, I bake normal and AO maps from a high-poly sculpt to the low-poly mesh.
- Tripo’s intelligent UV and baking tools save time, especially for props or when iterating on variants.
Mini-checklist:
- No overlapping UVs (unless mirrored intentionally)
- Texel density consistent across the model
- Texture size appropriate (256–1024px is typical for HL)
Polygon count and performance considerations
Performance is everything in Half-Life. I target the lowest poly count that maintains the intended silhouette.
- I decimate or manually retopologize, focusing on areas that deform (joints, faces).
- AI-assisted retopology (like in Tripo) is ideal for quickly reducing poly count on complex meshes.
Practical tips:
- Prioritize poly budget for gameplay-critical areas (hands, faces).
- Test in-engine early to spot performance issues.
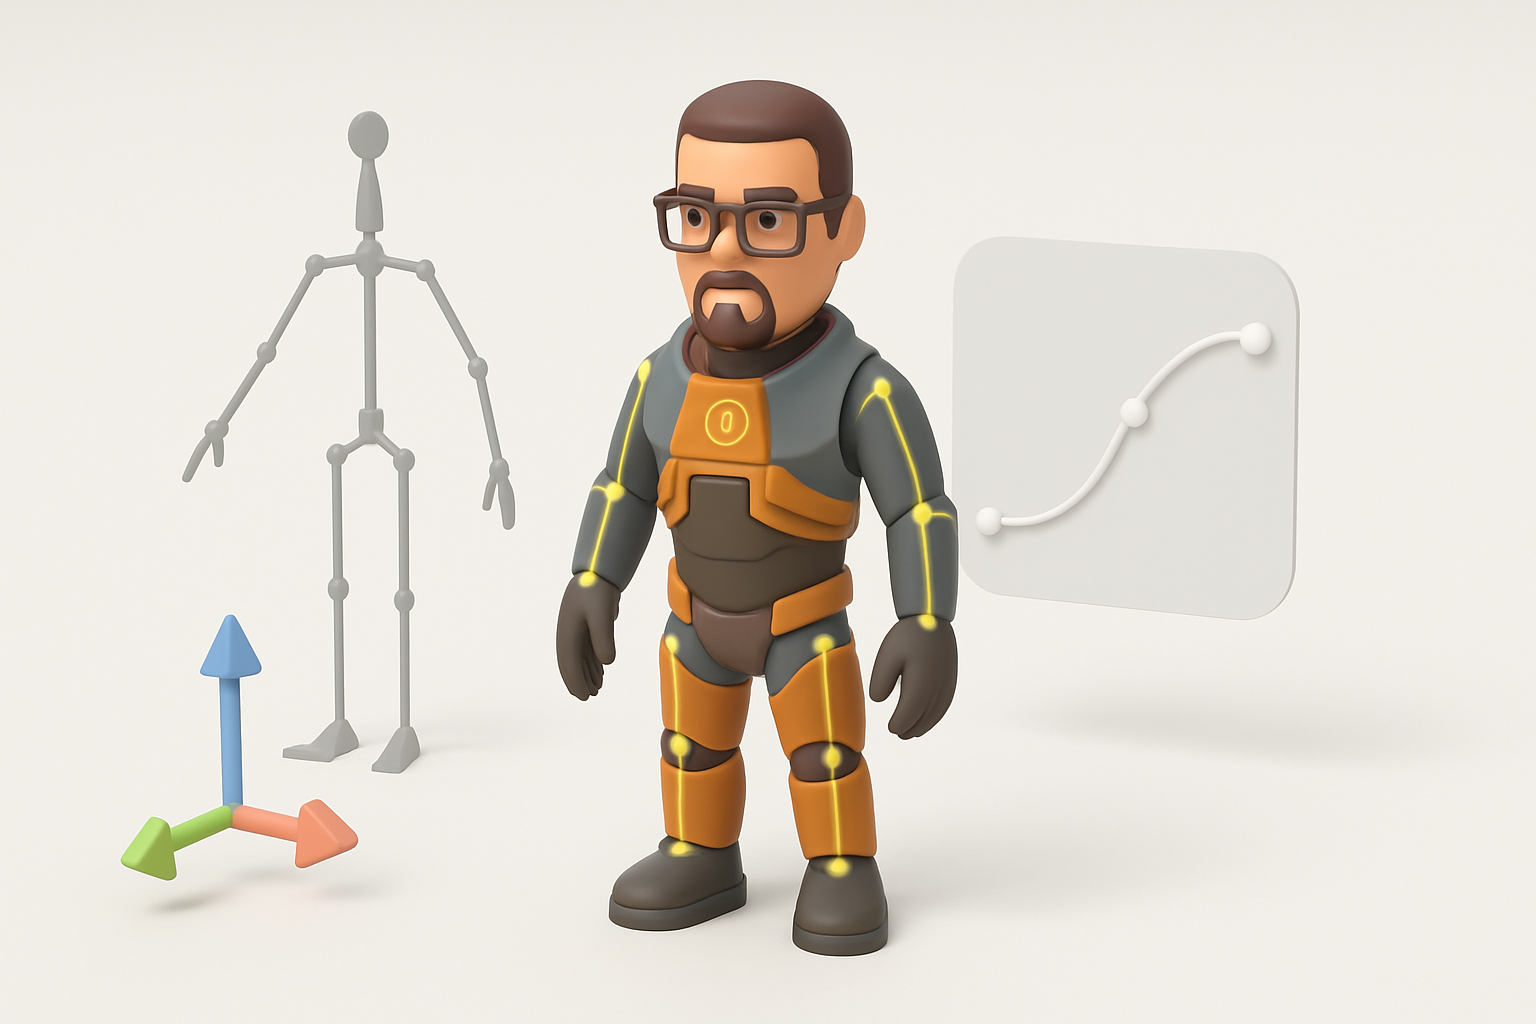
Rigging and Animation for Half-Life Models

Setting up skeletons and controls
Rigging for GoldSrc is straightforward but has limits. I use simple skeletons—usually 20–40 bones for characters.
- I create the armature in my DCC tool, matching bone names to engine requirements.
- For props, a single bone or none is often enough.
- Weight painting should be clean; avoid stray influences.
Checklist:
- Bone hierarchy matches Half-Life conventions
- No unnecessary bones
- Clean weights, no unassigned verts
Exporting and testing animations in-engine
After rigging, I animate basic cycles (idle, walk, attack) and export as SMD. I always:
- Test animations in the Half-Life model viewer before compiling.
- Check for deformation issues, clipping, or broken weights.
- Iterate quickly—short test cycles catch problems before they become time sinks.
Pitfall: Forgetting to reset transforms before export can break animations in-engine.
Leveraging AI Tools for Faster 3D Model Production

Integrating AI-powered segmentation and retopology
AI tools like Tripo are game-changers for segmentation and retopology. I use them to:
- Automatically segment complex objects into logical parts (great for modular assets).
- Generate clean, game-ready topology from high-res sculpts in minutes.
Workflow tip: Run AI retopology after blocking out, then refine manually for deformation-critical areas.
Tips for using AI to accelerate texturing and iteration
AI-assisted texturing can quickly generate base color, roughness, and normal maps from references or prompts.
- I use AI to create texture variants for rapid iteration.
- For props or background assets, AI-generated textures are often production-ready.
- For hero assets, I combine AI outputs with hand-painting for polish.
Best practice: Always review and tweak AI-generated textures to match the game’s art style.
Comparing Traditional and AI-Enhanced 3D Workflows
Pros and cons from my hands-on experience
Traditional workflow:
- Pros: Full control, predictable results, better for hero assets.
- Cons: Time-consuming, repetitive for large asset sets.
AI-enhanced workflow:
- Pros: Huge speed gains in segmentation, retopology, and texturing. Great for iteration and bulk asset creation.
- Cons: Less control over fine details; sometimes requires manual cleanup.
What I’ve found: I get the best results by combining both—using AI for technical tasks, manual methods for creative or critical assets.
When to choose manual vs. AI-assisted methods
- Manual: When asset quality or style is paramount; for main characters, key props, or unique animations.
- AI-assisted: For background assets, rapid prototyping, or when facing tight deadlines.
Pitfall: Relying solely on AI can lead to generic results—always inject manual polish where it matters.
By blending traditional best practices with smart use of AI tools like Tripo, I consistently deliver optimized, game-ready 3D models for Half-Life projects—faster, and with fewer headaches.


